You don’t have to be a criminal to want to protect your sensitive photos and keep them private and secure. Not only is it natural to want to protect your privacy, but in today’s digital landscape, it’s a very smart decision. Your iOS device gives you a few options for keeping your personal photos hidden and secure. And if you need even more protection, there are advanced methods that go beyond the basics.
This guide explains all your options for keeping your sensitive photos safe, clearly and simply, with practical steps you can follow right now.
Why I needed to hide sensitive photos on my iPhone
There are facets of my job that require discretion. And while I don’t live with inherently nosy people, I realized how often I hand my phone to others: to share vacation photos, a playlist, or navigate a road trip. Every time I handed over my phone, I felt a little uncomfortable, knowing that one accidental swipe could reveal a photo meant for my eyes only.
To make matters more complicated, I found that my camera roll was overflowing with duplicates, screenshots, and random photos, which made it harder to organize anything, let alone hide sensitive content.
That’s when I decided to create a clean, secure system for storing private photos and reducing those panic attacks. Fortunately, the process was easier than I expected. Here’s how I took control of my digital privacy, and how you can, too!
Before hiding, clean up your iPhone storage first
Before moving anything into hidden or locked albums, it's helpful to declutter your library. A messy photo library makes it harder to find the images you need to hide, and unnecessary clutter increases the risk of forgetting something important.
Why decluttering matters
- It makes it easier to identify and isolate sensitive images
- You avoid hiding files you don’t actually need
- It reduces storage pressure, which keeps your iPhone running smoothly
- A leaner library is easier to back up and organize
How I cleaned my photos quickly and painlessly
I started by setting my timer for five minutes a day, and then heading to the Photos app to manually delete photos and videos that I no longer needed. After a week, I had barely scratched the surface. It turns out that my photo library included 137,000 photos and approximately 40,000 videos. Unlimited iCloud storage was paving the way for more digital clutter than I could handle.
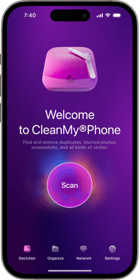
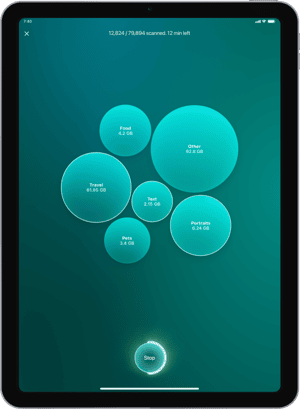
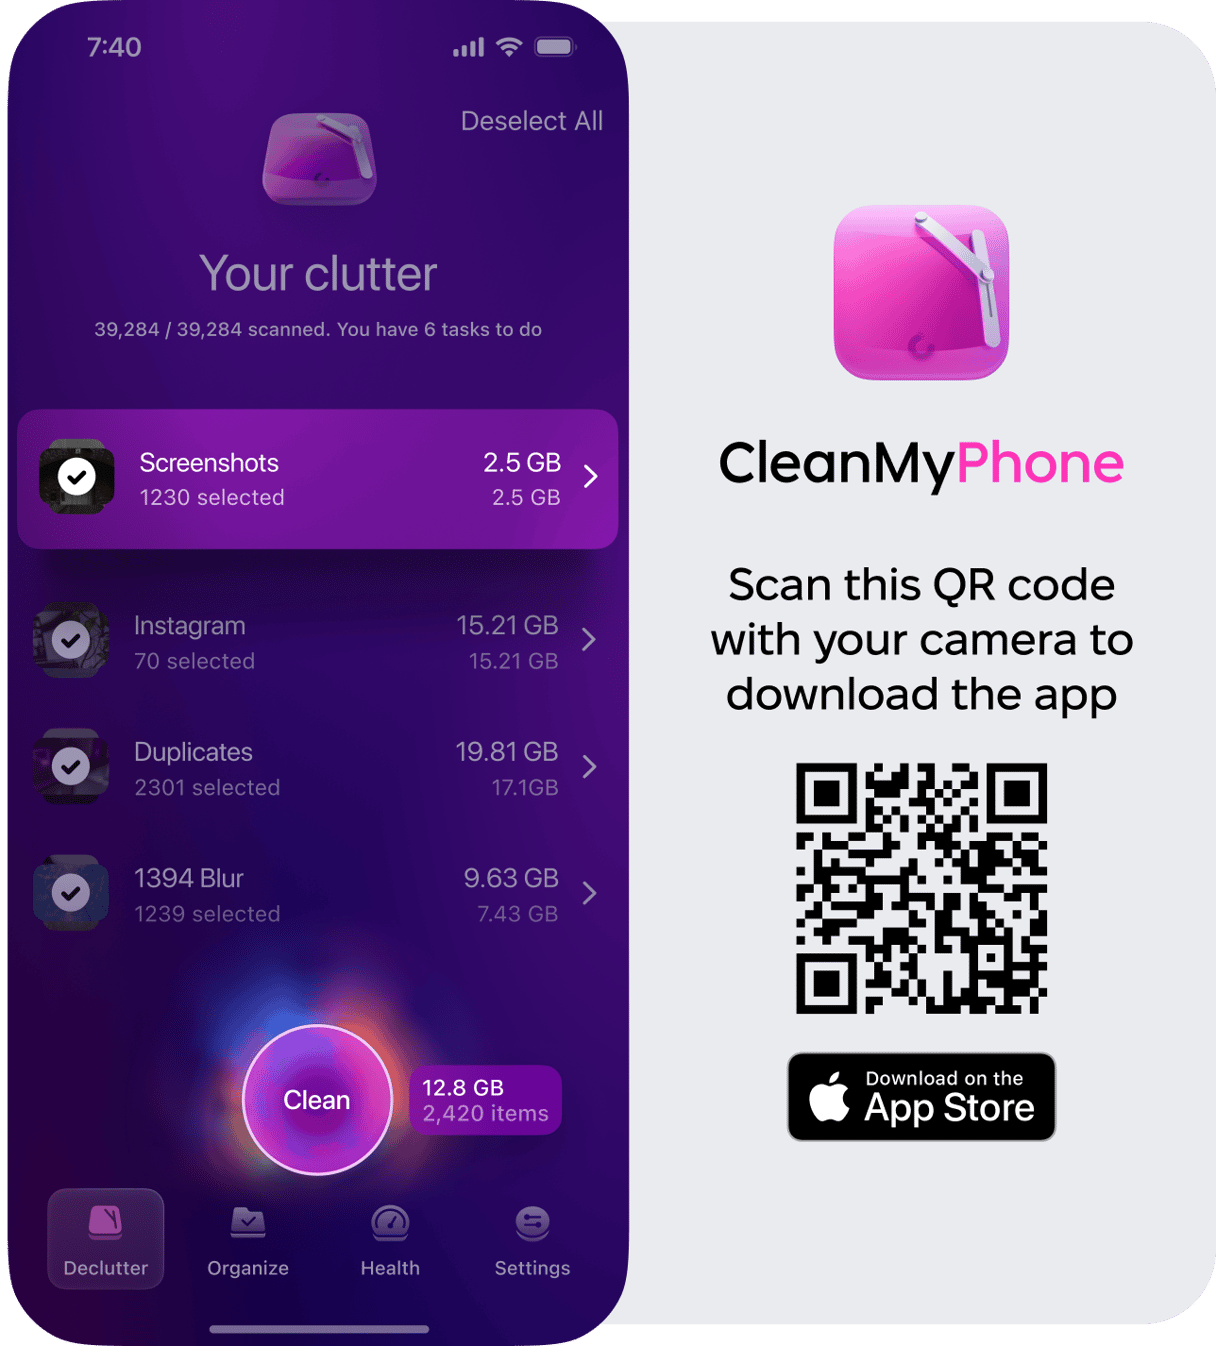
Next, I tried CleanMy®Phone to automate some of the process, and I was able to quickly remove duplicates, old screenshots, blurry photos, and huge videos before organizing anything sensitive. The app’s Declutter Module groups similar images using smart AI, so cleaning up takes just a few taps.
It didn’t delete anything automatically. I was still able to review everything myself, and nothing important was deleted. I still worked in five-minute increments, but the process moved much more quickly.. Once my camera roll was cleaned up, it felt much easier to create a privacy-focused workflow and hide only what truly mattered.
Here are free built-in ways to hide photos
iOS provides several powerful tools to hide photos without requiring any additional downloads. Here’s how each one works.
1. Using the hidden album
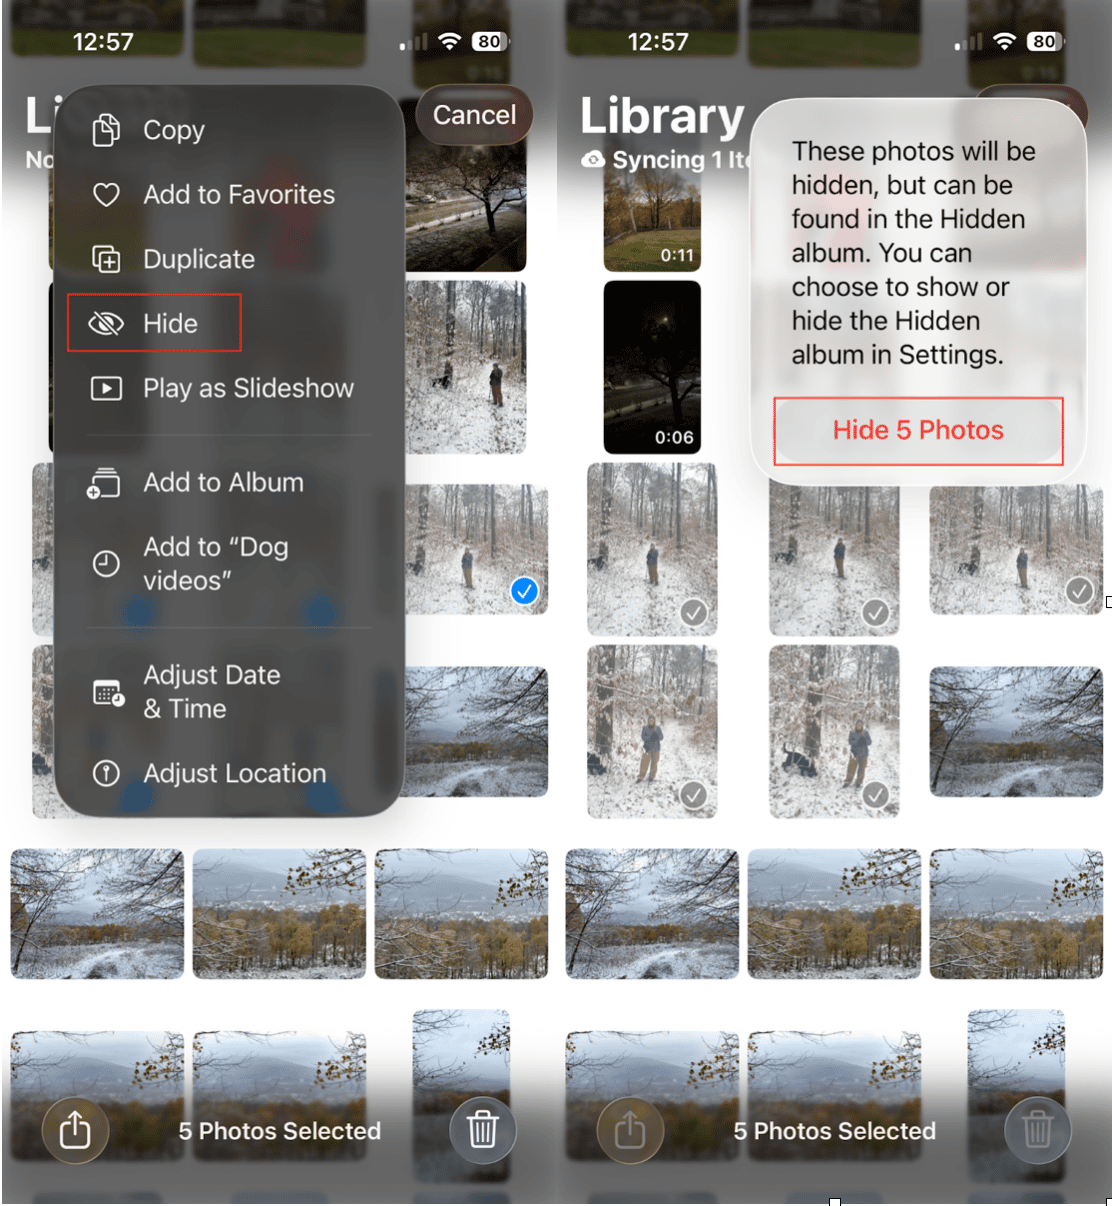
The Hidden Album is the simplest way to keep your photos separate from your main library. While these hidden photos are accessible to someone actually looking for them, they won’t be easily stumbled upon.
How to hide photos:
- Open the Photos app on your iPhone.
- Select the photo(s) you want to hide.
- Tap the three dots to open the pop-up menu.
- Choose Hide and confirm your choice. Your photos will be removed from your photo library and moved to the Hidden album.
Where to find hidden photos:
To view your hidden photos, open the Photos app, scroll down to Utilities, and tap ‘Hidden.’
2. Locking Hidden & Recently Deleted Albums
To beef up protection, you can lock both the Hidden and Recently Deleted albums using Face ID or Touch ID, depending on your iPhone model. This is essential to keeping your hidden photos protected.
How to lock albums in Photos:
- Go to Settings and choose ‘Apps,’ then ‘Photos.’
- Toggle on Use Face ID (or Touch ID).
- Ensure that "Show Hidden Album" is toggled off if you want the album to be invisible. Now, the Hidden album won’t appear unless you re-enable it.
3. Moving photos to Notes with a password
The Notes app can also store photos behind a password or Face ID. This is useful if you have a collection of photos that you want to be able to access quickly. You will have to delete these photos from your library once they are secured within the Notes app.
How to use Notes for hidden photos:
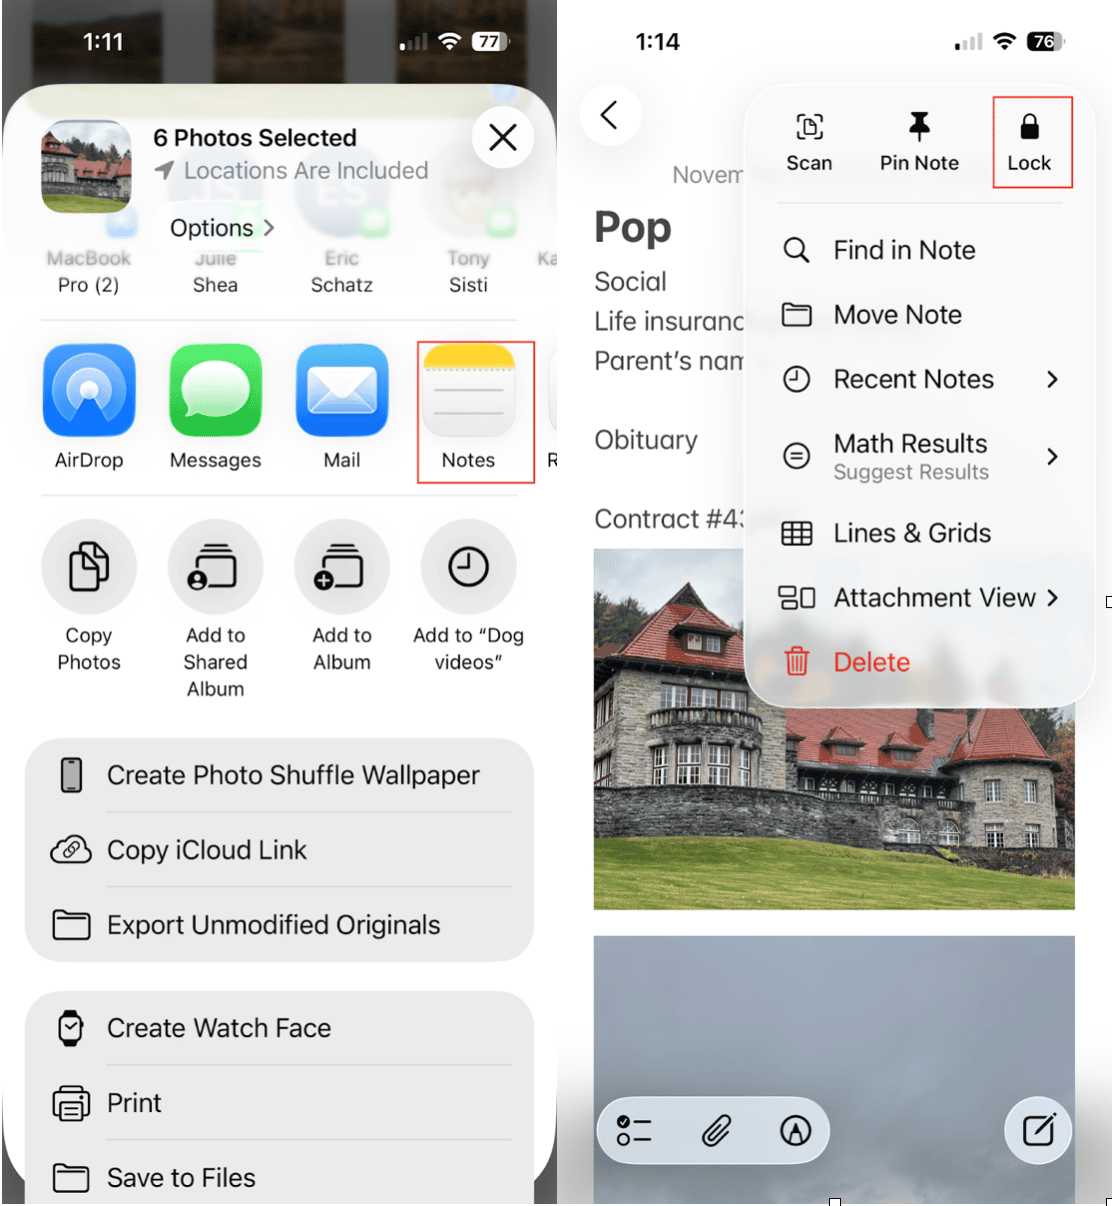
- Open Photos, select the images you want to hide.
- Tap Share, then Notes.
- Save to a new or existing note.
- Open the Notes app and find the note.
- Tap the three dots (…), then choose Lock.
- Enter a password (or enable Face ID).
After confirming everything is saved in Notes, return to Photos and delete the original images.
Advanced Methods for Better Privacy
If you want more than basic hiding, these options offer an extra layer of protection.
Secure vault apps
Specialized privacy apps act like encrypted vaults for photos and videos. Popular choices include:
- Keepsafe Photo Vault
- Secret Photo Album
- LockMyPix
Most vault apps offer:
- Encrypted storage
- Discreet icons
- Fake PINs
- Break-in alerts
- Cloud-free local storage
This is ideal if you want serious privacy or need to protect extremely sensitive content.
Hidden folders in the Files app
If you prefer a native solution without extra apps, the Files app can also hide content.
How to create a hidden folder:
- Open Files on your iPhone.
- Tap the three dots and choose New Folder.
- Name it something unnoticeable (e.g., “Receipts,” “PDFs,” “Notes Backup”).
- Tap and hold the folder, choose Quick Actions, and then Lock Folder (iOS 18+).
- Move sensitive photos into the folder by long pressing and choosing ‘Move.’
This won’t be as secure as an encrypted vault, but it keeps items out of Photos entirely.
How I finally organized and hid all my sensitive photos
Here’s the exact workflow I ended up using; feel free to copy it for your own use.
Step 1 — Clean up duplicates with CleanMy®Phone
Step 2 — Move private photos to a secure flow
Step 3 — Lock everything with Face ID
Step 4 — Disable sharing suggestions & memories
Step 5 — Clear recently deleted
Tips to keep your sensitive photos safe
- Always clear the Recently Deleted album, as it retains items for 30 days after you move them to trash.
- Turn off photo previews in the Share Sheet if you often share your screen.
- Avoid auto-syncing sensitive photos to shared iCloud devices.
- Review third-party apps that have photo access and revoke permissions you don’t trust.
- Periodically recheck your Hidden album when you upgrade or switch to a new device.
- Back up privately; choose encrypted backups instead of shared cloud folders.
- Keep your iPhone locked with a strong passcode (avoid birthdays or repeating numbers).
Hiding sensitive photos on your iPhone doesn’t have to be complicated. With a little upfront cleanup and the right combination of built-in tools and advanced privacy methods, you can create a system that keeps your personal images truly secure. Once you set up your workflow, maintaining it takes only minutes, and the peace of mind is definitely worth it.


