Once Gemini 2 finishes scanning, click Review Results to open the scan results window. You can also click in the middle of the diagram circle or press on any of the categories to view their details.
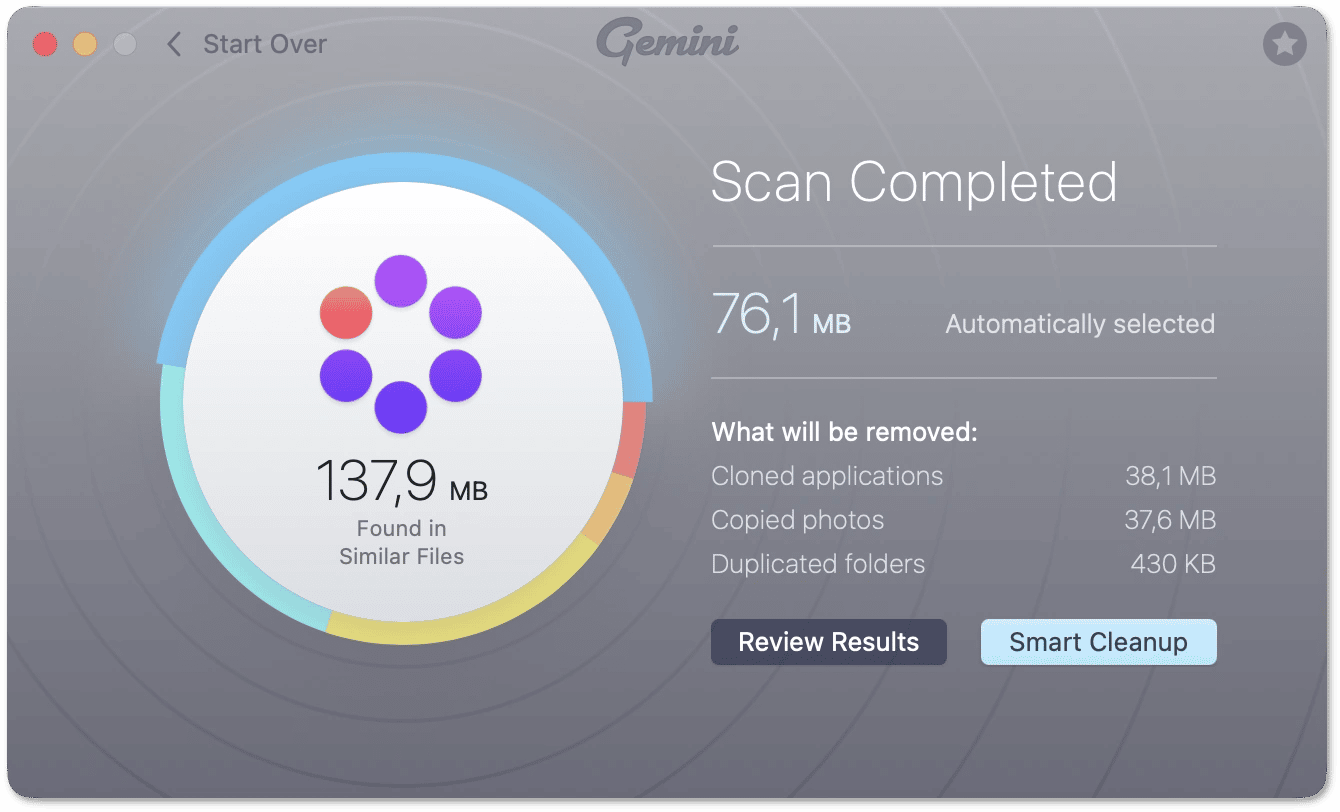
In the sidebar of the new window, complete duplicates and similar files are grouped by categories. The Selected section at the bottom of the sidebar contains files automatically pre-selected for removal, as well as files that you've selected manually.
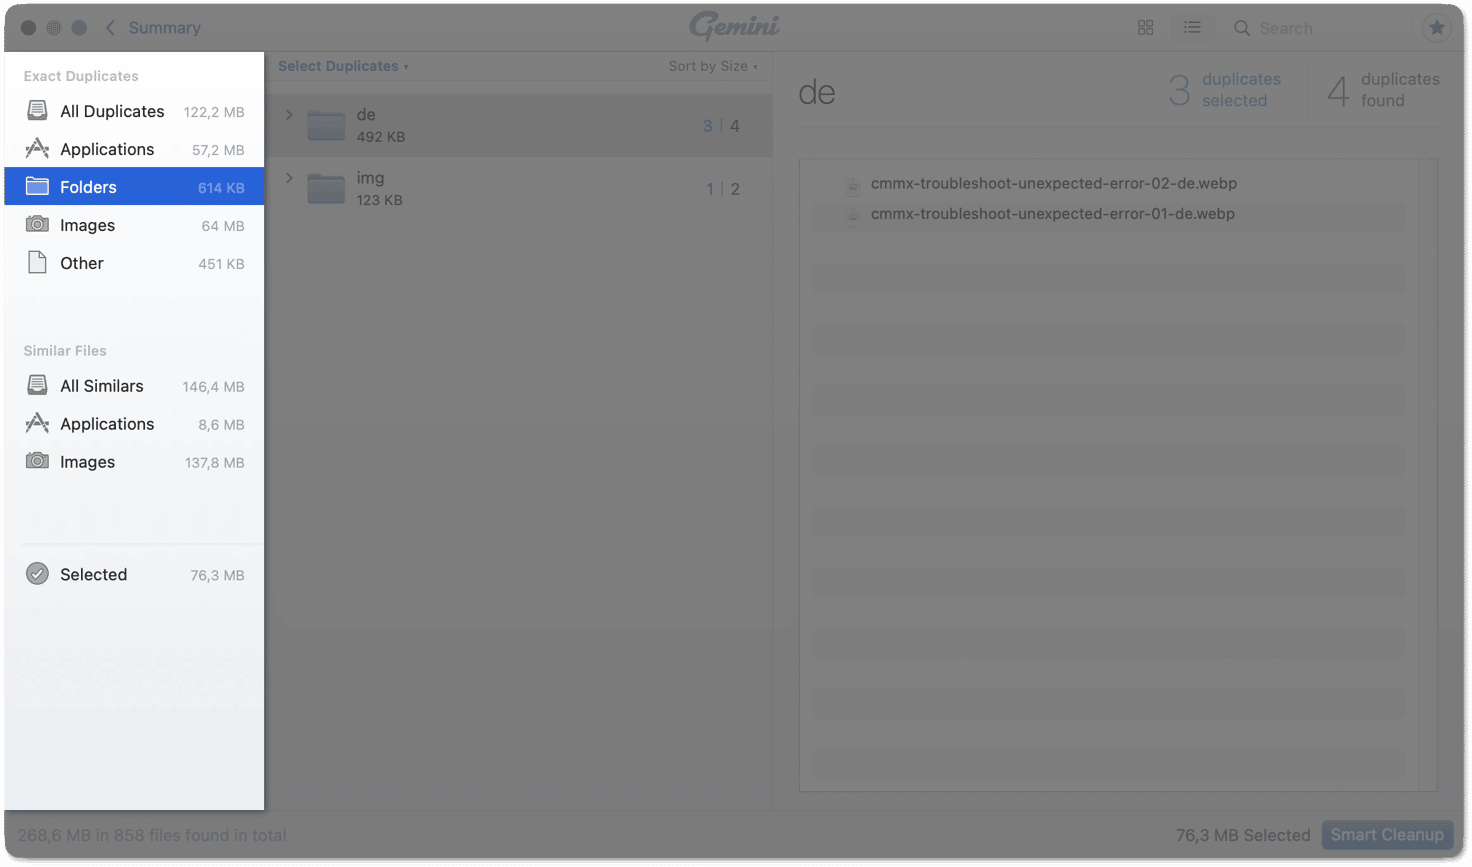
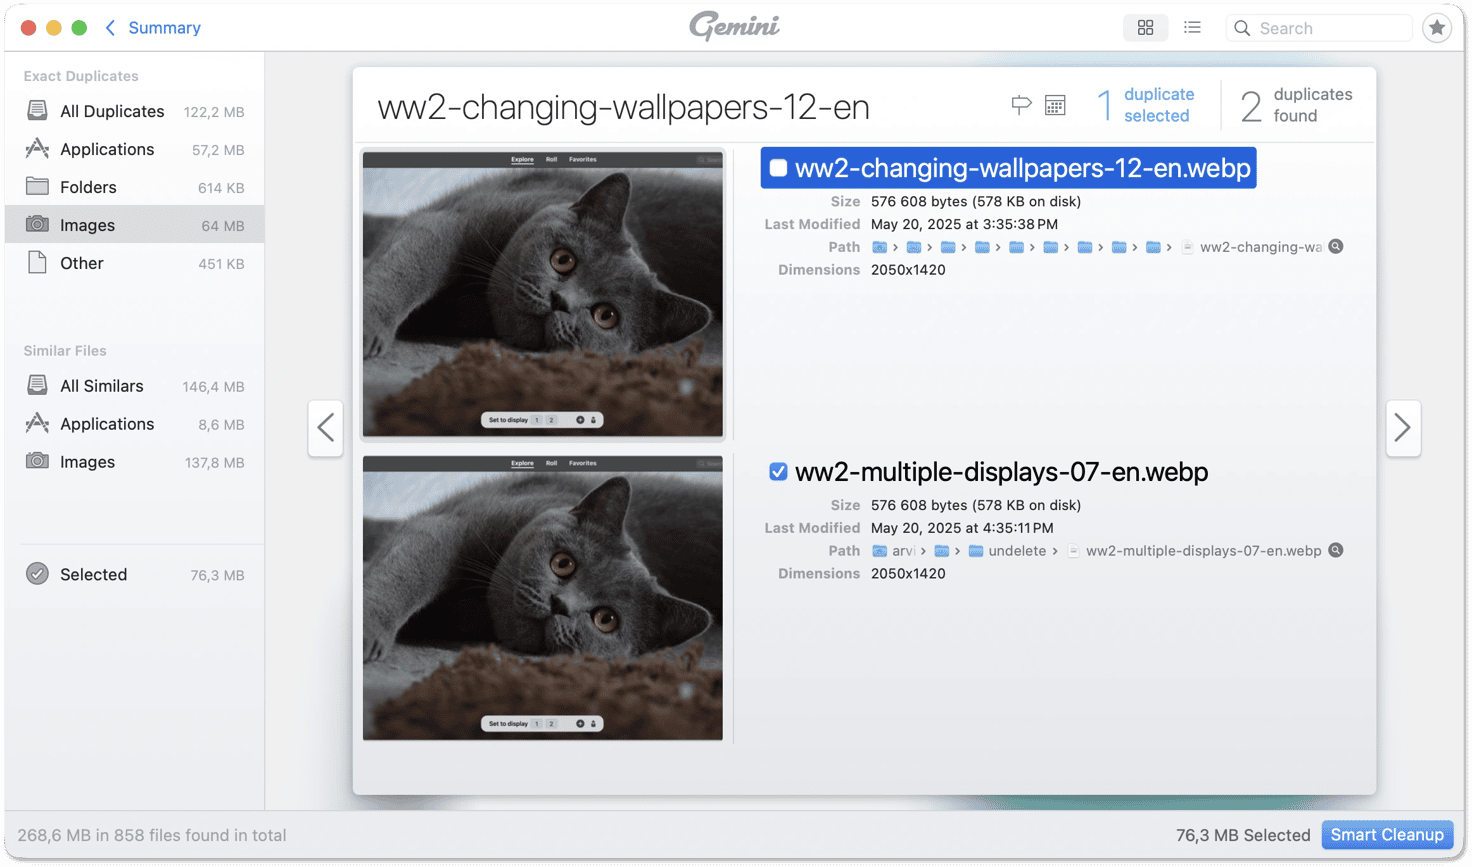
Switch between view options next to the search bar. Choose Grid view for a more effortless photo comparison.
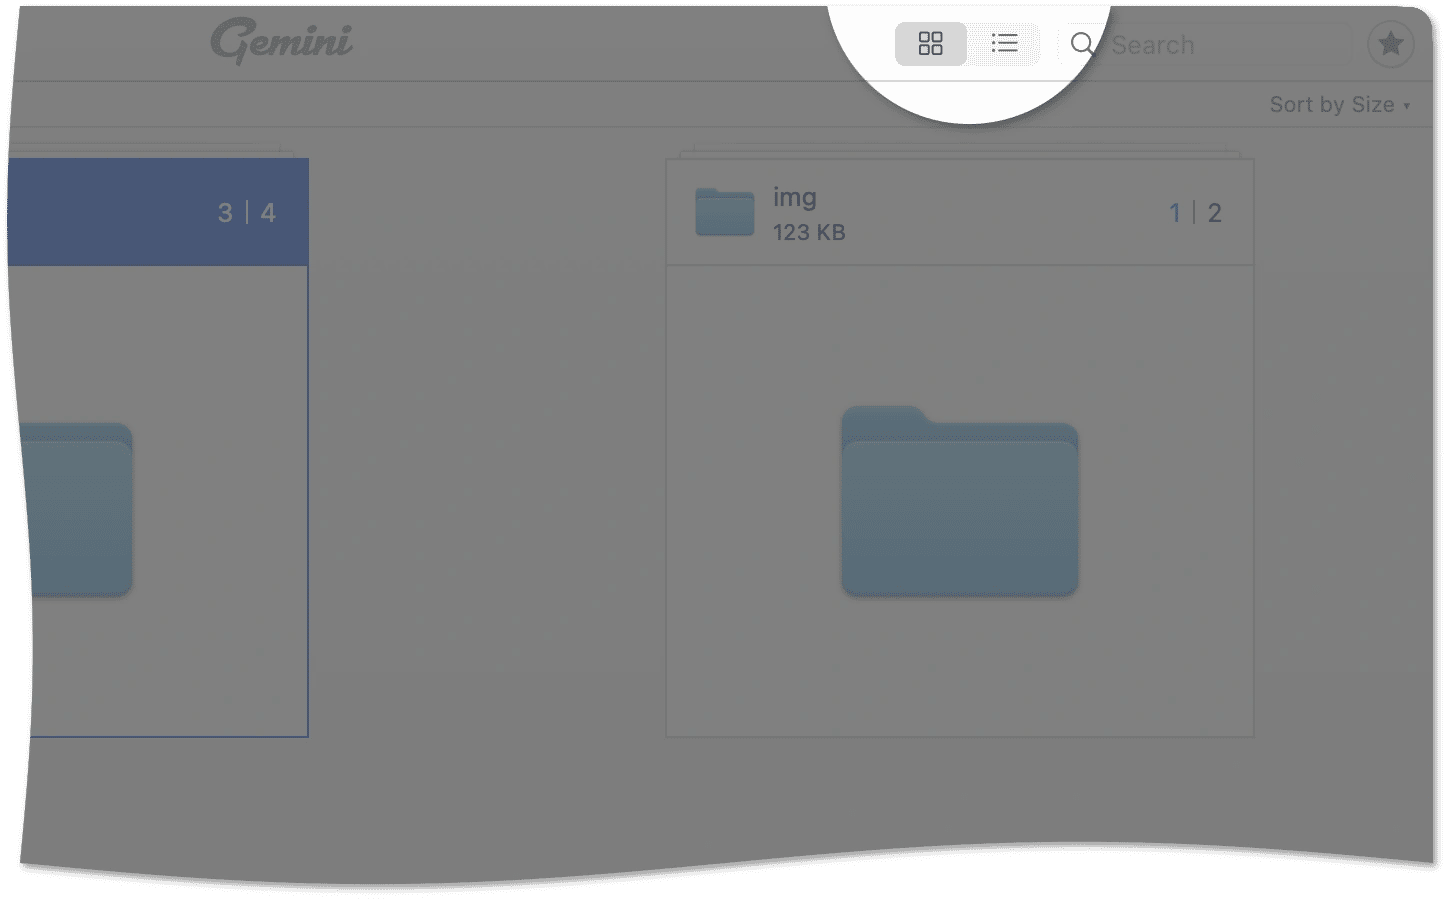
Switch between difference icons next to the duplicate set name for more precise sorting. Difference icons available for photos: location and file name, last modification date, and size. Difference icons change accordingly to the type of duplicates you're working on.
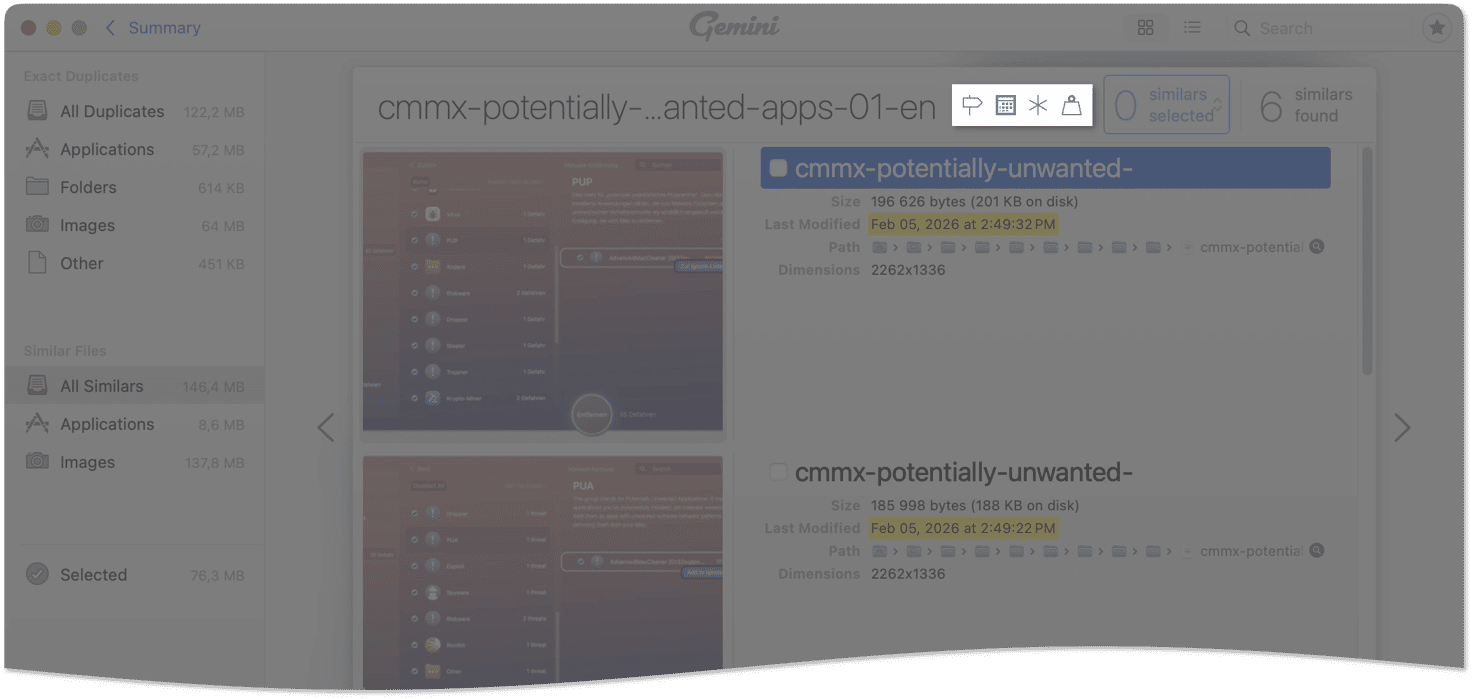
To switch between sets, press the arrow on either side.
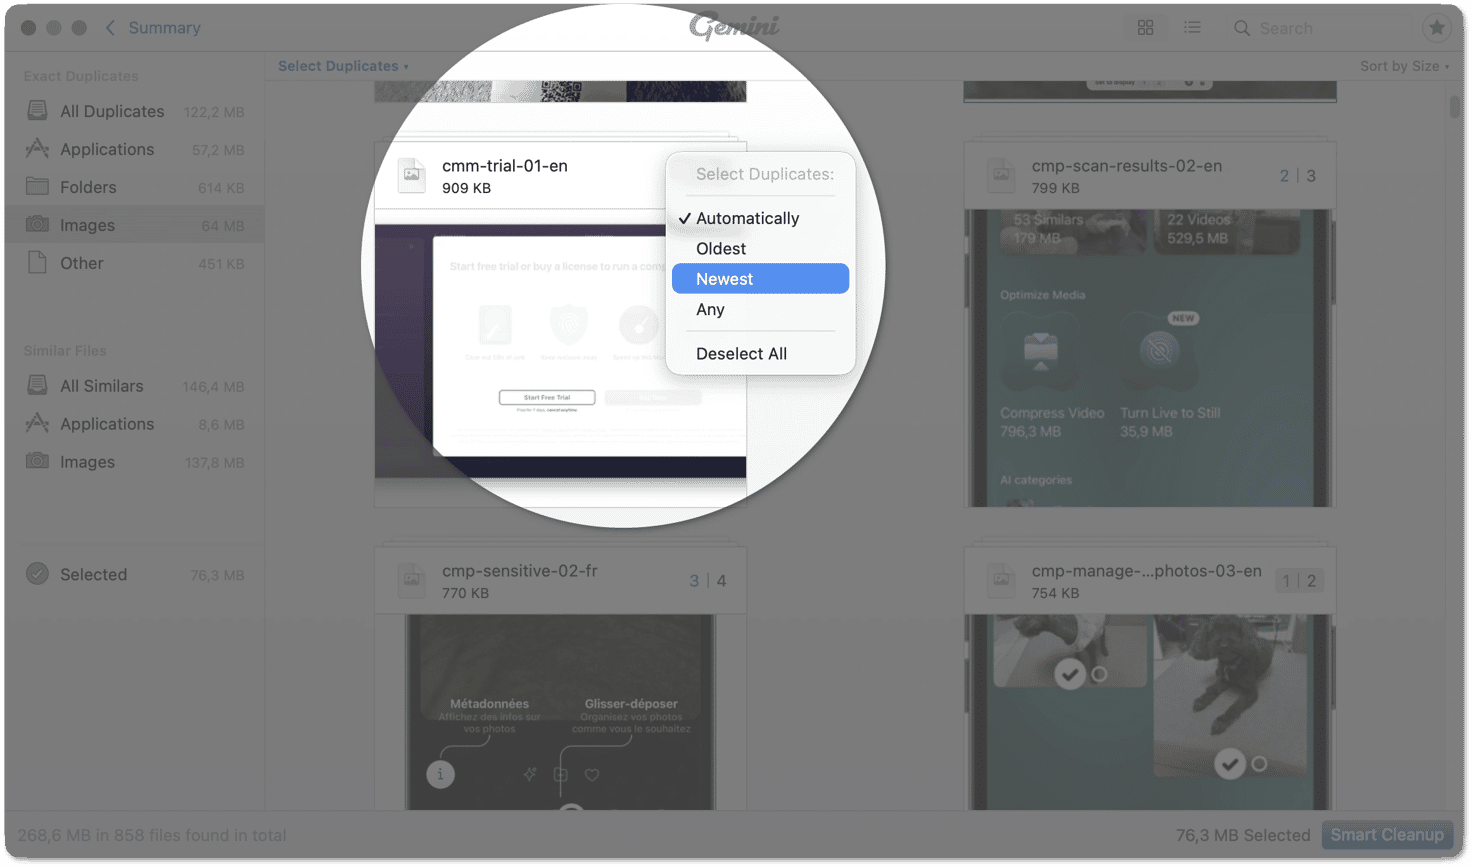
Click the Select Duplicates menu to apply bulk selection options to groups of files.
- Deselect All—Deselects all files of a particular group of duplicates.
- Automatically—Uses its intelligent algorithm to select most likely unneeded files: old, rarely used, etc.
- Newest—Selects duplicates with the most recent modification date.
- Oldest—Selects duplicates with the oldest modification date.
- Any—Keeps one random duplicate and selects all the others for removal.
- Manual—This filter state is applied if you choose unneeded copies manually.
Or press the numbers right of the set name to apply it to a set of duplicates.
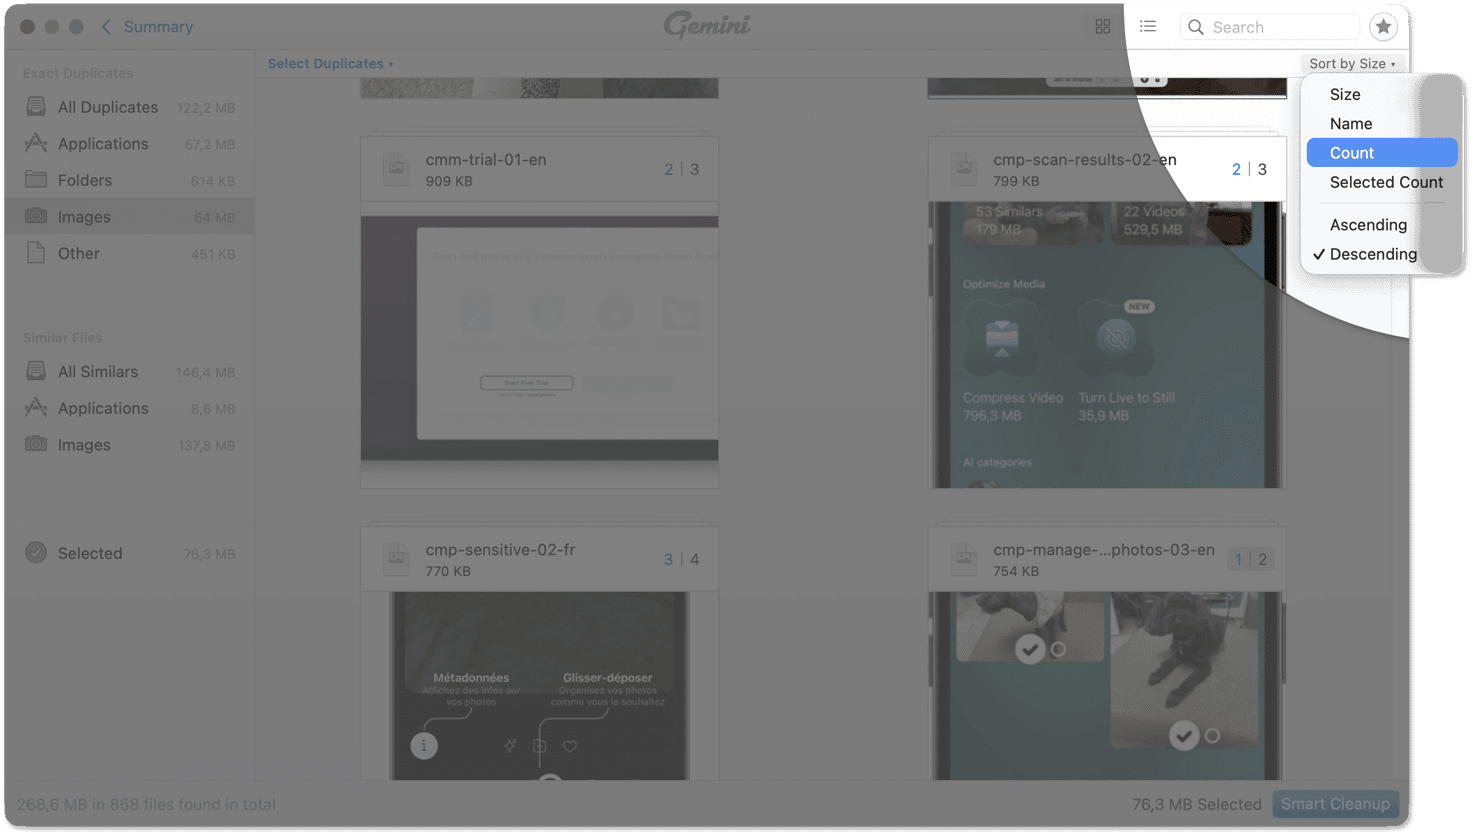
To change duplicates sorting, click the "Sort by" menu and choose one of the sorting criteria you’d like to use.
Once you've finished making your selections, if everything is correct, click Remove in the bottom right-hand corner and watch Gemini 2 shred your duplicates to pieces.