CleanMyMac X is a paid application with a free 7-day trial. During trial, you can use all CleanMyMac X modules and features for free and without limitation.
Once the trial is over, the paid plan starts automatically, unless you cancel your plan.
Without a paid plan, most CleanMyMac X features are not
available. Surely, you may buy CleanMyMac X at any time, before or after a
trial.
In this article:
- Start a free trial
- Paid plan after trial
- Cancel your trial
- Limitations in CleanMyMac X without a paid plan
- Purchase CleanMyMac X before or after trial
Start a free trial
🤓 Below is a short instruction. For a detailed one, see the section with step-by-step guides.
- Download and install CleanMyMac X.
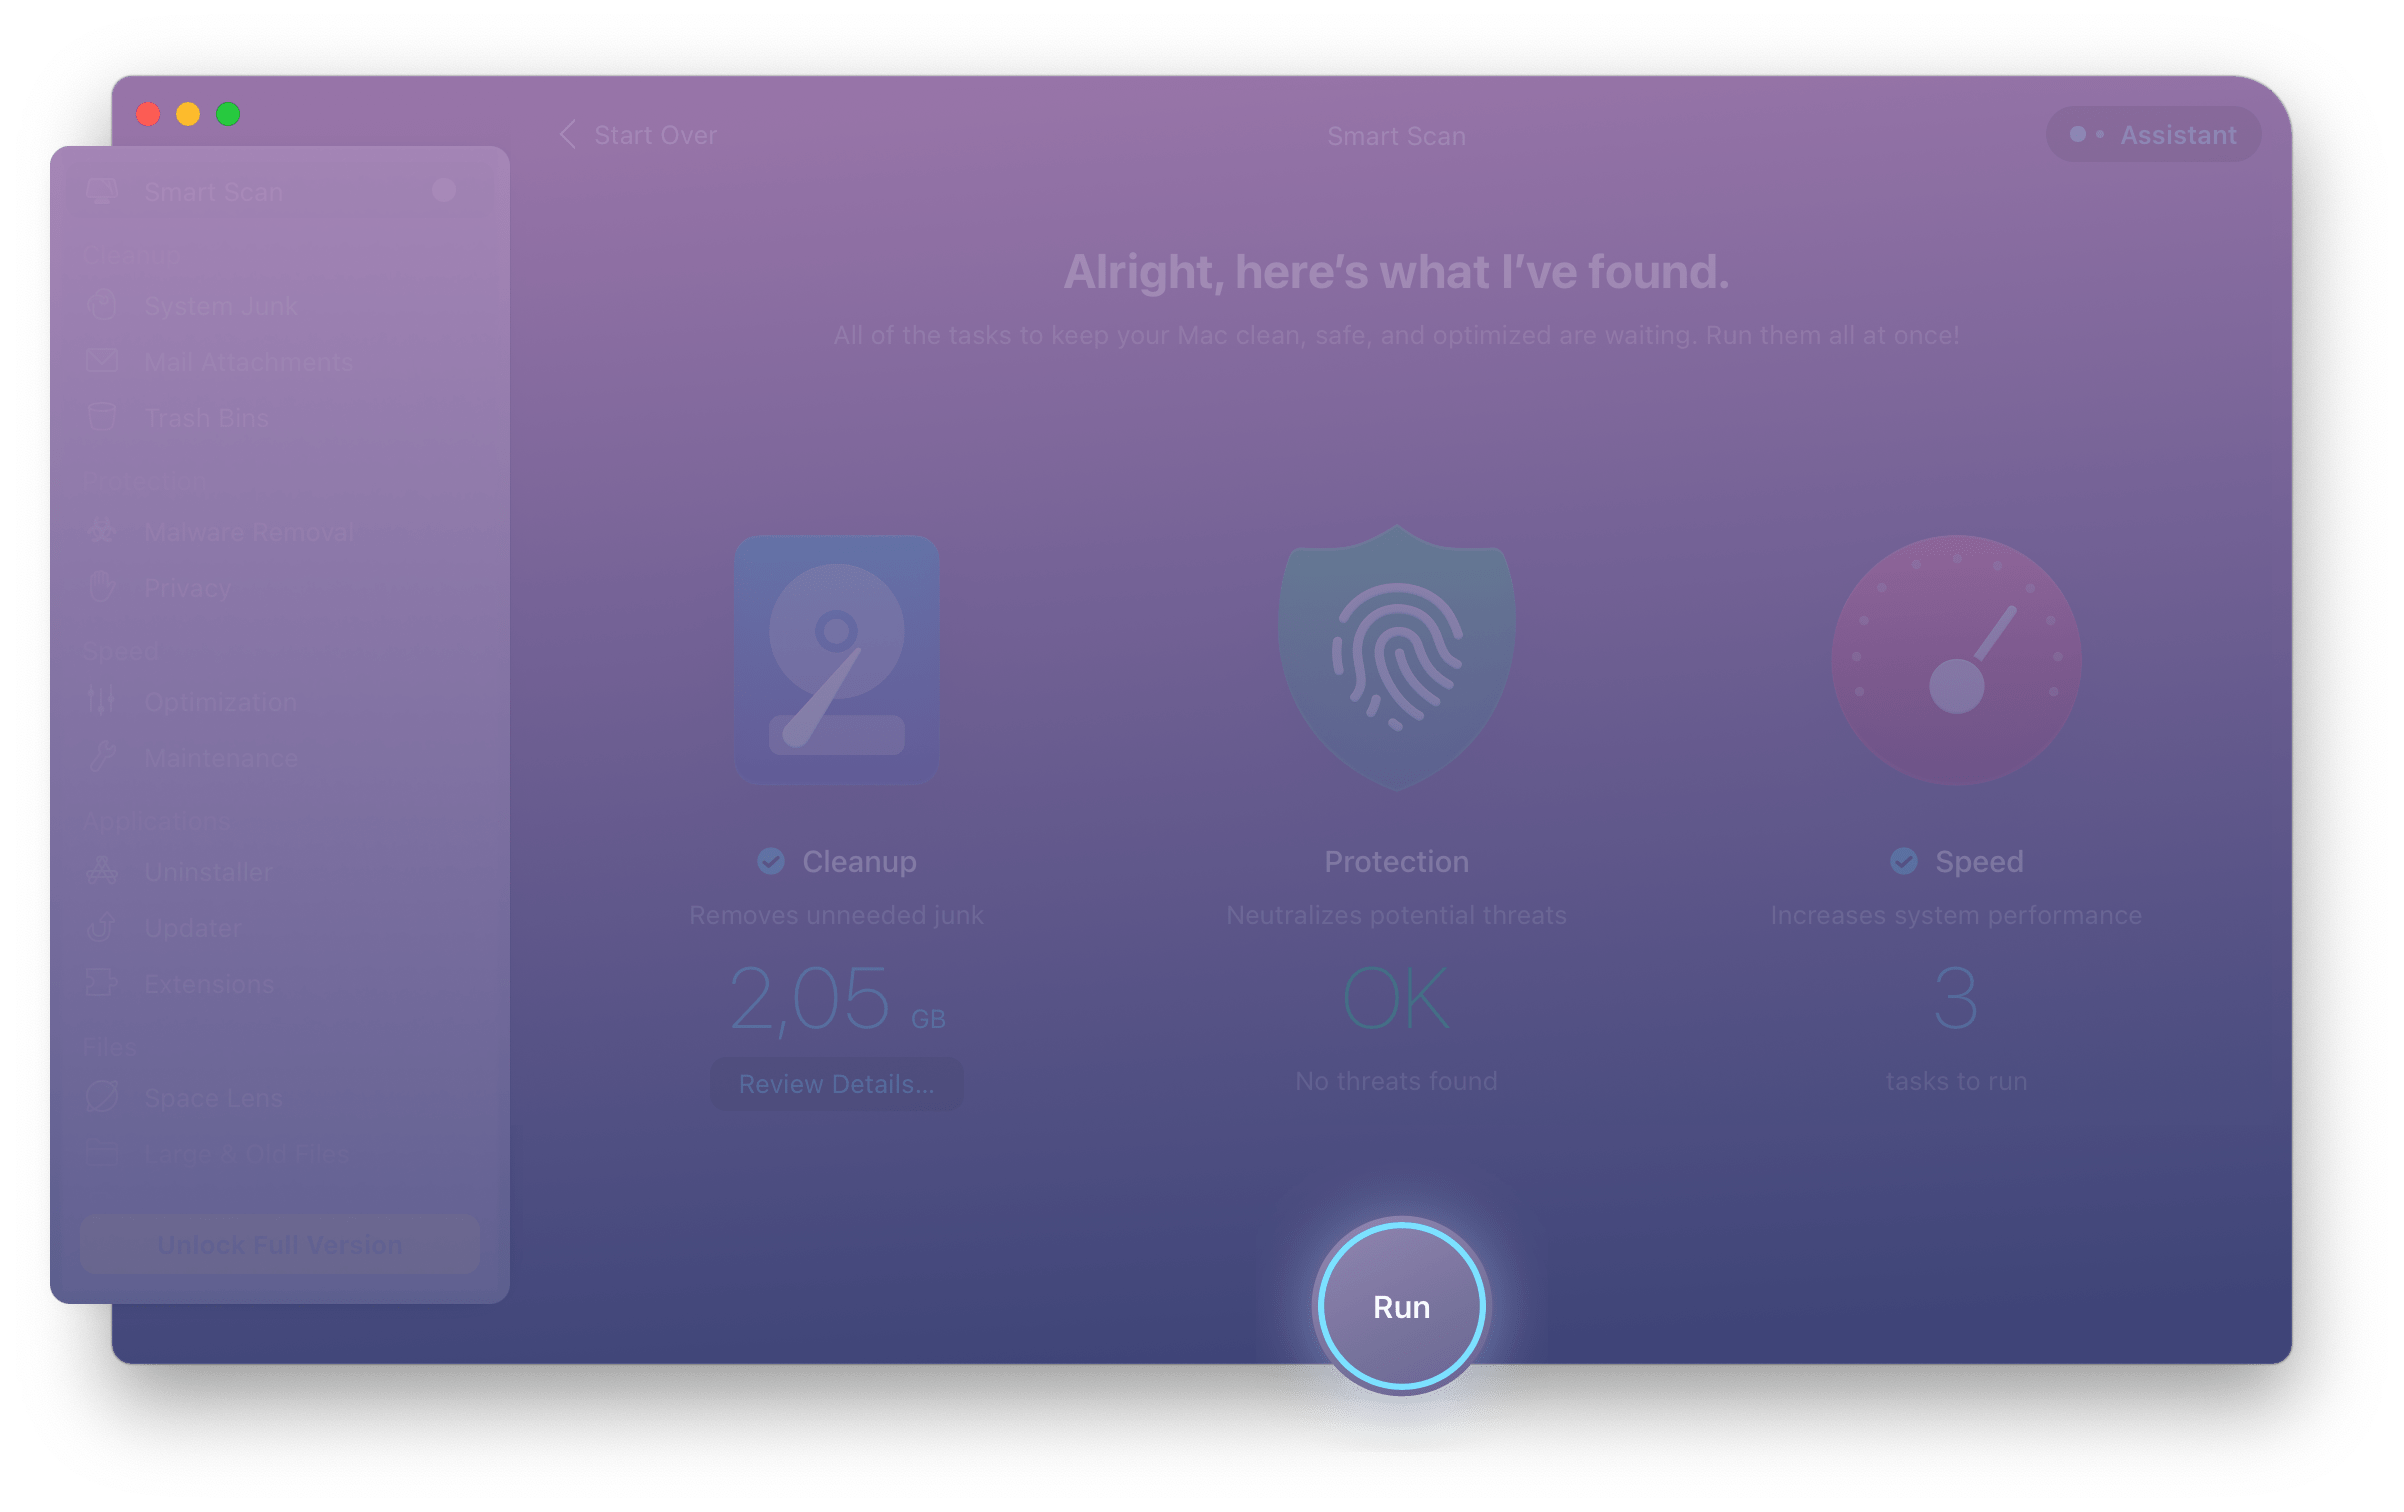
- Open CleanMyMac X and click Scan. Once the scan completes, click Run.
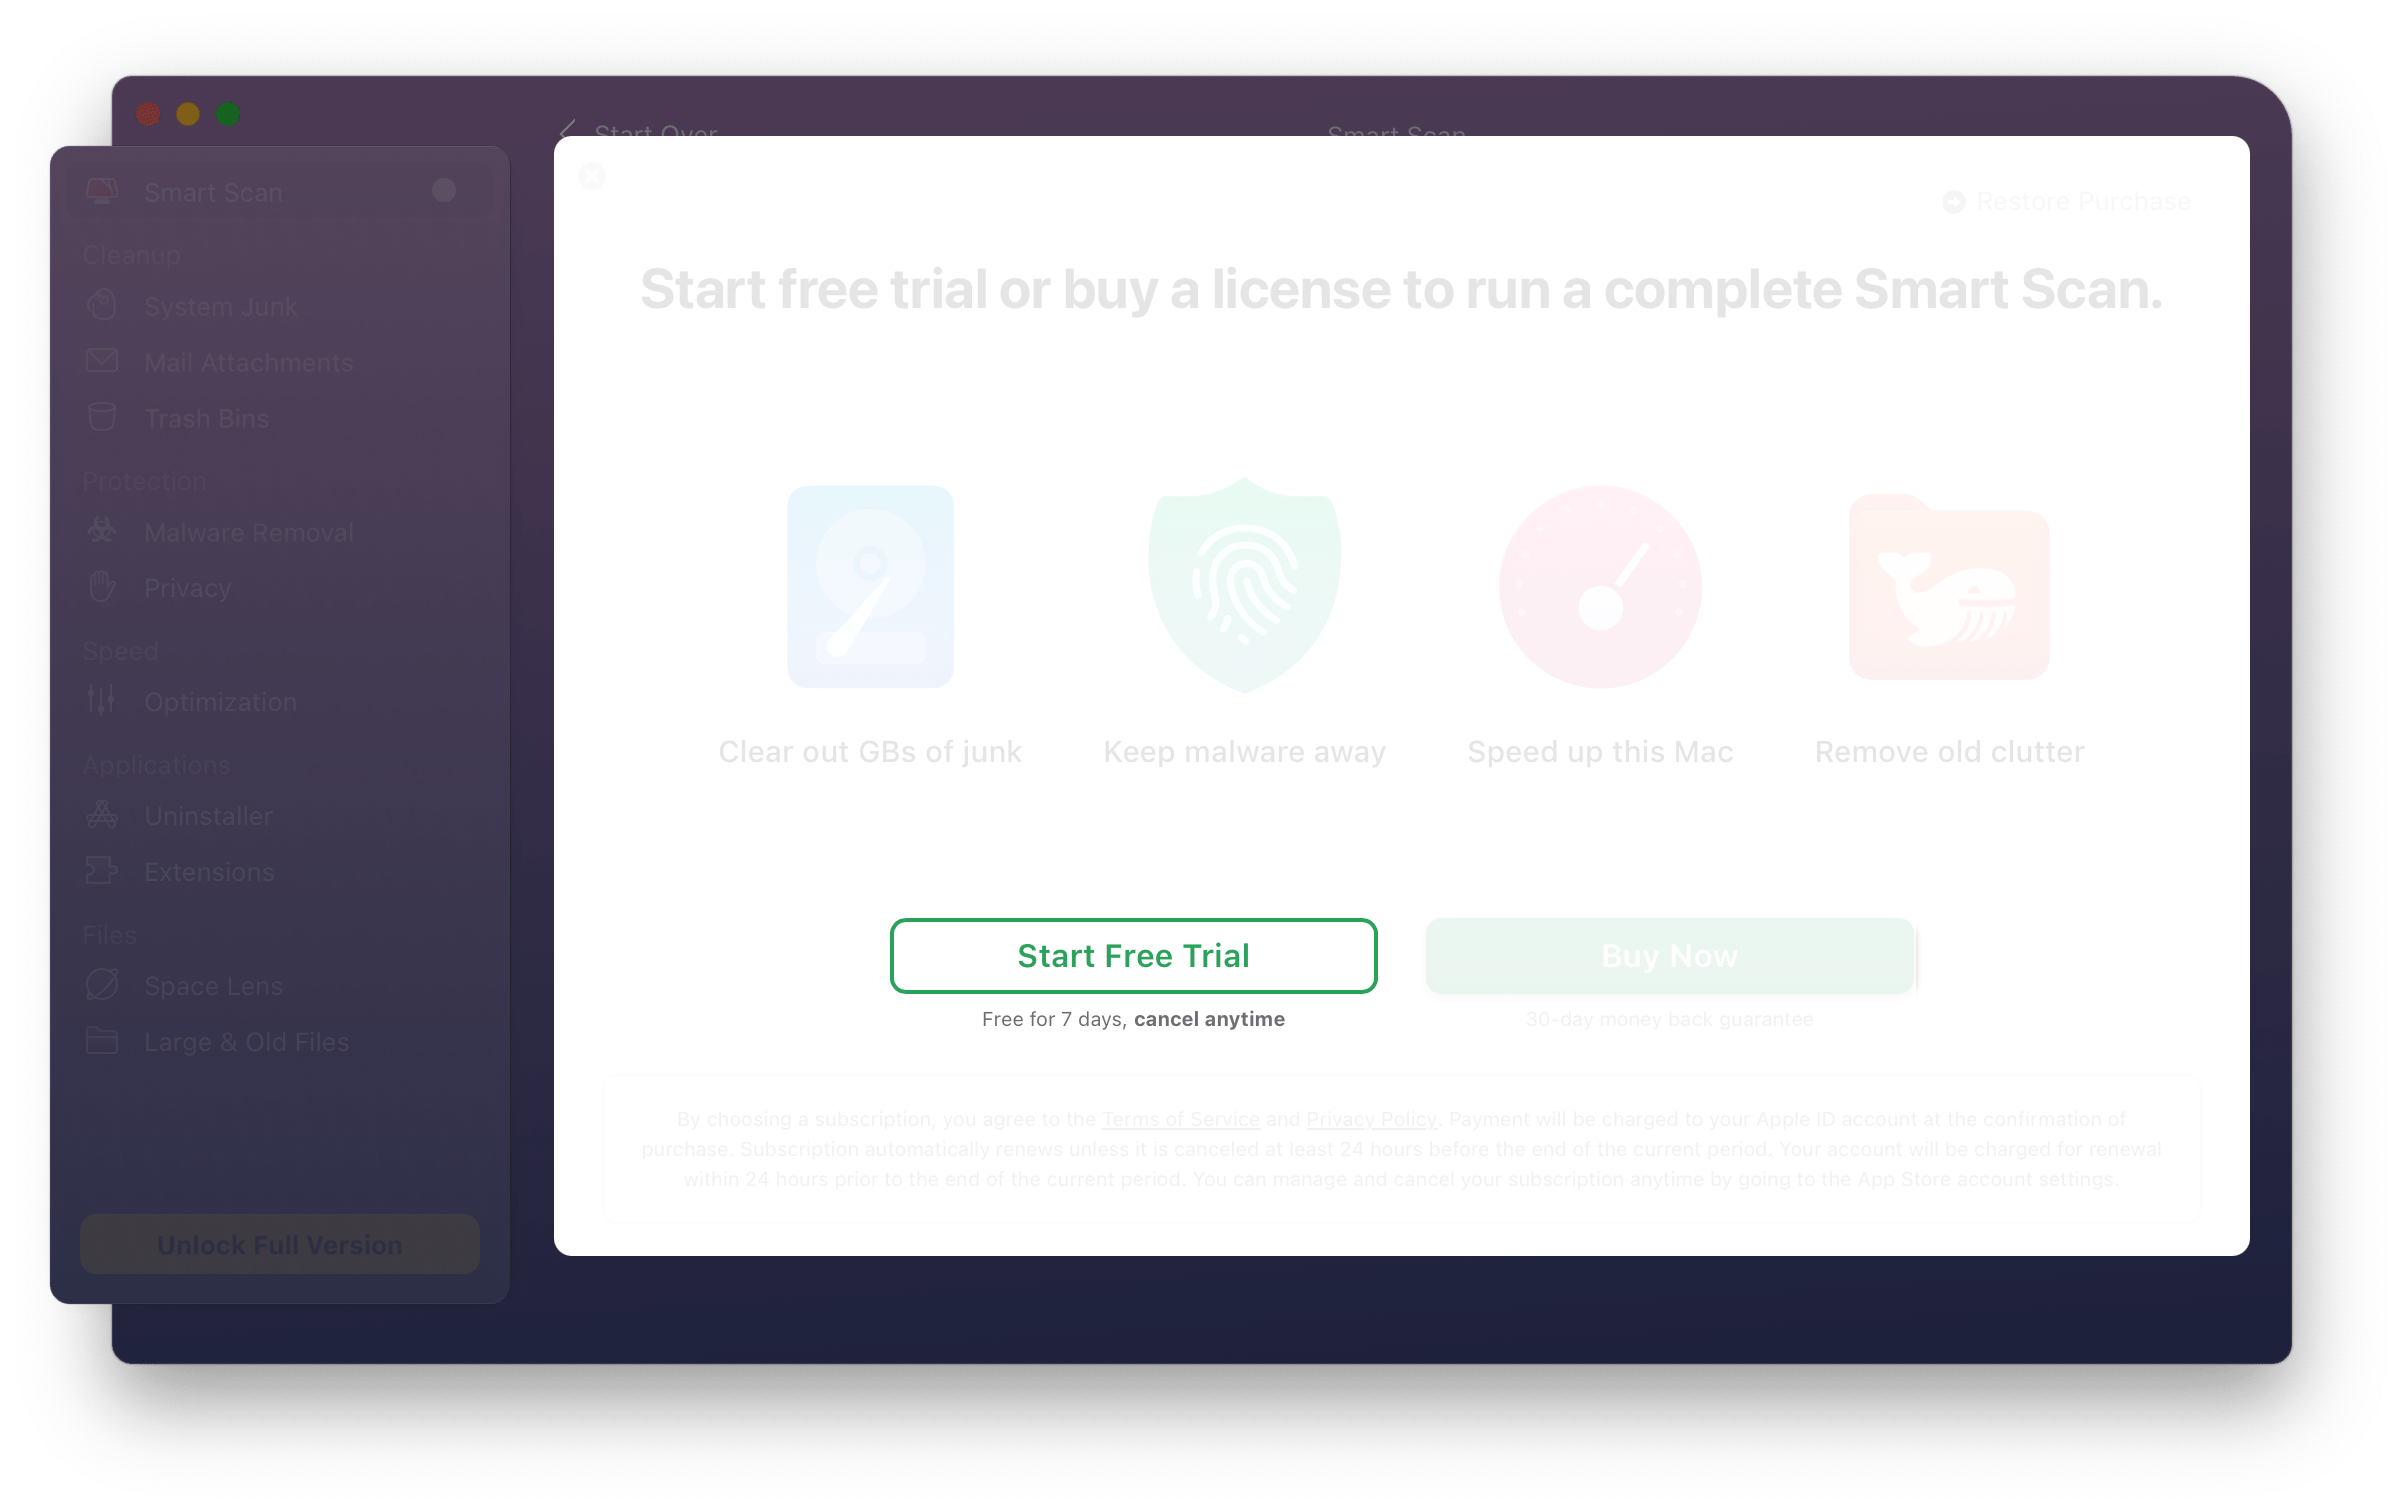
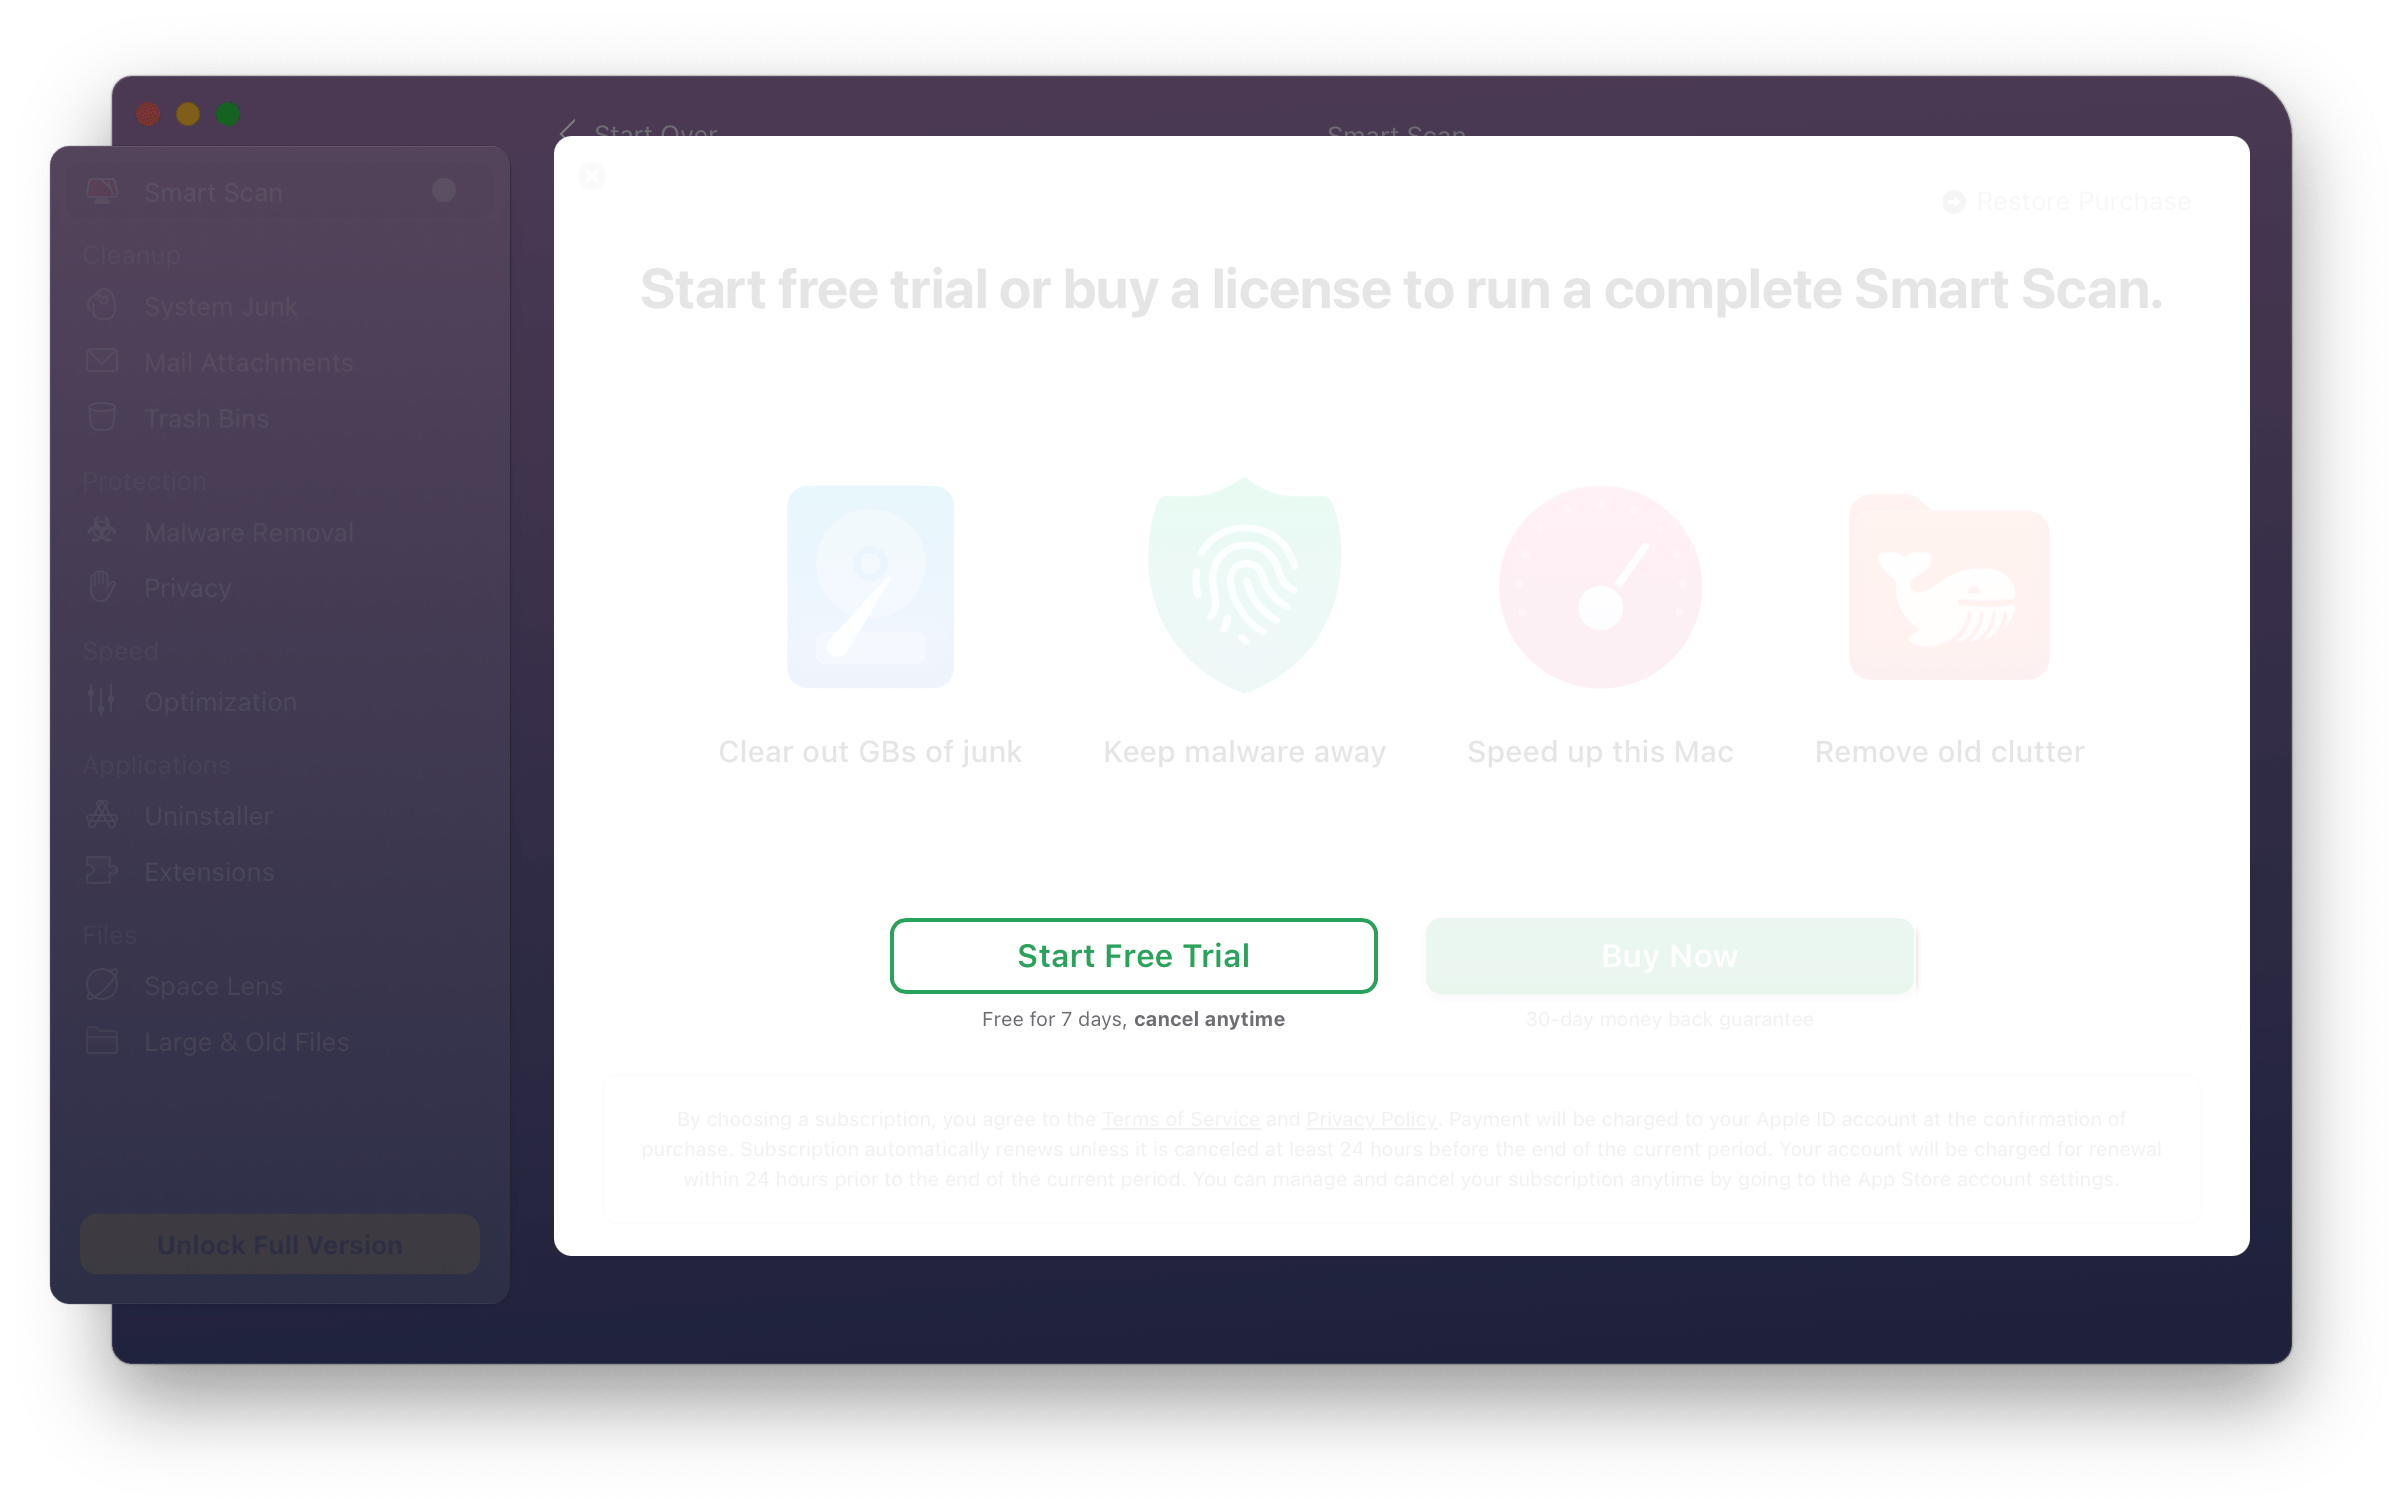
- Click Start Free Trial.
- Select the purchase options for your future plan (it starts automatically after trial if you don’t cancel it).
- Provide your email and payment details (not required for the App Store).
- After specifying the required information, click Start Free 7 Days.
- Activate CleanMyMac X on your Mac (not required for the App Store): just sign in with your MacPaw Account
credentials.
If you don’t see the sign-in window: open CleanMyMac X, click Unlock Full Version and click Activate Now.
Congratulations! All CleanMyMac X features are now available to you. You’ll also receive an email as a trial confirmation.
Paid plan after trial
Enjoy CleanMyMac X and want to purchase it? Say no further! We’ll take care of everything.
Once your trial is over, the payment is initiated automatically, and your plan starts right after the transaction is processed. To know the current state of your plan or other related details, visit your MacPaw Account or check your App Store account.
Cancel your trial
If you decided not to buy CleanMyMac X, cancel your trial (or, to be more precise, your upcoming paid plan).
Please note: you can only have one trial with CleanMyMac X. If you cancel your future plan, there is no option
of starting another trial with the same account. However, you can purchase CleanMyMac X at any moment (learn how).
Cancel trial using the MacPaw Account
If you downloaded your CleanMyMac X from the MacPaw website or the MacPaw Store, follow these steps:
- Sign in to your MacPaw Account, then click CleanMyMac X.
- Click the arrow below the CleanMyMac X logo and choose Cancel Subscription.
- Follow the prompts to confirm the cancellation.
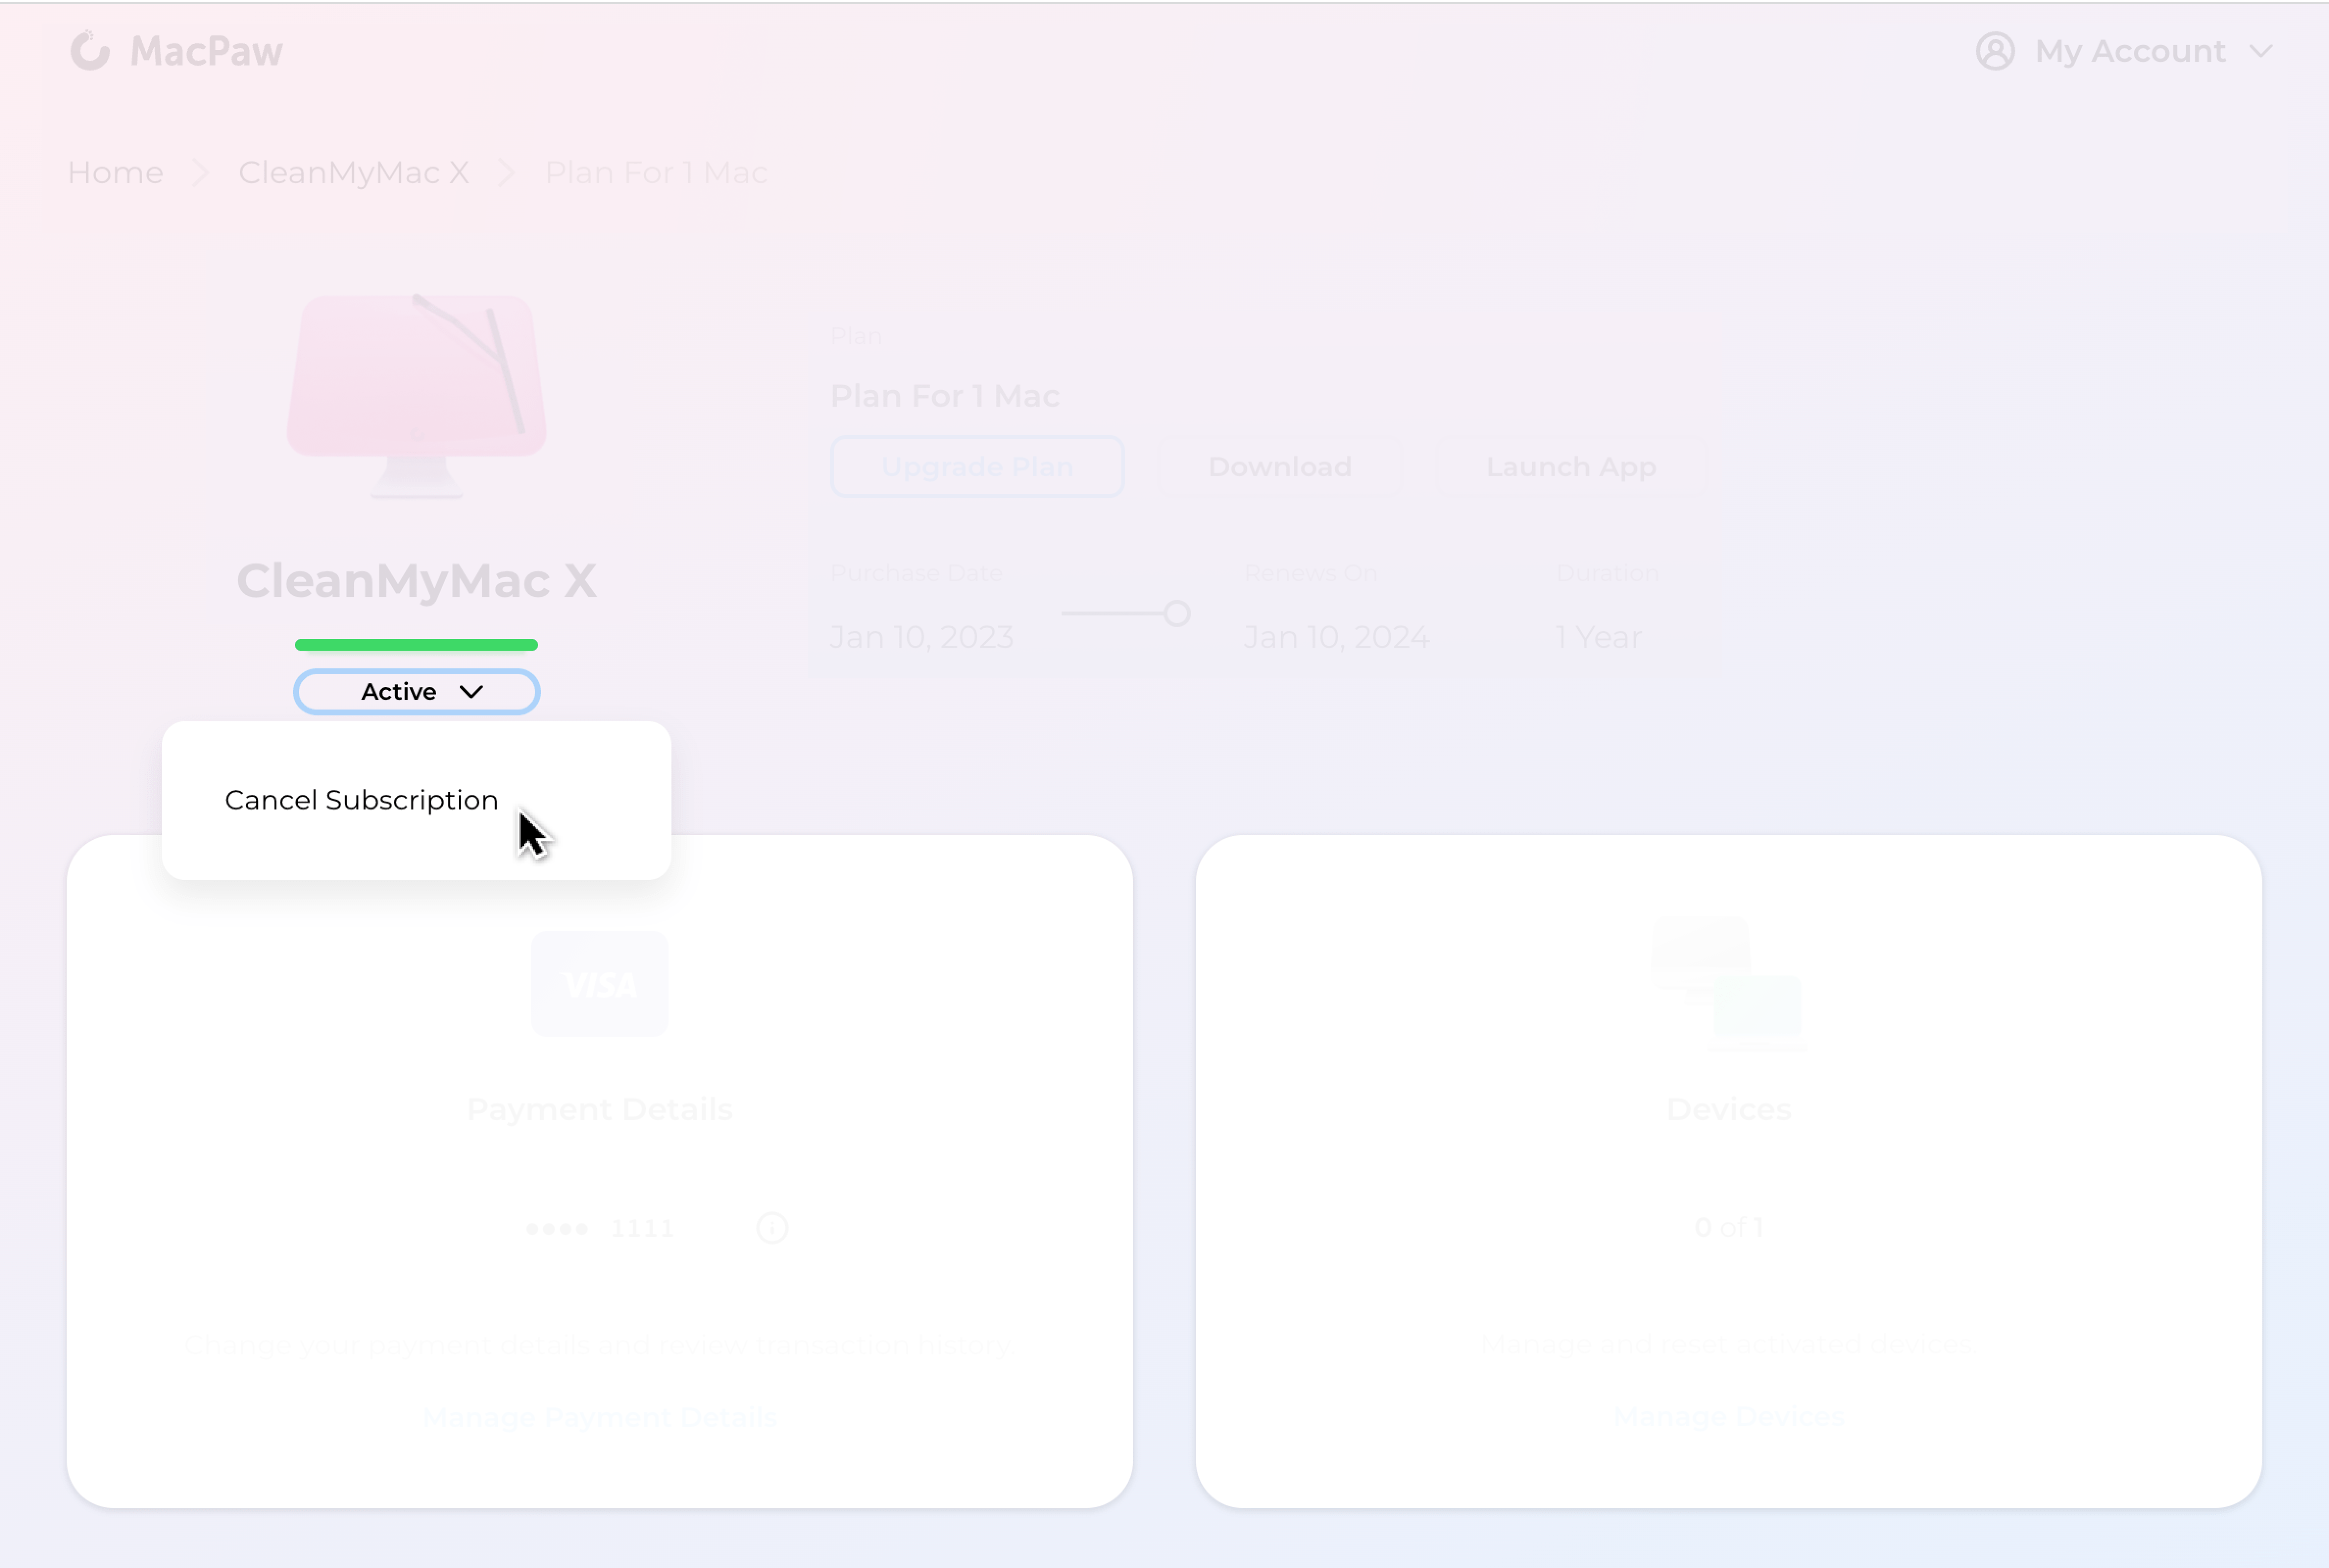
In a couple of minutes, you plan will be displayed as Inactive in your MacPaw Account; you’ll also receive a a cancellation email.
Cancel trial using the App Store
- Open the App Store app.
- Click your name in the lower-left corner of the app, then click Account Settings.
- Scroll down to the Manage section and click Manage next to the Subscriptions line.
- Find the CleanMyMac X subscription and click Edit.
- Click Cancel Subscription.
For more details, see the Apple Support article about cancelling subscriptions.
Limitations in CleanMyMac X without a paid plan
Without a trial or a paid plan, most CleanMyMac X features stay restricted.
Scanning without cleanup. You may scan your computer with any CleanMyMac X module. Once the scan completes, you’ll see the items that CleanMyMac X has found to process on your Mac. But all further steps (cleanup, maintenance, and optimization) are locked until you start a free trial or a paid plan.
Reduced CleanMyMac X Menu is available but gives access to only a few from its monitors.
Restricted malware protection. The Malware Removal module may find dangerous files and apps on your computer, but will not remove them. The malware monitoring (real-time and in the background) is not available.
However, the Extensions module is always available without limitations.
Purchase CleanMyMac X before or after trial
To unlock all features of CleanMyMac X, purchase it:
- Open CleanMyMac X.
- Click Unlock Full Version either in the main window or in the CleanMyMac X Menu, available in the menu bar.
- Click Buy Now or Buy Plan.
- Choose a yearly subscription or a one-time purchase plan (see their comparison). Then, follow the on-screen prompts to complete your purchase.
Still have questions? Don’t hesitate to contact our
support, we’re always ready to help
💙💛
ℹ️ Start a free trial: the detailed guides
In the sections below, you’ll find the step-by-step guides to starting you free trial. The guides cover the the App Store and the MacPaw Store versions of CleanMyMac X.
These detailed guides are optional. Read them only if you need information that is not available in the short
“Start a
free trial“ instruction in the beginning of this article.
Start trial for the MacPaw Store version of CleanMyMac X
Have you got your CleanMyMac X from the MacPaw website or from the MacPaw Store? Then, the steps below are for you. If you’re getting CleanMyMac X from the App Store, see this section.
1. Download and install CleanMyMac X, if you haven’t done so already.
See the detailed instruction,
just in case you need some tips.
2. Open CleanMyMac X and click Scan. You may launch scanning with any CleanMyMac X module (find them in the sidebar on the left).
3. Once the scan completes and CleanMyMac X displays the scanning results, click Run.
4. Click Start Free Trial.
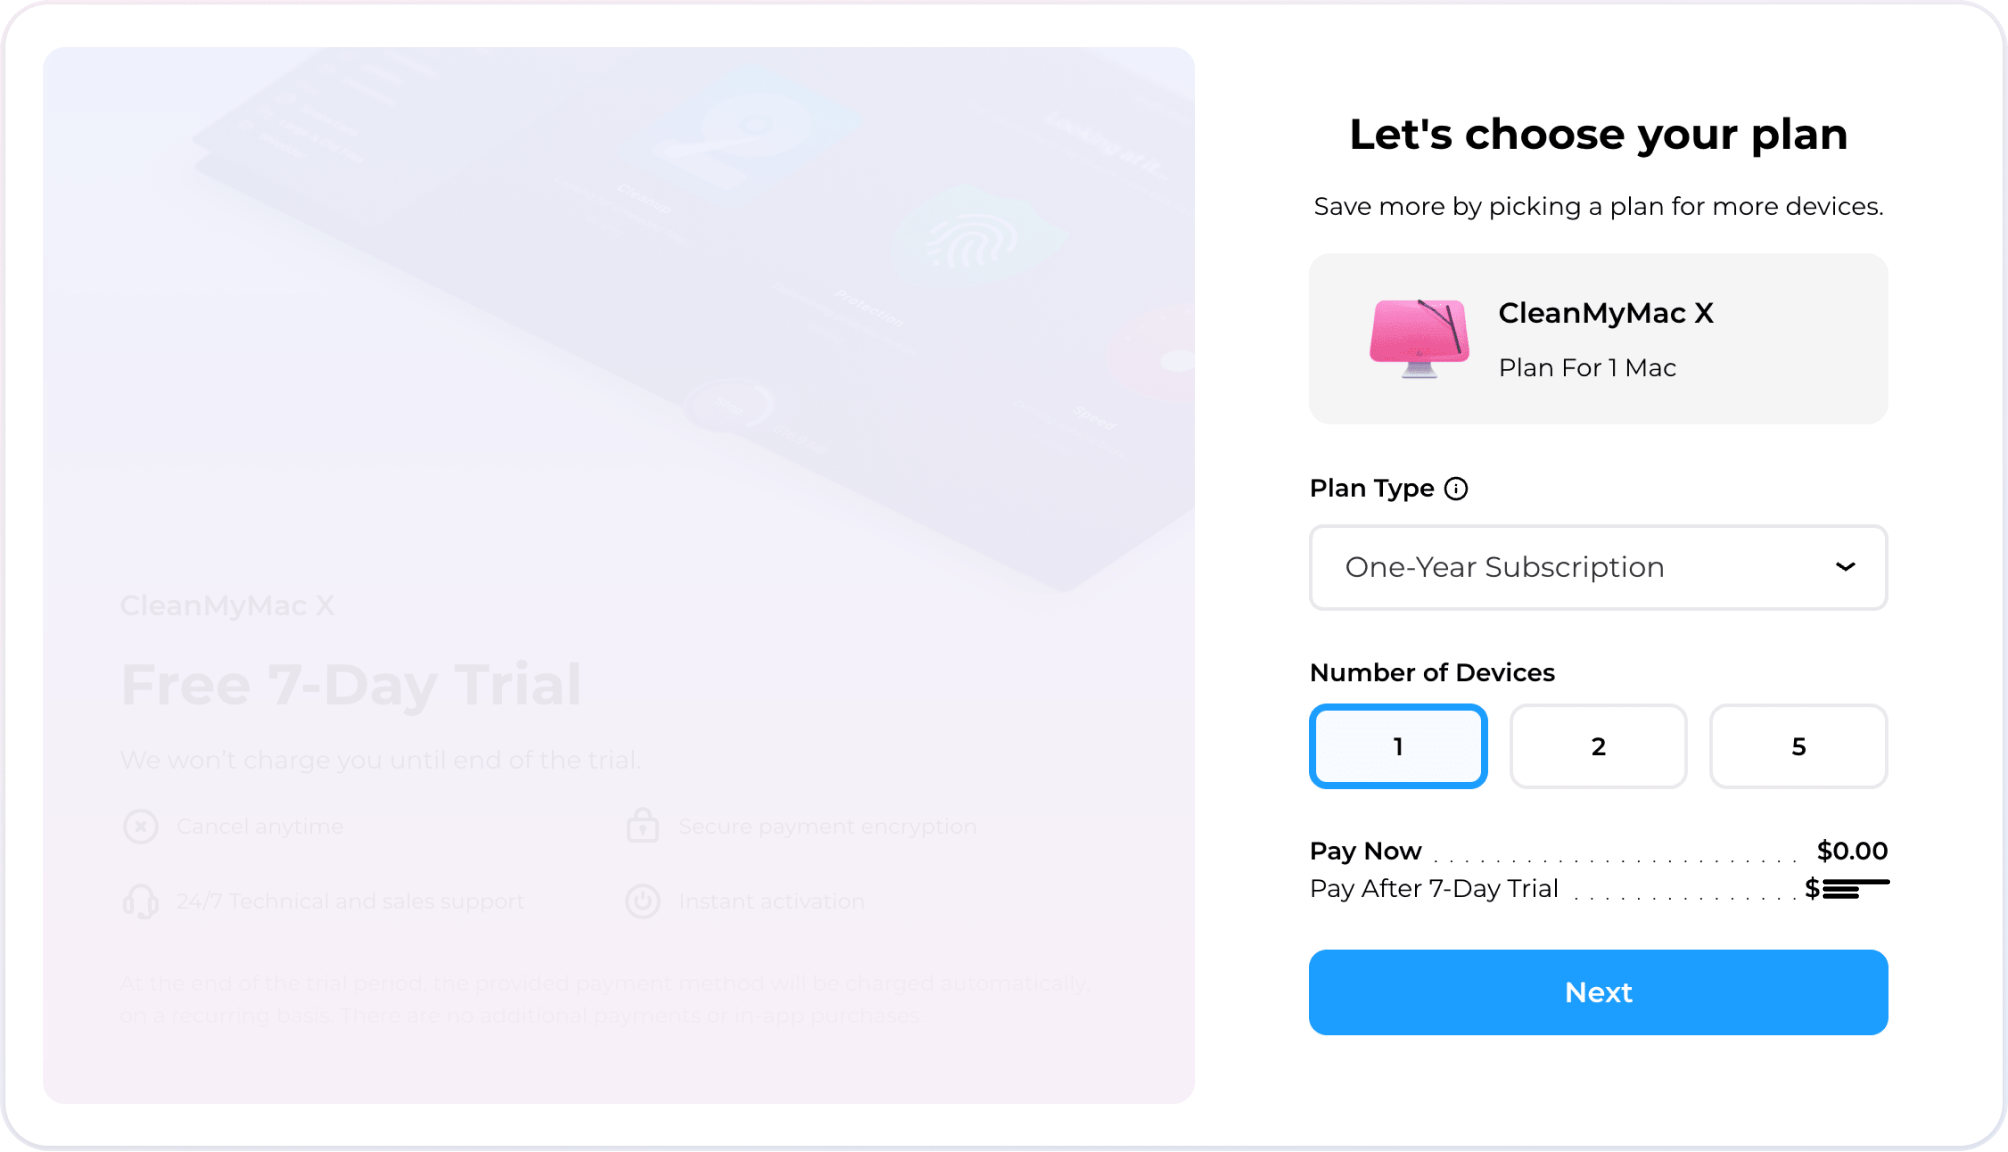
5. Choose your plan type: one-time purchase or a yearly subscription (learn how they differ).
Then, choose the number of devices (Mac computers) on which you’ll be using CleanMyMac X with your plan — 1, 2, or 5.
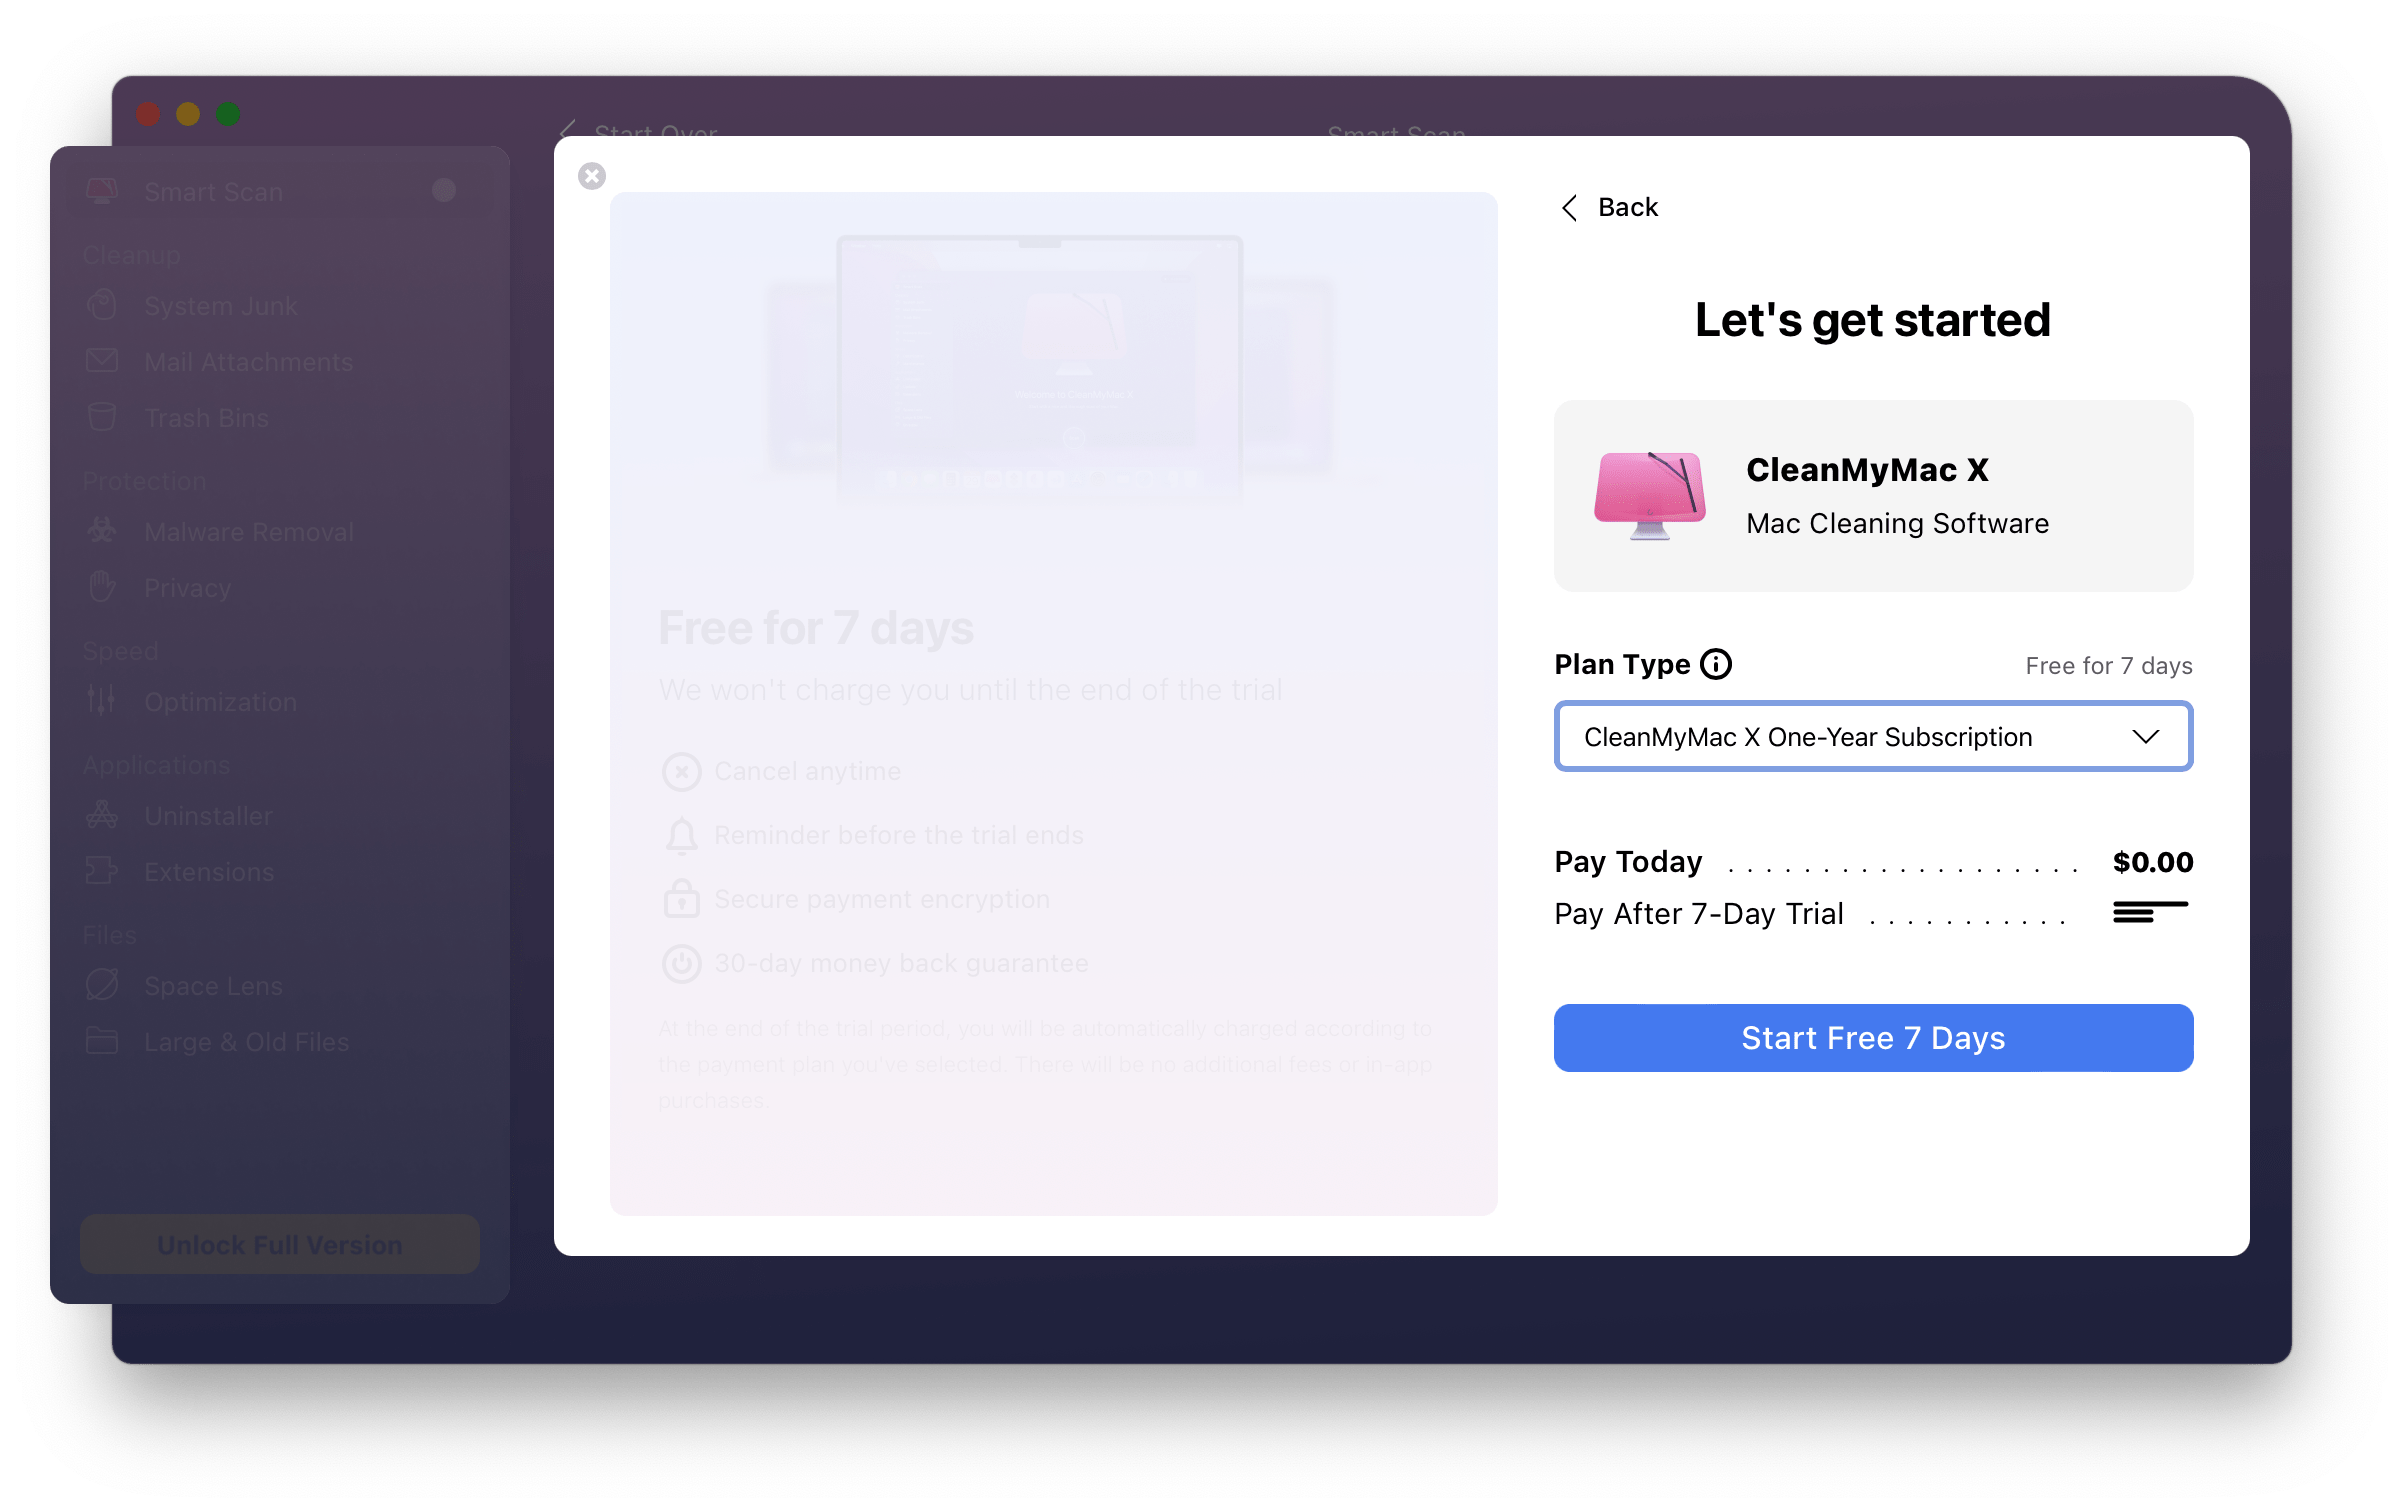
While you change the purchase options, the price of your future plan also changes. You may follow the change in the Pay After 7-Day Trial line.
Once you’ve made your choice, click Next.
6. Specify the email and password for your future MacPaw Account. Please remember these credentials,
as you’ll need them later.
If you already have a MacPaw Account, just sign in.
7. Provide your payment details, following the on-screen instructions.
8. After providing the required information, click Start Free 7 Days.
Great, you’ve just started your free trial. You’ve also have created a MacPaw Account to manage the purchases made at the MacPaw Store. Now, let’s activate the CleanMyMac X app, installed on your Mac, to unlock its features.
9. In the "Sounds like a plan" window, click Go to Account (or open your MacPaw Account in browser and select your current plan). Then, click Launch App to open CleanMyMac X on your Mac.
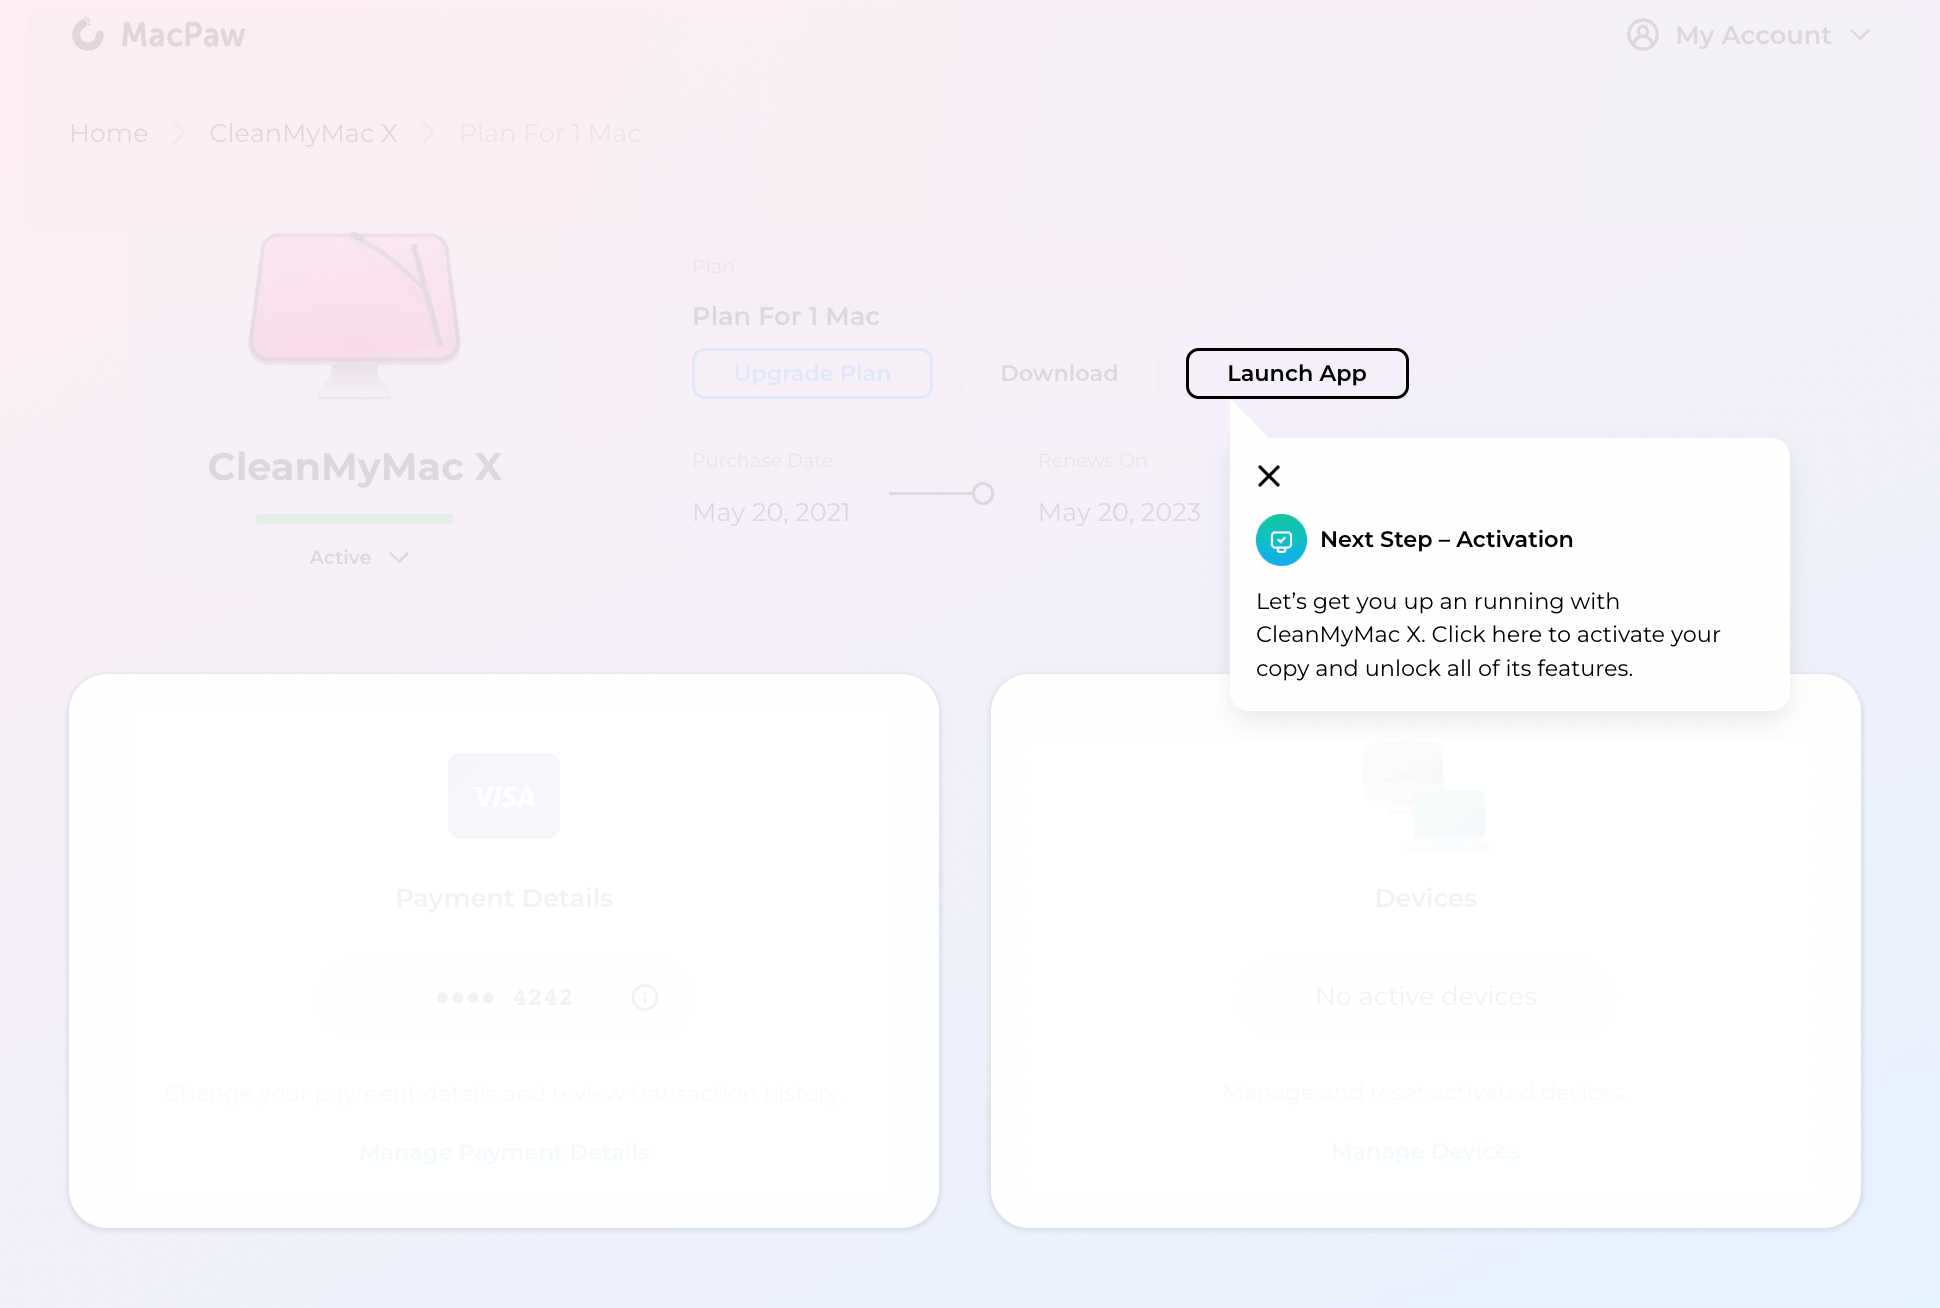
Alternatively, to start activation, open CleanMyMac X on your Mac, click Unlock Full Version, then click Activate Now.
10. In the CleanMyMac X app, sign in using the credentials of your MacPaw Account (email and password).
Your copy of CleanMyMac X is ready for work! When you trial is over, your subscription or a one-time plan start automatically if you don’t cancel them.
⬆️ Go back to article top.
Start trial for CleanMyMac X from the App Store
No trial for a one-time purchase plan. Due to technical restrictions of the App Store, you may start a free trial only if you’re purchasing a yearly subscription after the trial. For a one-time purchase, no trial is available, but you may buy this plan immediately (see step 4 below). We’re sorry about this limitation 😞
1. Download CleanMyMac X from the App Store.
This should be easy: just open the App Store app and find CleanMyMac X. Then, click Get and Open. That’s it! For more details, see Download apps from the App Store by Apple Support.
2. Open CleanMyMac X and click Unlock Full Version in the sidebar.
Alternatively, click Scan. You may scan your computer with any module in CleanMyMac X. After the scan is complete and results are displayed, click Run.
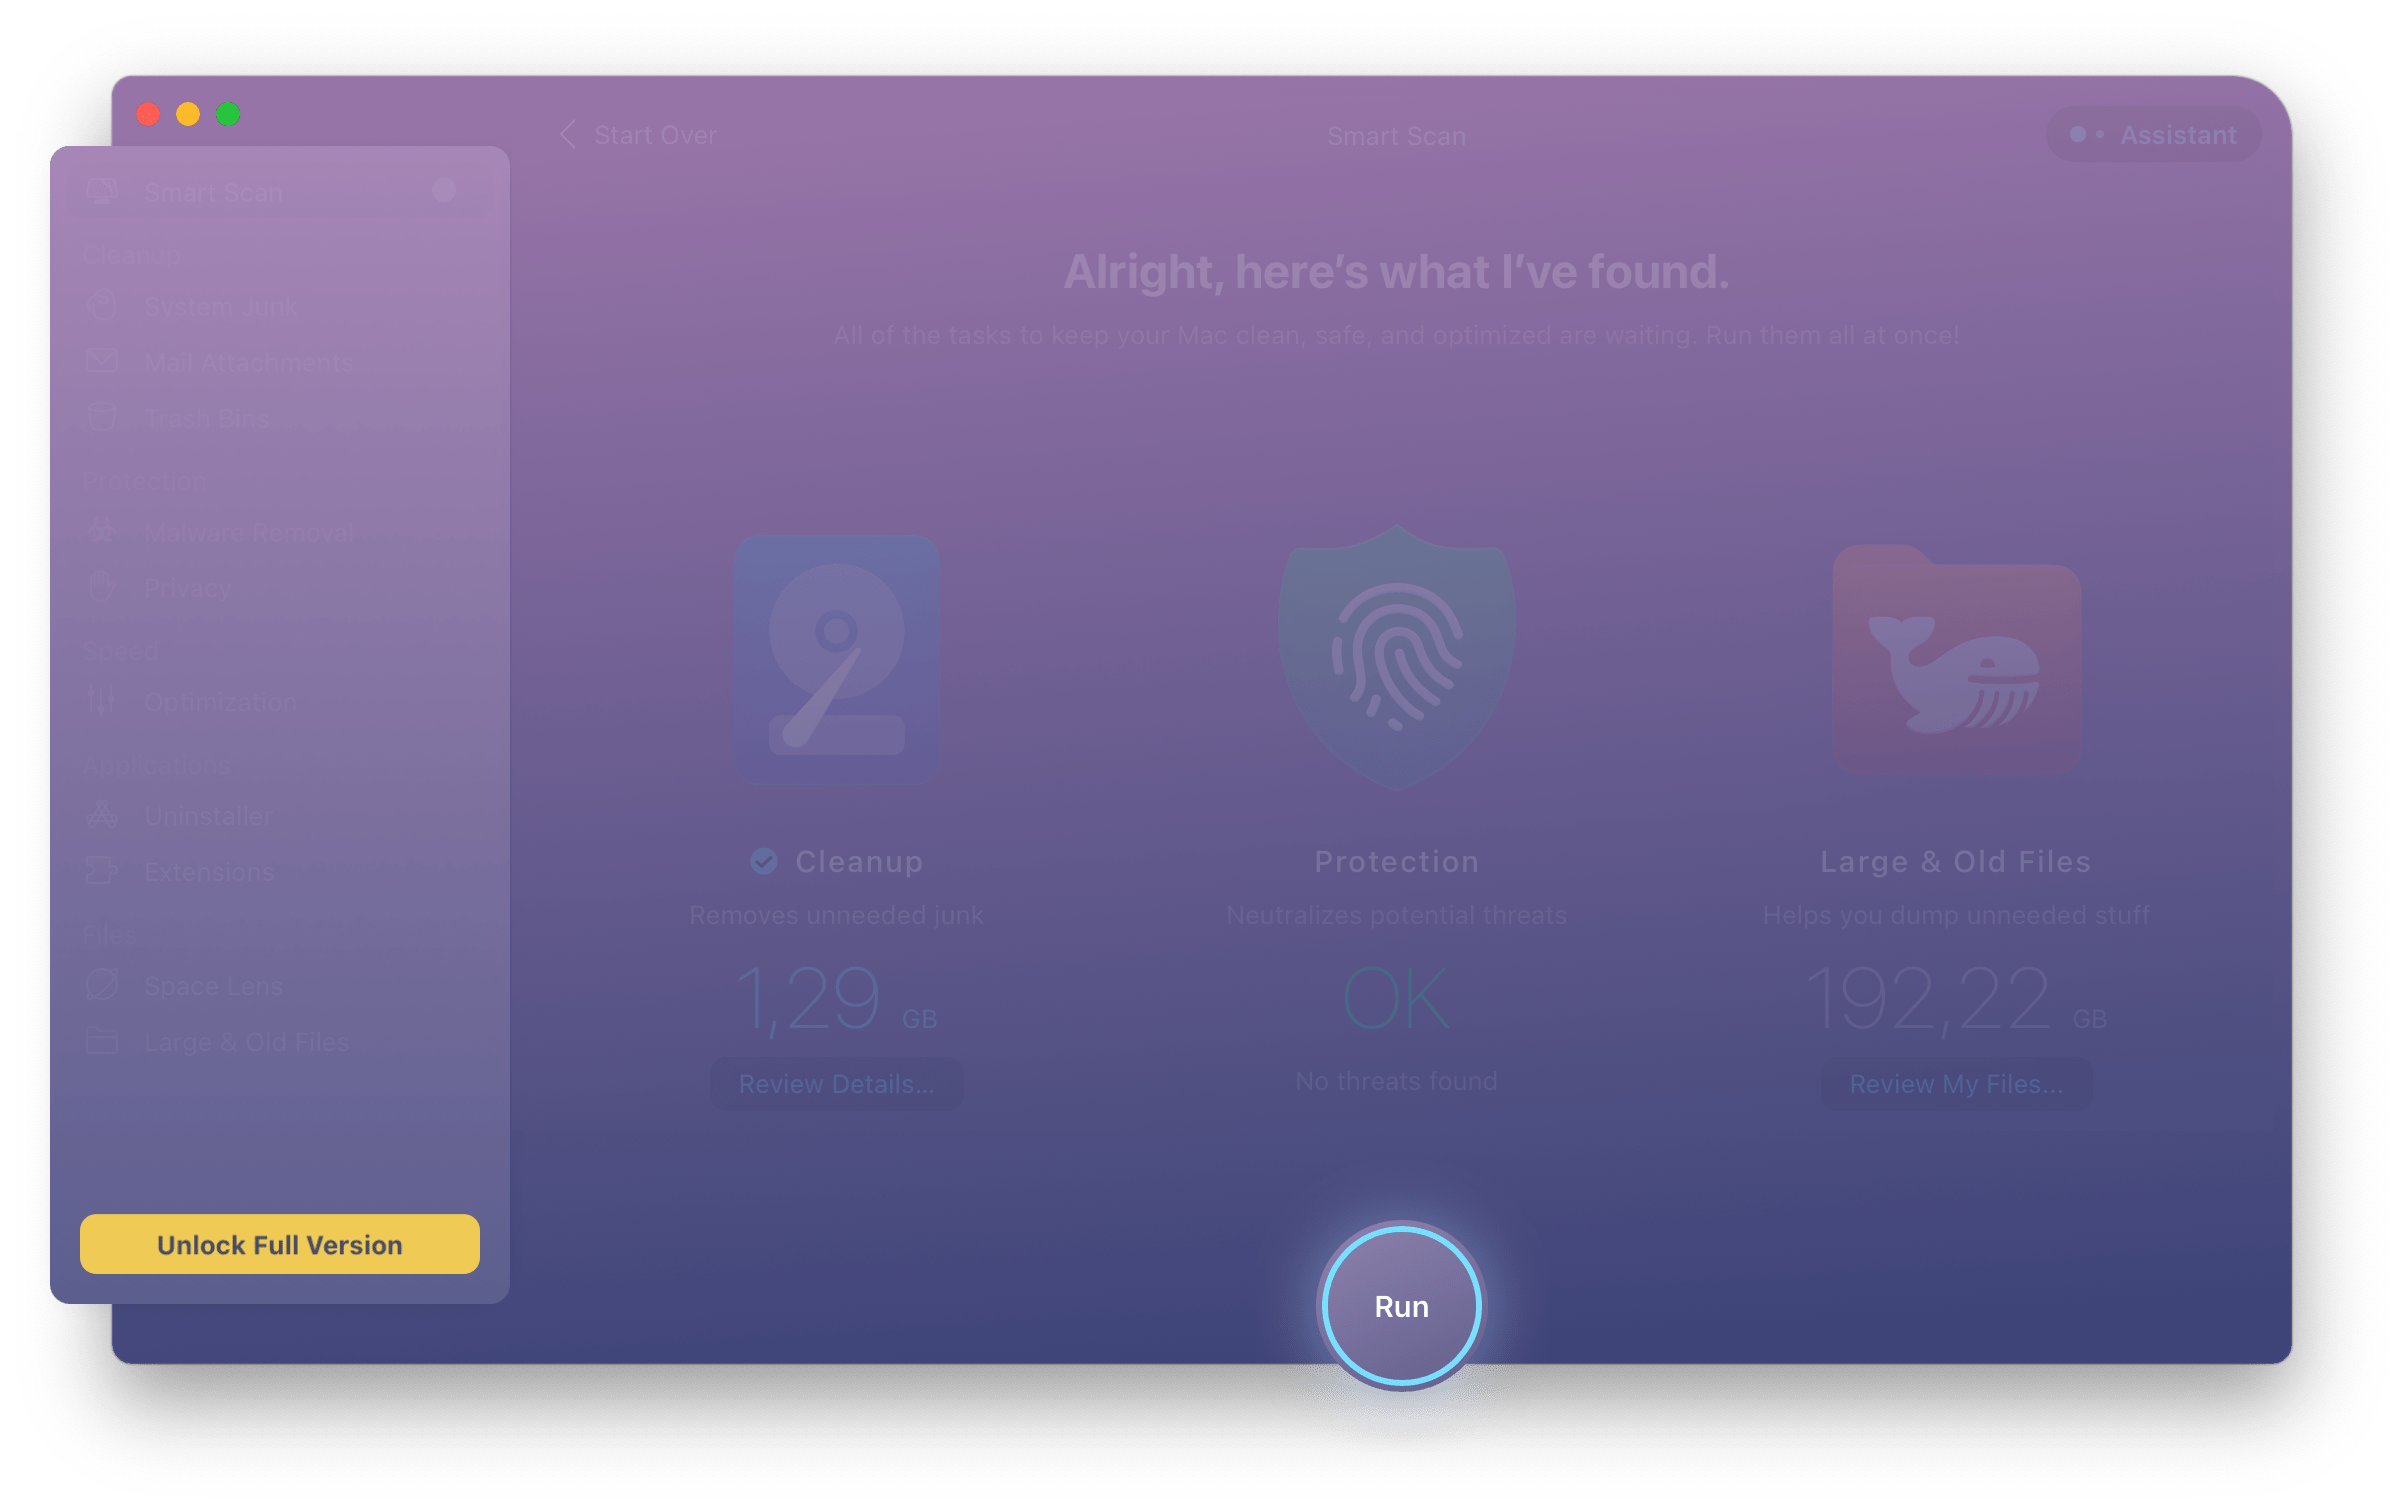
3. Click Start Free Trial.
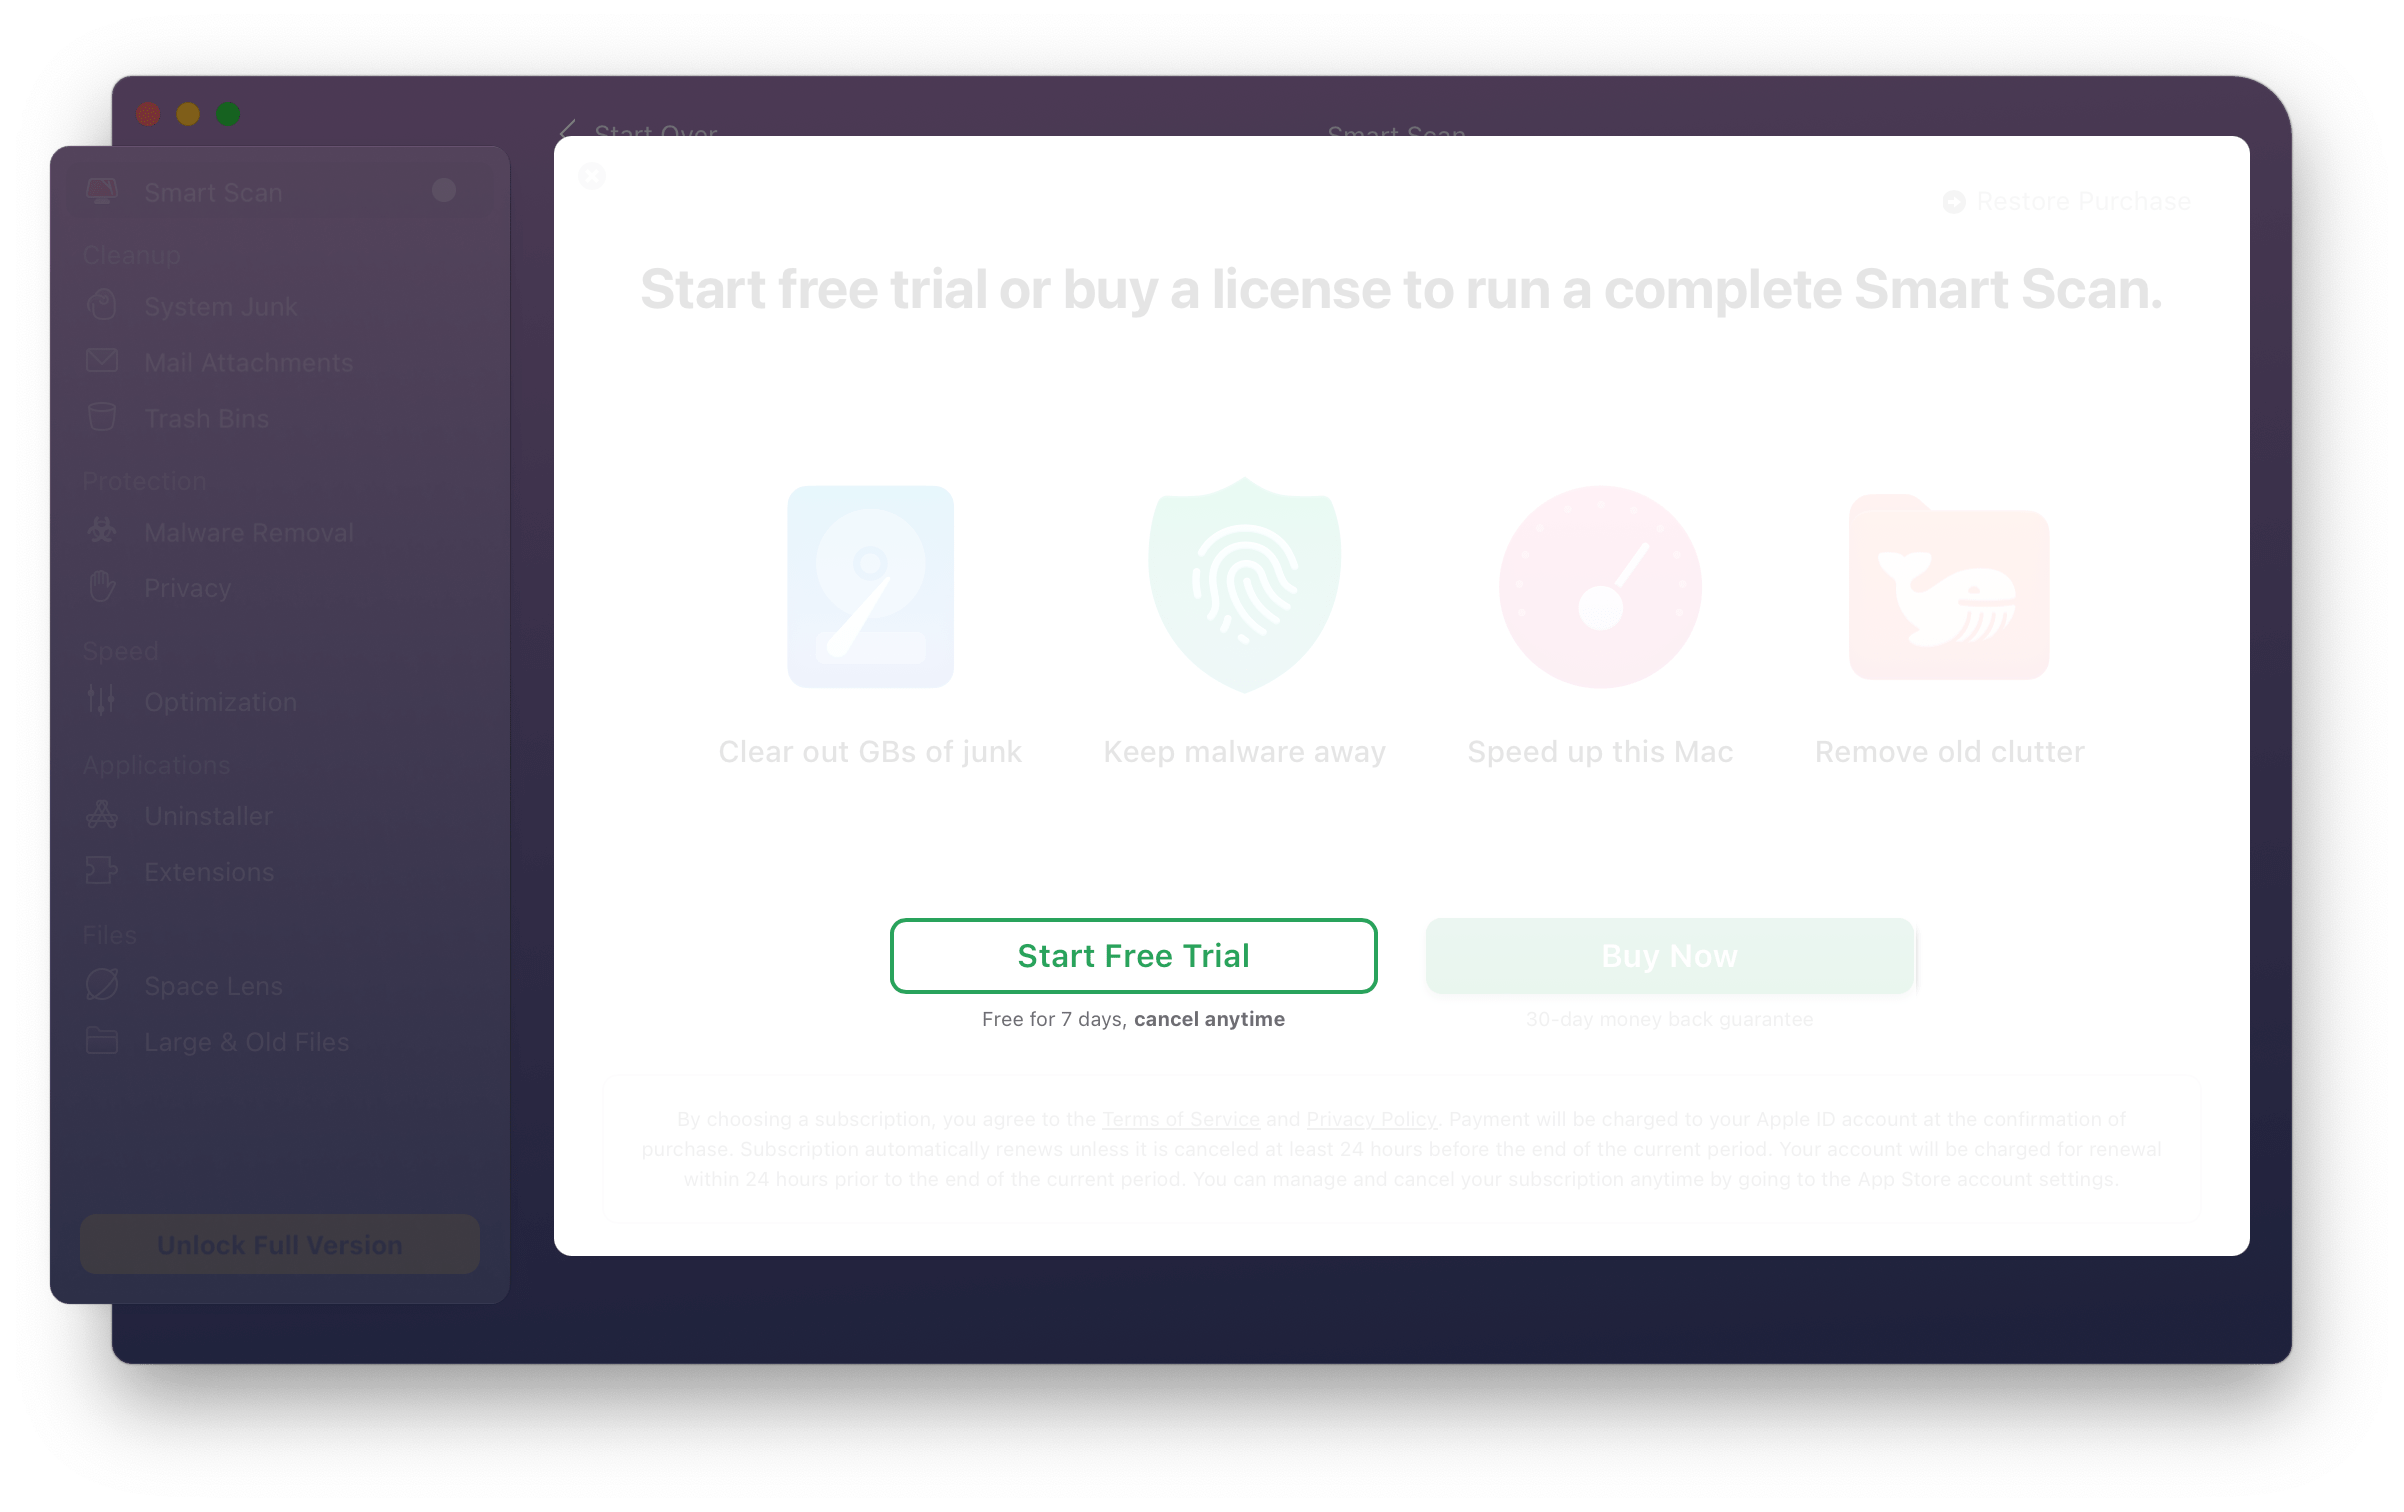
4. Choose One-Year Subscription in the Plan Type menu and click Start Free 7 Days. Then, confirm
your choice using your Apple ID.
Please keep in mind that no trial is available for a one-time
purchase plan, which you
may buy right away.
Congratulations, your trial has started! Click Jump Right In and enjoy the unlocked features of CleanMyMac X. Once the trial is over, the App Store starts your subscription automatically unless you cancel it.
⬆️ Go back to article top.