If you’ve ever needed to reinstall macOS on your Mac, you’ll know what a worrying time it can be waiting for it to install and hoping that it does so smoothly and without any problems. Sadly, that’s not always the case, and there are several things that can go wrong. In some cases, you will get a Mac startup error 2003f. Keep on reading to learn what to do about it.
What is a 2003f error on Mac?
Apple has done its best to mitigate issues related to reinstalling macOS in recent years by creating separate containers on the startup disk for the system and data and by creating a recovery partition on every Mac. The recovery partition is separate from the rest of the files on your Mac and is designed as a failsafe in case there’s an issue with your boot volume. In addition to that, Macs also have an internet recovery mode.

Internet recovery is used when, for whatever reason, your Mac can’t reinstall macOS from the recovery partition, or if you want to reinstall a version of macOS that is more recent than the one on the recovery partition. If something goes wrong with internet recovery, you may see a 2003f error, “support.apple.com/mac/startup-2003F”.
Why does 2003f error appear?
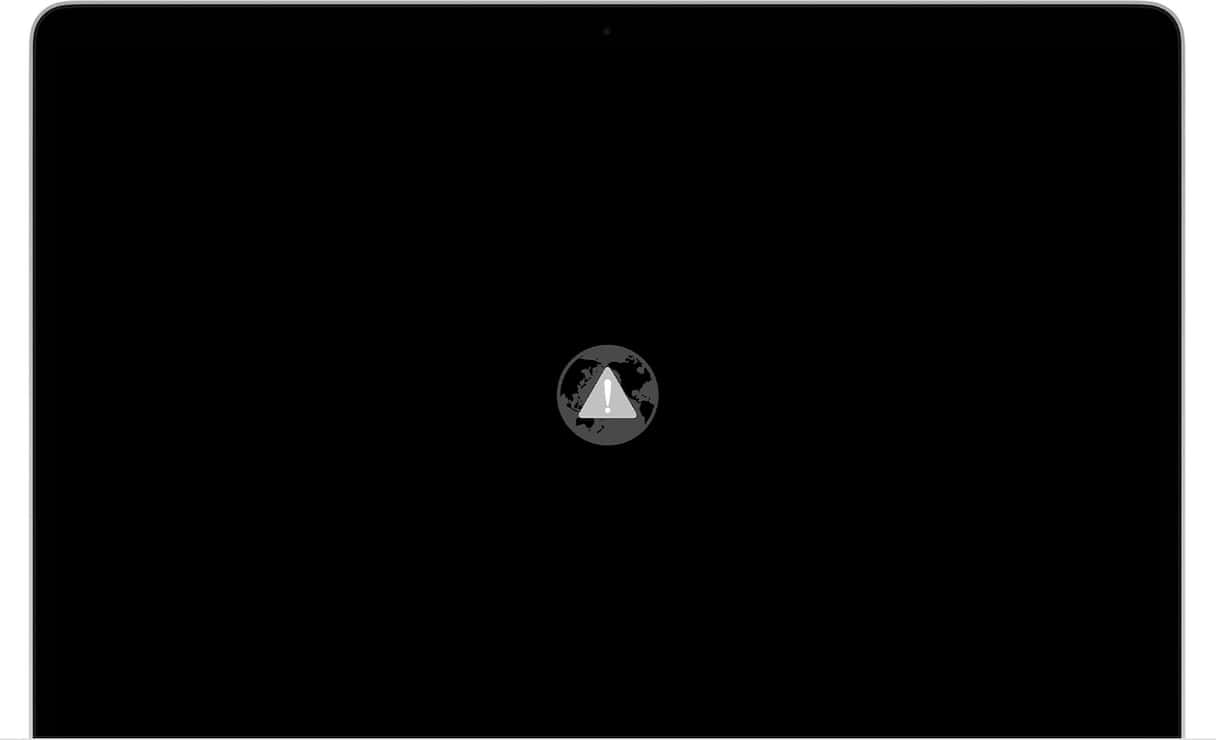
The most common cause of MacBook error 2003f is an unstable internet connection. The error message is usually accompanied by an image of a globe with an exclamation point icon over it, indicating a problem with the connection. That unstable connection is likely to be at your end. So, it could be a problem with your Mac’s Wi-Fi, your router, or your broadband provider. It’s less likely to be a problem with Apple’s servers.
How to fix 2003f error on your Mac
1. Check Apple’s server status
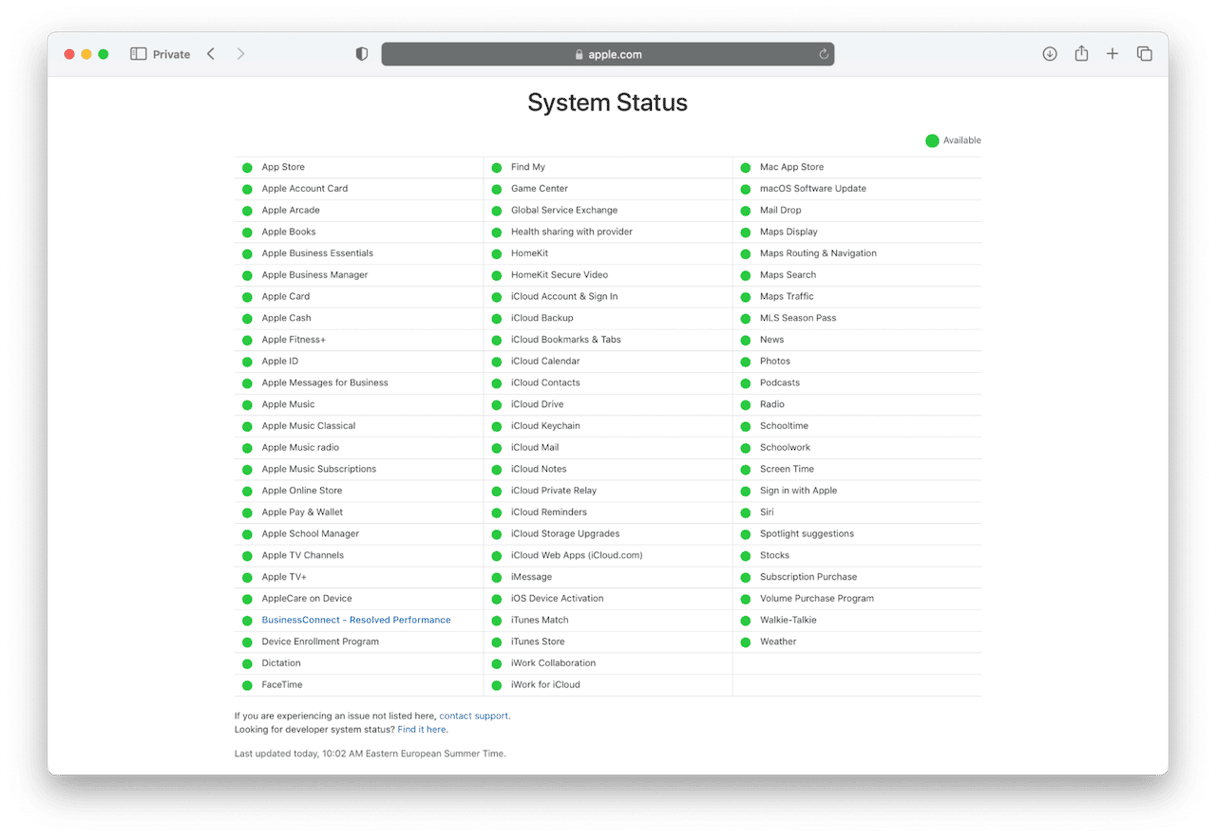
The first thing to do, if you have access to another device, is to check Apple’s server status page here. There is no indicator for internet recovery, but if there are several indicators that are not green, it could mean that Apple’s servers are having problems. That may be a reason for the error. So, just wait before trying again.
2. Check your Wi-Fi connection
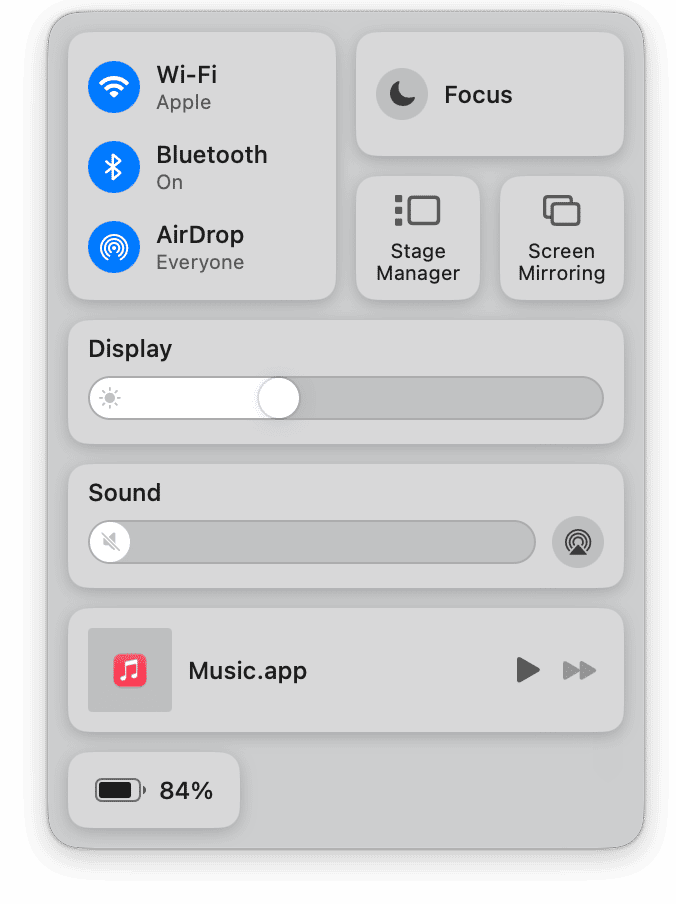
Turn your Mac’s Wi-Fi off and then on again. It’s a simple fix but often effective. Click the Wi-Fi icon in the menu bar or in Control Center and toggle the switch to off and then on again.
3. Connect to your router with an ethernet cable if possible
This isn’t as easy as it used to be because Macs don’t have ethernet ports anymore. But if you have a hub or a dock with an ethernet socket, connect that to your router and connect your Mac to the hub. That should be a more stable connection than Wi-Fi.
4. Reset NVRAM
This only applies to Intel-based Macs. You don’t need to reset the NVRAM on a Mac with Apple silicon.
- Shut down your Mac.
- Hold down Command + Option P + R.
- Press the power button.
- Release the keys after 20 seconds or the second startup chime.
- Retry installing macOS from internet recovery.

5. Run Disk Utility in recovery mode
The key difference between running Disk Utility normally and running it in recovery mode is that it can repair deep-lying problems on your startup disk because it’s running from the recovery partition. Follow the steps below to boot into recovery mode on an Intel-based and Apple silicon Mac.
Intel-based Mac
- Shut down your Mac.
- Press and hold Command-R and then press the power button.
- Release Command-R when you see the Apple logo or another image.
- Type in your admin name and password when asked.
- You should now see the macOS Utilities window.
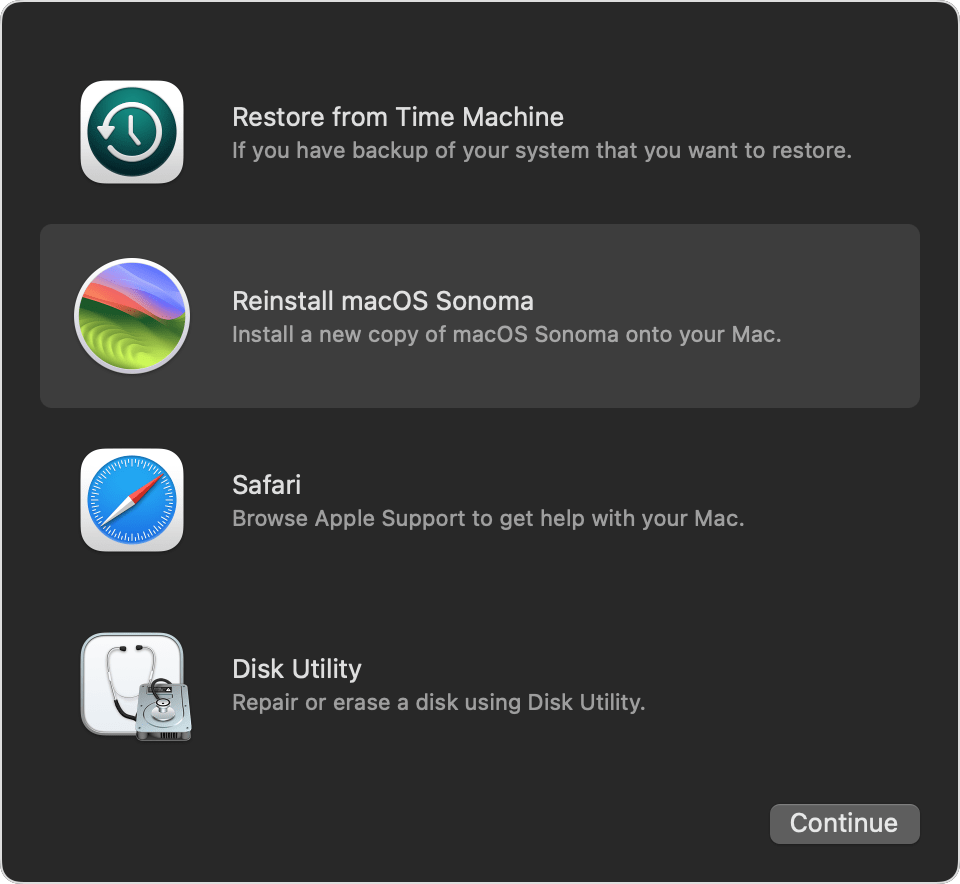
Mac with Apple silicon
- Shut down your Mac.
- Press and hold the power button until you see the startup options screen.
- Click Options, then Continue.
- Type in your admin name and password.
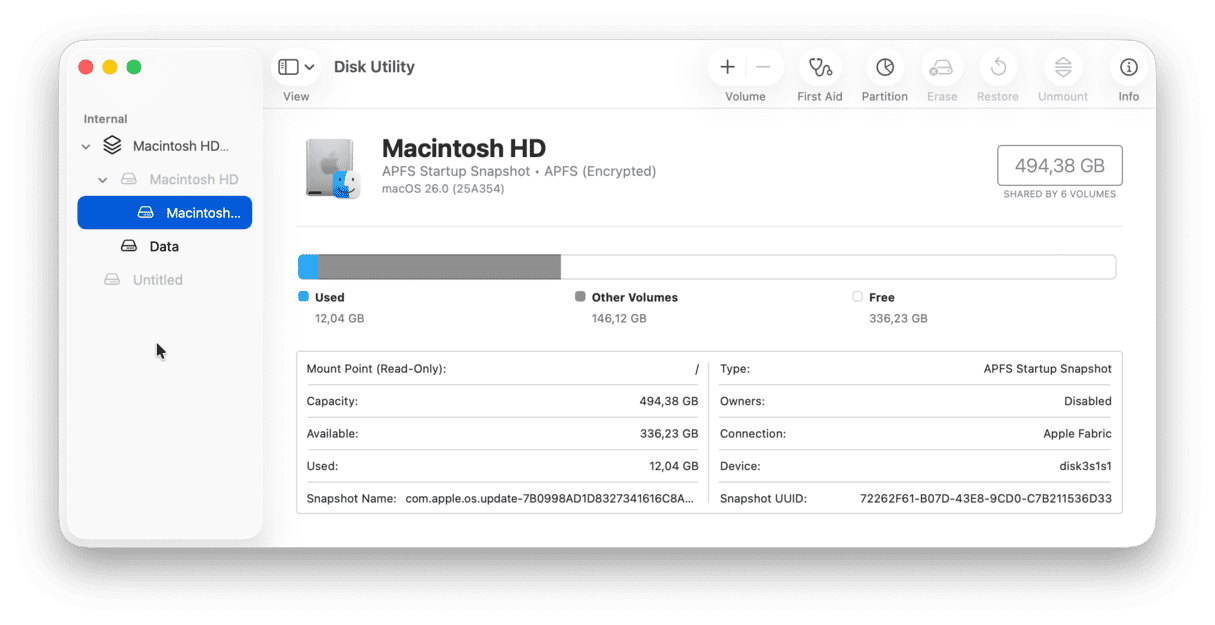
Once you’ve booted your Mac into recovery mode, follow these steps:
- Choose Disk Utility from the menu.
- Then, choose your startup disk from the sidebar. Make sure it’s the disk and not just a container or volume. If you can’t see it, click the arrow above View at the top of the main window and choose Show All Devices.
- Finally, click First Aid from the toolbar > Run.
6. Check for malware
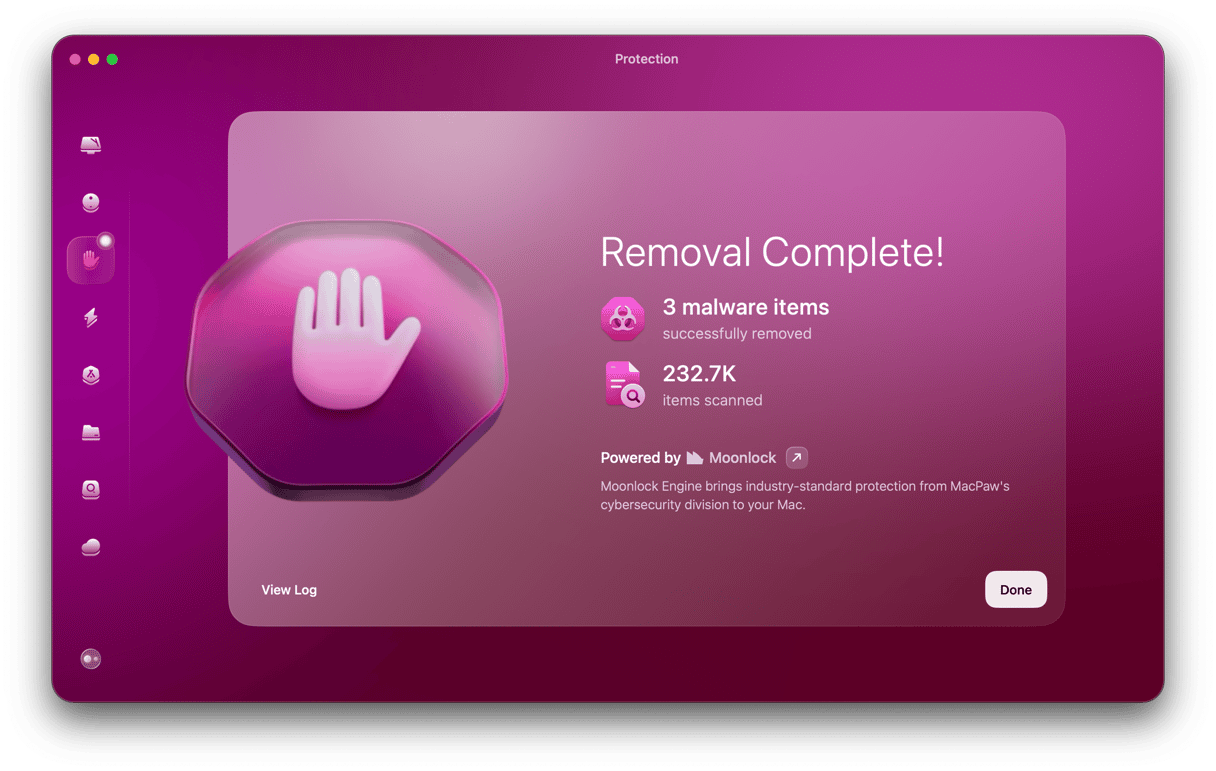
If nothing so far has worked, the next step is to check your Mac for malware. The easiest way to do that is to use the Malware Removal module in CleanMyMac. It scans your Mac and compares what it finds with a database of known malware. If it finds anything suspicious, it will alert you and allow you to remove it with one click. You can run scans manually or have it check files in the background.
Here’s how to run a Mac virus scan:
- Open CleanMyMac.
- Click Malware Removal > Scan.
- If you see the Remove button, click it, and the malware is gone. If not, congratulations, your Mac was not infected.
7. Reinstall macOS from a bootable installer
Assuming you got the 2003f error when you were trying to reinstall or update macOS, the final option is to do a clean using a bootable USB stick and a Terminal command. Don’t worry, it’s not as difficult as it sounds. You can see full instructions for creating a bootable USB installer on Apple’s website here.
Once you’ve created the installer, you can use Disk Utility in macOS Recovery to erase your startup disk, boot from the installer, and reinstall macOS. Make sure you back up your Mac first, preferably using Time Machine. That will make it much easier to restore your data. The instructions for booting from the installer are on the same page on Apple’s support site.
Mac error 2003f is usually caused by a problem connecting to internet recovery when your Mac is reinstalling macOS. It’s rare, but it does happen. If you see that error message, follow the steps above to fix it and reinstall macOS.


