For years, video has been taking over what we see online and in our daily lives. The large demand for video content means that many videographers are taking the leap from hobbyists to accepting commissions and making a business out of their services.
One of the essential parts of being a professional video editor is having the right tools. While there are more options on the market than ever, Adobe Premiere Pro is the industry leader when it comes to high-quality video editing. Its simple-to-use interface allows anyone from Hollywood filmmakers and TV editors to YouTubers and videographers to tell their stories and make outstanding content.

Whether it’s fast-turn TV series, feature films, or viral videos, Adobe Premiere Pro allows you to polish your work without leaving your desk. However, it seems that the further you push into your craft, the more Adobe Premiere Pro slows down. And in some specific cases, it can stop working altogether.
As forums and customer support are often less than helpful, refer to the list of neat tricks compiled below that can help you in times when you find Adobe Premiere Pro slow.
Why is Adobe Premiere Pro running slow?
Along with tools for color, audio, and graphics, Adobe Premiere Pro boasts some impressive features. It offers high-end extras, such as 360-degree video support, motion tracking, and Multicam editing — all without leaving the app.
But there’s also the culprit that’s causing Adobe Premiere Pro slowness. And when you set out to find it, look no further than Adobe’s hunger for power and space. Greedy features, like Rendering and 8K Support, can slow down your computer’s internal processor, which causes lag and leaves you waiting hours when importing large media files. So what can you do?
1. Minimize your screen setup
If you want to improve Adobe Premiere Pro rendering speed, take a look at your physical setup. Do you have more than one screen plugged in? While this may help your workflow, it can use up all your processing power just as easily. If this is the case, disconnect any extra screens. Doing this should help speed up simple processes and improve the rendering time, as it allows your computer to focus its resources on one single screen, improving the per-pixel output.
2. Work with proxy video clips
If you are having serious speed issues and decide to speak to an Adobe representative, they will often say the solution is to work on proxies as part of your workflow. Specifically, using Cineform proxies for all H.264 media.
But what is a proxy? It is a low-resolution copy of your media. By downloading a proxy you are essentially taking the selected video clip offline to make changes. This is often known as an offline edit. Whereas, relinking back to the full-resolution media is known as an online edit.
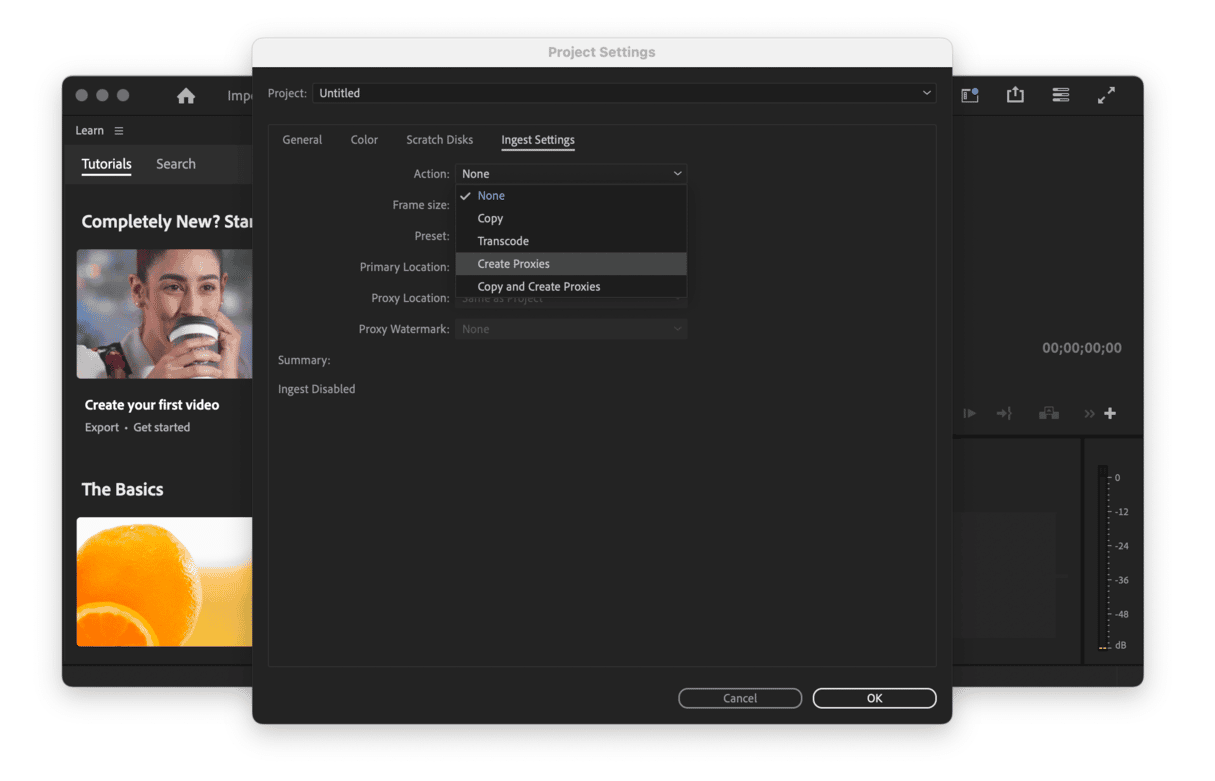
When you use proxies, by adjusting your Ingest Settings, you can tell Adobe Premiere Pro to go through fewer processes when it imports your media.
To work on proxies:
- Open your project in Adobe Premiere Pro.
- Click File > Project Settings > Ingest Settings.
- Click the menu next to Action.
- Choose Create Proxies from the menu.
- Save the proxies to your computer or to Creative Cloud for access on any device.
- Click OK.
3. Customize Adobe Premiere Pro system preferences
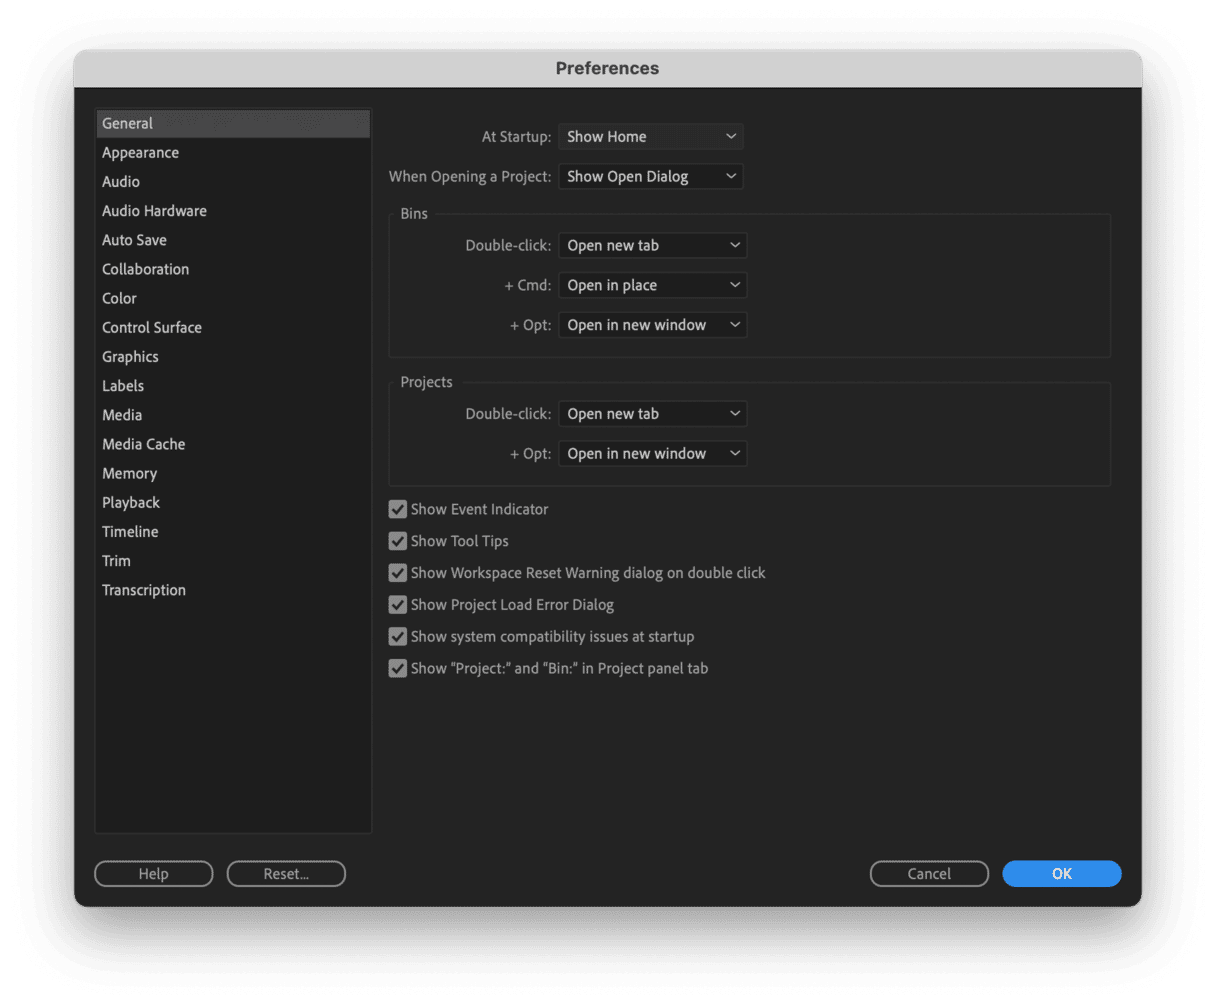
Another way to fix Adobe Premiere Pro’s slow rendering issues is to adjust the Preferences settings in the media browser. Speed up the app by removing all the unnecessary preference options. This helps the performance of Adobe Premiere Pro because it asks less of your computer and thus can focus on one process at a time:
- Open a Media Window and click Premiere Pro from the navigation menu along the top of your screen.
- Go to Settings.
- Starting with the General section, go into each of the sections and turn off everything you don’t need.
Make sure to pay special attention to turning off extra processes in Sequence settings. To access it, click Sequence > Sequence Settings from the menu bar wit Premiere Pro open. Also, you can give the app a much-needed power surge by changing the output in the Audio Hardware settings.
The more you can turn off, the more you will be able to improve the overall performance of Adobe Premiere Pro.
4. Reinstall Adobe Premiere Pro
Still finding Adobe Premiere Pro to be running slow? As a last resort, you can always try uninstalling the app completely and reinstalling it again. This is a time-consuming approach, but by starting afresh, you can close any background processes that the app is running that aren’t crucial to your workflow.
To uninstall Adobe Premiere Pro:
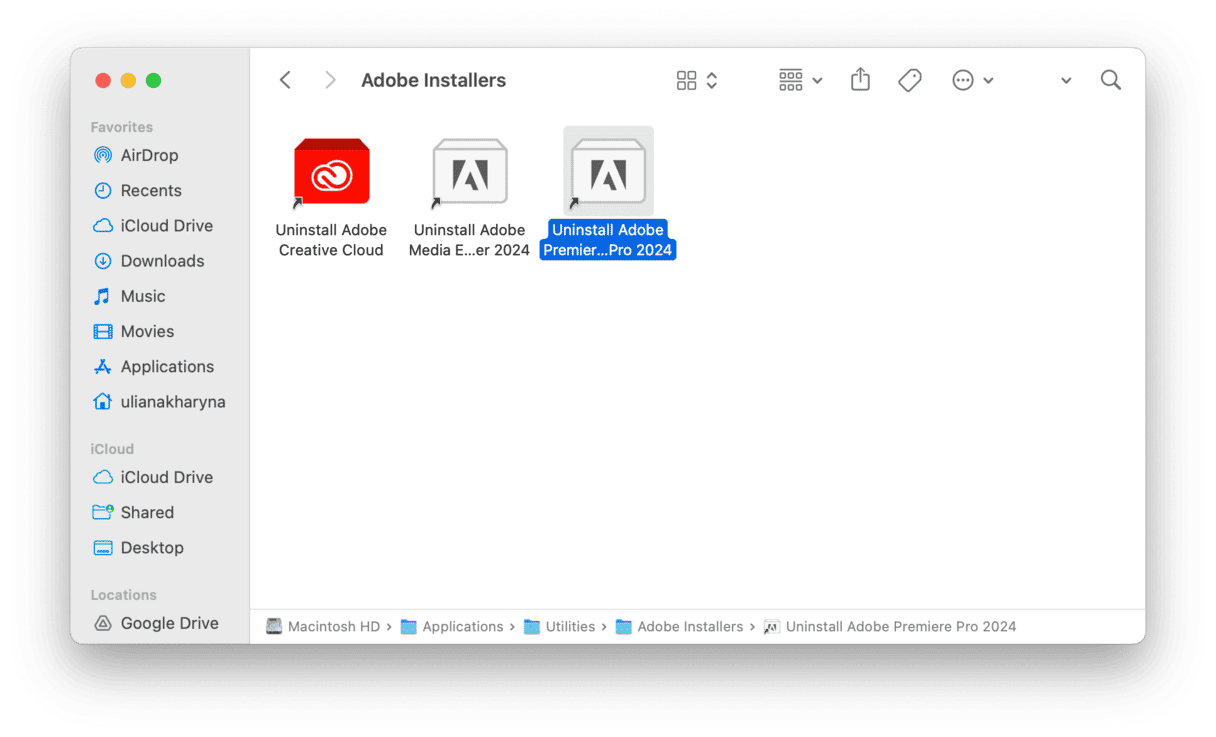
- Open a new Finder window.
- Click Go from the navigation menu, then select Go To Folder.
- Enter
/Applications/Utilities/Adobe Installersand press Return. - Start the Uninstaller for Adobe Premiere Pro.
You can reinstall the app the way you did it when you first set it up, or by downloading it from your Adobe online account.
5. Speed up your Mac with CleanMyMac
Doing the above steps can be frustrating and time-consuming. Instead, if you’re using Mac and want to save some time, you should consider installing a smart-scan cleaning tool like CleanMyMac. CleanMyMac will clean up junk files in your Mac and reduce background processes, which will help Adobe Premiere Pro run at its best.
To instantly clean your computer files:
- Download CleanMyMac (free trial available) and follow the setup instructions.
- Under the Cleanup section, click System Junk > Scan.
- Click Clean to remove the junk.
- Once the process has finished, don’t forget to empty your trash.
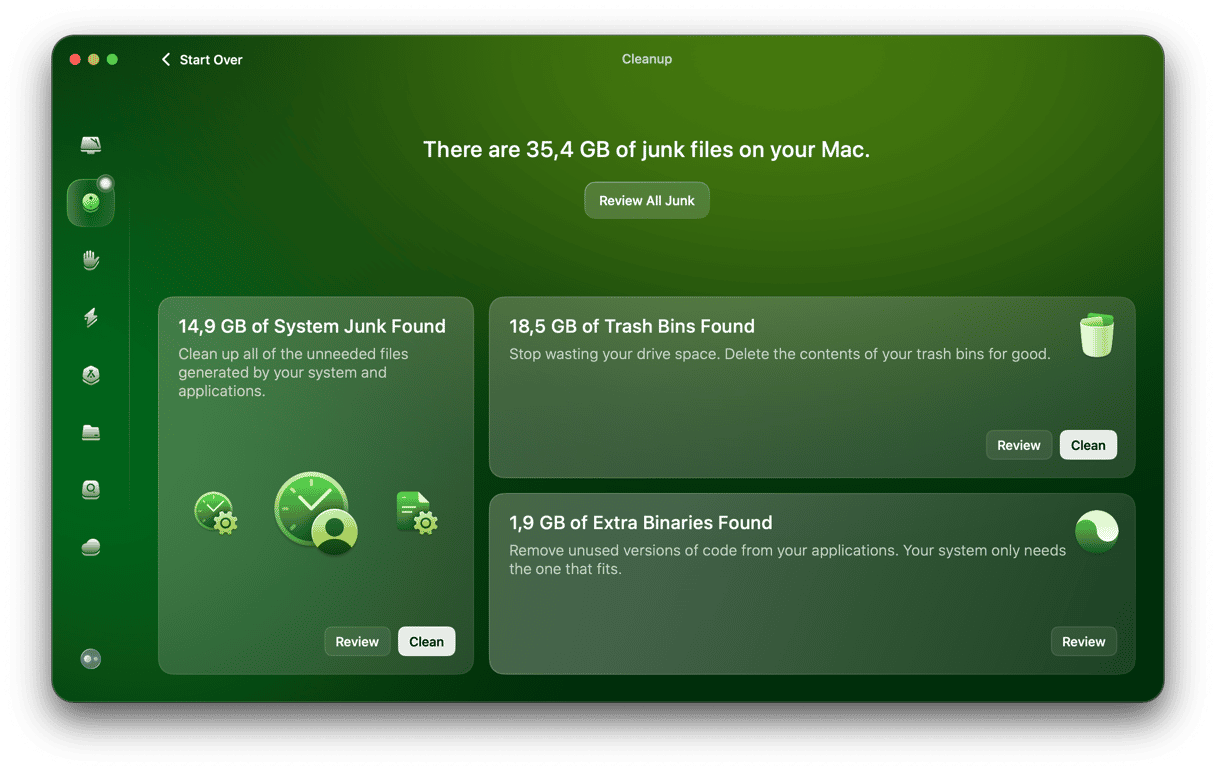
Going through the automated cleaning process, people are always amazed at how much junk their computers can hide.
If you want to feel the effects of total optimization, then run through all of the features that CleanMyMac offers. From Malware Removal to Optimization, CleanMyMac will dig deep and find all of those pesky background processes that are dragging down your computer’s speed.
Now, you and your computer can breathe freely again and get back to making epic movies on Adobe Premiere Pro, or even creating the next big viral video.


