Most of us only ever boot our Macs from the built-in startup disk, but there are occasions when you may need to boot from an external disk or USB stick. That could be because you want to boot into a different version of macOS than the one installed on your Mac. Or it could be because you need to do a clean install on your startup disk. When you boot from an external disk, you may see an error message that says, “A software update is required to use this startup disk.” If that has happened to you, follow the steps below to fix it.
What does the error message mean
As with most error messages you will see on your Mac, there are a number of possible explanations for this one. However, there are two causes that seem to be more common than others:
- You are trying to boot your Mac from a USB stick that’s connected to a hub or dock.
- There is an issue with your internet connection.
Aside from those two causes, other less common reasons for the error message include an issue with the Mac’s firmware and an issue with the settings in Startup Security Utility. In rare cases, it could be that the version of macOS you’re trying to boot doesn’t pass the verification process Apple uses when you have security settings in Secure Startup Utility set to Full Security. That could be because the certificate for the version of macOS you’re trying to boot has expired. The problem seems to affect Intel-based Macs with the T2 security chip, so the instructions for fixing it we give here we’ll focus on those Macs.
How to fix the “A software update is required to use this startup disk” error
1. Shut down your Mac
The first thing to do is to shut down your Mac and try again:
- If you can access the Apple menu, click it and choose Shut Down.
- If not, press and hold the power button until the Mac shuts down.
- Press the power button while holding down the Option key.
- When the option to choose a startup disk appears, select the disk you want to boot from.
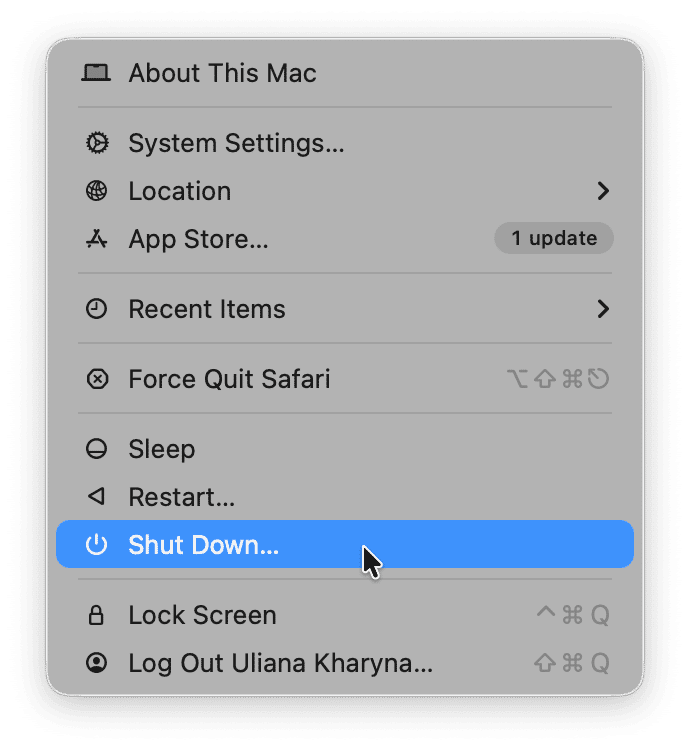
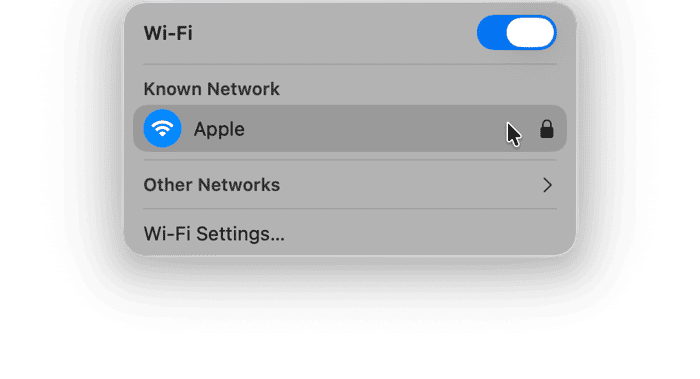
If the error message reappears, move the pointer to the top of the screen so that the menu bar appears if it’s hidden, then click the Wi-Fi icon and choose your Wi-Fi network.
If that doesn’t work even after selecting your Wi-Fi network, check that both the Wi-Fi network and your internet connection are working properly. The best way to do that is to use another device connected to the network.
2. Try a different connector
If your Wi-Fi and broadband connection are working properly, and the USB stick you’re trying to boot from is connected to a hub, try connecting it directly to your Mac. If you are using an adaptor to connect the USB stick to your Mac, perhaps because the USB stick has a USB-A connector and your Mac only has USB-C slots, consider cloning the USB stick to a USB-C stick and try booting from that.
3. Check Startup Security Utility
If nothing so far has worked and your Mac has a T2 security chip, the next thing to do is to check the Startup Security Utility. This utility runs in recovery mode and makes changes to your Mac’s security settings. Here’s how to make changes to it:
- Shut down your Mac.
- Press the power button while holding Command-R to boot into recovery mode. Release Command-R when you see the Apple logo.
- When you’re asked to choose a user you know the password for, choose an admin user. Click Next and type in the user’s password,
- When you see the macOS Utilities menu, click Utilities in the toolbar and choose Startup Security Utility.
- Click Enter macOS password, choose an admin user, and type in their password. You will see Startup Security Utility.
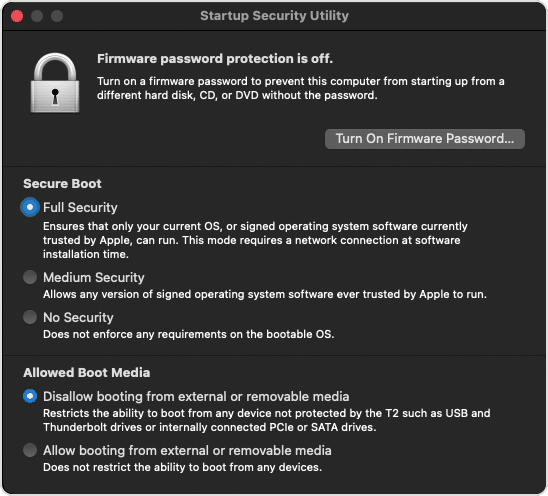
First, ensure that ‘Allow booting from external or removable media’ is selected. Next, if Secure Boot is set to Full Security and you are sure the version of macOS you are trying to boot from is safe, set it to Medium Security.
Now, shut down your Mac and try booting from the USB stick again.
If it works, make sure the next time you boot from your regular startup disk, you go back to recovery mode, open Secure Startup Utility, and change Secure Boot back to Full Security.
4. Restore the firmware
Some users have reported success in fixing the problem by restoring the firmware on their Mac. This isn’t a simple process, but it is worth trying if nothing else has worked so far. You will need a couple of things to restore the firmware on your Mac:
- Another Mac running macOS Sonoma or later
- A USB-C to USB-C cable that can carry data and charge your MacBook (don’t use a Thunderbolt cable)
If you have those, follow the steps below:
- Connect both Macs to a power source. On the Mac whose firmware you want to restore, connect one end of the USB-C cable to the DFU port on the Mac (the DFU port is the rightmost USB-C port when you are facing the left side of your T2 MacBook). Make sure nothing is plugged into the other USB port except for a charging cable. If your Mac has a MagSafe port, use that to charge instead of a USB port.
- Turn on the other Mac, make sure it’s connected to the internet, and connect the other end of the USB-C cable to the USB port.
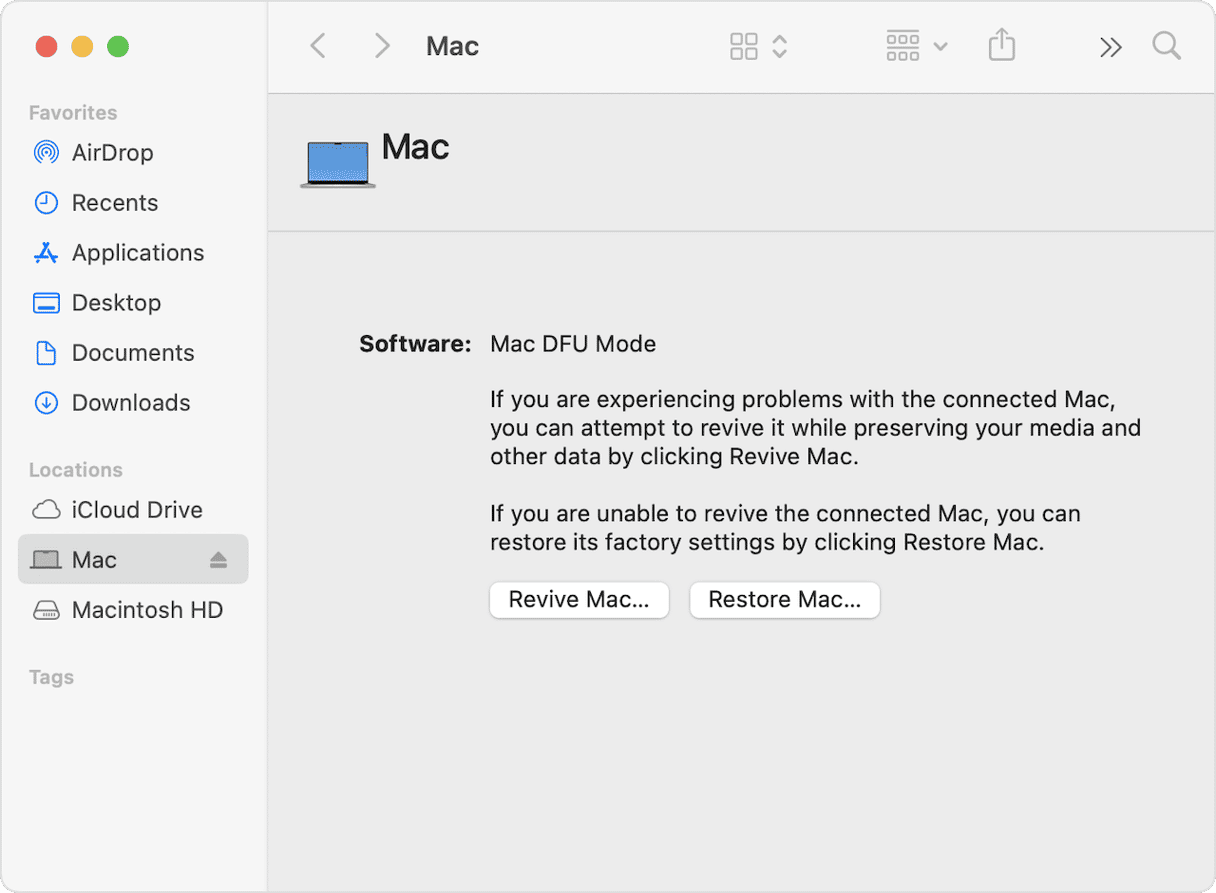
- On the first Mac, unplug the power cable, press and hold the power button, and plug the power cable back in while still holding the power button. Keep holding the power button until you see a DFU window open in Finder.
- If you see a window asking you to allow an accessory to connect before the DFU window opens, release the power button and click OK.
- In the DFU window, click Revive Mac (This option is faster than Restore Mac and won’t erase your data).
- Choose the volume you want to recover and click Next > Restart.
- Wait for the Mac to start up.
How to keep your Mac in top shape: Run maintenance tasks regularly
Carrying out routine maintenance on your Mac is a good idea because it helps make sure it will continue to run smoothly and speedily. Even if you don’t carry out regular maintenance, you should do it as part of a troubleshooting exercise when you run into problems like this one.
What do we mean by maintenance tasks? Here are a few examples:
- Thinning out Time Machine snapshots
- Reindexing Spotlight
- Flushing DNS cache
- Repairing disk permissions
The problem is that performing these tasks yourself isn’t easy. Even if you know what to do, it’s time-consuming and laborious. However, the good news is that you don’t have to do it yourself. CleanMyMac’s Performance feature can do it for you. It scans your Mac, checking which tasks need to be run, and then tells you. It only takes a couple of clicks to run the tasks from there.
- Get your free CleanMyMac trial — test it for 7 days free.
- Open CleanMyMac and choose Performance in the sidebar.
- Click Scan.
- When it’s finished, look at the panel that shows the recommended maintenance tasks and click either Run to run them all or Review to see the recommended tasks and choose for yourself what to run.
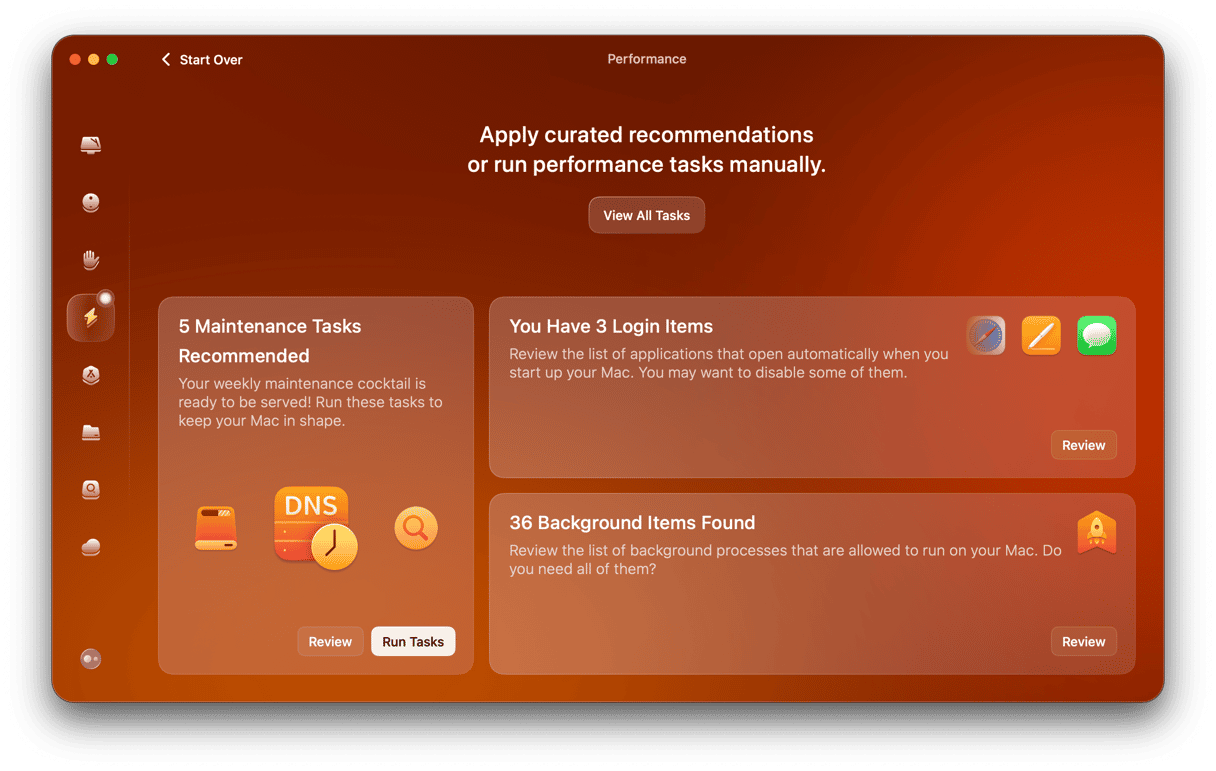
You can also use the Performance feature to review login items and background items. Disabling those that you don’t need can also make your Mac run more smoothly.
The error message “A software update is required to use this startup disk” sometimes appears when you try to boot your Mac from an external disk or USB stick. The issue is usually caused by either an unstable internet connection or a problem with the way the external device is connected to your Mac. If it has happened to you, follow the steps above to fix it.


