The release of new macOS is for sure exciting. However, sometimes, it also brings about a lot of questions. One of the frequently asked questions is what is the Relocated Items folder on macOS? Indeed, it is difficult not to spot the folder that appears on your desktop after you upgrade to the latest macOS version.
Today, we will explain to you more about the Relocated Items folder on macOS.
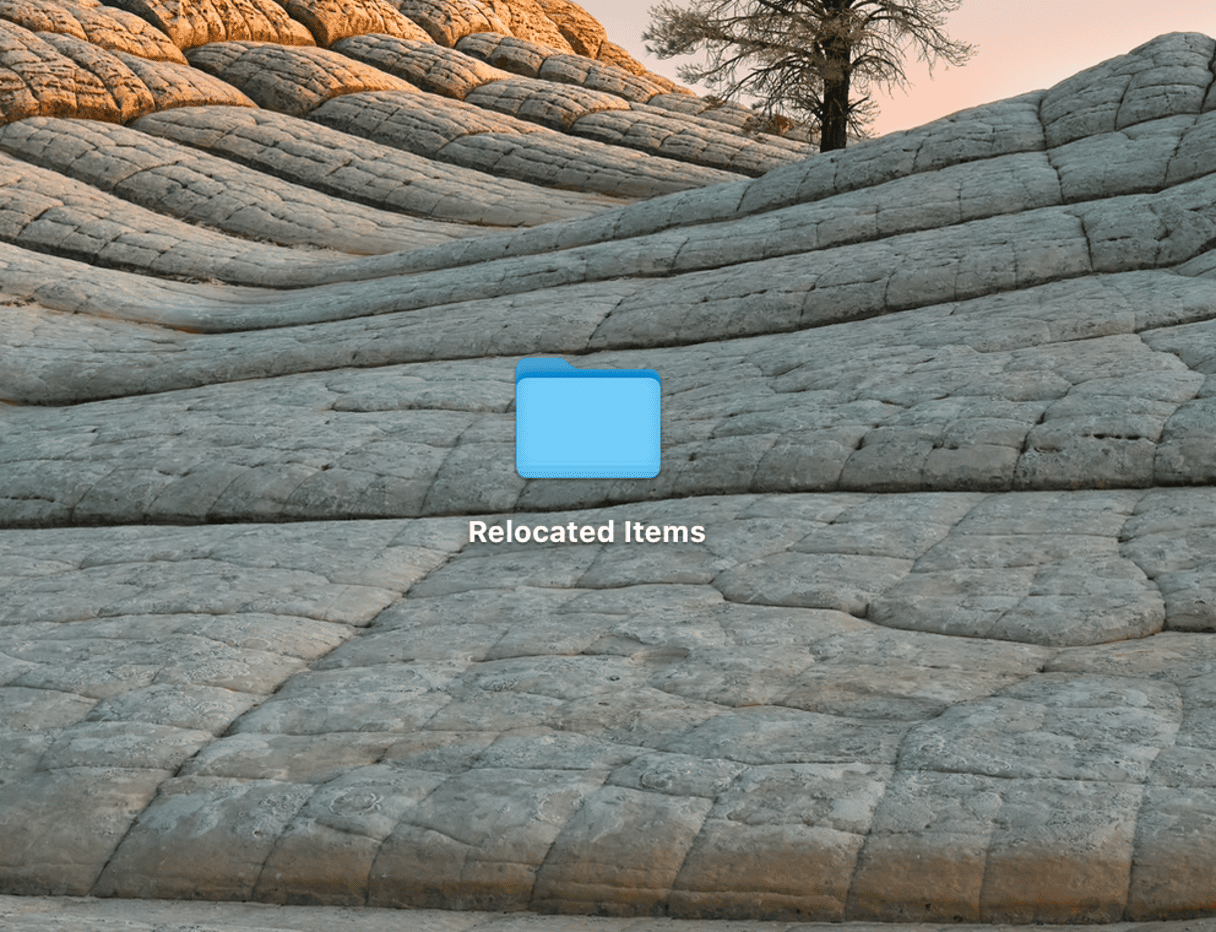
What is inside the Relocated Items folder?
When you take a look at your Mac’s desktop after the upgrade to any newer macOS version, you expect to see everything in its usual place. But when the Relocated Items folder appears, the questions start arising. The first thing that interests users is what files are inside the folder. As the folder’s name suggests, the items inside are relocated, so the next question is where they are transferred from and why?
Well, before breaking down these questions, we want to assure you that it is absolutely okay to have this folder on your desktop. Many users also stumbled upon the Relocated Items folder after the upgrade.
Except for files and data of the apps that a new macOS version no longer supports and the files your Mac no longer needs, the Relocated Items folder also contains a PDF document with more details about each of the files. So you can read more about every item in the folder.
Why is the Relocated Items folder created?
The Relocated Items folder is created as a precaution. macOS adds any configurations your Mac no longer needs to this folder so that you not only see them but also can decide what to do with them. These configurations may have been modified by a user, an application, or macOS, and they are incompatible with the new macOS version. It is because every update creates new standards.
For example, macOS Catalina brought specific changes to the whole operating system, as it no longer supported 32-bit apps. It was the first time when users saw the Relocated Items folder on their desktops.
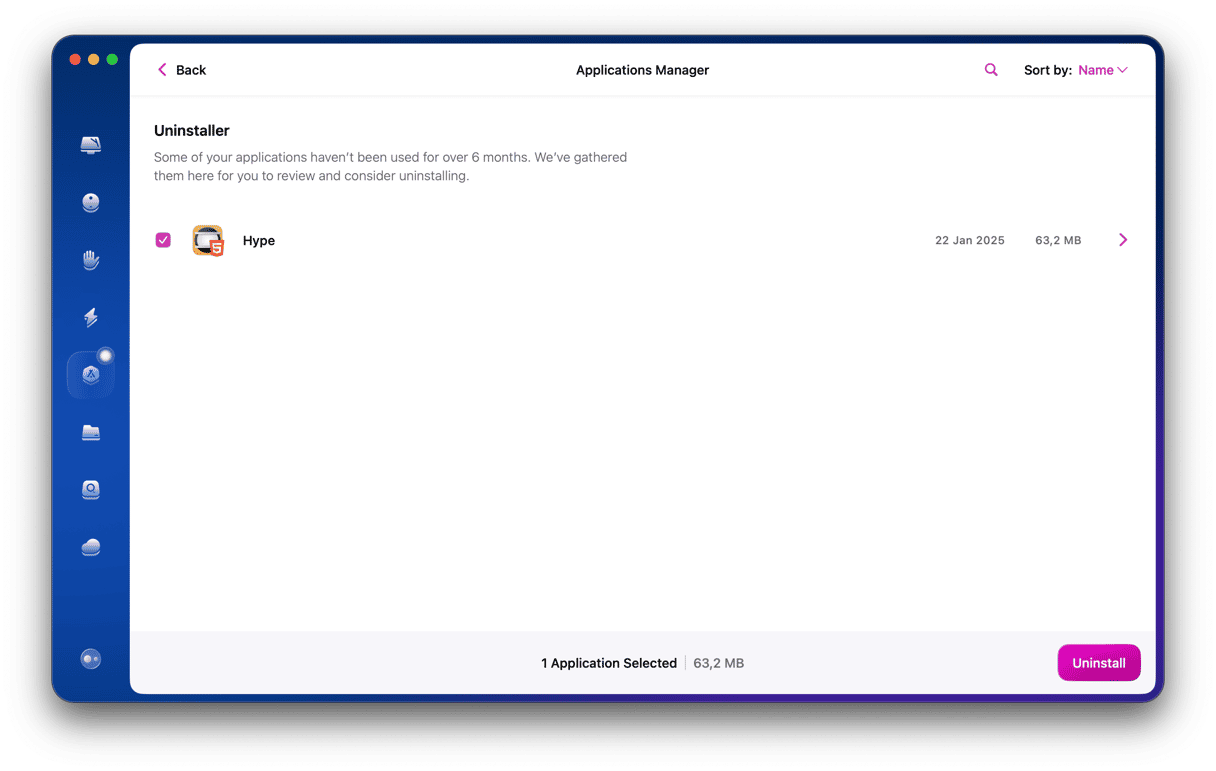
Surprising as it is, some 32-bit apps are still found on older Mac computers, even though their owners updated the machines to the newest macOS versions. So, to prevent these apps and the associated files from cluttering up your Mac’s storage, we recommend you to use CleanMyMac’s Uninstaller module. This cleaning tool is notarized by Apple, which adds up to its good reputation among users. In Uninstaller, you can quickly identify 32-bit apps and delete them.
Is it safe to delete the Relocated Items folder?
If you don’t like this mysterious folder cluttering your desktop, you can safely delete it. The size of the folder is usually relatively small. The PDF file may be the biggest document inside the Relocated Items folder. macOS generates this file during the upgrade. As it has never been on your Mac before, it doesn’t contain any essential data that you can’t delete.
The folder can also contain the Lost & Found folder inside. The latter may contain files you didn’t save previously and copies of the documents stored somewhere else on your Mac.
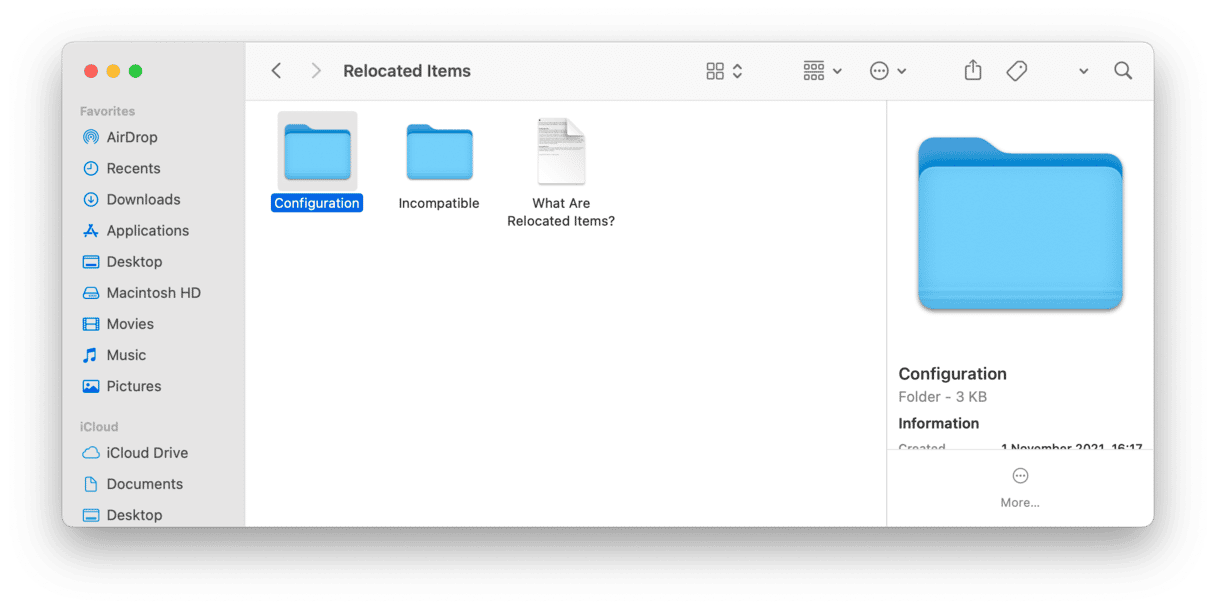
We have already mentioned that the files inside the Relocated Items folder can belong to not supported apps and programs. These are configuration and directory files, security settings documents, and other data that you may not have encountered on your Mac before. As you no longer can use the incompatible apps, you don’t need the associated files stored in the Relocated Items folder. But your Mac thinks differently. That’s why its security system may warn you against deleting the folder.
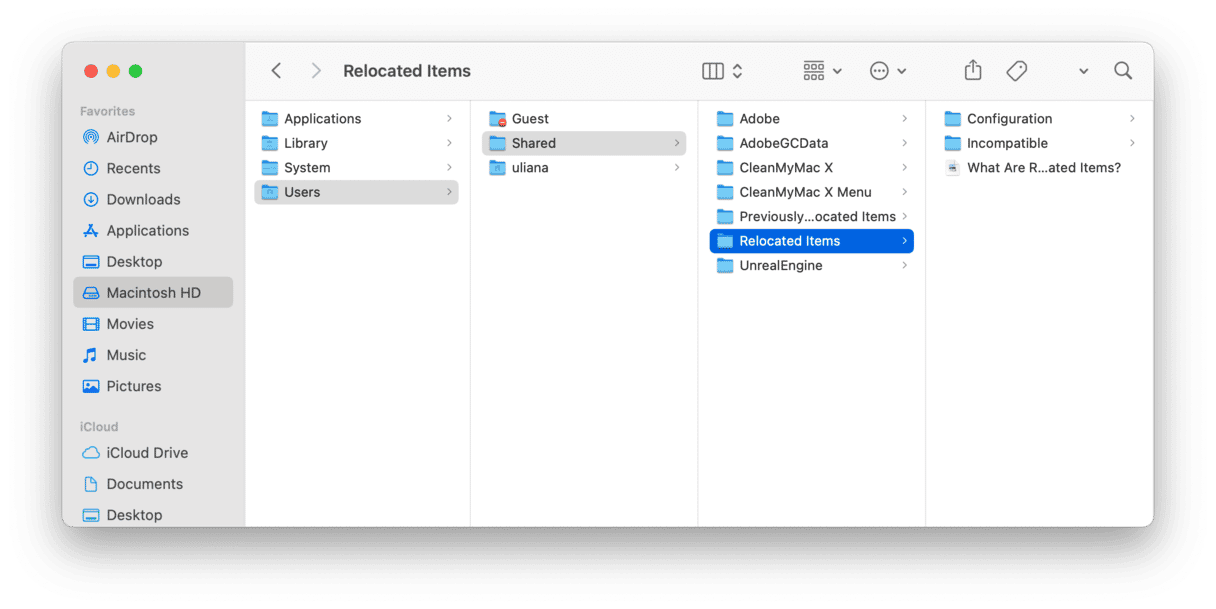
It’s worth noting that the Relocated Items is just a shortcut that you can easily remove from your desktop. The corresponding folder will still be available in /Users/Shared/Relocated Items even if you delete the shortcut.
How to delete the Relocated Items folder?
As we already mentioned, you can safely delete the Relocated Items folder on macOS, but it can be complex. Sometimes, you can simply move it to Trash. But depending on the folder’s contents, you may not be able to empty the Trash once you transfer the Relocated Items there. The only thing that will help you clear your desktop of the Relocated Items is disabling the System Integrity Protection (SIP).
To remove the folder once and forever, you will have to go to recovery mode first.
For an Intel-based Mac:
- Click on the Apple logo located in the upper left corner of your screen. Here, choose Restart.
- During the reboot, hold down Command and R keys to go to recovery mode.
For a Mac with Apple silicon:
- When turning on your Mac, press and hold the power button.
- Keep it pressed until you see startup options.
- Click the Gears icon (Options) and hit Continue.
- You may be asked to select a user and enter their administrator password. Follow on-screen instructions and press Next after any action you take.
Once in recovery mode, follow these steps:
- From the Go menu, choose Utilities > Terminal.
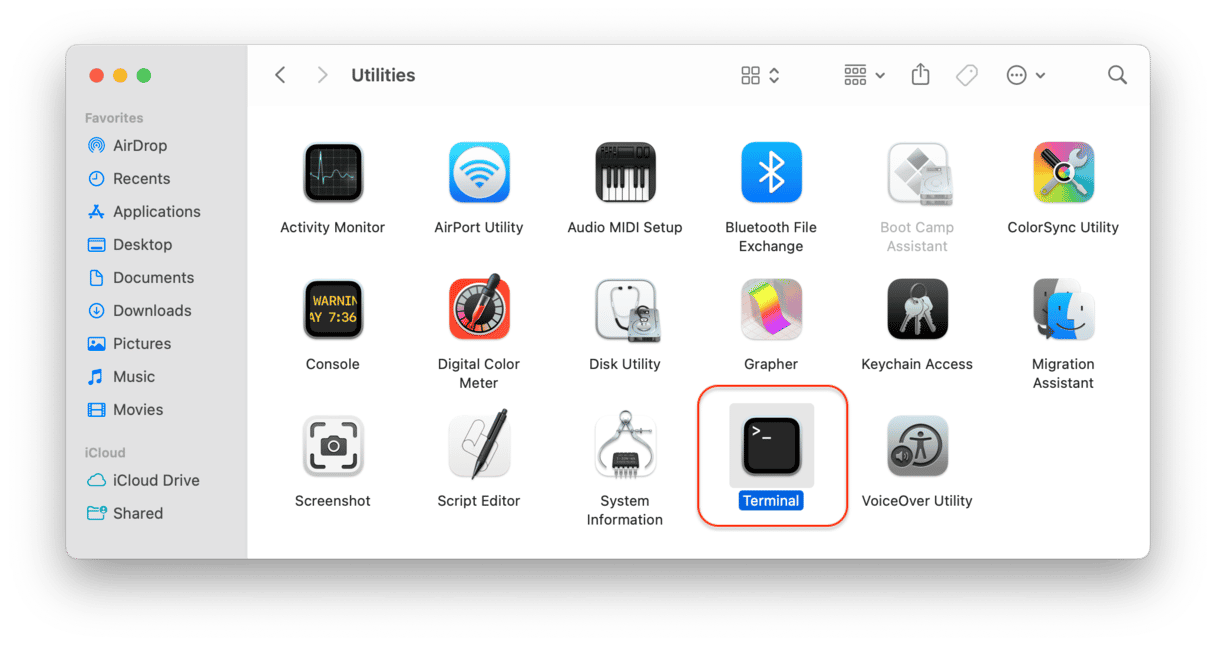
- Launch Terminal.
- Enter the following command and press Return:
csrutil disable. It will disable the SIP. - Reboot your Mac once again to normal mode.
- Delete the Relocated Items folder and empty the Trash.
After the job is done, you’ll need to enable SIP to turn on the protection on your Mac.
- Go to recovery mode again, following the steps above.
- From the Go menu, select Utilities > Terminal.
- Enter this command in Terminal:
csrutil enable. Press Return. - Restart your Mac to normal mode, and SIP will be enabled.
That’s all you need to remove the Relocated Items folder from your desktop.
macOS updates bring some considerable changes to our Macs. But providing you with new possibilities, Apple also sets some new restrictions that the users accept differently. One of the first questions that bothers users is what the Relocated Items folder on their desktops is.
It is now clear that the folder contains different files and data that lost their previous location during the upgrade to the latest macOS version. You can easily delete the folder by disabling SIP in the recovery mode. Don’t forget to enable SIP afterward.
You may also find that your Mac’s performance has slowed down after the upgrade to a new macOS version. That’s another case when CleanMyMac can prove useful. It can help you clean your Mac of junk files, which in turn will optimize your Mac’s overall performance.
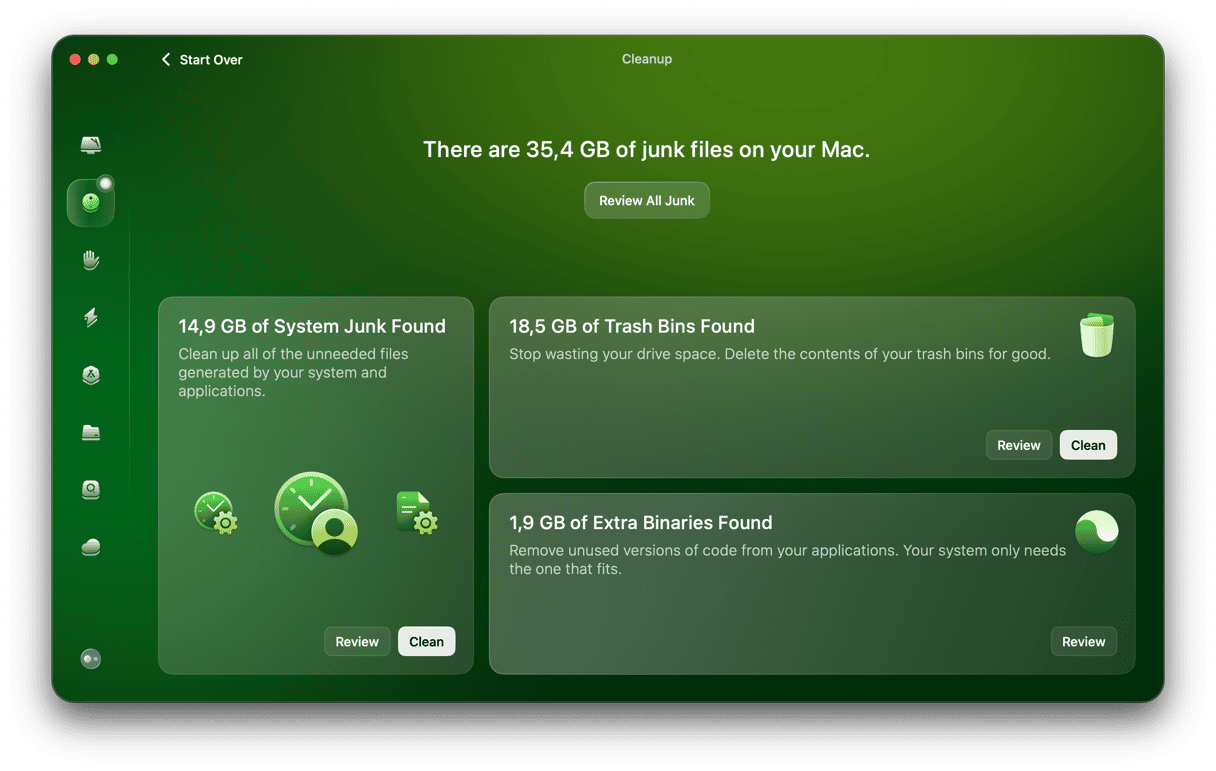
- Download CleanMyMac for free here.
- Launch it and open the System Junk tab.
- Hit Scan and then Clean.
And enjoy your Mac performing at its top speed again!


