Most of us don’t think about what’s going on in the background on our Macs because we don’t need to. As someone once said, ‘It just works.’ However, behind the scenes, there are hundreds of processes launching, running, and quitting so that your Mac can do everything you need it to do. The only time we give any thought to these processes is when something goes wrong like our Mac crashing or running very slowly. And that’s the case with CCXProcess.
If your Mac is running as it should, you don’t need to think about it. If not, CCXProcess may be the culprit. In this article, we’ll explain what CCXProcess is, why it might be slowing down your Mac, and what you can do about it.
What is CCXProcess?
CCXProcess stands for Creative Cloud Experience Process, and as the name suggests, it is part of Adobe Creative Cloud. It is a major component of the desktop app, which does various tasks such as synchronising files, fonts, and various settings across different Adobe apps such as Photoshop and Lightroom.
Therefore, CCXProcess can be seen as a very important and useful part of Adobe Creative Cloud. However, the downside is that users have found that it causes serious performance issues with their MacBook.
The problem has since been fixed in an update to Creative Cloud, so many people are likely no longer experiencing the problem. However, if you are running an older version of Creative Cloud (which you shouldn't be, considering the security implications), you are still likely experiencing performance issues due to CCXProcess. For example, it has been known to conflict with ad blockers.
How CCXProcess can impact Mac performance
If you're running CCXProcess on your MacBook, there are various ways it can impact your device. Here is a list of potential issues you might face:
- Your CPU usage will be very high. One of the things that Creative Cloud users report the most is excessive CPU usage. Even when your Adobe apps are closed, CCXProcess keeps running in the background, spiking CPU and making your MacBook generally unusable.
- When you boot up your MacBook, you will likely experience delays with the startup process. This is because CCXProcess is designed to immediately launch at startup. Therefore, boot times will be longer, and the device will immediately lag.
- Eventually, CCXProcess will make your MacBook overheat, which will make the fans start. When the fans start, this will eventually lead to thermal throttling. This is when your MacBook deliberately slows down to avoid overheating. It eventually has a knock-on effect on the overall speed of your device.
- All of these things will, of course, have a negative effect on battery life. Excessive CPU usage and slower speeds will drain the battery faster than usual. Excessive heat will also gradually damage the battery, which will eventually force you to have the battery replaced.
How to fix problems caused by CCXProcess
The first thing you should do is update Creative Cloud. That should be all you need to do to fix the issues you’re having.
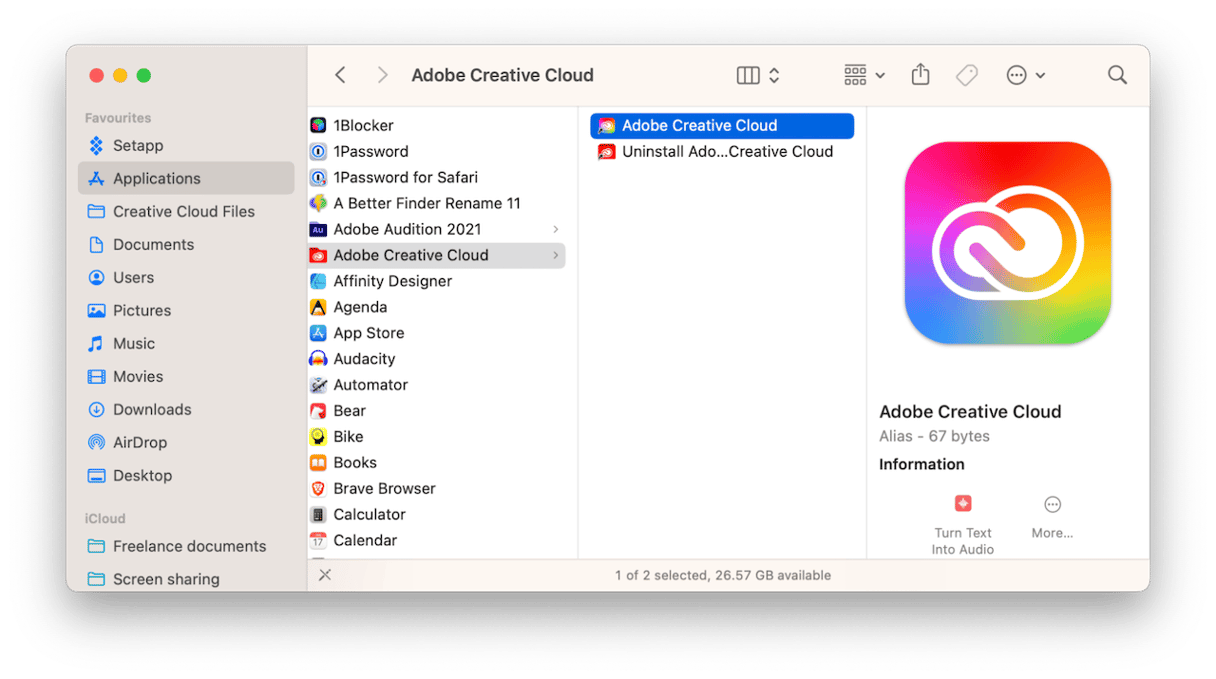
- Open the Creative Cloud app from your Applications folder.
- Click the three lines at the left of the menu bar and choose Help.
- Select Check for Updates.
- If there is an update available, follow the instructions on the screen to download and install it.
If that doesn’t work, there are a couple of other things you can try. Some Creative Cloud users have found that uninstalling ad blockers, specifically Ad Guard, works and stops CCXProcess hogging CPU cycles.
- If you installed AdGuard from the App Store, you can click the Launchpad icon in the Dock, click and hold on any app, then click the ‘x’ next to AdGuard.
- If you didn’t install it from the App Store, go to your Applications folder, drag the app icon to the Trash, and empty the Trash.
- You should also check for leftover files by clicking on the Go menu in Finder, choosing Go to Folder, and typing ‘~/Library’ to search for any files in the folders there that have ‘AdGuard’ (or the name of the app you’re uninstalling) in them and drag them to the Trash.
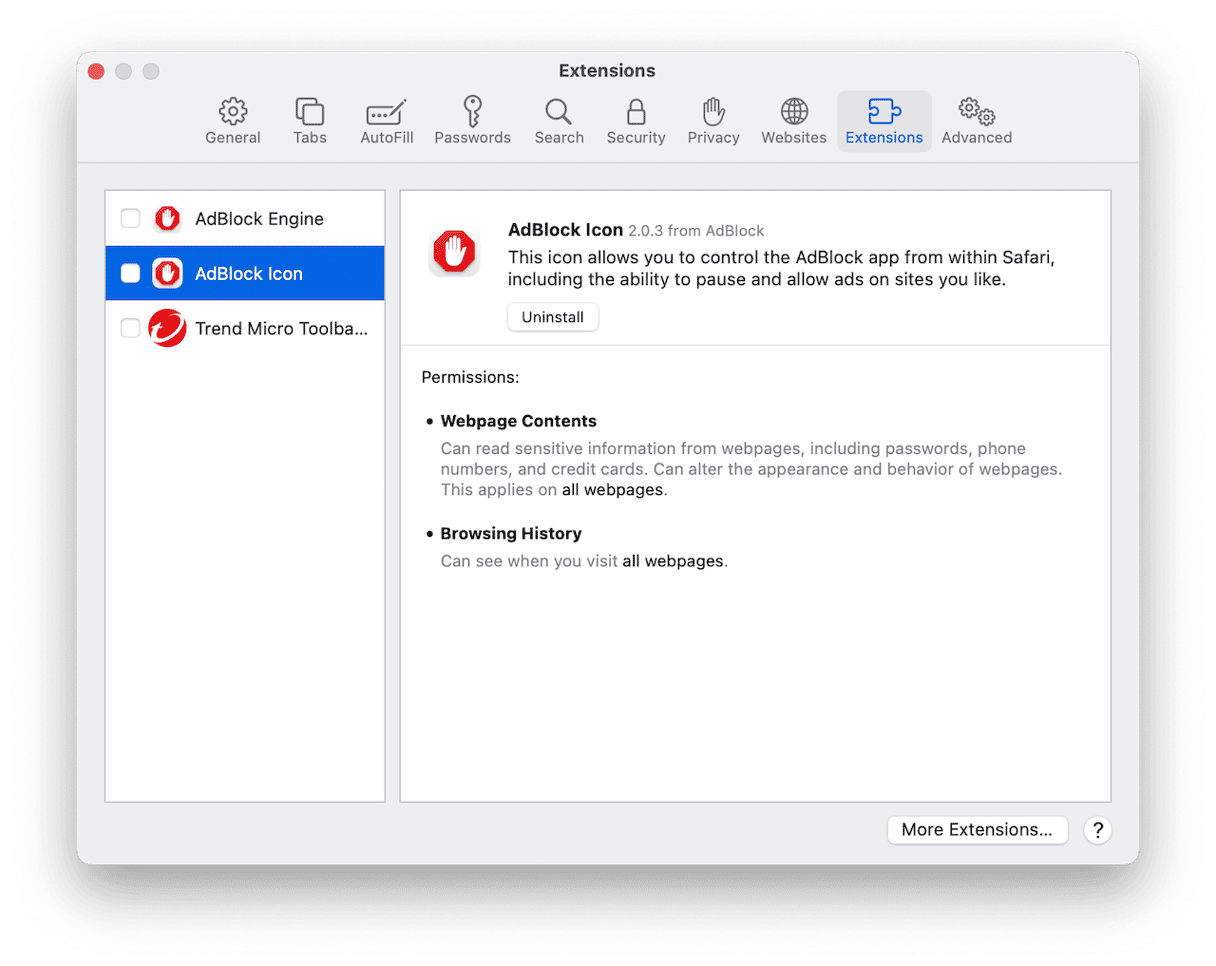
Some ad blockers take the form of browser extensions. If uninstalling Ad Guard doesn’t work, try disabling those. Here’s how to do that in Safari.
- Open Safari and click on the Safari menu.
- Choose Settings, then Extensions.
- Deselect the box next to any extensions you want to disable.
- To uninstall an extension completely, select it in the sidebar and click Uninstall in the main window.
How to protect your privacy
Conflicting with other processes isn’t the only issue browser extensions can cause. They can also be used to compromise your privacy by collecting data about your web browsing and sending it to a server. And it’s not just extensions; cookies and cache files can also compromise your privacy. Anyone who accesses your Mac can use your Recent Items list, browser history, downloads list, and search history to gather data about you. In addition to that, your Mac maintains a list of Wi-Fi networks you connect to, including public Wi-Fi networks, so that it can connect to them automatically in the future.
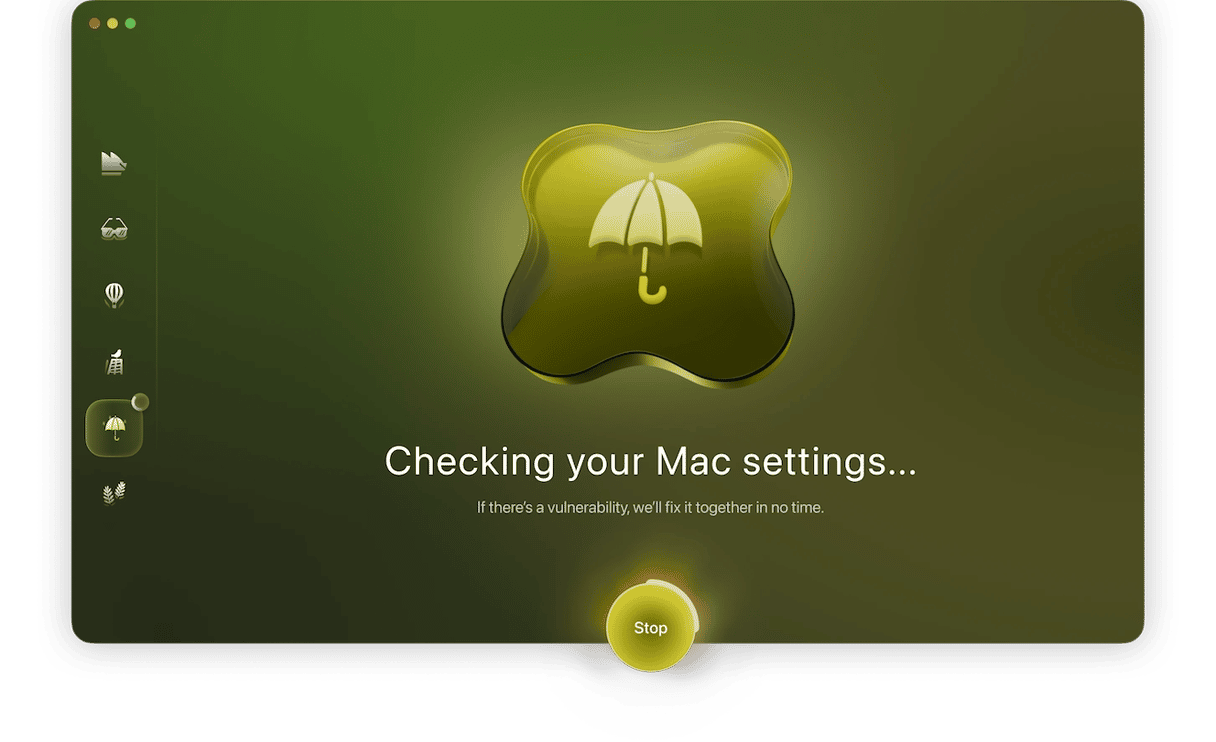
Unfortunately, some of them are unsecure, presenting another risk to your privacy. Dealing with all these issues manually would be time-consuming. Thankfully, there is a solution — Moonlock’s System Protection tool can scan your system for gaps in security settings and tighten them for better protection. Start your Moonlock plan (it’s free for 7 days).
Can I just disable or remove CCXProcess?
If it is running, and you're experiencing problems with your MacBook as a result, you can force-quit CCXMonitor. Simply open Activity Monitor, search for CCXProcess, select it, then click the X button to force-quit it. However, it is likely to reopen and start again. So, at the very least, this is only a temporary solution.
Then, of course, you can go all the way and delete CCXProcess. But you need to realize that if you remove Creative Cloud from your Mac, you won't be able to run the various processes that CCXProcess is used for. Thus, your ability to use Adobe Creative Cloud will be crippled.
If you’re sure that this is what you want to do, then here is the process:
- Go to
/Applications/Utilities/Adobe Creative Cloud Experience/. - Find CCXProcess.app.
- Delete it.
- Empty the trash.
Next, make sure that CCXProcess is still gone from the Login Items & Extensions menu. You should also try to locate and delete any associated files. Two of those files are the following.
~/Library/LaunchAgents/com.adobe.ccxprocess.plist
/Library/LaunchAgents/com.adobe.ccxprocess.plist
What about stopping it launching at startup?
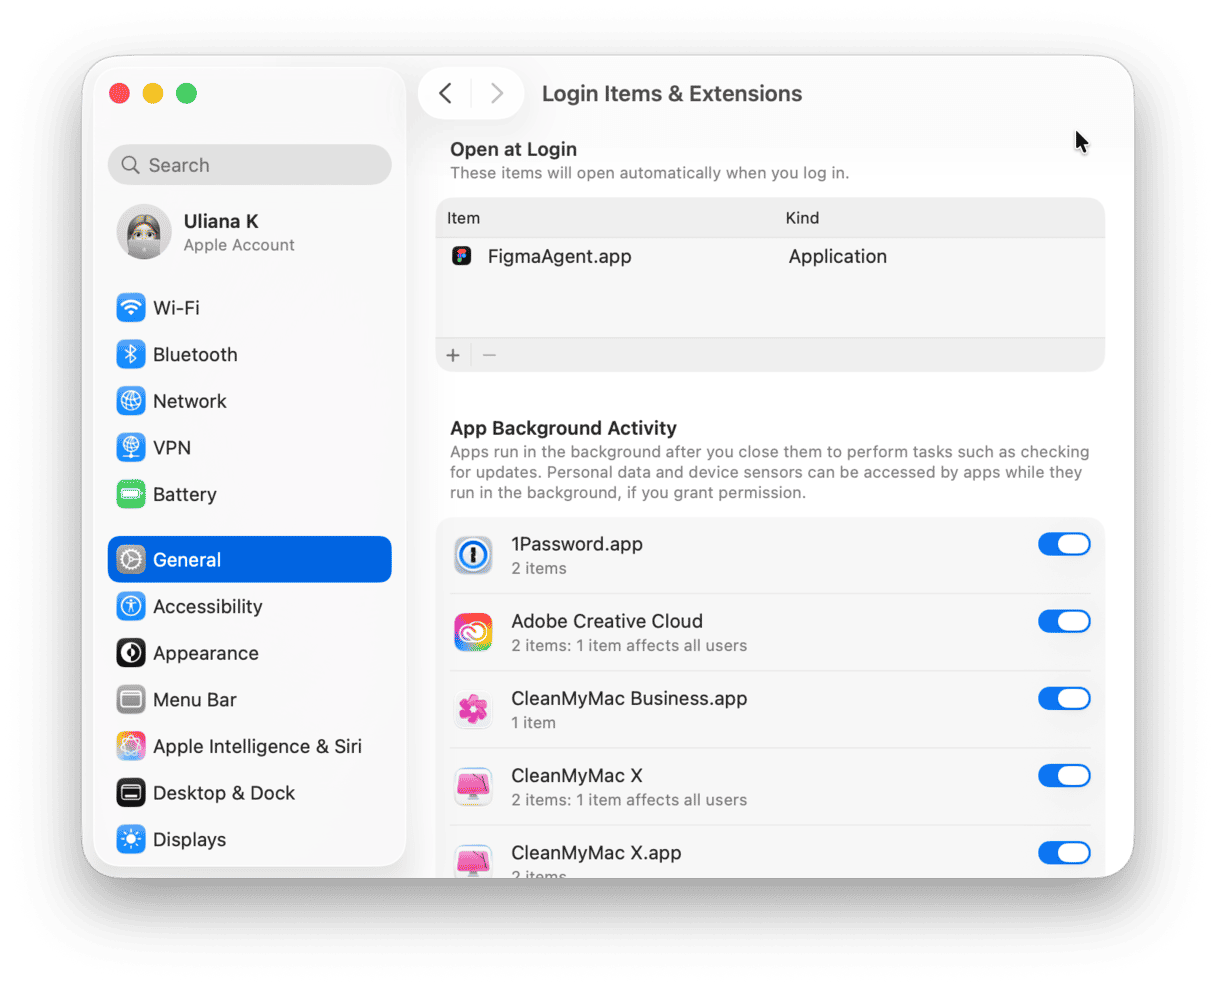
You can prevent Creative Cloud from launching at startup. Doing that, of course, would mean none of its processes, including syncing and checking for updates, will run. You would need to remember to launch it manually when you need it. But it may be a short-term solution.
- Click on the Apple menu and choose System Settings.
- Select General, then Login Items.
- If Creative Cloud is listed under Open at Login, select it and click ‘-’ to remove it.
- You can also turn off Creative Cloud under Allow in Background. However, you will need to run it manually to update or sync.
- Quit System Settings.
Check for malware
If you have uninstalled CCXProcess, and you're still experiencing performance issues with your MacBook, you may also have another problem that you were unaware of.
One of those problems could be malware. Something like a browser hijacker can also cause your MacBook to slow down, your battery to overheat, and your CPU to experience excessive usage. Therefore, the next step is to urgently install antivirus software and remove that malware before it does any serious damage.
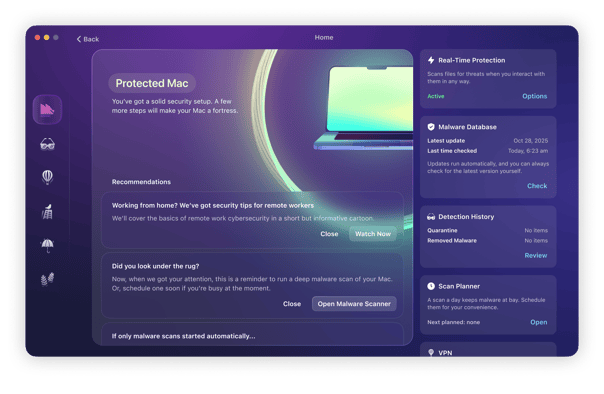
The most efficient and fastest way to do this is to use Moonlock, a Mac protection and antivirus app. If there is indeed any malware on your MacBook, this lightweight, fast, and powerful platform will find it the moment you install it.

New customers receive a free trial to test Moonlock out for themselves. If you installed Moonlock and its real-time protection feature didn’t alert you, most likely your Mac is malware-free. However, for your peace of mind, run a thorough scan of your entire Mac. Follow these very easy steps:
- Open Moonlock.
- Select Malware Scanner in the left sidebar.
- In the dropdown menu choose Deep scan. This will ensure no byte will be left unchecked on your machine.
- Click the Scan button to begin the malware search process.
- If malware is found, Moonlock will immediately isolate it in Quarantine. From there, intruders won’t be able to spy, steal, or slow down your Mac.
- Open Quarantine and select everything that’s in there. Hit the Remove button, and malware will be gone for good.

CCXProcess is a component of Adobe Creative Cloud that shouldn’t cause any problems if you update Creative Cloud. However, if you suspect it’s causing your Mac to run slowly, follow the steps above to fix it.


