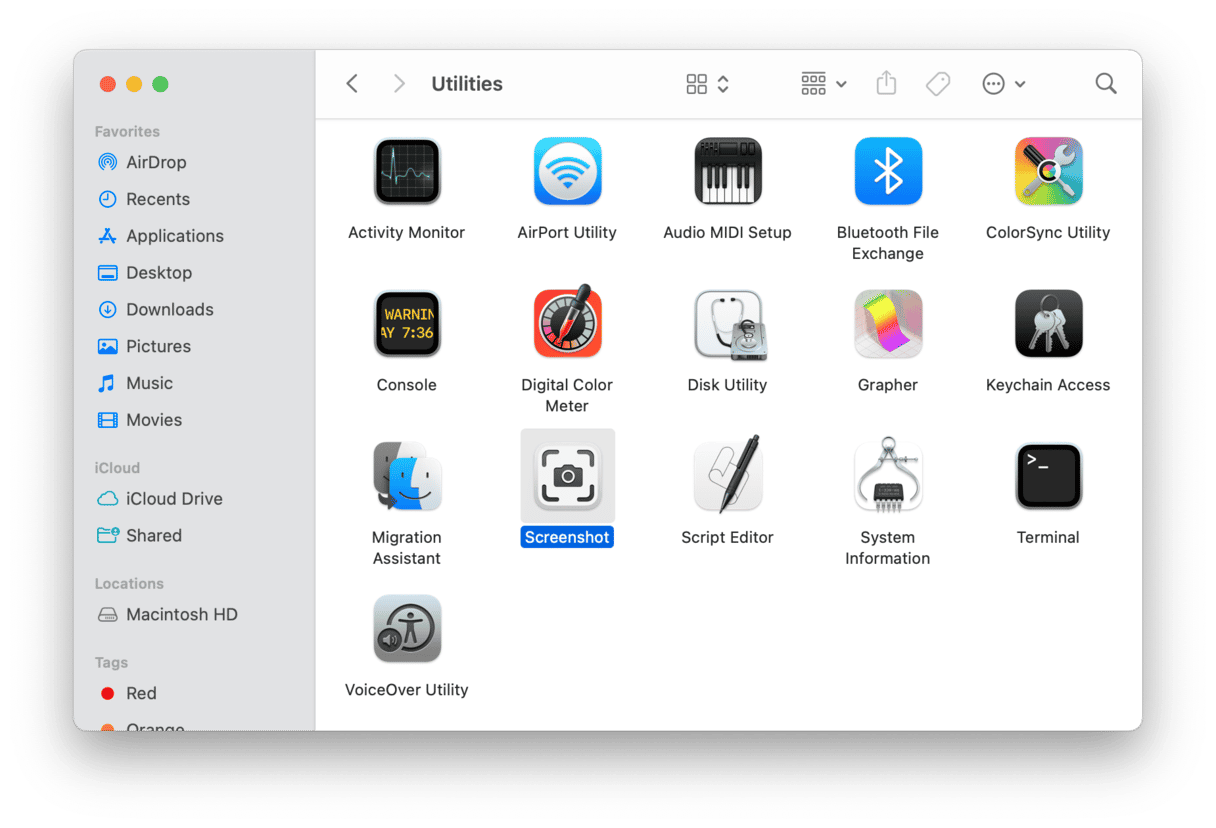
There are lots of reasons you might need to take a screenshot on your Mac. For example, when you buy something on a shopping website and want proof of your purchase. Or when you're dealing with technical support and need to show them the error message you're getting. However, unlike on Windows PCs, there is no Print Screen button on a Mac. There are, though, keyboard shortcuts that do exactly the same thing. And what's more, they allow you to customize how the screenshots are taken.
How to screenshot your Mac screen
The quickest and simplest way to take a screenshot is to use the Mac screenshot shortcut: Command-Shift-3. This grabs the whole screen and puts the file on your desktop, labeled with the date and time it was taken. If you use multiple displays, it will take a different image for each screen.
How to take a screenshot of a separate app
You can't take a screenshot of just one app. However, you can take a screenshot of a single window. And since most apps these days have single-window interfaces, that amounts to more or less the same thing.

To take a screenshot of a single window, do this:
- Press Command-Shift-4
- Press Space.
- Move the camera icon over the window you want to take a screenshot of.
- Click the window or a separate app to capture it.
- The window will be grabbed, along with its drop shadow, and placed on your desktop.
How to take a screenshot of a selected area
You may have noticed that when you use Command-Shift-4 to take a screenshot of a window before you press the spacebar, the pointer looks like crosshairs. That's because Command-Shift-4 is also the shortcut for grabbing a selection. It works like this:

- Press Command-Shift-4.
- Move the crosshairs to where you want to place the corner of the selection and click.
- Hold down the mouse or trackpad button and drag the crosshairs diagonally to where you want the opposite corner to be.
- When you're happy with the area you've selected, let go of the button.
More Mac screenshot shortcuts and their differences
There are a couple of other shortcuts for taking screenshots on your Mac. The most important is Command-Shift-5. Try it. You'll see that a dialogue box appears at the bottom of the screen that allows you to change certain options.
By clicking on the options in that box, you can:
- Choose between grabbing the whole screen, a selection, or a window.
- Record a video of the screen instead of a still image.
- Change where screenshots are stored.
- Use a timer.
- Show or hide the mouse pointer.
- Show a floating thumbnail of the grab on screen so you can preview or annotate it.

So, to sum up, here are all screenshot shortcuts:
- Command-Shift-3: takes a screenshot of the entire screen
- Command-Shift-4: captures a selected area
- Command-Shift-4-Space: captures a specific window or a separate app
- Command-Shift-5: opens the screenshot toolbar
How to manage screenshots on Mac
If you have lots of screenshots, it's very easy to have a desktop littered with them. That's not good for several reasons, including the fact that it makes them difficult to find. Here are some tips for managing your screenshots:
- Create a new folder dedicated to screenshots and use the options available in Command-Shift-5 (see above) to store screenshots in this folder.
- Rename screenshots as soon as you take them, so they are easier to identify.
- If you must keep them on your desktop, use Finder Stacks (Finder > View > Use Stacks).
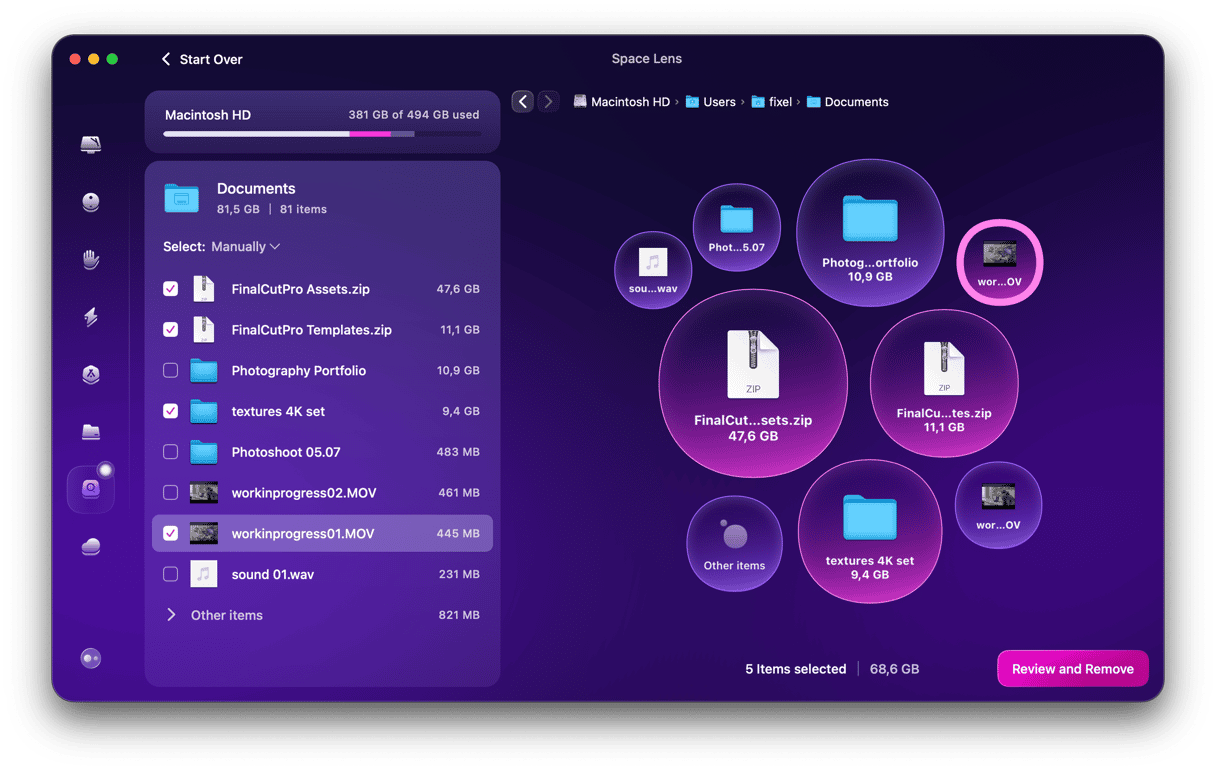
Removing unneeded screenshots can be difficult if they are scattered around in different places on your Mac and aren't labeled. However, there is a tool that can help. CleanMyMac is a handy application that has different features to keep your Mac free from clutter and running smoothly. One of them is called Space Lens.

Here's what it does:
- Scans your Mac's storage
- Displays files and folders graphically
- Highlights largest files
- Allows you to remove any file or folder
Use CleanMyMac regularly, and you won't have screenshots taking up gigabytes of space on your startup disk. Get your free CleanMyMac trial. Run a scan and see how many unneeded files you can find with its help.
The best snipping tools for Mac
Although the built-in screenshot tool does a great job, you should look for a third-party app if you take lots of shots and need more features. For example, if you want to hide your cluttered desktop when taking screenshots but don't want to drag files into another folder, tools will make it look like your desktop is clear. There are also tools that will perform optical character recognition on text in screenshots. Here are some of the best.
CleanShot
As well as allowing you to capture still images of whatever's on your screen, CleanShot also allows you to grab videos and make GIFs. You can choose which folder to put screenshots in, or you can save them to CleanShot's own cloud storage service. A small overlay that appears after taking a screenshot allows you to annotate or blur parts of the image or save it.
CleanShot lets you capture the whole of a window, even if you have to scroll down to see some of it. Best of all, it hides desktop icons when you take a screenshot of the whole screen.
Snagit
Snagit is made by the same company that makes the screen recording tool Camtasia. And it's often used by businesses because it has versions for both PC and Mac.
In addition to taking screenshots, Snagit allows you to import images from scanners and cameras. And it can copy the text from a screenshot image so you can paste it into a text document. You can also create and trim video recordings and create GIFs, which is incredibly useful if you want to demonstrate some process.
Skitch

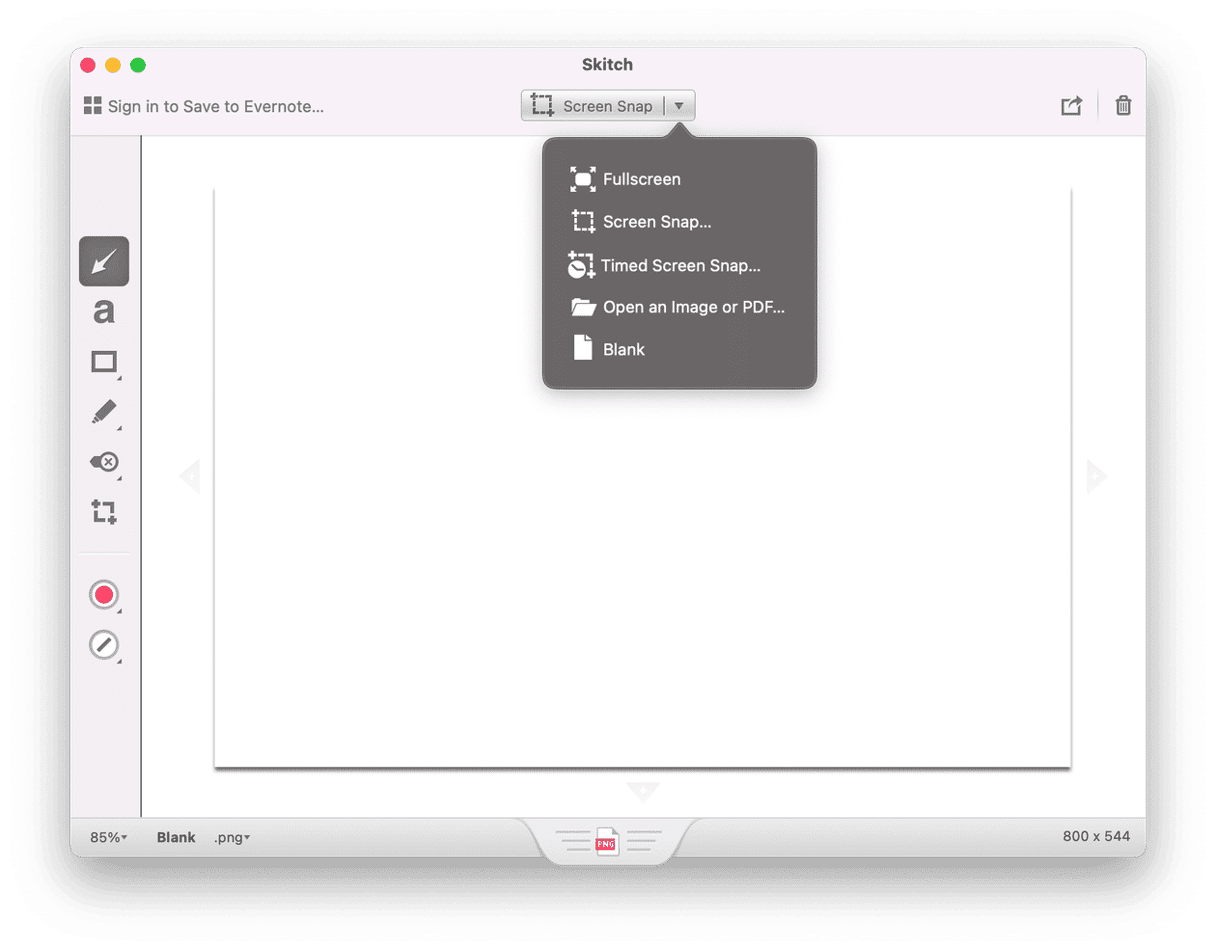
Skitch is designed to work alongside Evernote, the popular note-taking tool. However, you can use it on its own. You can take screenshots full-screen of a selected area or a window, and you can also take photos with your Mac's camera. Where Skitch shines, though, is in its annotation features. You can add arrows, lines, call-outs, and highlights, And you can pixelate areas for privacy or highlight sections. If you use Evernote, you can save images in your Evernote account.
LightShot
Unlike the other tools listed here, LightShot is completely free. It also has a very simple interface. It's not as fully featured as the others but does allow you to take full screenshots or shots of selected areas. And there's a neat tool that lets you select an area on your screen and search for similar images. When you're done, you can upload the screenshot to LightShot's server and get a short URL to share it.
There are many reasons you might need to take screenshots on your Mac — we do it for articles like this one. And there are many different ways to do it, including using Mac's excellent built-in screenshot tool or one of the many available third-party apps. However, if you take lots of screenshots, it's essential to organize and keep track of them. Otherwise, you'll never find them when you need them. And you should regularly clear out the ones you no longer need. The easiest way to do that is to use CleanMyMac's Space Lens feature.


