Counter to the development of evermore invasive tracking systems, Apple has taken a strong privacy stand in the last few years. The company has doubled-down on their stringent App Store review process, introduced more privacy-related notifications in Safari, and urged everyone to put down their smartphones altogether more frequently with Screen Time.
If you’re an iPhone user, it’s likely that you already love Screen Time. This utility tracks how much time you spend on every app or website and gives you the ability to impose limits or just be more mindful and intentional about certain apps — four hours on Instagram and more than two hours on Messenger don’t usually result in a good day. And Apple has also released the Screen Time Mac edition.
How to use Screen Time on Mac
Announced at the WWDC 2019, Screen Time for Mac was first introduced on macOS Catalina. Now, it’s a staple feature of any new macOS. So why not use Screen Time on Mac today?
1. Manage your day with Screen Time on Mac
You can simply open System Settings > Screen Time > App & Website Activity. You don’t have to keep System Settings active for it to register how you spend your time — all that work is done automatically in the background.
Similarly to its iPhone counterpart, Screen Time on Mac shows you the week at a glance and your average time with the device at the top, and then a list of the most popular apps in the lower part of the window. By changing the day in the top-right corner, you can see on what apps precisely you spend all your time.
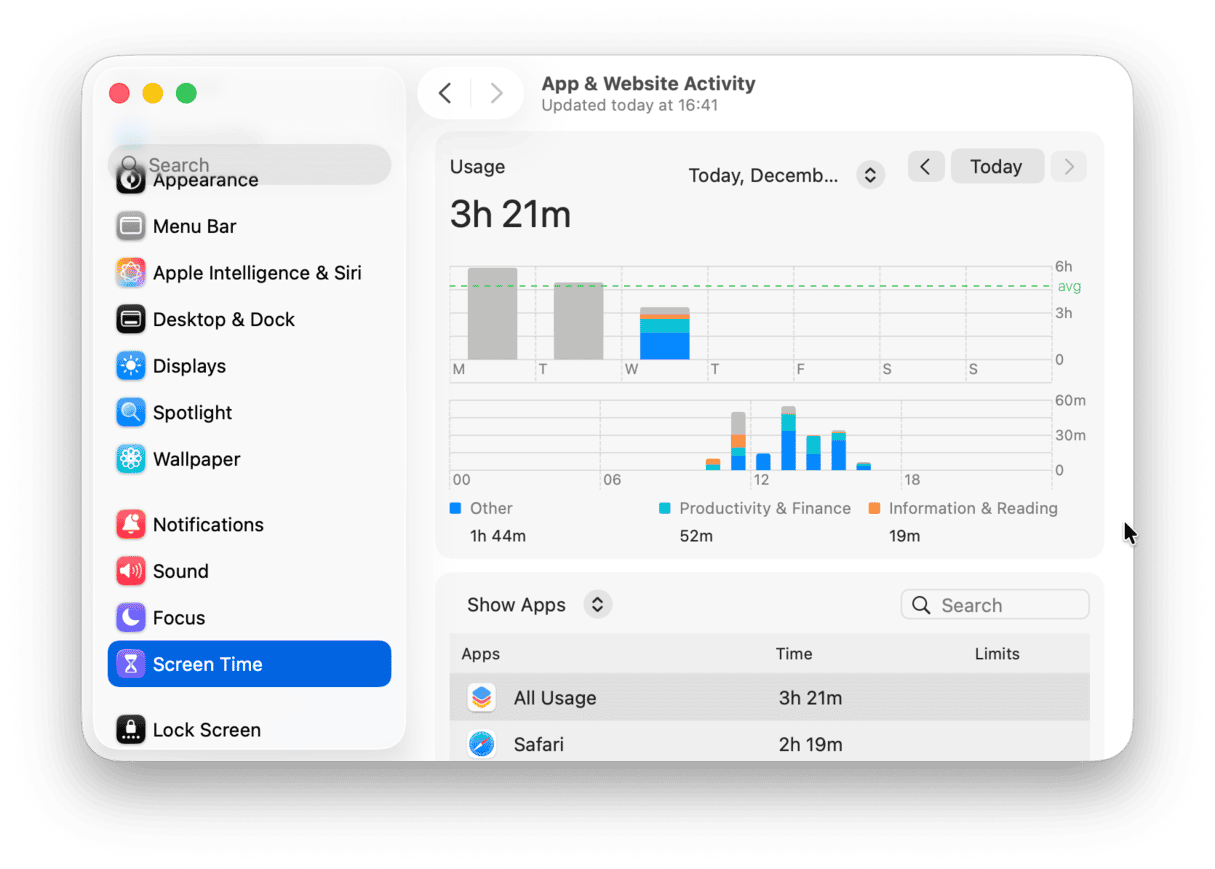
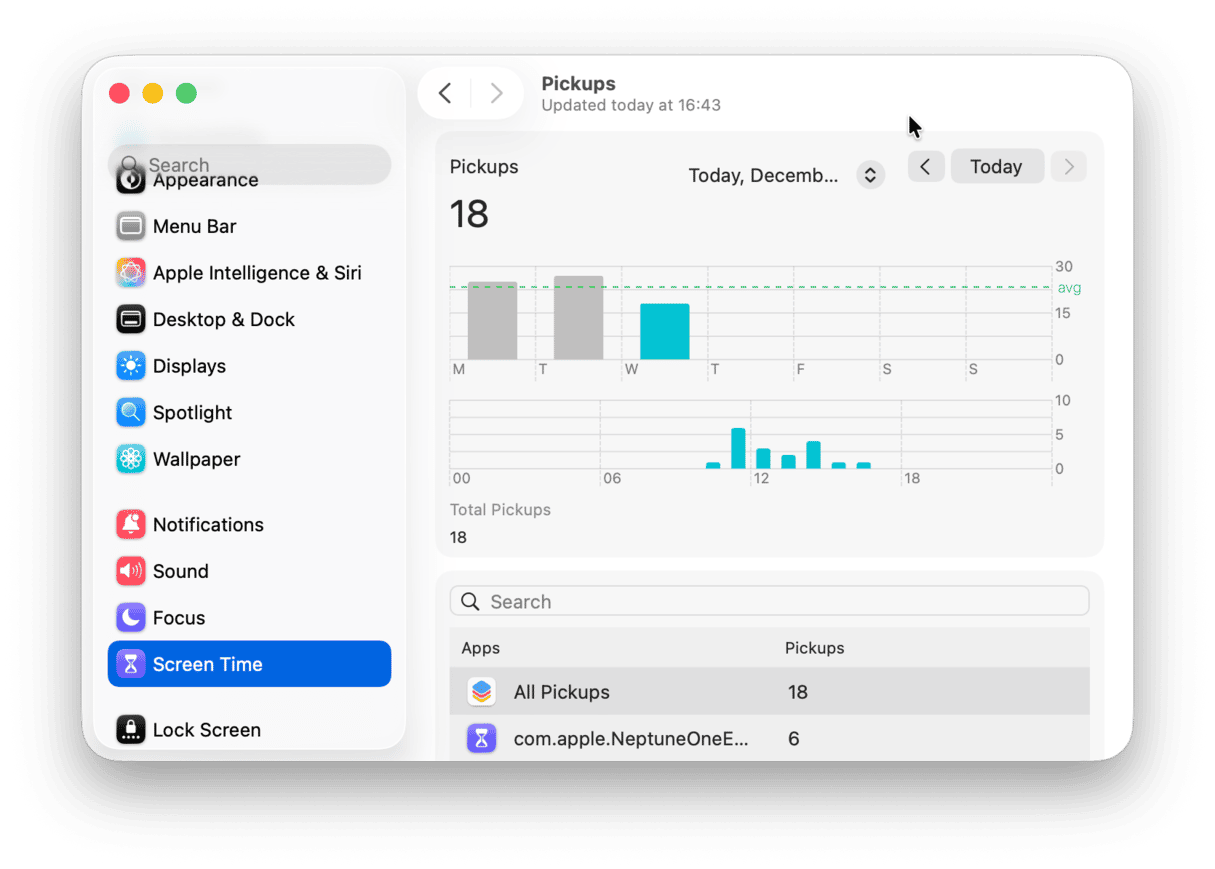
In addition, moving to the Notifications tab will uncover the most attention-seeking apps that you can choose to quickly silence via Notifications in the System Settings. Lastly, Pickups shows you how often you turn to your computer and which apps are the first to be opened. Naturally, you might want this to be your work browser instead of the latest video game.
2. Set productive limits
After you review your usage for a day or two, you might discover an unpleasant pattern that you’d rather change. Great! Here’s how:
- From System Settings > Screen Time, go to App Limits.
- Click Add Limit.
- Choose the app for which you’d like to restrain usage.
- Either set the same time limit to repeat daily or configure custom restrictions.
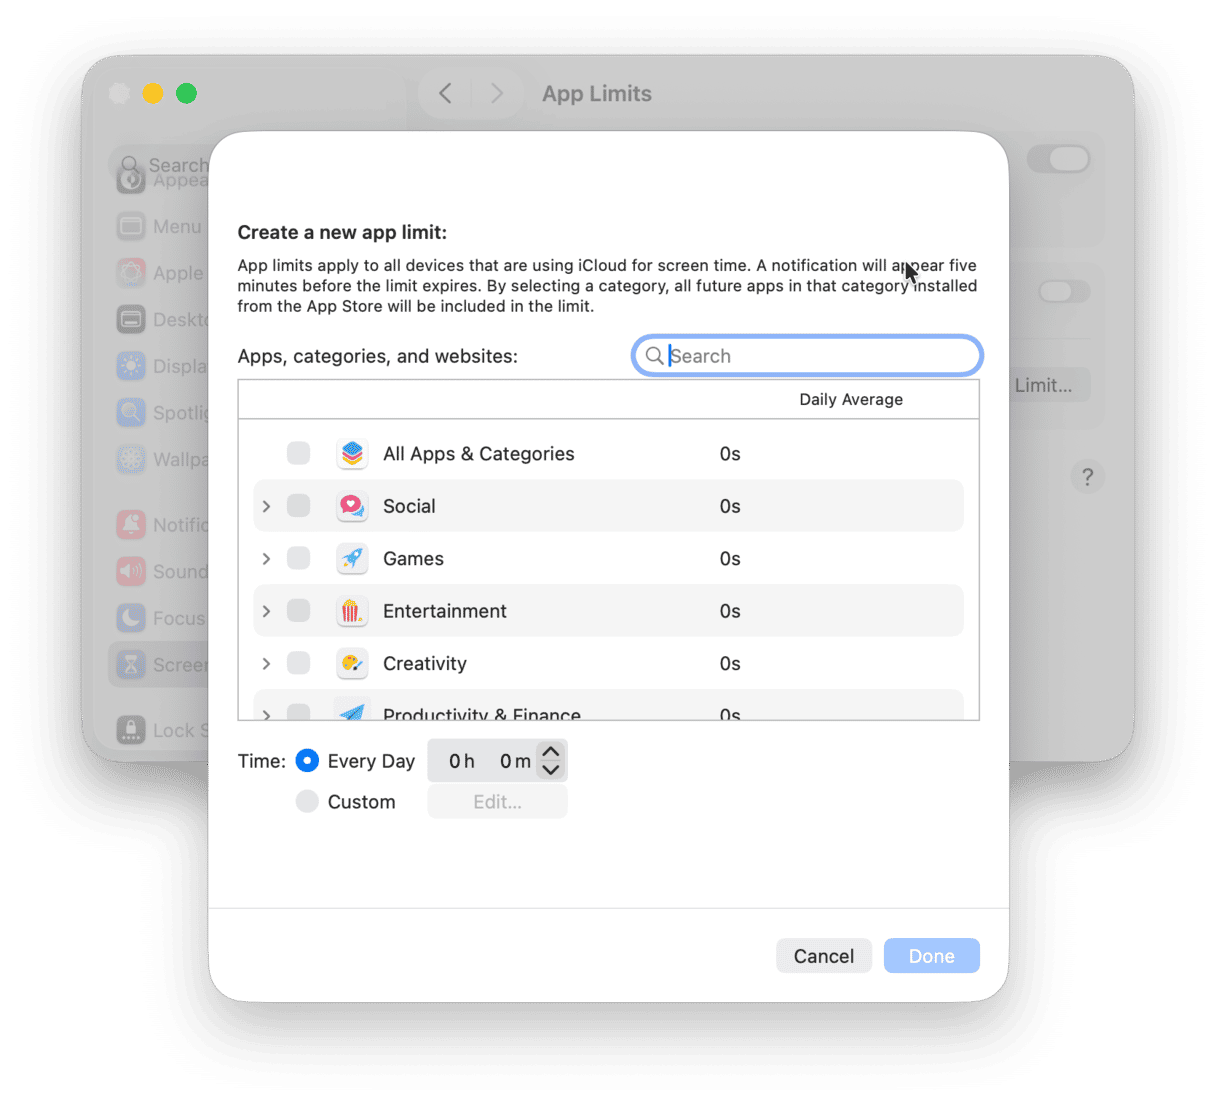
To make this time-management setup easier, Screen Time also lets you set Combined Limits that apply to a whole category of apps (e.g., social media or games) rather than tweaking each app separately.
When your time for any given app runs out, you’ll get a notification or overlay on top of the app window saying that you’ve reached your time limit. Ideally, this is the moment you quit the app and switch to doing something more productive. But if you do need to finish up, you can select to have one more minute, 15 minutes, or ignore the limit for that day completely (not recommended).
3. Set communication limits for children
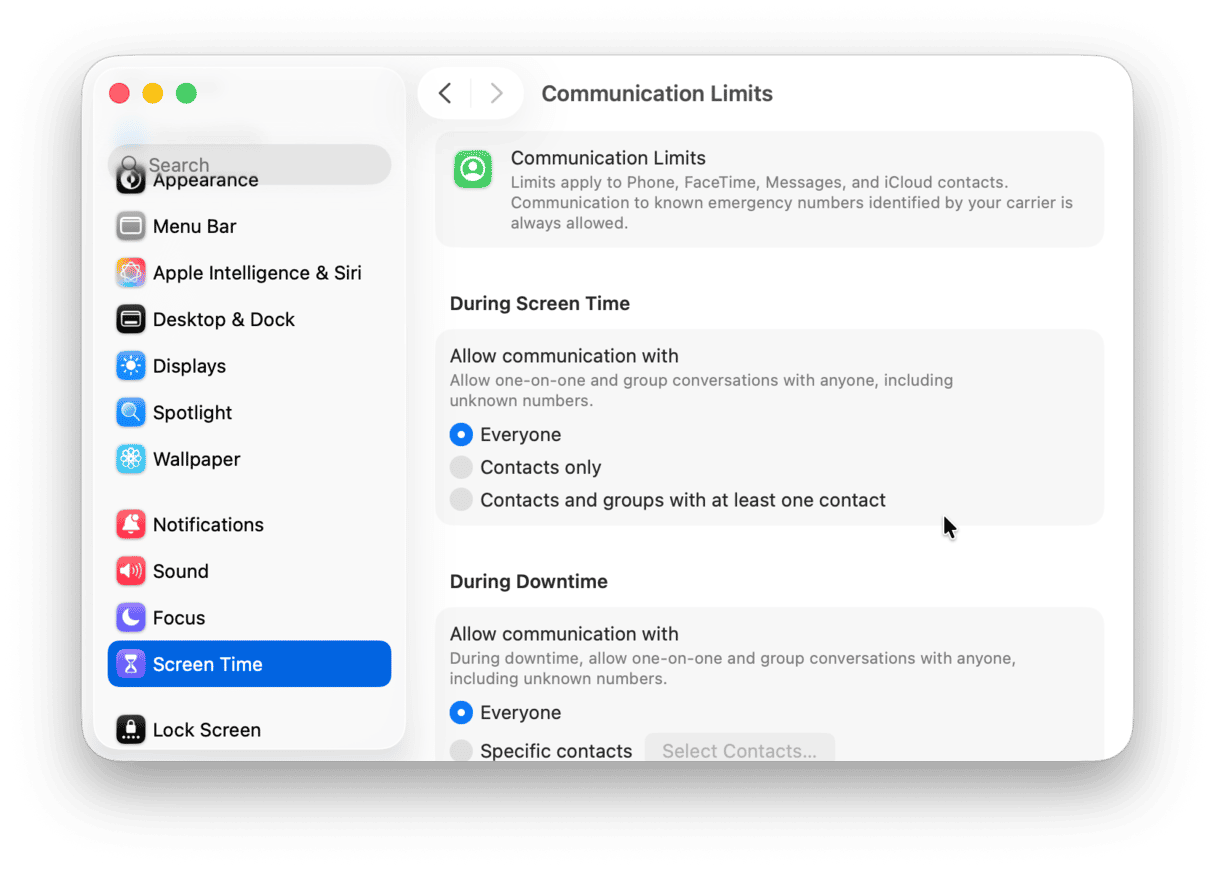
One unique feature added to Screen Time on Mac is the ability to manage who your children are able to communicate with, in case you’re sharing the same Mac.
To set limits for your kids:
- Select the profile from the Screen Time drop-down below the avatar.
- Set all the necessary App Limits as specified above.
- Switch to the Communication tab from the main Screen Time menu in System Settings.
- Choose whether to allow messages and calls from everyone or specified contacts, both within the Screen Time limits and during Downtime.

4. Get rid of time-sinking apps completely
Screen Time for Mac certainly champions the right behavior. But as it features the option to delay time limits whenever you feel like, it’s not the most effective cure for addictive distractions.
The best thing you can do for your productivity is delete unwanted apps once and for all. But don’t just place them in the Trash — all kinds of supporting documents related to that particular app would stay and clog up your Mac in the long term. Instead, use a professional uninstaller like one in CleanMyMac:
- Open CleanMyMac — get your free trial here.
- Click Applications > Scan > Manage My Applications.
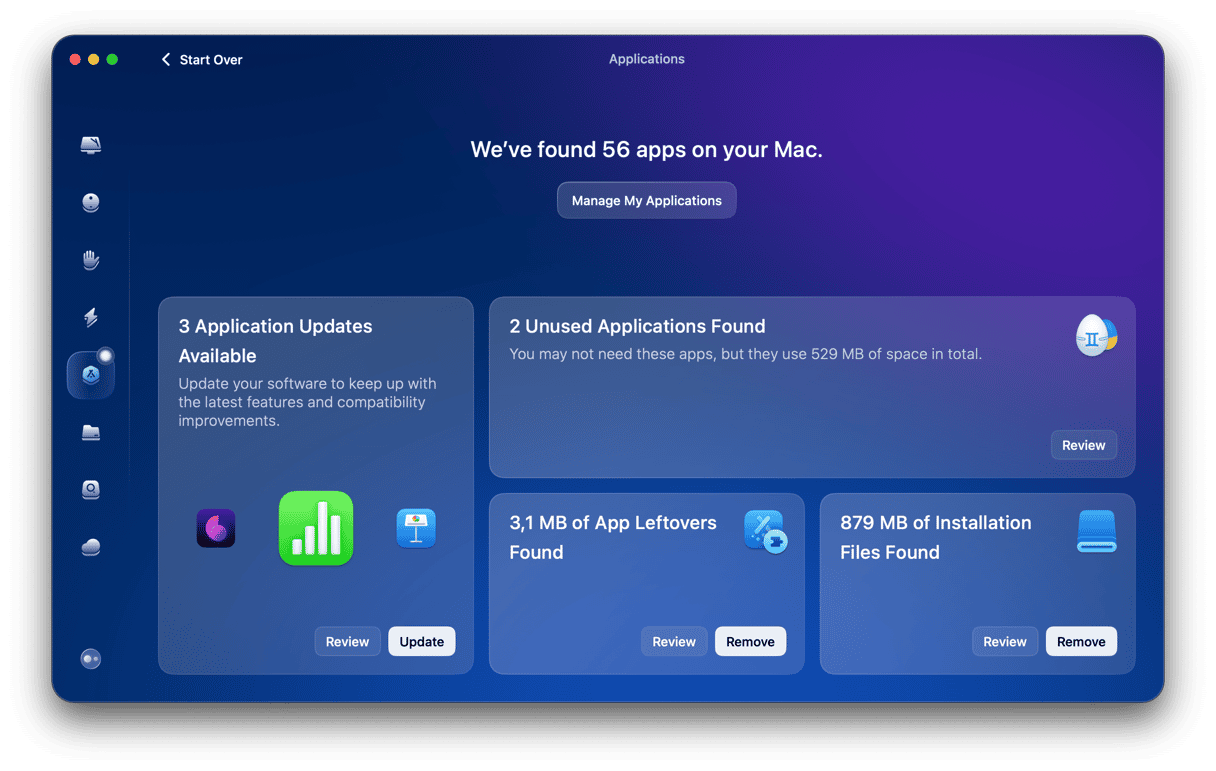
Now you can sort out your apps by “Unused,” “App leftovers,” “Vendor,” and other filters in the Uninstaller tab. Select the unwanted and rarely used apps and delete them right away.
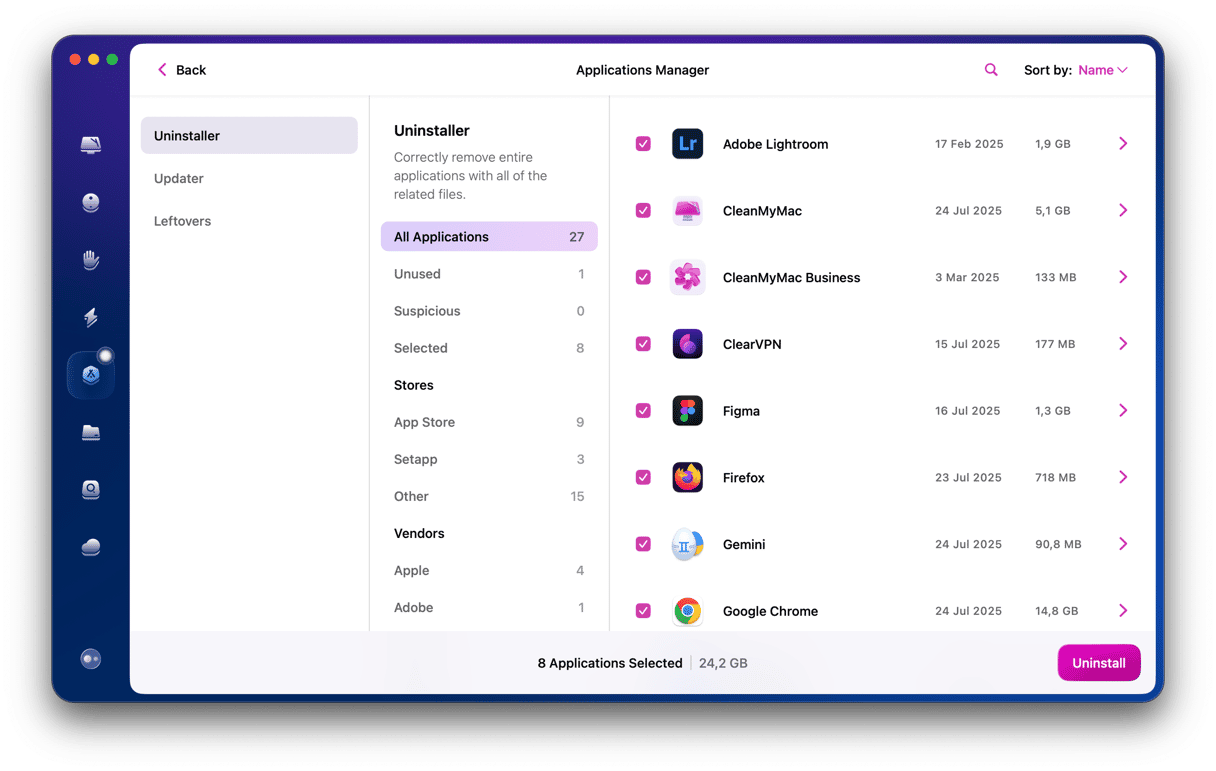
Done! Now besides freeing up space, you’ll finally put your app collection in order — a time-saving hack!
5. Find apps that spam you with notifications
For a complete digital detox, you may want to put on hold your app notifications. There are several types of entities on your Mac that send out notifications. One of those are Launch Agents. They are small applications usually operating in the background. How to minimize them?
Once again, the handy tool is CleanMyMac:
- Run the app again.
- Click Performance > Scan > View All Tasks.
- Review Login and Background Items and remove what you no longer need.
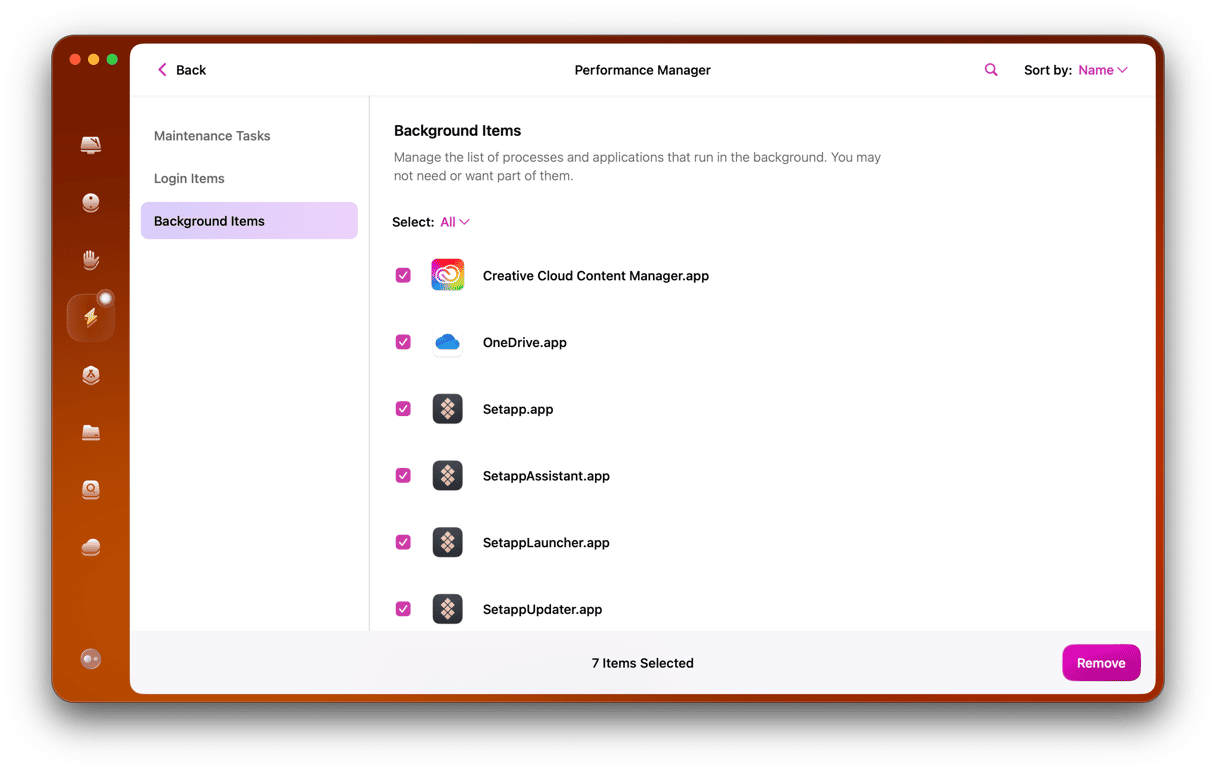
Here you can disable launch agents, like app helpers and updaters that send you prompts “to update your software.”

6. Speed up the apps you use most
Sometimes, Screen Time might reveal we’re using certain apps more not because we give way to procrastination but simply because they are slow.
In most cases, the largest perpetrator is Mail. Sending and receiving hundreds of emails every week for years may result in the app being sluggish and slow to respond. Luckily, it could be fixed in just one click:
- Open CleanMyMac.
- Click Cleanup > Scan > Review All Junk.
- Navigate to Mail Attachments from the sidebar.
- Review retails, choose the attachments you no longer need, and click Clean.
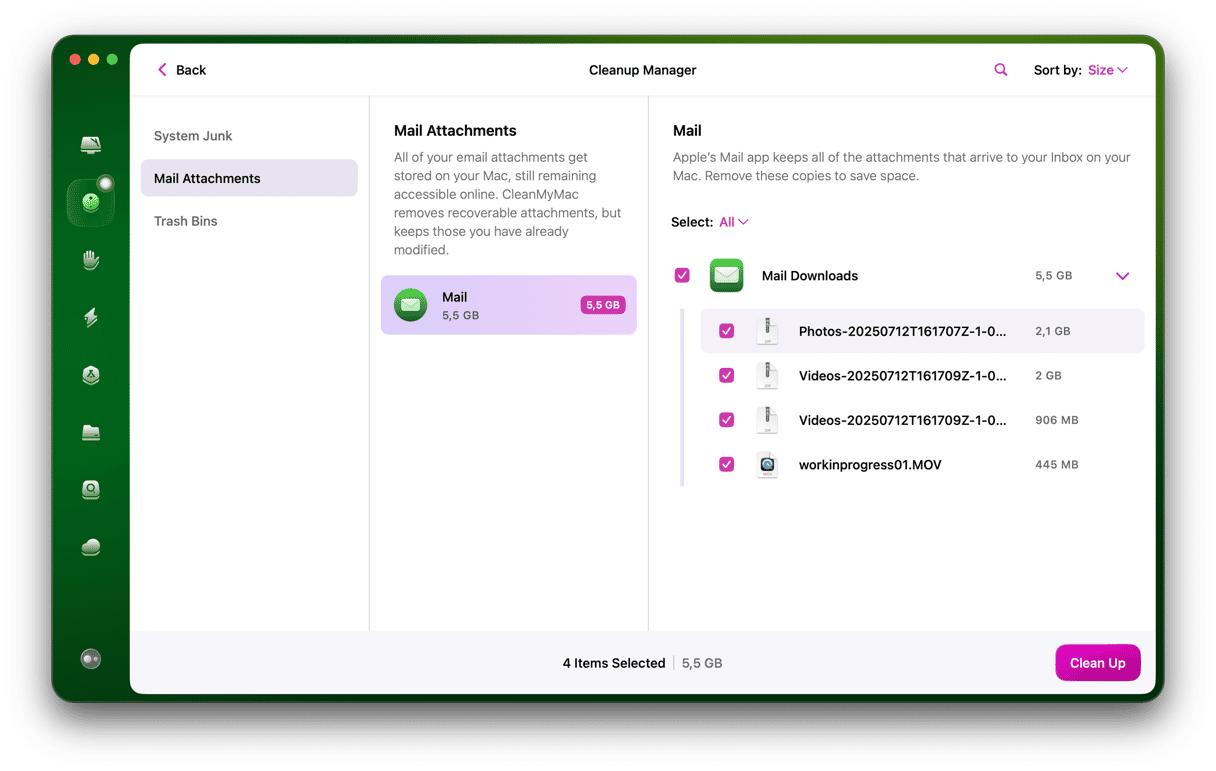
Just like that, the Mail app could shed over megabytes of taxing data and become quite a bit more nimble in its ways. Just don’t forget to repeat the process every month or so for always-optimal performance.
So when you use Screen Time on Mac, you can not only set limits for your social media use and the like, but you might also notice time-wasting patterns that could be instantly fixed with optimization software like CleanMyMac.


