Taking screenshots, or partial screenshots, also known as snipping, is something many of us do on a regular basis for all kinds of reasons. It could be to grab evidence of an online transaction or web chat, provide technical assistance to friends or colleagues, or just keep inspiration for a project. Whatever the reason, there are a variety of options for snipping tools on the Mac. In this article, we’ll show you the best snipping tools for Mac and give you all the information you need to decide which is best for you.
Is there a snipping tool on my Mac?
Yes! There’s a snipping tool built right into your Mac. It’s called Screenshot, and it lives in the Utilities folder inside your Applications folder. It can grab the whole screen, an area of the screen you define, or the active window. You can specify where you want to save screenshots, set a timer, and even use it to record screen videos.
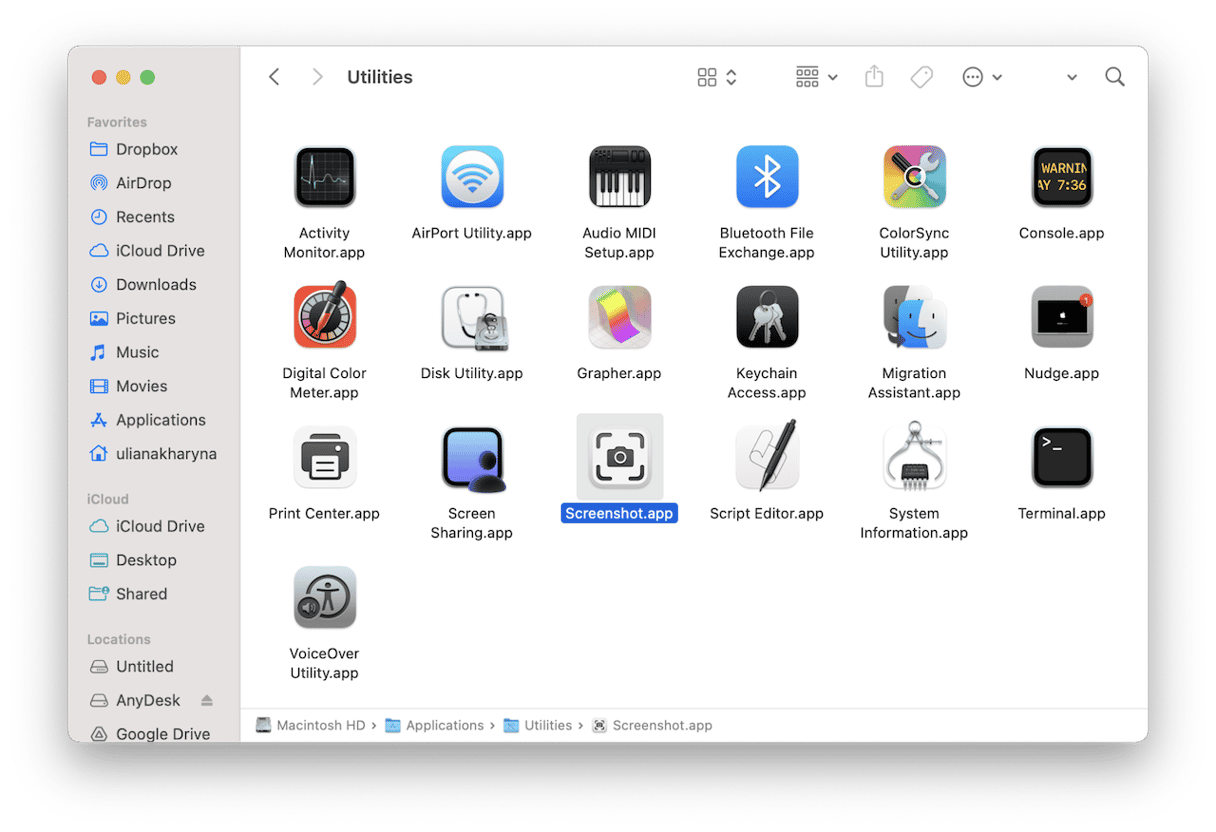
The easiest way to use the built-in snipping tool on your Mac is to press Command-Shift-3. That will snip the whole screen and save the image to the default location — your desktop unless you’ve changed it. To snip an area of the screen, press Command-Shift 4 and draw over the area using the mouse pointer. To snip a window, press Command-Shift-4-Space and click with the mouse or trackpad on the window. To see all the available options, press Command-Shift-5.
Best snipping tools for Mac
If you don’t want to use the snipping tool in macOS, there are plenty of third-party options that provide additional features like the ability to create GIFs from recordings or scroll through windows and capture everything in one screenshot. Here are some of the best MacBook snipping tools.
Clean Shot X
Clean Shot is one of the most popular third-party snipping tools on the Mac. As well as allowing you to capture images, videos, and GIFs, you can set it to hide desktop icons, copy the text from screenshots, and quickly view screenshots you made recently.
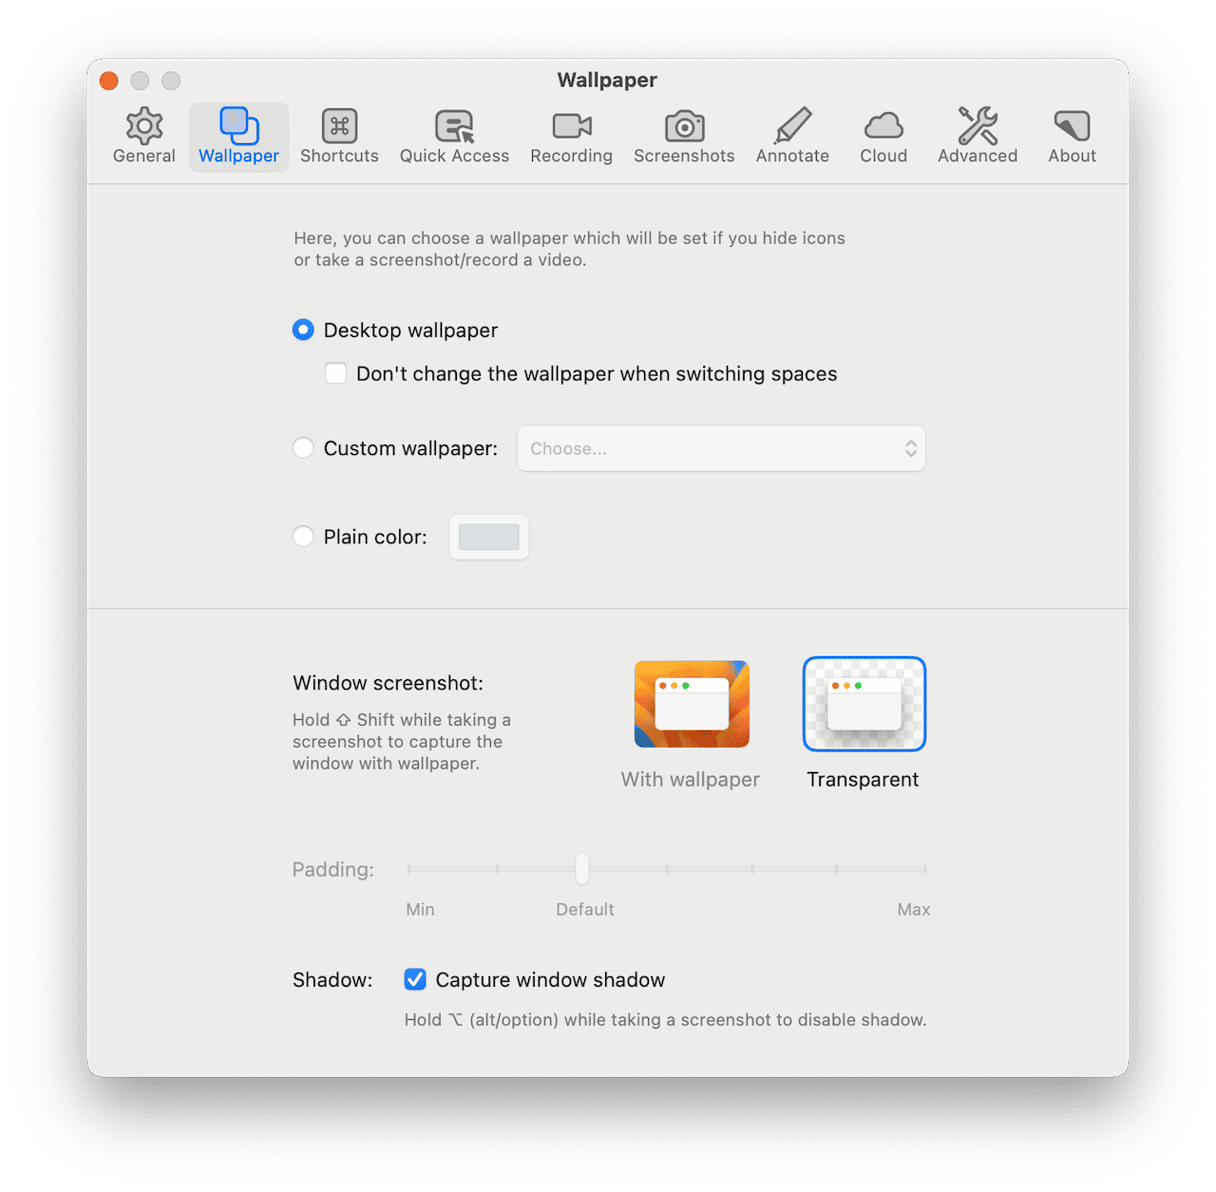
You can annotate screenshots, change the background to make it transparent, or use a desktop background of your choice. When you’re recording video, you can choose to capture mouse clicks, keyboard shortcuts, and even your MacBook’s camera. Once you’ve finished recording, there’s a built-in video editor that allows you to trim clips, adjust the sound, and change the resolution. And once you’re ready to save clips, you can save them to your Mac or to Clean Shot’s cloud storage service.
There are lots more advanced features and options, too. For example, you can view recent screenshots in a History panel and filter them by type. Or you can pin screenshots to your Mac’s screen and adjust their size and opacity so they are always visible while you work.
Price: $29
Monosnap
Monosnap is another popular snipping tool for Mac and one that, like Clean Shot, has plenty of options for editing screenshots and videos after you’ve taken them. You can also annotate screenshots, blur out sensitive information, and upload videos directly to YouTube.
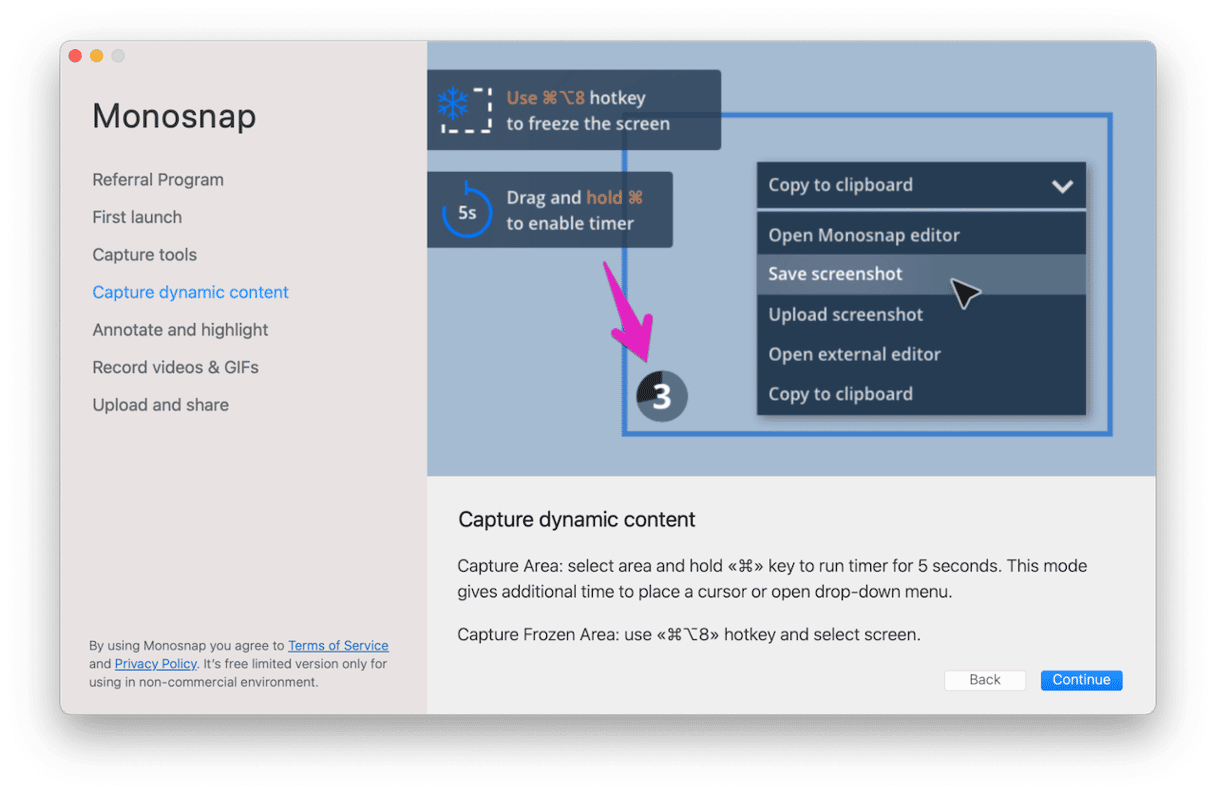
There’s an 8x magnifier for when you need to be more precise about the area of the screen you need to grab and a highlight tool for screen videos. It also covers all the bases with features like timed recordings. If you opt for the paid-for version, you can also upload directly to services like Dropbox, Google Drive, and Box.com. The paid version also includes 10GB of storage on Monosnap’s own cloud services.
Price: From free to $10/month
Xnapper
Xnapper’s focus is on making your screenshots and videos look as good as possible. It has all the basic features you’d expect from a screenshot tool, but its standout is the way it places screenshots on a background of your choice and allows you to center it with a click. You can also make the corners of your screenshot rounded and add a watermark, as well as change the border radius or adjust the shadow or padding.
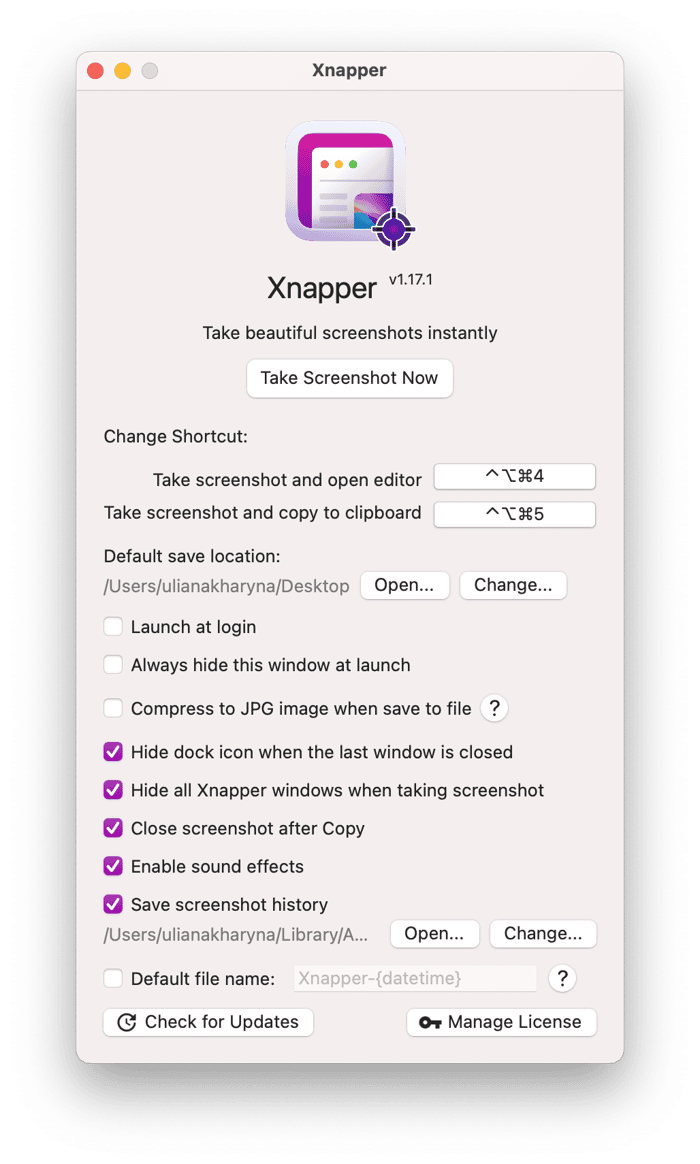
There’s also a neat redactor tool that uses optical character recognition (OCR) to detect information like email addresses and credit card numbers in a screenshot and allow you to redact them with a click. And that OCR also allows you to copy and paste text right from a screenshot. You can also annotate screenshots, view your history, and create presets for different types of screenshots.
Price: $29.99 for one Mac
Droplr
Droplr is a snipping tool that’s designed for people who want to store their screenshots and recordings in the cloud. In fact, when you take a screenshot or make a recording, it’s automatically uploaded to Droplr’s cloud storage service, and the URL is copied to your Mac’s clipboard to make it easier to share. You get 100GB with the first tier of paid-for service, but there’s no free version except for a trial.
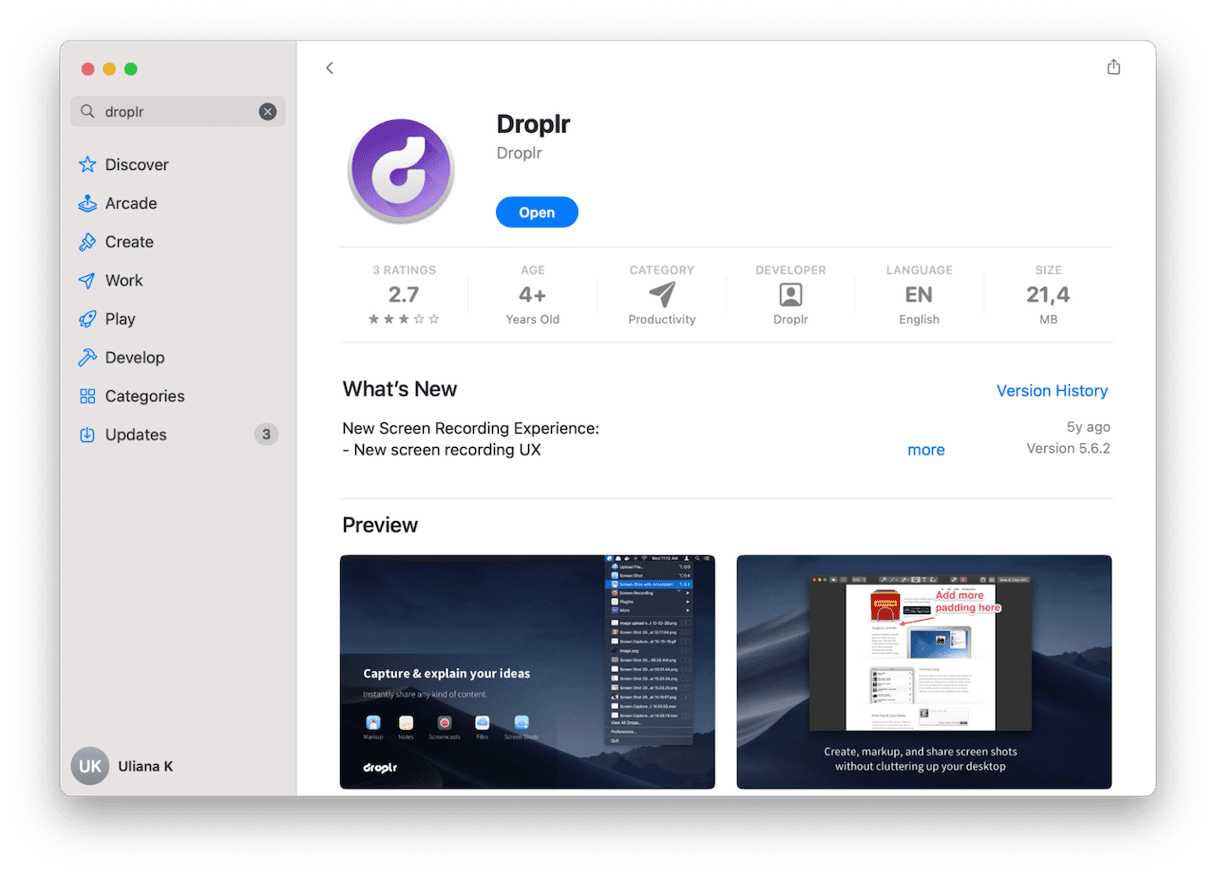
Droplr covers all the basics, allowing you to take screenshots of all or part of the screen, a window, or a page and record videos. You can also annotate screenshots and add shapes to them. You can record from your MacBook camera while recording the screen and save it as a video or GIF.
Price: $6/month
Textsniper
Textsniper is very different from the other snipping tools here. Where they offer text recognition as an add-on, Textsniper puts it at the heart of the app. In fact, the whole point of Textsniper is to allow you to grab text from images.
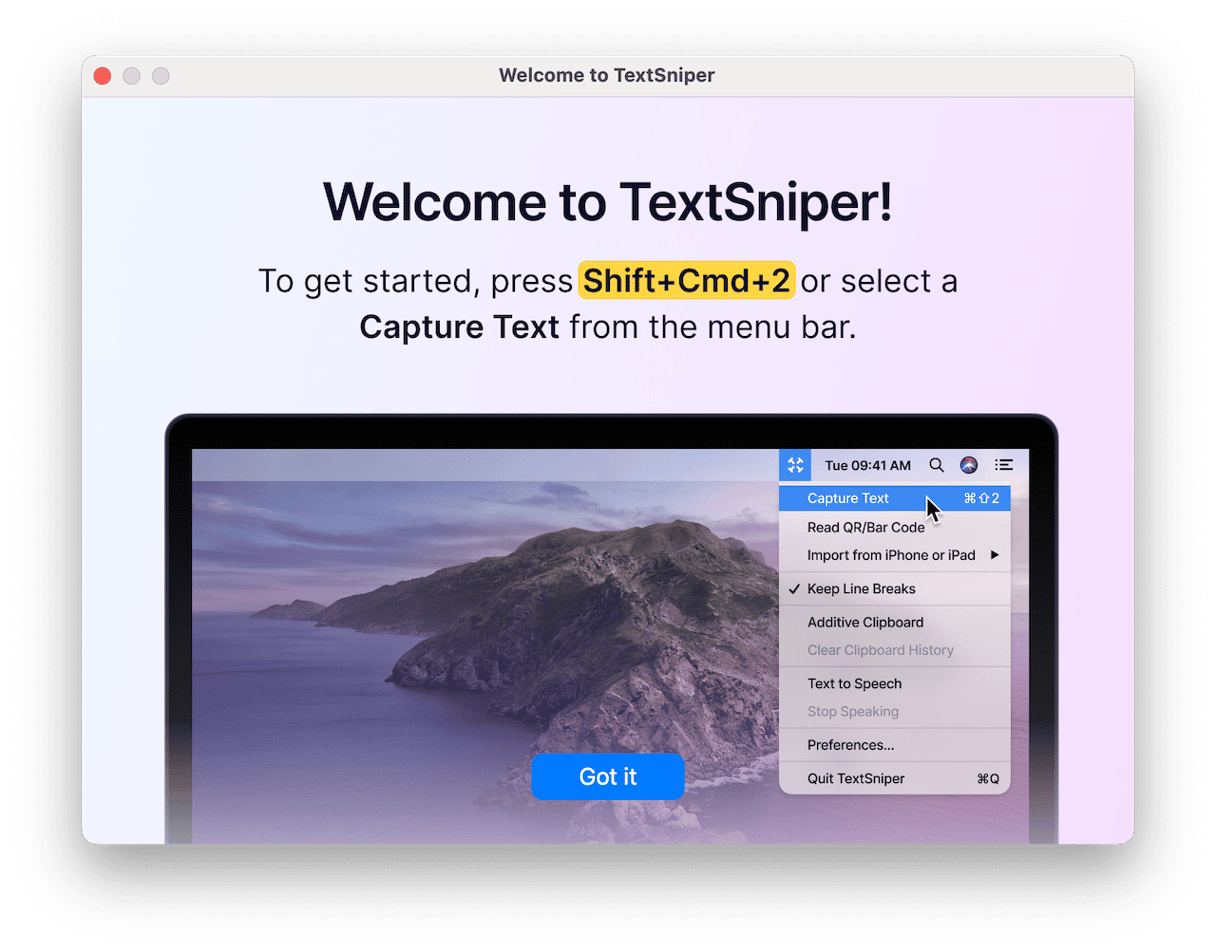
You use the keyboard shortcut to grab a section of the screen, and Textsniper converts the text in the image and copies it to the clipboard. You can then paste it anywhere you want. Textsniper can also convert barcodes and QR codes to text, and you can use it to have your Mac speak the text in an image.
Price: $7.99 for one Mac
There are lots of good snipping tools for the Mac, including the built-in Screenshot utility. The ones we’ve covered above are those we believe are the five best snipping tools currently available on Mac.


