Apple keyboards are among the best you can buy for your Mac. They connect to your Mac using Bluetooth, are made of metal, and have a low profile, meaning they are easy to type on. Some Apple keyboards also have a Touch ID button for authenticating when you log in or make a payment using Apple Pay and have media keys that are designed to work with Mac features like Siri, Spotlight, and Mission Control. In this article, we’ll show you how to connect one.

How to connect an Apple keyboard to Mac
The way in which you connect an Apple keyboard to your Mac depends on whether the keyboard came with your Mac and you’re setting it up for the first time, whether it’s a keyboard you have acquired to use with an existing Mac, and which model of Apple keyboard you’re trying to connect. We’ll take each scenario in turn and show you how to connect the keyboard.
Apple keyboard that came with a new Mac
Connecting the keyboard that came with your Mac is easy because it has already been paired with your Mac. Just turn it on (so you can see the green bit under the switch) and boot up your new Mac. It should connect automatically.
Apple Magic Keyboard (2nd Generation)
The second generation Magic Keyboard has a Lightning socket in the back for charging the battery and you also use that socket and the cable that comes with it to pair the keyboard with your Mac. The steps below work for both the standard Magic Keyboard and the extended version that has a number pad and Touch ID button.
Here’s how to put Magic Keyboard in pairing mode and connect it to your Mac:
- Start up the Mac.
- Plug one end of the Lightning to USB-C cable that came with the keyboard into the keyboard.
- Plug the USB-C end of the cable into your Mac.
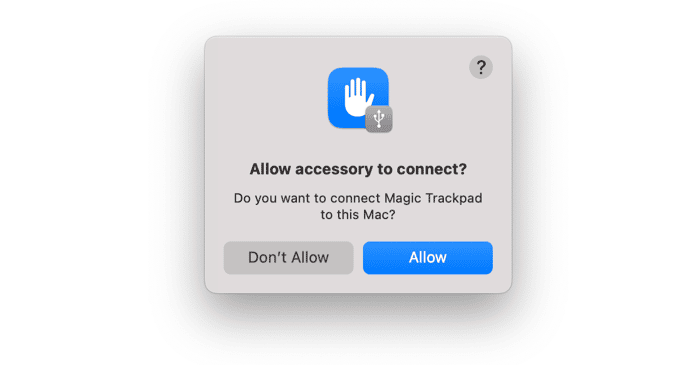
- Click Allow.
- The cable is used to pair the keyboard with your Mac, as well as to charge it. You can confirm it has paired by clicking the Apple menu, choosing System Settings > Bluetooth and looking for the Magic Keyboard in the list of connected devices.
- Disconnect the cable so you can use the keyboard wirelessly.


Tip: You can use any Lightning to USB-C or Lightning to USB-A cable to connect a Magic Keyboard to your Mac. However, make sure you plug the cable directly into your Mac and not into a hub or docking station.
Apple Magic Keyboard (1st Generation)
First-generation Magic Keyboards don’t have a Lightning socket or rechargeable battery. They use AA batteries instead. To connect one of those keyboards to your Mac the first time, you need a wired keyboard connected to your Mac or, if it’s a MacBook, you can use the built-in keyboard.
- Boot your Mac with the wired keyboard connected to it.
- Turn on the Magic Keyboard. You should see the LED blinking green — this is how to put Apple Keyboard in pairing mode.
- Go to System Settings > Bluetooth.
- Wait for the Magic Keyboard to appear in the list of devices.
- Click Connect.
- If you are asked to enter a passcode, type the code displayed on the screen on the Apple keyboard and press Return.
- Quit System Settings.
If the LED doesn’t come on when you turn on the Magic Keyboard, you may need to replace the batteries. If the LED turns on for a few seconds but doesn’t blink, the keyboard may be connected to a different Mac nearby. You need to disconnect it from that Mac before you can connect it to another one.
- On the Mac the keyboard is connected to, go to System Settings and choose Bluetooth.
- Look for the keyboard in the list of connected devices.
- Click the ‘i’ next to it.
- Choose Forget This Device and confirm.
- Go back to the Mac you want to connect the keyboard to and go to System Settings > Bluetooth.
- Choose the keyboard and click Connect.

How to connect a Magic Mouse or Magic Trackpad
The process of connecting a Magic Mouse or Magic Trackpad is the same as for a keyboard. New versions can be paired automatically by connecting them to your Mac with a cable. For older versions — as long as they are not connected to another Mac close by — when you turn them on, they should appear in Bluetooth settings ready to connect.

How to speed up your Mac and keep it running smoothly
Whether you use a built-in keyboard, an Apple Bluetooth keyboard, or a third-party keyboard, keeping your Mac free from junk and clutter is important to help it run smoothly. And there are lots of other things you can do to boost performance, too. They include updating applications, flushing DNS cache, and freeing up purgeable space.
Doing all that yourself is time-consuming and laborious, so few Mac users ever do it. But it doesn’t have to be. There is a much easier way — CleanMyMac’s Smart Care feature scans your Mac, looking for junk and clutter, checking which applications have updates available, and looking for tasks to run to improve performance. It also scans your Mac for malware. Once it’s done, you can choose what recommendations to follow with the click of a button. Get your free CleanMyMac trial. All you have to do then is open the app and click Smart Care > Scan > Run.

The way in which you connect an Apple keyboard to your Mac is dependent on whether the keyboard came with your Mac and whether it’s a first-generation Magic Keyboard with replaceable batteries or a newer version that recharges via a Lightning socket. Follow the steps above to connect your Apple keyboard to your Mac.