If you’ve recently installed Python on your Mac or just started working with Python, you may want to install pip so you can use Python to install and manage software packages. We’ll show you the steps for pip install on Mac.
What is pip?
pip — or pip3, as it’s also known — is a package management system for Python that is used to install and manage software packages. It’s the tool recommended by the Python Software Foundation for installing Python applications. It connects to an online repository of public packages called Python Package Index. pip is installed by default with Python 3.4 and later. However, if you’re running an earlier version of Python or it wasn’t installed when you installed Python, you can follow the steps below to install it.
Before you install pip
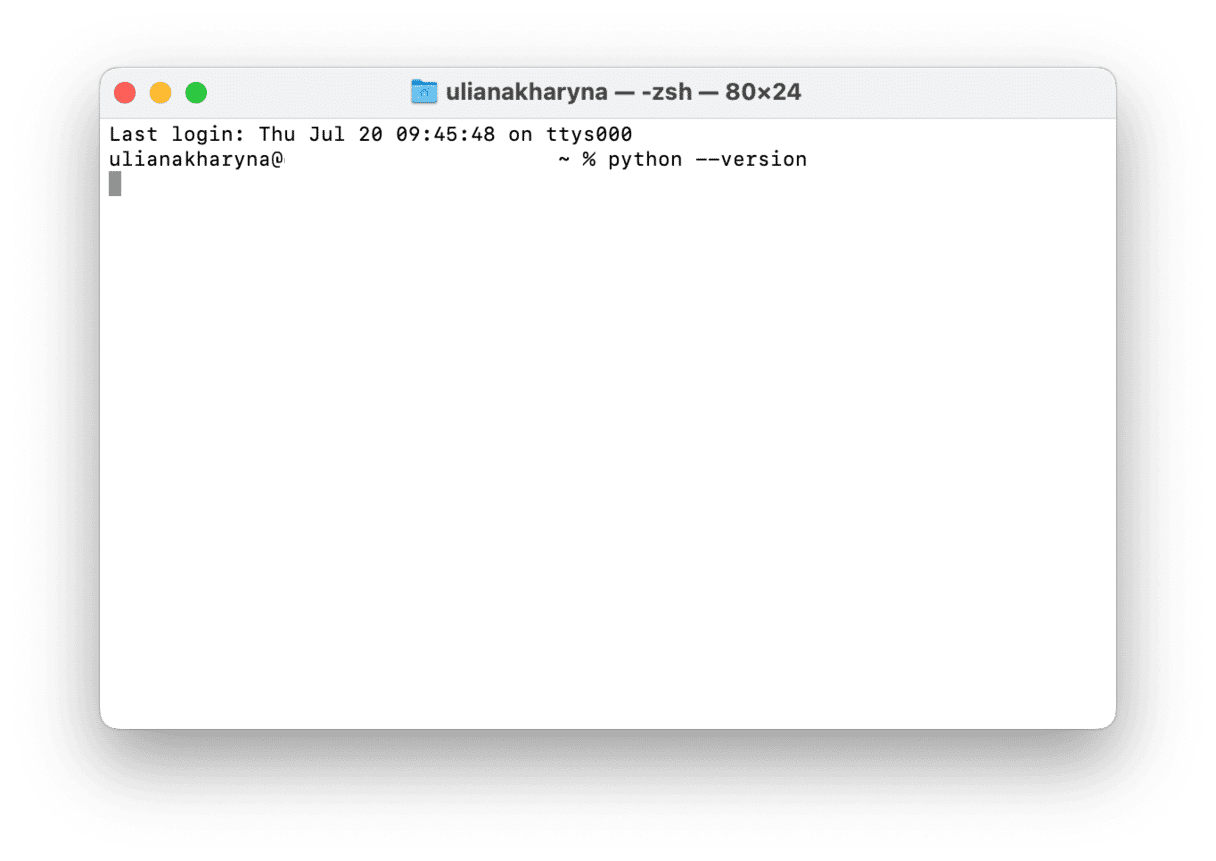
Before you start, it’s worth checking which version of Python is running on your Mac. To do that, follow these steps:
- Go to Applications > Utilities and open Terminal.
- Type:
python --version - Press Return.
- If Python is installed, you will see a message telling you the version.
- If it’s not installed, you will see command not found:
python

If Python is not installed on your Mac, you can install it by following the steps in this guide. Then come back here and install pip.
Install pip on Mac using Ensurepip
This is the best method for installing pip, but it only works on Python 3.4 or later. Here are the steps:
- Open Terminal from Applications > Utilities.
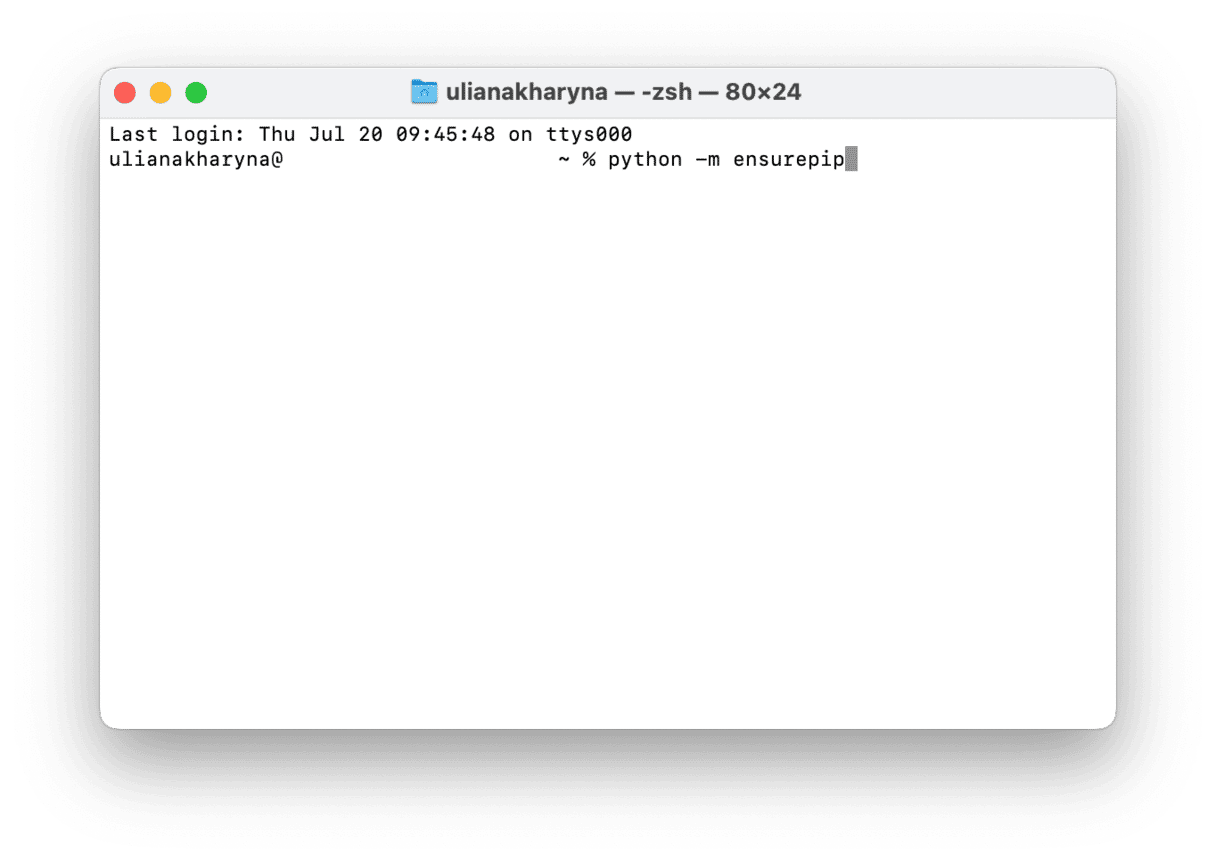
- Type:
python -m ensurepiporpython3 -m ensurepip - Press Return.
- If pip isn’t already installed, Ensurepip will install it.
- If you want to upgrade pip instead of installing it from scratch, add upgrade to the end of the command in step 2.

Use Homebrew to install pip
Another way to install pip on your Mac is to use the Homebrew package manager. Homebrew is a popular package manager that is used to install software that doesn’t come with its own installer, such as Git and the StableDiffusion AI image tool.
Before using Homebrew to install pip, you’ll need to install Homebrew if it’s not already installed on your Mac.
- Open Terminal.
- Paste this command:
/bin/bash -c “$(curl -fsSL https://raw.githubusercontent.com/Homebrew/install/HEAD/install.sh)” - Press Return
- You will see a list of folders that will be installed.
- Press Return.
- Type in your admin password if you’re asked.
- Wait until you see the message ‘Installation successful.’
Now, you can use Homebrew to install pip:
- In Terminal, type:
brew install python - Press Return.
- Wait for it to install.
- Type: brew unlink python && brew link python
- Press Return.
How to update pip in Terminal
If you have an earlier version of pip installed, you can update it in Terminal. Here’s how:
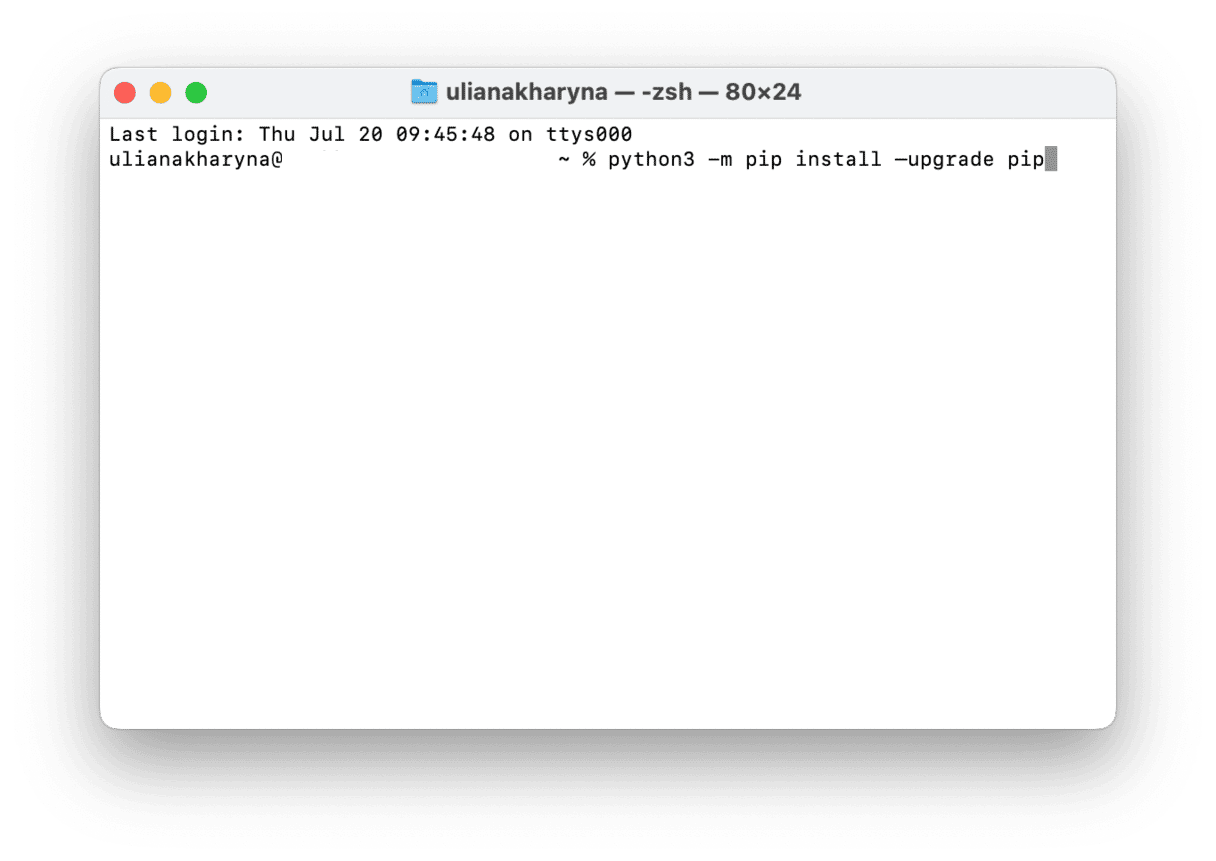
- In Terminal, type:
python3 -m pip install –upgrade pip - Press Return
- If the latest version is already installed, you will see a message saying, ‘requirement already satisfied.’
- If it’s not, you will see the version of pip that was just installed.

pip is a package management system for Python, and if you’ve installed Python on your Mac, you probably already have pip. However, if not, it’s very easy to install, as long as you’re comfortable with Terminal — using either Ensurepip or Homebrew. And once you have downloaded and installed it, you can start downloading Python software packages.


