The Python programming language is widely used for everything from scraping data to building websites, and it was once pre-installed on macOS. Apple stopped including a Python install with macOS when it released Catalina and so now, if you want to use Python on your Mac, you will need to install it yourself. What’s more, you’ll need an application with which to edit and test Python code.
In this article, you’ll learn how to install Python on your Mac (along with a source-code editor) and how to write or test Python code on your Mac via a web browser.
How to check if Python is already installed on your Mac
If your macOS is older than Catalina, you might have Python already installed on your Mac. Here’s how to check with Terminal:
- Go to Applications > Utilities > Terminal.
- Type:
python --version - Press Return.
- If Python is installed, you will see a message telling you which version.
- If it’s not installed, you will see
command not found: python
How to install Python on your Mac
To install Python on your Mac, you’ll first need to download the official installer.
- In a web browser, go to: https://www.python.org/downloads/
- You will automatically be taken to the download page, where you’ll see ‘Download the latest version for macOS’. Click the Download Python button.
- When the download is complete, download the installer package to launch it.
- When it opens, click Continue and follow the on-screen instructions.
- When the installation is finished, you will see a Python directory in your Applications folder.
To make sure the installation went well:
- Open that folder and double-click IDLE to check it is installed correctly.
- When it opens, you’ll see a command line interface. Type the following command to check everything is working: print (‘Hello world’)
- If you see ‘Hello World’ beneath the command, it is installed properly.
How to install a source-code editor for Python on your Mac
You could start coding in Python from the command line or using a source code editor, which is much easier. With this editor, you’ll be able to use syntax highlighting, code folding, and intelligent code completion features.
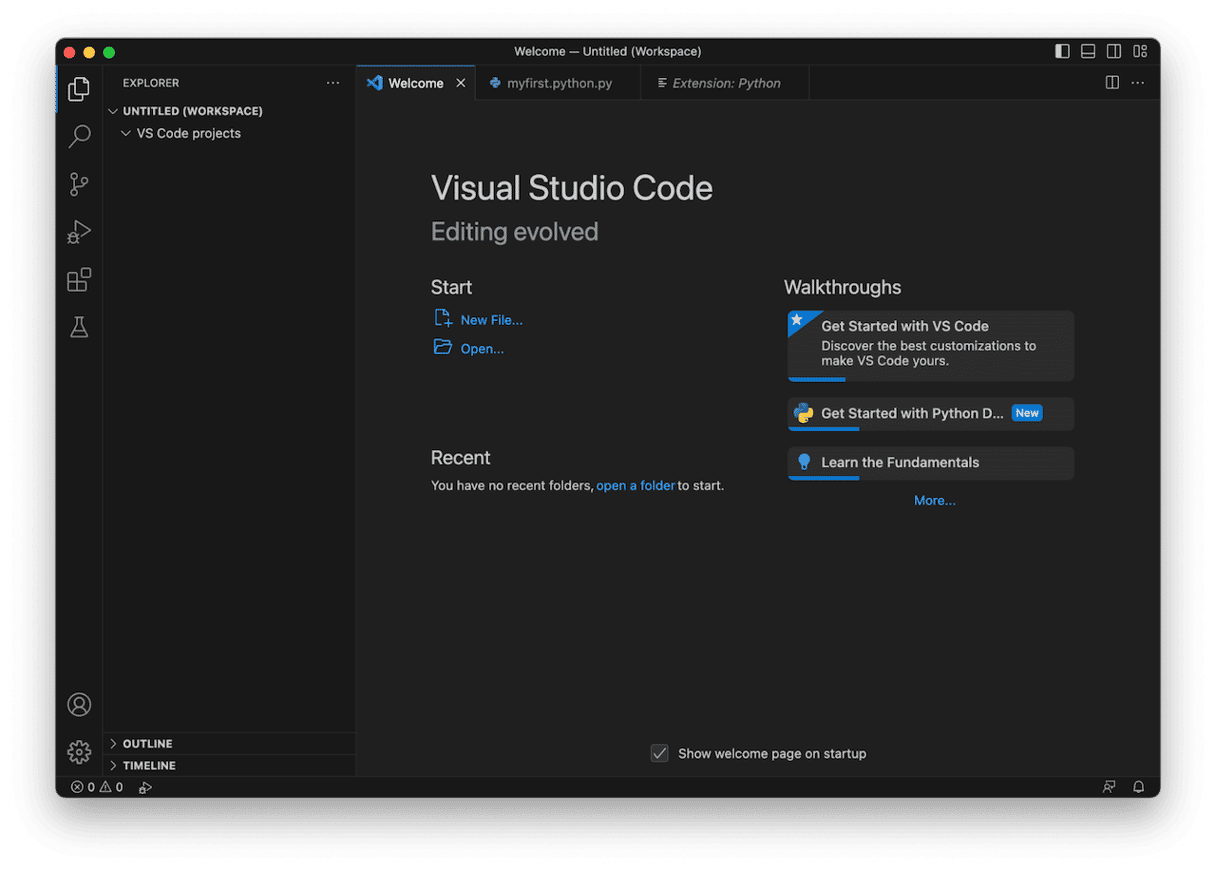
Now there are several source-code editors for Mac. One of the best is Microsoft’s Visual Studio Code (VS Code), which by the way, is totally free for Mac.

How to install VS Code on your Mac
- Click here to go to the download page on Microsoft’s website.
- Click ‘Download Mac Universal’.
- When the download is complete, VS Code will extract itself from the zip archive. If it doesn’t, double-click the zip file.
- Drag VS Code to your Applications folder.
How to set up VS Code to code in Python
Before you can use VS Code to write Python, you need to create a script and install a Python extension. Here’s how to do that:
- Launch VS Code from your Applications folder.
- Choose New File in the Get Started window.
- Type the name of the file in the text box at the top of the window and give it the extension .py.
- Click ‘New file’ under the text box, and choose where to save it. Then click Create File.
- You can now click the default Python extension by clicking Install at the bottom of the window. VS Code will install the Python extension, and you can then start writing your Python script.
How to write a Python script in VS Code
- Click on the tab for the file you have just created.
- Type the following code: print (“Hello, world!”)
- Click the play button at the top right of the VS Code window.
- You will see the result of the script, the words ‘Hello, world!’ printed in the Terminal in the bottom section of the VS Code window.
How to code Python on your Mac without installing it
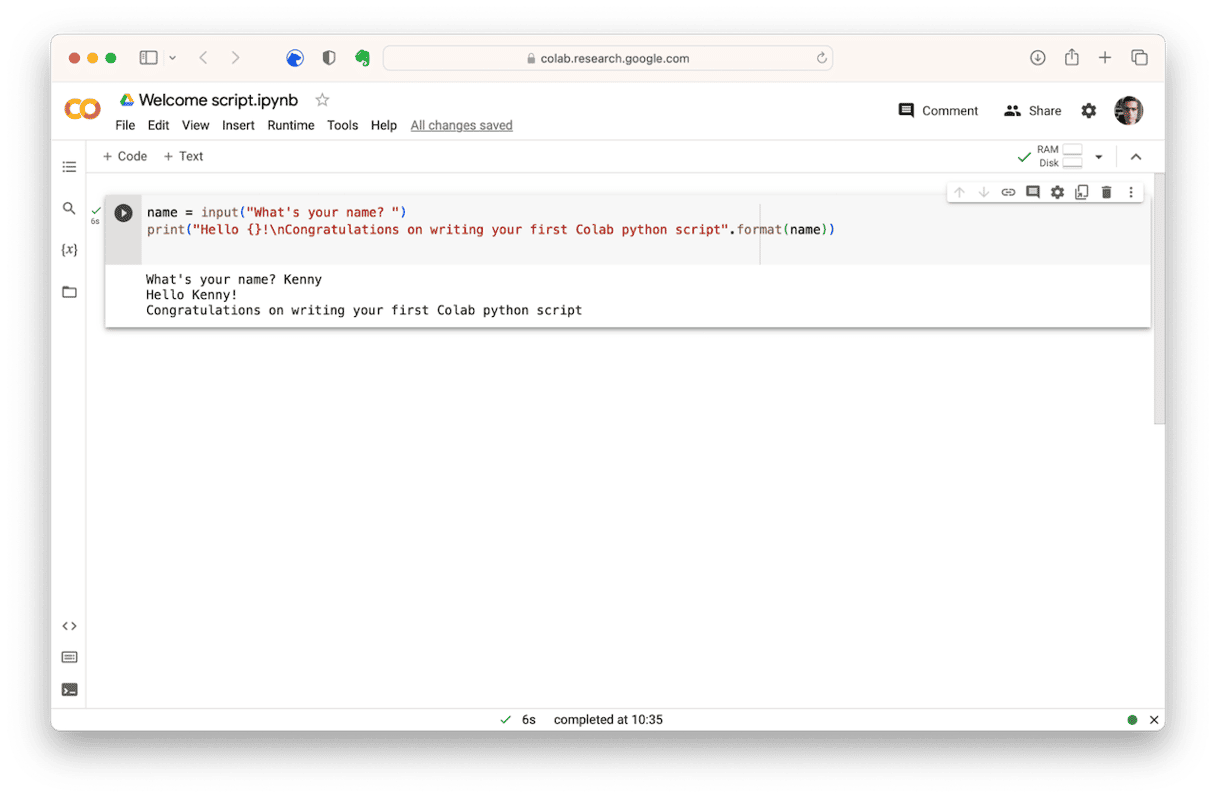
If you want to experiment with Python on your Mac without installing it, or you want to be able to access your work on different computers, you can use Google’s Colab to write Python scripts. All you need is a web browser and a Google account.
- In a web browser (Chrome works best), go to colab.research.google.com
- If you’re not already signed in with your Google account, sign in.
- In the Table of Contents section in the sidebar, click Getting Started. All the information you need to get started using Colab is on that page, including links to videos and documentation to help you.
How to write a Python script in Colab

To start writing a Python script in Colab, we first need to create a new notebook.
- Click File in the Colab window and choose New Notebook.
- Click on ‘Untitled’ at the top of the window and type a new name for the notebook.
- Click in the input box and type the lines of code below, pressing Return at the end of each line
name = input(“What’s your name? “)
print(“Hello {}!\nCongratulations on writing your first Colab python script”.format(name)) - Click the play button at the start of the script.
- You should see the words ‘What’s your name?’ and a text box.
- Type your name in the text box and press Return.
Because Apple no longer includes Python in the newest macOS, installing Python on Mac or writing scripts became more complicated. However, if you follow the steps above, you can install it yourself and start writing your first script. Or, use Google Colab as an alternative to bypass the installation altogether. Good luck!


