Upgrading to the latest version of macOS should be easy, and it usually is. All it takes is a visit to System Preferences/System Settings and a couple of clicks to install the upgrade. But what if it doesn’t work out like that? What if macOS Sequoia upgrade gets stuck when you’re trying to install? What do you do then? We’ll show you and we’ll also help you fix other problems you might encounter when you try to upgrade to macOS Sequoia.
How do I know if macOS Sequoia download is stuck?
That’s a good question. Is it stuck, or is it just downloading very slowly? The answer is that if it’s stuck or if there is another problem with it, you will usually see an error message like one of these:
- “An error occurred while installing the selected updates.”
- “The macOS installation couldn’t be completed.”
- “Checking for updates” stays on screen and never goes away
- “There is not enough free space on the selected volume to upgrade the OS.”
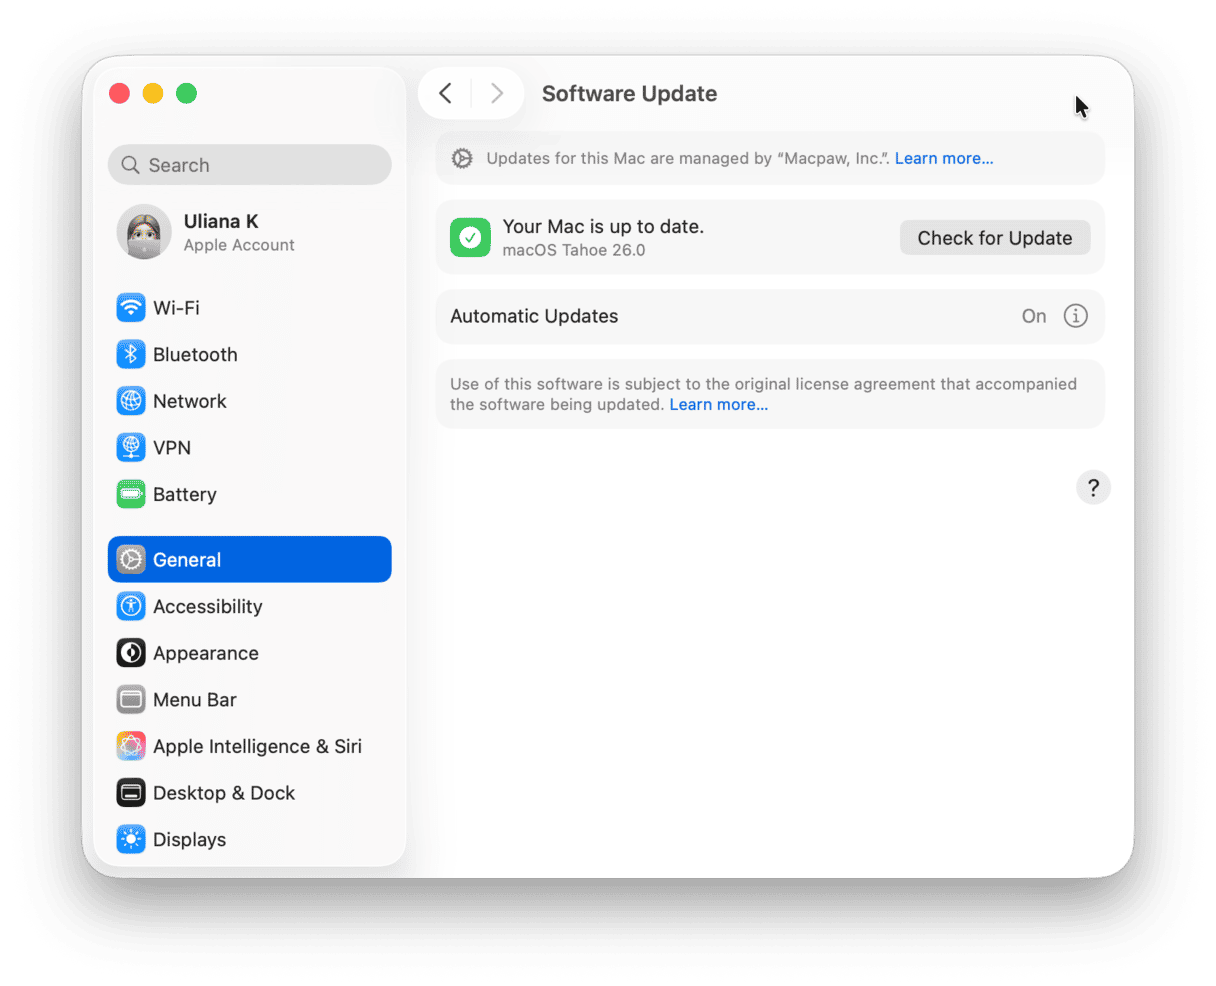
Why is macOS Sequoia not downloading?
In most cases, the error message you see, if there is an error message, won’t help you very much when it comes to diagnosing the problem (the exception being the last message above, which tells you exactly what the problem is). So, you need to do a bit of detective work. Here are some possible reasons for macOS Sequoia update stuck:
- Your Mac is not compatible with macOS Sequoia.
- There is a problem with your internet connection.
- There is an issue with Apple’s servers.
- There is not enough free space on your Mac’s startup disk.
- Something on your startup disk is corrupt and preventing the upgrade from downloading.
How to fix it if macOS Sequoia is not downloading
Now that we know the most likely reasons for the download getting stuck, we can start to eliminate them one by one. Here’s how to do that.
1. Check your Mac is compatible with Sequoia
Here’s the list of Macs that are compatible with Sequoia. If your Mac is not included in the list, it’s not supported for running Sequoia, and so it won’t install:
iMac 2019 and later
Mac Studio 2022
Mac mini 2018 and later
Mac Pro 2019 and later
iMac Pro 2017 and later
MacBook Air 2020 and later
MacBook Pro 2018 and later
2. Make sure your internet connection is stable
Go online in Safari, surf around for a bit and watch videos. If everything seems ok, then you can rule out your internet connection as a source of the problem. If not, try the fixes below.
- Turn Wi-Fi off and then on again using the toggle switch in the menu bar (click the Wi-Fi icon), Control Center, or System Settings > Wi-Fi.
- Quit and restart Safari.
- Restart your Mac.
- Reboot your router.
- Use a wired Ethernet connection to your router if you can.
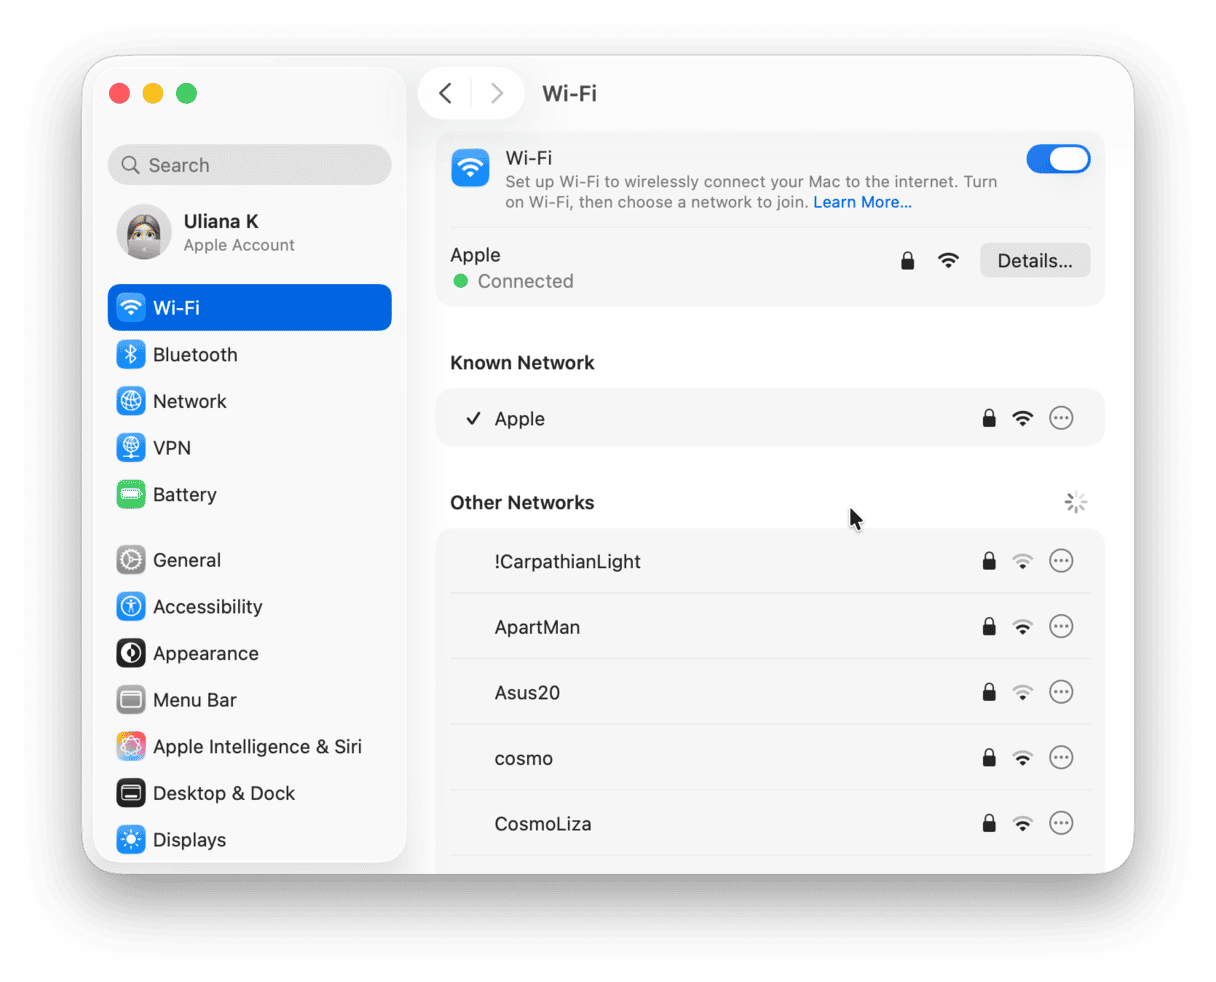
3. Check Apple’s servers
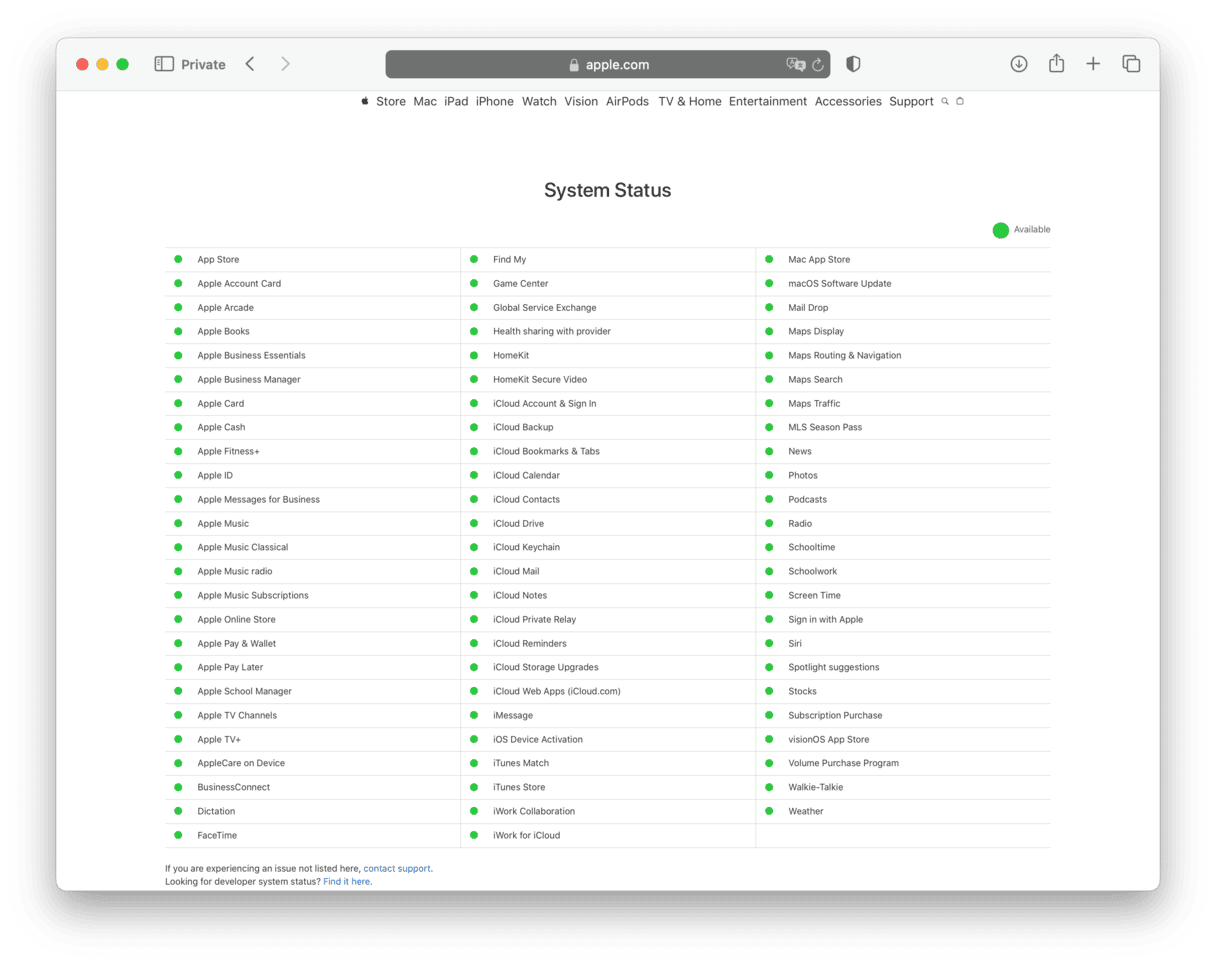
Apple has a status page where you can check whether the different servers it uses for different services are working. You can find it here. Look for ‘macOS Software Update’ on the list. If it has a green dot next to it, it’s working properly. If not, you will have to wait until it is before trying to upgrade to macOS Sequoia.
4. Optimize storage space
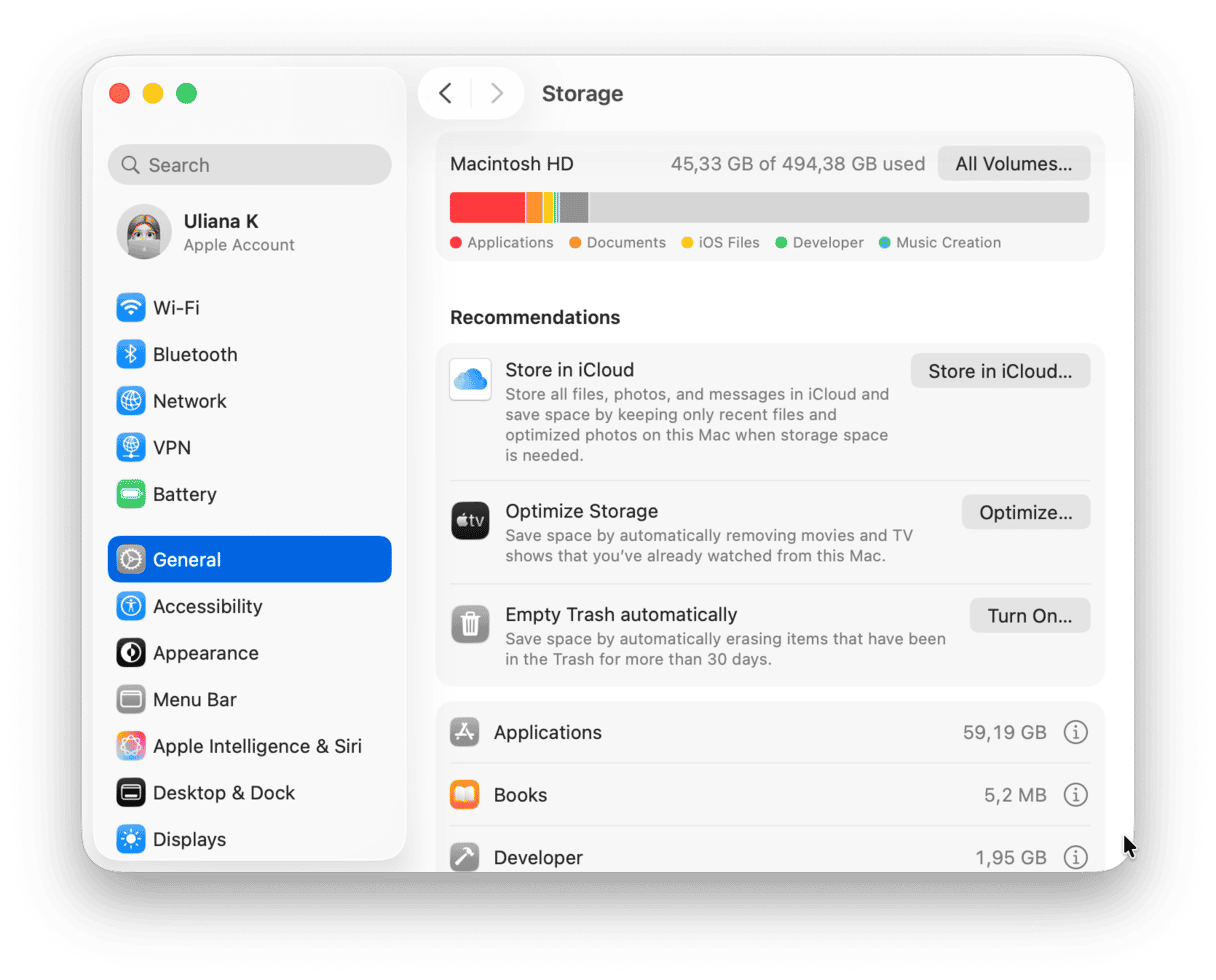
If you see an error message telling you that your Mac does not have enough storage space to install macOS Sequoia, you can start by using the optimization options in System Settings.
- Open System Settings and go to General > Storage.
- Wait for it to check and finish displaying the status of your startup disk.
- Look at the recommendations and choose which ones you want to follow.
- Click the ‘i’ next to, for example, Books, Messages, and Podcasts and check if there is anything there you don’t need. If so, click Delete.
5. Free up more storage space
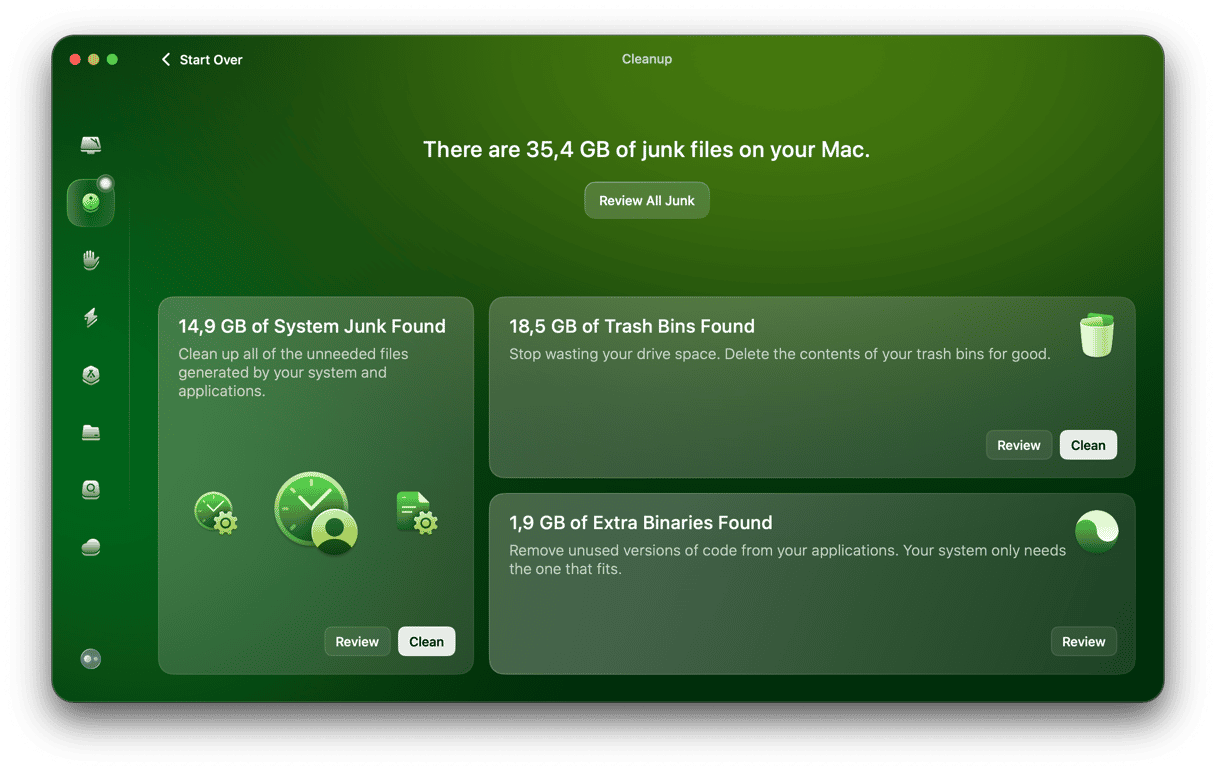
While the Optimize Storage feature in macOS is good, it doesn’t reach deep into your system and clean out all the junk files that accumulate there. These junk files include temporary files that were never deleted, old cache files, settings files created by applications that are no longer on your Mac, and language files for languages you don’t use. To remove those, you need a specialist tool. We recommend CleanMyMac’s Cleanup tool. It scans your Mac looking for all those junk files, which can often amount to several gigabytes, and allows you to get rid of them all with a click or review what it has found and decide for yourself what to get rid of and what to keep. All you have to do is click Cleanup > Scan > Clean.
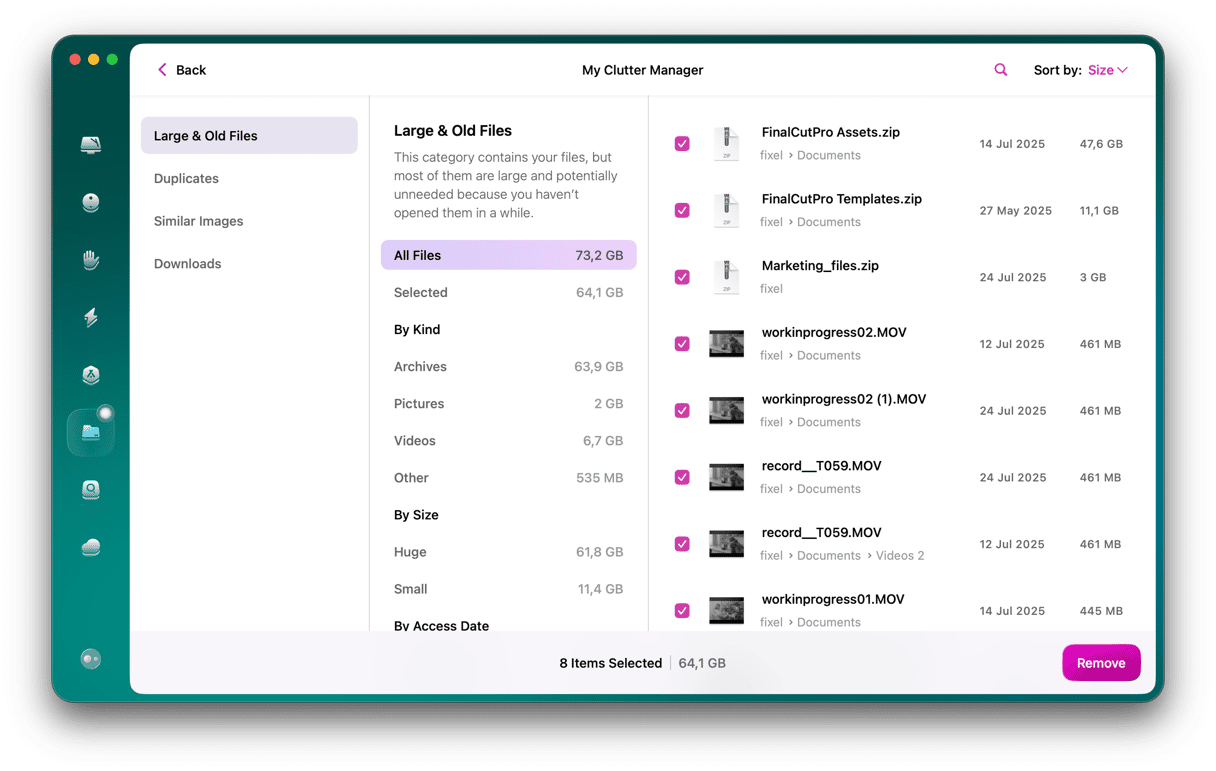
CleanMyMac has another tool that can help free up space on your Mac — My Clutter. It does several different things:
- Large & Old Files identifies the largest files on your Mac and those you haven’t opened for a long time. It then allows you to browse its findings and filter by, say, type (e.g., video, archives, etc). Or you can view the files that haven’t been opened for the longest time.
- Duplicates finds different types of duplicate files: archives, images, videos, folders, and other.
- Similar images does excatly what it says — identifies photos with minor differences so that you can choose which ones to keep.
- Downloads helps you get rid of unneeded files you’ve downloaded using different apps.
If you use CleanMyMac’s My Clutter tool, you can quickly select all these unnecessary files and delete them, thus freeing up even more space. You can download CleanMyMac for free here.
How to fix it if ‘preparing macOS Sequoia’ is stuck
If you see the message ‘preparing macOS Sequoia’ and it stays there on a black screen for, say, a couple of hours, then something has gone wrong. To fix it, do the following:
- Press and hold the power button to power off your Mac.
- Press the power button to restart your Mac.
- If Sequoia hasn’t been installed, try installing it again.
- If you can’t install Sequoia from Software Update, search for it on the App Store and install it from there.
- If that doesn’t work, boot your Mac in safe mode and try again. When it has been installed and set up, reboot normally.
Upgrading to macOS Sequoia should be straightforward. However, you may run into problems like macOS Sequoia download getting stuck or the message ‘preparing macOS Sequoia’ appearing on the screen and not going away. If that happens, follow the steps above to fix the issue and install macOS Sequoia on your Mac.


