Whether you're capturing a podcast idea on the go, recording a live lecture, or saving your grandma’s best apple pie recipe in her own voice, your iPhone is more powerful than you think when it comes to recording audio.
Gone are the days of clunky tape recorders and complicated setups; today, all you need is your iPhone and a quiet corner. Let’s walk through everything you need to know to record, edit, and share high-quality audio straight from your device.
Can you record high-quality audio on an iPhone?
Yes, and it’s easier than you think. iPhones have surprisingly good built-in microphones, especially recent models like the iPhone 12, 13, 14, and 15. With the right app (such as Voice Memos) and a quiet environment, you can easily produce audio that is clear enough for interviews, field recordings, or personal notes.
Want to take it a step further? Plug in an external mic with a Lightning or USB-C connector, and your iPhone becomes a full-fledged mobile recording studio.
How to record audio using the built-in Voice Memos app
Apple’s Voice Memos app is free, pre-installed, and incredibly simple to use. Whether you’re a total beginner or just need a refresher, here’s how to get started.
The basics: How to start, pause, and stop a recording
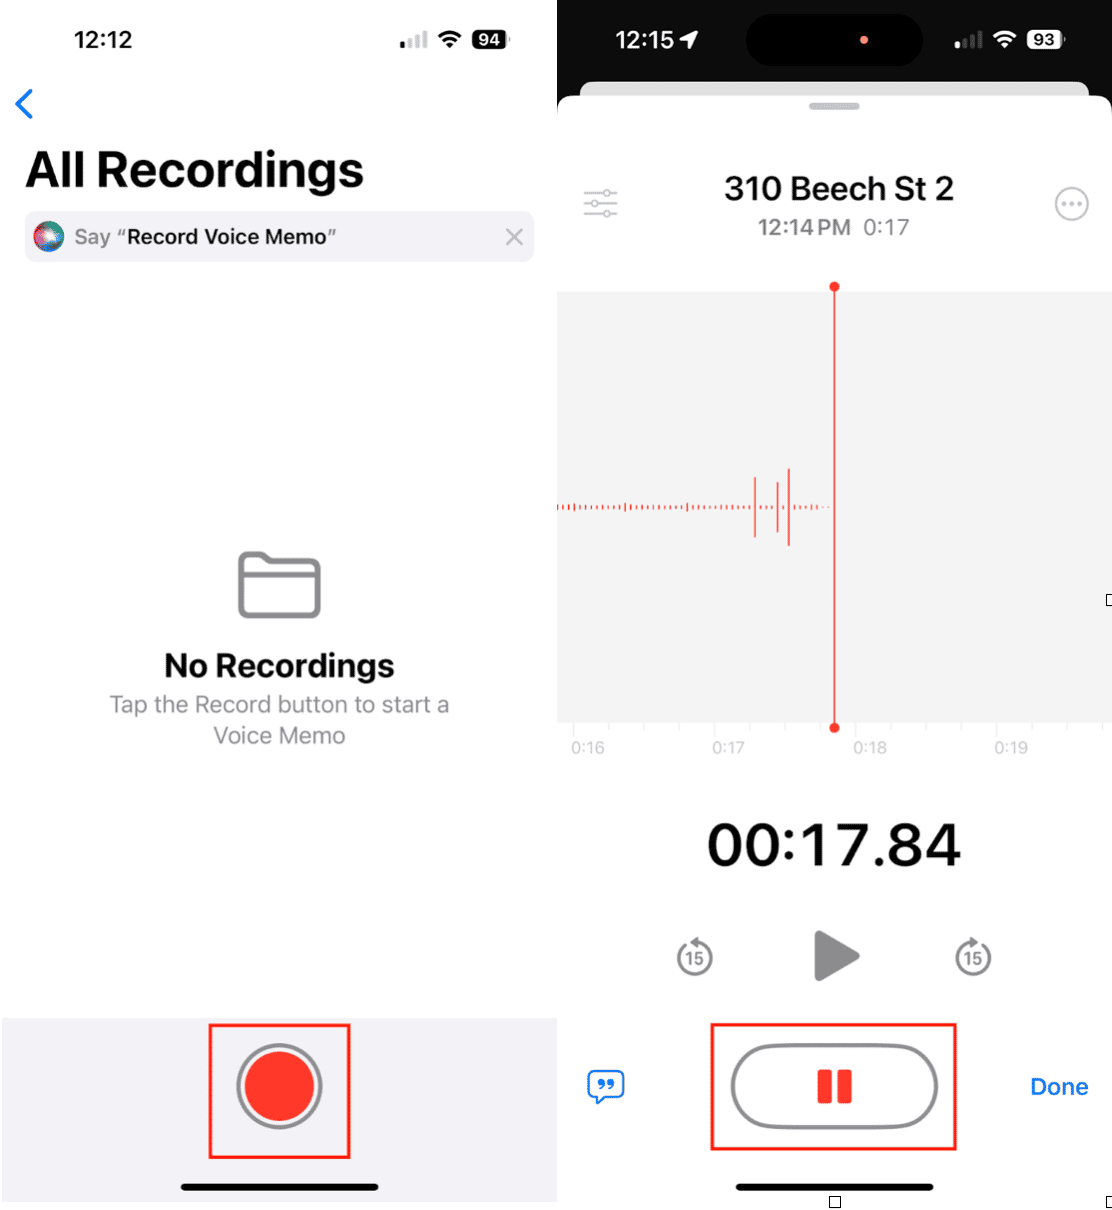
- Open the Voice Memos app.
- Tap the big red Record button to begin.
- To pause, tap the screen and then tap the pause button.
- Tap Resume to continue, or Done to stop.
- Your recording will automatically be saved with your location or a generic name (you can rename it later!).
Pro tip: You can record while your screen is off, just don’t forget you’re recording, or you might capture some unintentional audio, not to mention eat up all your storage.
How to edit and trim audio files
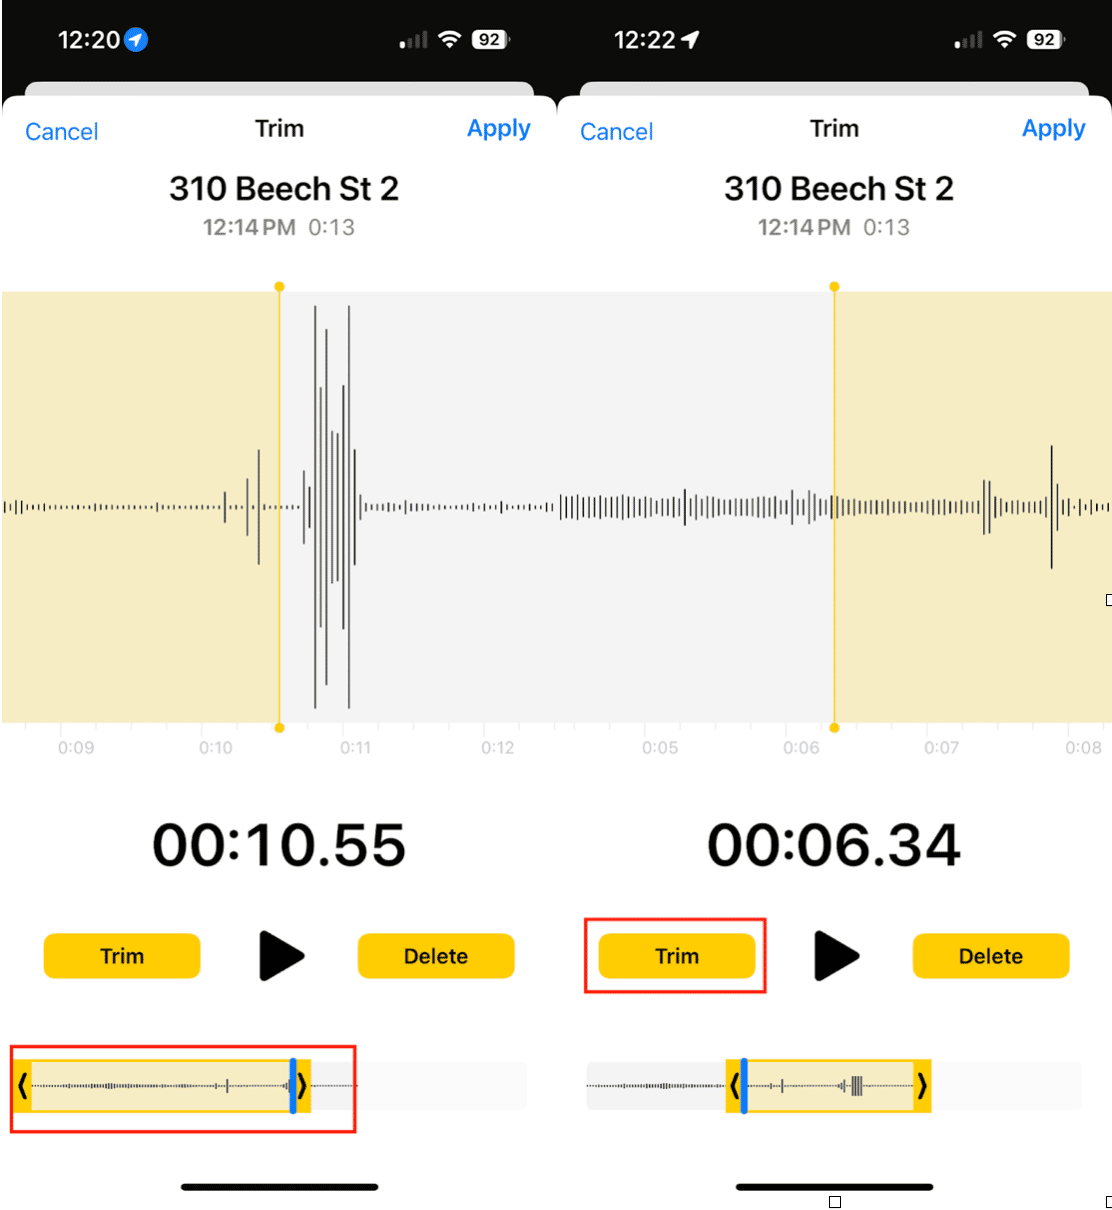
Voice Memos makes light editing easy. Here’s how to perform basic editing tasks within the app.
- Tap on your saved recording.
- Hit the three-dot menu (•••) and choose Edit Recording.
- Use the yellow crop handles to trim the beginning or end.
- Tap Trim → Save to keep your changes.
Need to remove a section in the middle? You can use the’ Replace’ option to rerecord a part, though it’s a bit basic for complex edits.
How to export audio recordings from an iPhone
Once you’ve recorded your voice memo, you can save it or share it based on your needs.
Save recordings to Files
- Open your Voice Memos recording.
- Tap the Share icon.
- Choose Save to Files and select a folder (e.g., iCloud Drive or On My iPhone).
- Done! Now your audio is accessible via the Files app.
Transfer audio to Mac
Would you like to edit further on your computer? Here’s how to save your recording to your Mac.
Option 1: AirDrop: Tap Share > AirDrop > Select your Mac.
Option 2: iCloud Sync: If you have iCloud enabled for Voice Memos, recordings will automatically sync to the Voice Memos app on your Mac.
How to delete audio recordings on iPhone
Old audio files can pile up quickly, especially if you’re recording in high quality, and you don’t think to delete them when you’re done. Here’s how to delete the ones you don’t need.
- Open the Voice Memos app on your iPhone.
- Swipe left on a file and tap Delete.
- Your recording will be moved to the Recently Deleted folder, where it will remain for 30 days unless you permanently delete it.
How to free up more space on iPhone
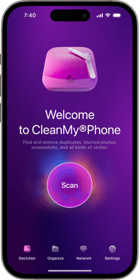
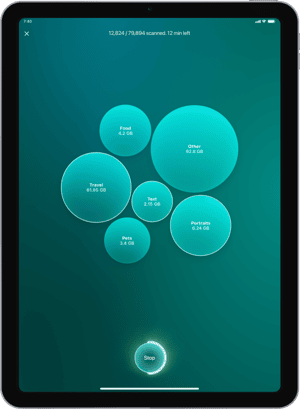
If you frequently record or work with long files, you may run out of space quickly. That’s where CleanMy®Phone comes in. With its Declutter Module, you can easily:
- Identify and remove large files you’ve forgotten about.
- Clear out duplicate photos and videos.
- Sort videos by the ones that are taking up the most space.
It’s like a cleanup crew for your iPhone, making room for more of what matters—like your next great recording session.
Your iPhone is a surprisingly powerful tool for recording high-quality audio, whether you’re jotting down ideas, interviewing a friend, or capturing soundscapes on a hike. With a bit of practice and some simple tools like Voice Memos and CleanMy®Phone, you'll be recording, editing, and sharing audio like a pro.


