What does it mean when you see the 'Storage system verify or repair failed. : (-69716)' error on a Mac? It's one of those Mac errors that sounds intense. It happened while I was running routine maintenance on my MacBook Pro (macOS Sequoia), and instead of wrapping up in five minutes, I ended up deep-diving into how APFS actually works.
At first, the error made it sound like my drive was on its way out, but spoiler alert: it wasn't. And if you're seeing this error, chances are yours isn't either.
There is a fix, actually, a few depending on what's going on, and in this guide, I'll walk you through everything I did to get my system back in shape. So let's get started.
Why the error message pops up
This isn't just a quirky bug or a glitch. That number — 69716 — is Apple's way of telling you that your APFS container structure is damaged or unmountable.
It typically shows up when you're trying to repair your disk in Disk Utility or during First Aid, but I've also seen threads of users encountering it when trying to reinstall macOS or update their macOS.
I think it's probably important to mention straight away, as I am sure this is weighing on a lot of minds, it's not always a sign of hardware damage (though it can be). More often, I've seen this triggered by:
- Interrupted macOS updates
- Forced shutdowns or sudden power loss while writing to disk
- File system corruption from third-party disk tools or kernel extensions
- APFS volume conflicts inside sealed system volumes
- Firmware hiccups on Macs with Apple silicon
When this happened on my Mac, there were no other obvious symptoms, no spinning fans, no failing SSD. Just that one line of text in red, over and over. And unless you know where to look, the system doesn't give you much to work with.
So, let's look at how I fixed it.
Step-by-Step: How I fixed the 'Storage system verify or repair failed 69716' issue
It's completely fine if you're not sure what exactly is causing the issue on your Mac. I didn't know what caused it on mine either, just that Disk Utility kept failing with the same message. No explanation, no fix.
That's when I stopped rebooting and started actually troubleshooting. I didn't go straight to the Terminal; I started with the basics. If you're staring at this error, too, and you're not sure where it's coming from, start where I did.
These steps go from safe and simple to more advanced. If something works early on, great; if not, keep going.
Here's everything I did in the order I'd recommend doing now.
1. Boot into macOS Recovery
Start by entering recovery mode. This is essential because certain container repair operations can't be run while the system is active.
- Check the correct reboot method for your device here from Apple.
- Shut down your Mac from the main Apple menu and reboot into recovery mode.
- Once you're in, skip straight past any reinstall prompts; we're not wiping anything yet.
2. Run Disk Utility
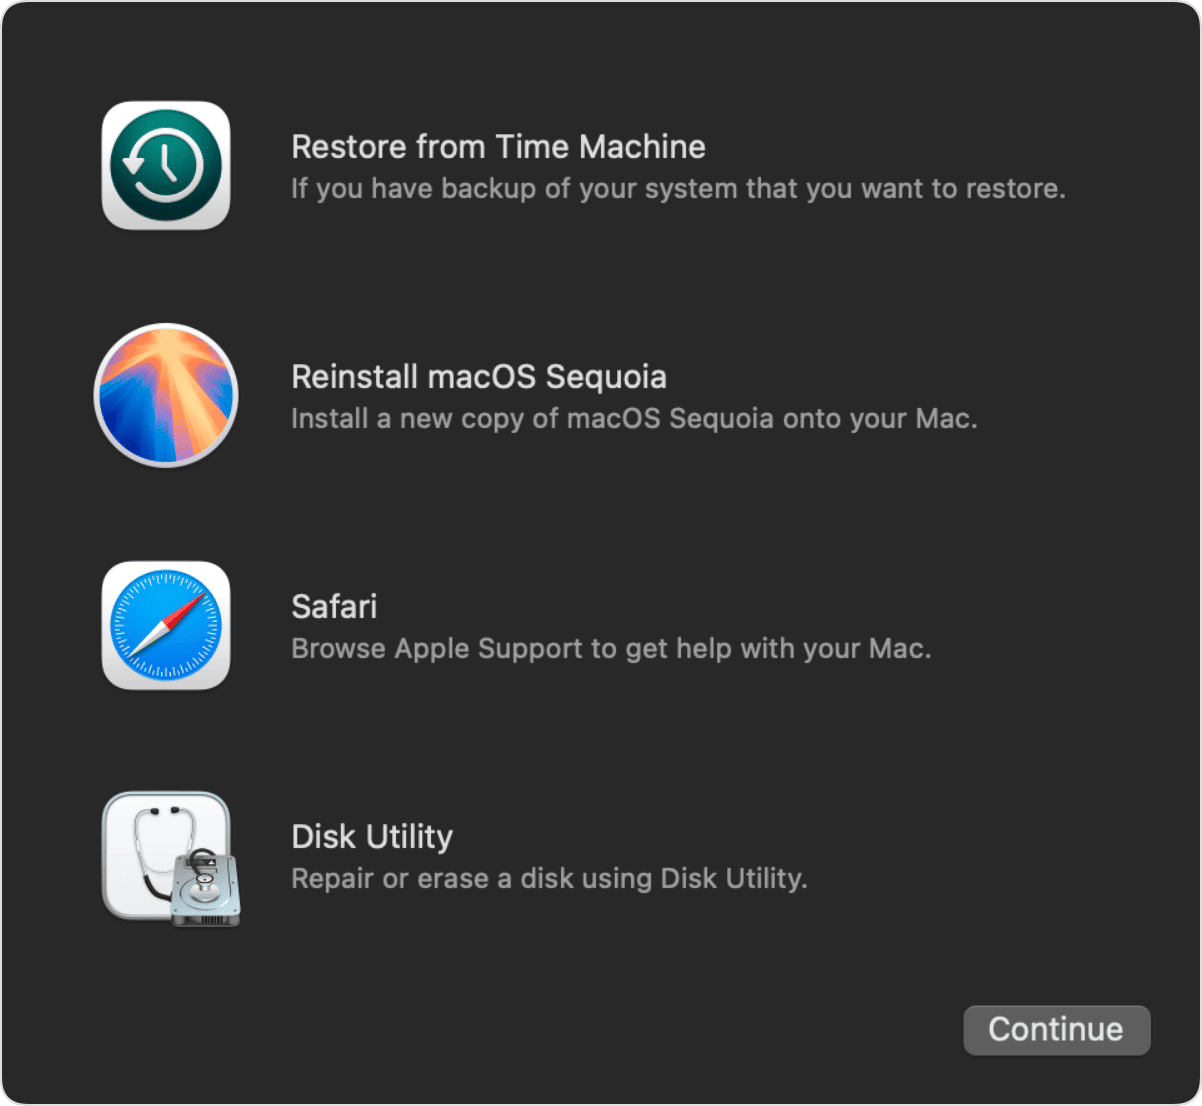
Now that you're in recovery mode, you'll see the macOS Utilities window. This is where everything starts. It's the default first move, and while it didn't fix my issue, it did confirm the scope of the problem.
- On the macOS Utilities screen, click Disk Utility > Continue.
- Once Disk Utility opens, from the top menu bar, click > View > Show All Devices. (This step is important because it reveals the full disk and container structure, not just volumes.)
- From here, start by selecting the container, then the volumes, and finally, the physical disk one at a time. Run First Aid on each.
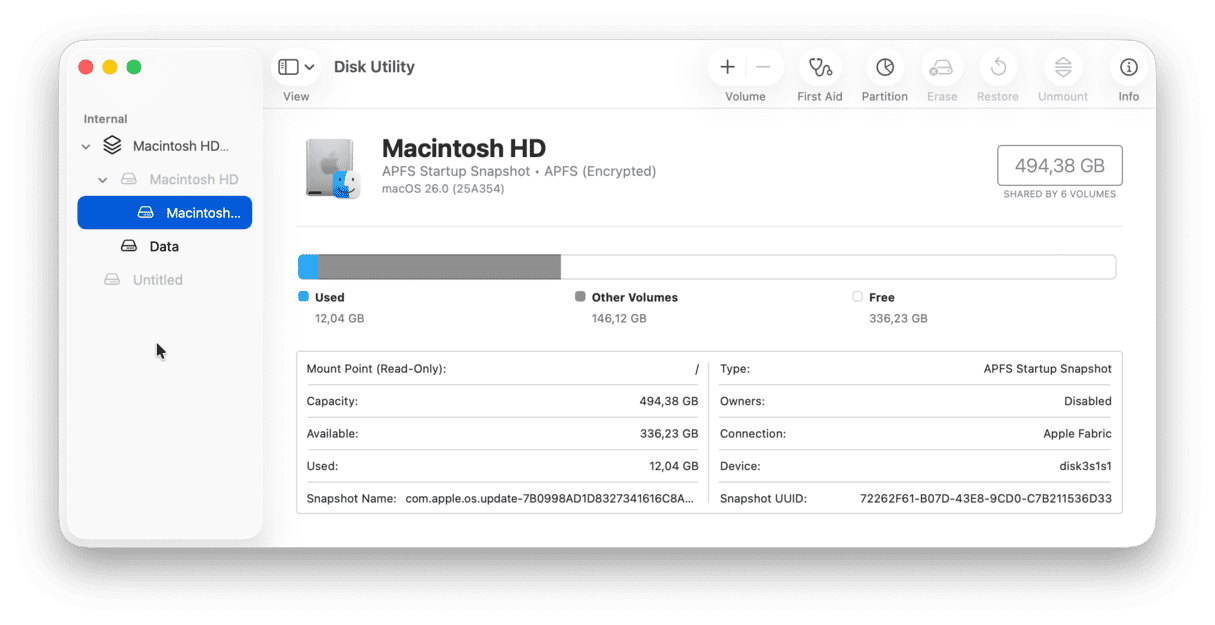
Expect it to fail at the container level; that's where 69716 lives. If it passes here, you're done. But if it doesn't, like it didn't for me, move on.
3. Open Terminal while staying in recovery mode
- Still, in macOS Recovery, look at the top of your screen, and you'll see the menu bar (yes, it's still up there, even though you're not on the regular desktop).
- Click Utilities in the top menu and choose Terminal.
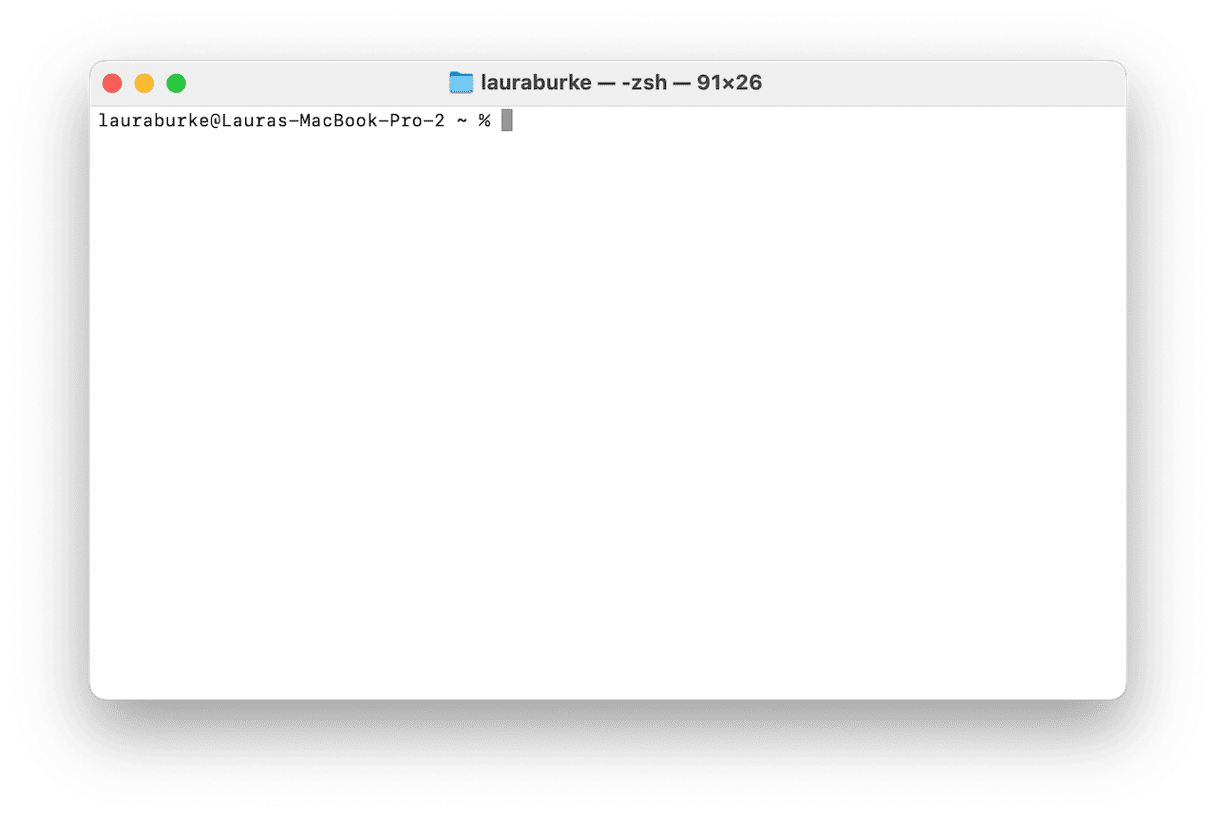
This will launch a clean Terminal session inside recovery mode, where you can run low-level disk repair commands that macOS doesn't expose through the Disk Utility interface.
4. Run disk verification from Terminal
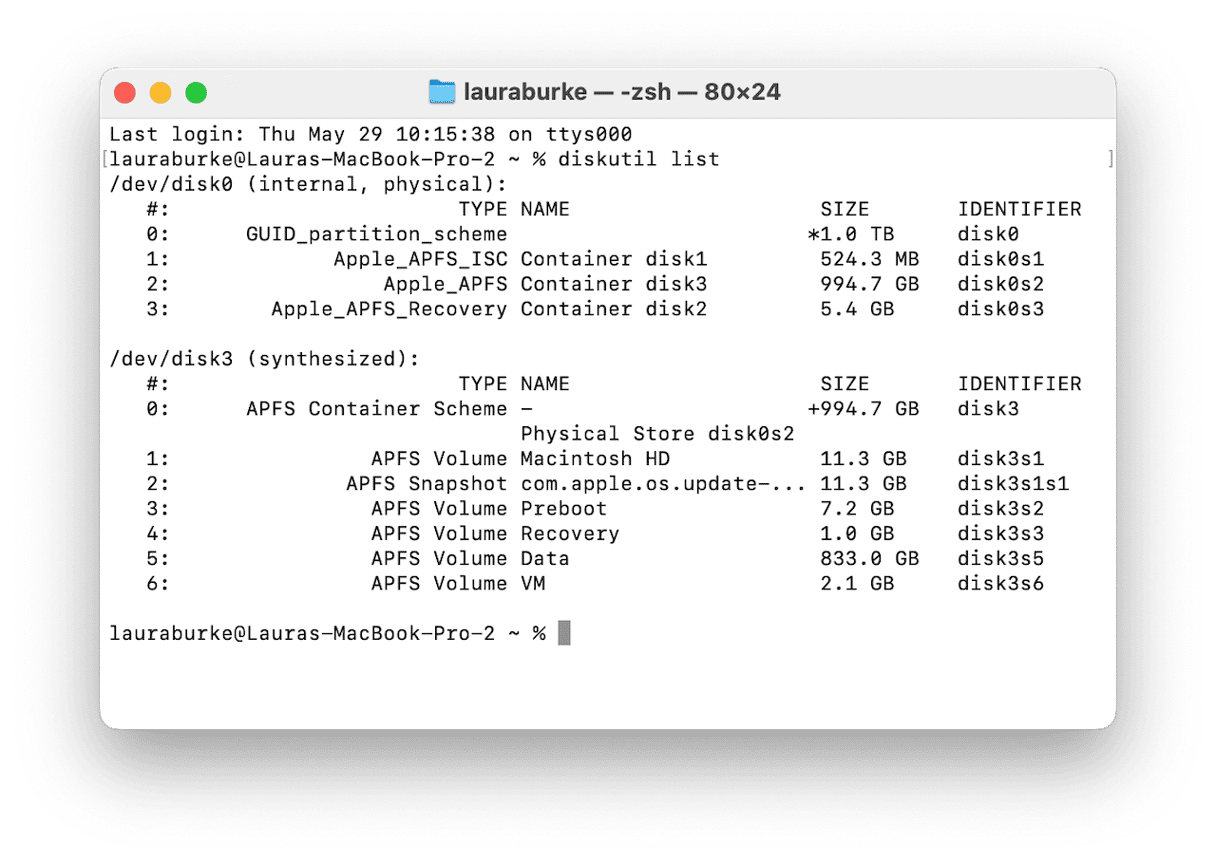
- Run the following command to list all your available disks:
diskutil list - You're trying to identify your APFS container, in my case (from the screenshot):
The APFS container is: disk3. - Locate yours, as you'll be repairing this container directly, and run the deep-level repair command using the raw version of your container identifier:
fsck_apfs -y /dev/rdisk3 - Watch the output; It will go through checks like:
Container superblock
Space manager
Object map
APFS volume superblocks
If it's successful, you'll see: The volume was repaired successfully. - Once the command finishes, type Reboot into Terminal and open your Mac in safe mode; as soon as the screen goes black, hold the Shift key and keep holding it until you see the login screen.
- When you reach the login screen, look for the words "Safe Boot" in red at the top right. That's how you know it worked.
Once inside, your Mac might take longer to load; that's expected. Spotlight will reindex, caches will clear, and system integrity checks will silently run in the background. I waited it out, logged in, and my volume mounted cleanly no more 69716 errors.
What to do if fsck_apfs fails completely?
If fsck_apfs couldn't repair your container, and safe mode still won't mount your volumes, it might be time for the nuclear option:
- Boot into recovery mode again.
- Open Disk Utility.
- Select the full physical disk (e.g., Apple SSD disk0).
- Click Erase, choose APFS and GUID Partition Map.
- Reinstall macOS from the main Recovery window.
I didn't need to do this personally, but I read lots of threads online from users who were left with only this option. If you've got a recent Time Machine backup or iCloud syncing enabled, it's not as painful as it sounds. But yeah, always make sure you've got a backup before reaching this point.
5. Run CleanMyMac's maintenance tasks (for post-repair cleanup)
Once I was back in my desktop environment, I ran CleanMyMac's Performance feature to finish the job. I chose:
- Flush DNS Cache
- Reindex Spotlight
- Repair Disk Permissions
Why? Because during disk corruption or recovery attempts, system logs pile up, background indexing gets stuck, and your Mac quietly starts dragging. Running these tools flushed out the leftovers. It wasn't part of the fix itself, but I honestly didn't think my system would have stayed stable without it.
- Get your free CleanMyMac trial — use the app for 7 days at zero cost.
- Open the app and click Performance > Scan.
- Click View All Tasks.
- Select tasks and click Run.

6. Use CleanMyMac's Protection feature to clear digital clutter
This part doesn't fix the error directly, but I still think it's worth doing, especially after you've been deep in recovery mode and troubleshooting from multiple networks or apps.
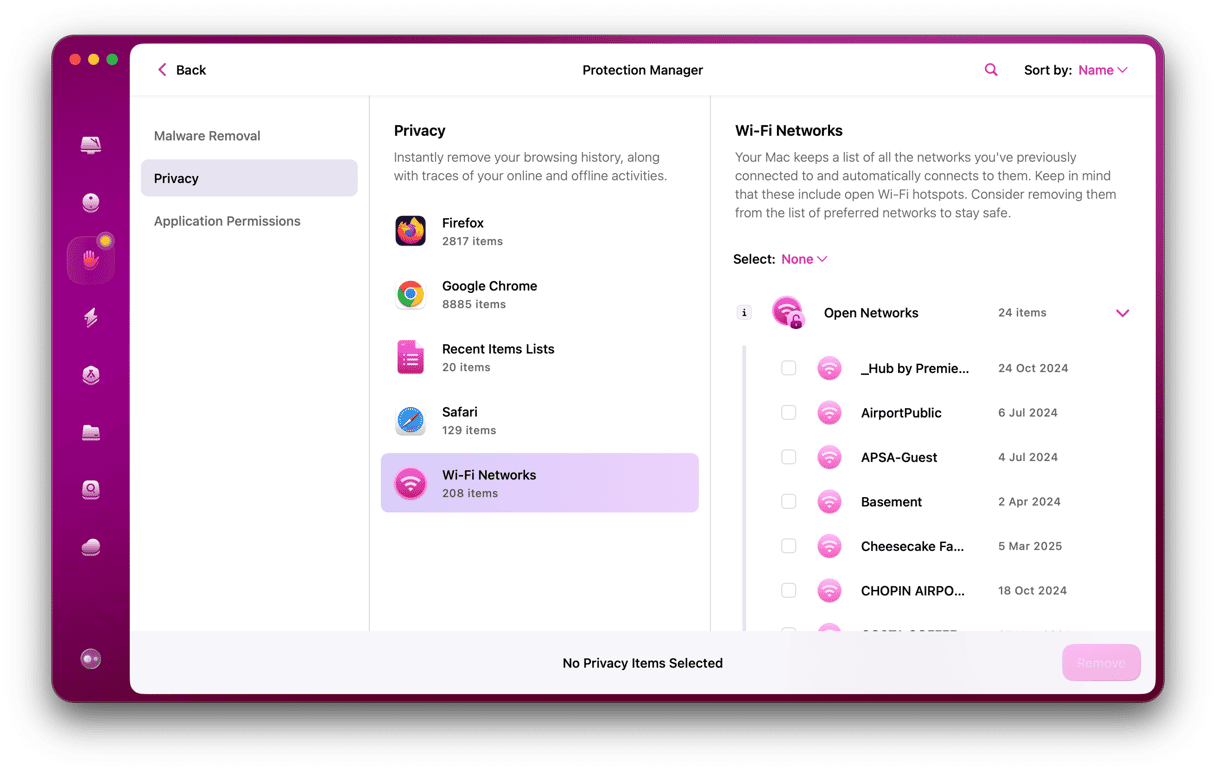
In CleanMyMac's Protection feature, I went into the Privacy tab and removed:
- Dozens of open Wi-Fi networks my Mac had remembered but hadn't used in years
- Cached history from both Google Chrome and Firefox
- A long trail of recent items across Finder and documents I'd opened while testing
It's more about privacy than performance, but it gave me peace of mind that I wasn't carrying around unnecessary traces from the process or auto-connecting to sketchy networks later on.
- Inside the app, select Protection > Scan.
- Click Manage Privacy Items.
- Select items to clean up and click Remove.
Final thoughts: 'Storage system verify or repair failed -69716'
When I first saw the error message in Disk Utility, it felt like one of those errors that meant your Mac was about to die. But it's not. It's loud, it's red, and it repeats, but most of the time, it's fixable.
Apple is pushing the APFS file system to enforce cleaner storage rules, which means we're going to see errors like this more often, not less.
But I also saw firsthand how layered and fixable this is if you go in the right order:
- Disk Utility to confirm
- Terminal to investigate
- fsck_apfs to repair
- Safe mode to settle the system
- CleanMyMac to clean house (first Performance, then Protection)
The combination of native tools and smart cleanup is what finally closed the loop for me, not just recovering the volume but making sure it wouldn't collapse again next week.


