When a Mac gets too full, it can slow processing times down. Your Mac can overheat. And, of course, making room for anything else — whether it’s a file you need to save, a new app, or a game you want to download — might prove difficult. If you keep ignoring your Mac slowing down and overheating, sooner or later, you are going to get a “Your disk is almost full” error.
So before that happens, now is the time to free up some much-needed storage on a Mac. In this article, we cover how to check storage space on Mac and, most importantly, how to fix the amount of space you have.

7 ways to manage storage on Mac
One of the easiest ways is to search through your files for anything that takes up too much space, then take it all to the Trash. Find-and-delete is effective, to a point. But it doesn’t clear everything out, as many Mac users find when trying to make more space.
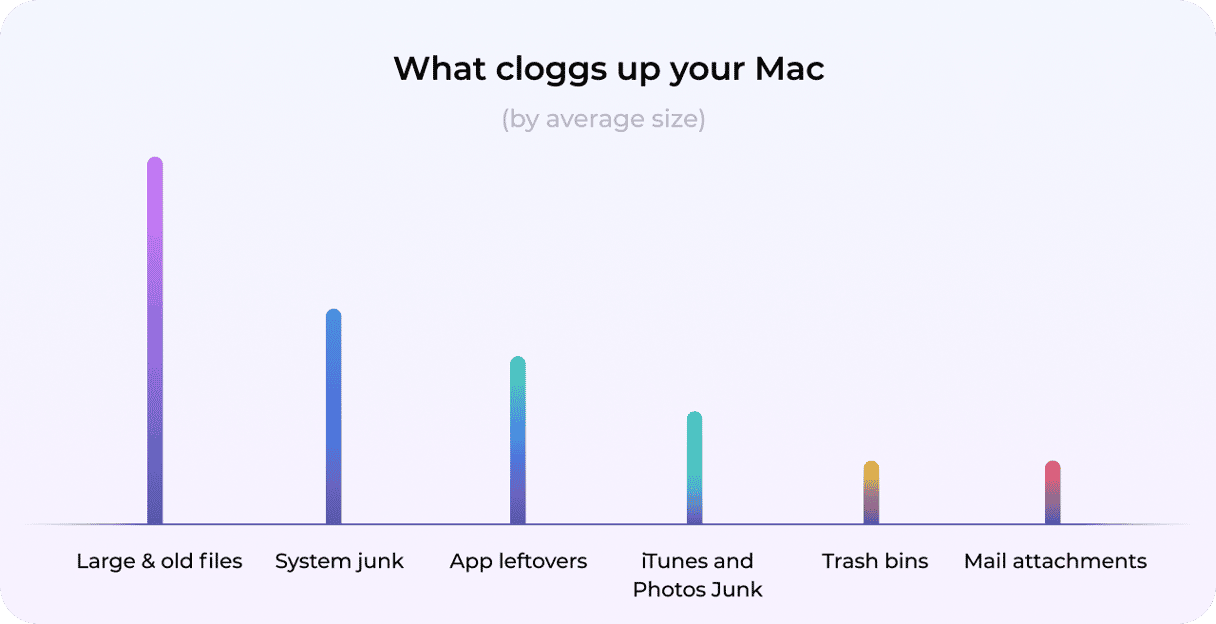
Often, under the surface, is a lot more taking up space than you might realize. Duplicate files and folders, photos (images can hog loads of room, especially when you’ve got duplicates or so many similar images on your Mac), and backups. Whenever you’ve connected an iOS device or iPod, everything at that point in time on that device is duplicated onto your Mac.
Here are some more types of junk on your computer:
Great tools to manage storage on Mac
There are plenty of third-party apps to manage storage on a MacBook. CleanMyMac gives you a whole arsenal of tools to dig out junk. On average, Mac users find they gain an extra 62GB of storage that was lost to system junk files, outdated files, and apps that they didn’t need anymore.
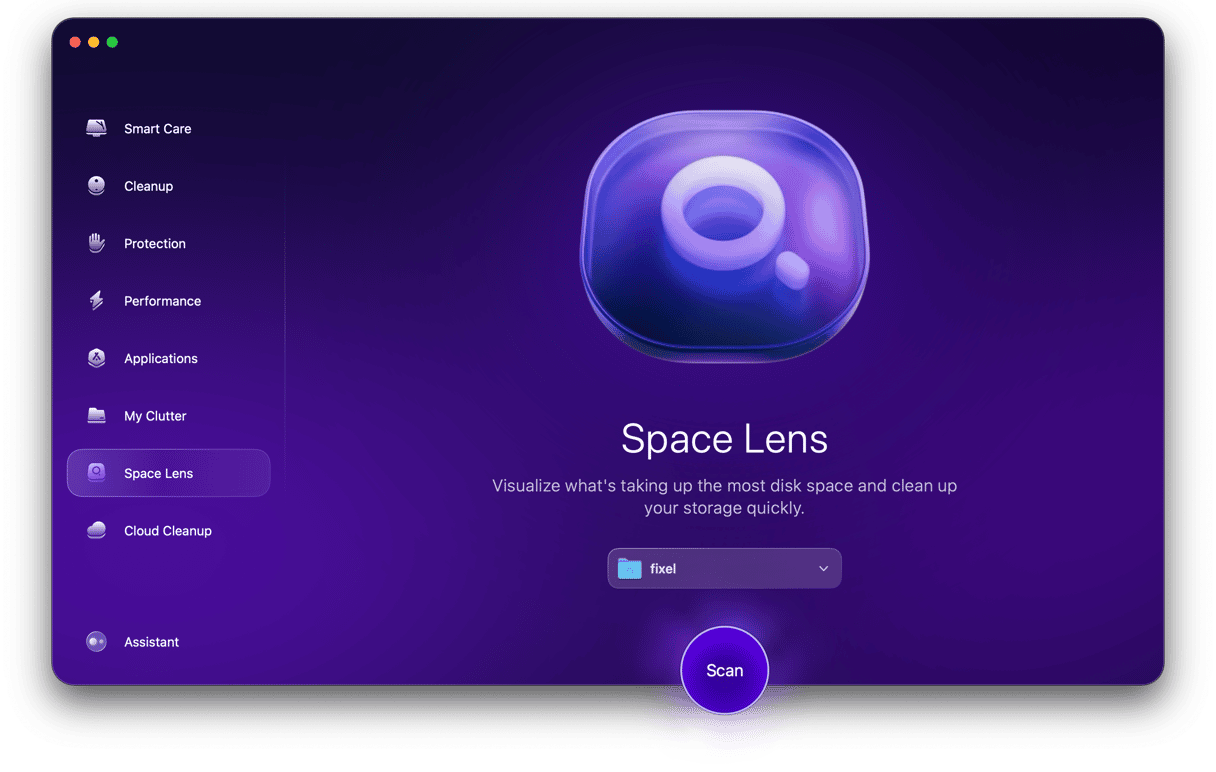
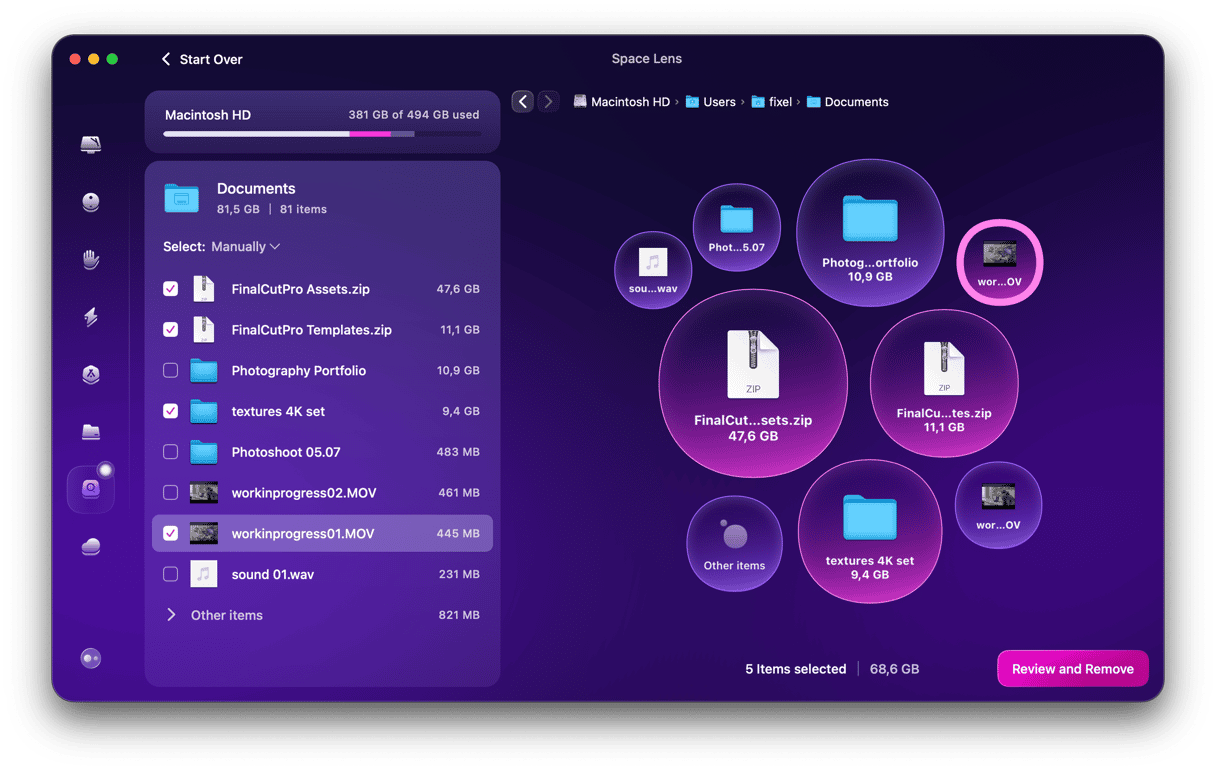
This is the Space Lens tool in CleanMyMac that searches for your large and unseen folders:
Here’s how it works:
- Get your free CleanMyMac trial — enjoy unlimited app functionality for 7 days at zero cost.
- Then, open it and select Space Lens at the bottom of the sidebar.
- Run a scan and explore the depths of your Mac’s drive.
If you want to do this the manual way, here are 7 ways you can clear out more space in your Mac and manage storage more effectively.

1. Empty the Trash
To start with, your Trash could be full of things that need deleting permanently. Go to the Trash from the Dock and click Empty top right > confirm.
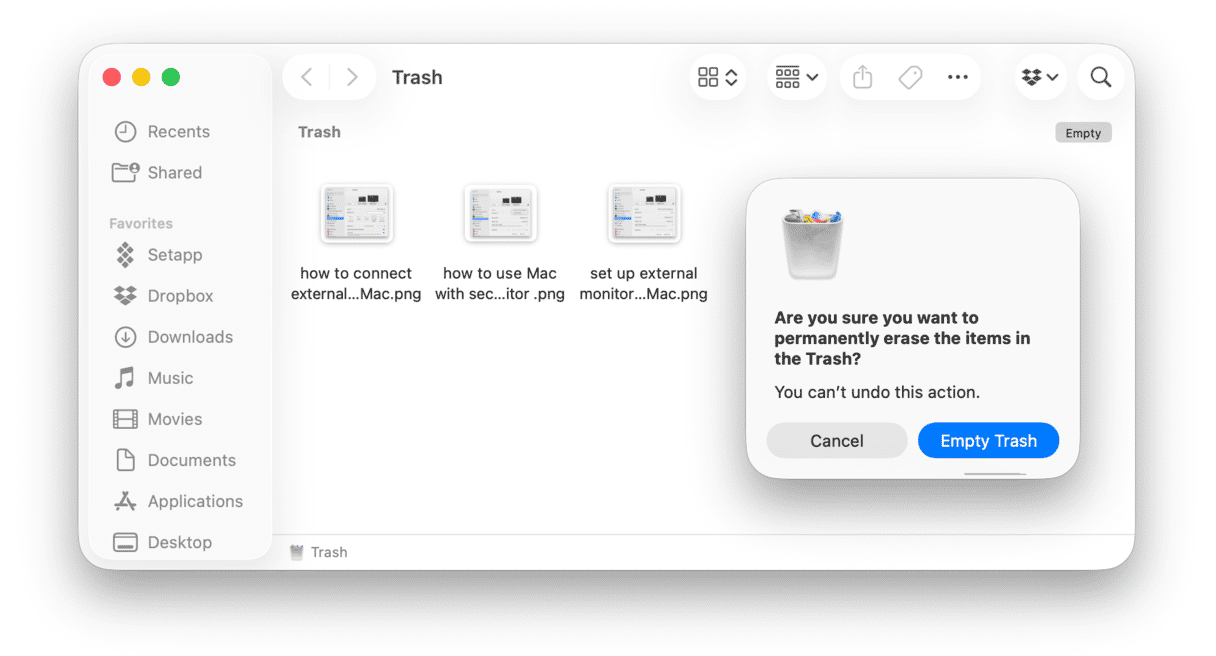
However, that isn’t the only trash can that a Mac has. And each one is storing anything you’ve moved in there that could be restored with a few clicks, so in effect, taking something to Trash isn’t doing anything useful for the space you need to recover on your hard drive.
macOS devices also come with trash cans as part of the iPhoto, iMovie, and Mail applications, so if you’ve deleted anything within those in the last 30 days, you will need to empty those too. Freeing up space in those apps involves pressing Ctrl+click or right-click to open and empty the Trash, thereby creating more space.
2. Uninstall unwanted applications
Now that you’ve emptied the trash cans, one of the most noticeable sources taking up space within a Mac is apps and games that you downloaded but don’t need anymore. Although there is nothing you can do about native macOS apps — the ones that come with the operating system — there is plenty you can do about apps and games you’ve downloaded.
Open the Finder and see all your apps.
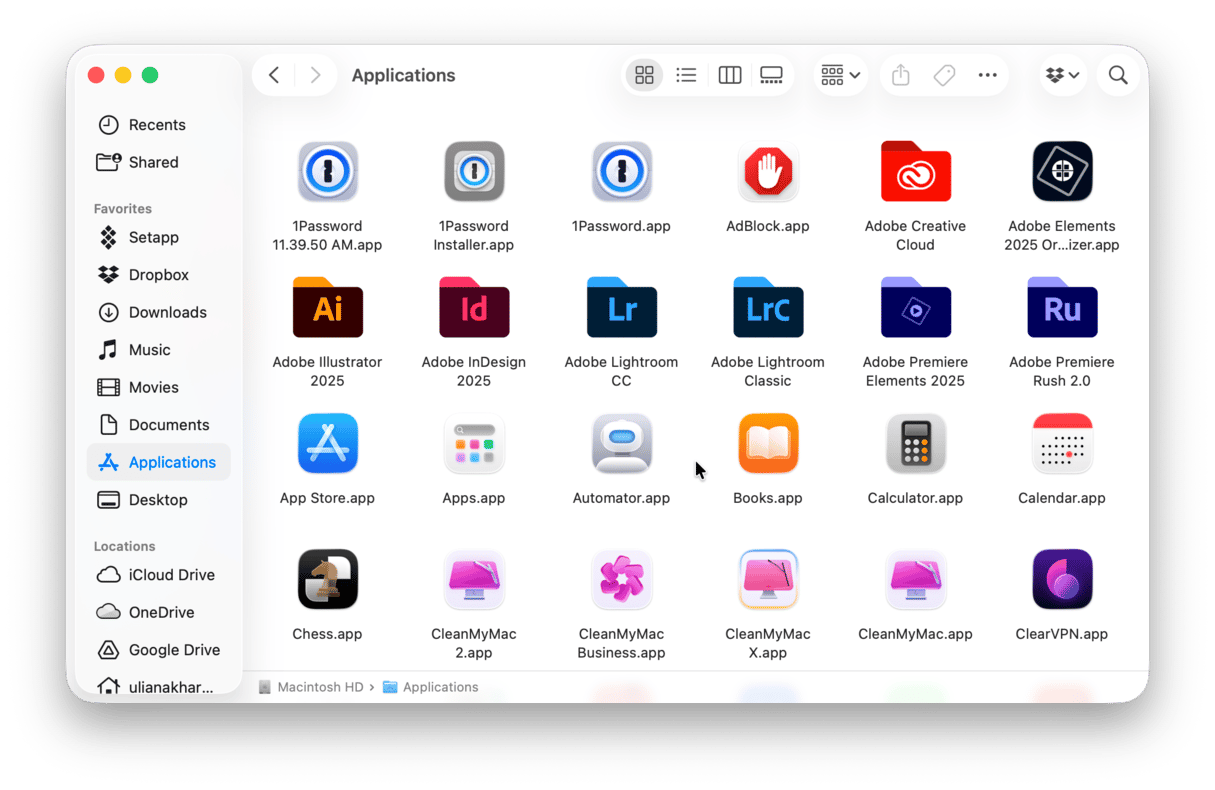
Uninstalling applications shouldn’t take too much work, except for the fact that it’s always worth checking for other folders connected to the apps and games you’re going to delete. If it looks like you’ve got several to uninstall, make a list, so you know what to look for when checking in other locations in your Mac — such as the Library — for working folders connected to the same app.
Drag and drop every app you don’t need to the Trash.
How to see your unused apps
Some apps don’t show anywhere, even though they take up space and operate in the background. They could be intentionally hidden by the developer or be too insignificant for your Mac to display.
Luckily, there is a way to uncover all your apps — the hidden ones and the ones you never used at all. CleanMyMac’s Applications tool does just that.
Here is the list of unused apps on my Mac:
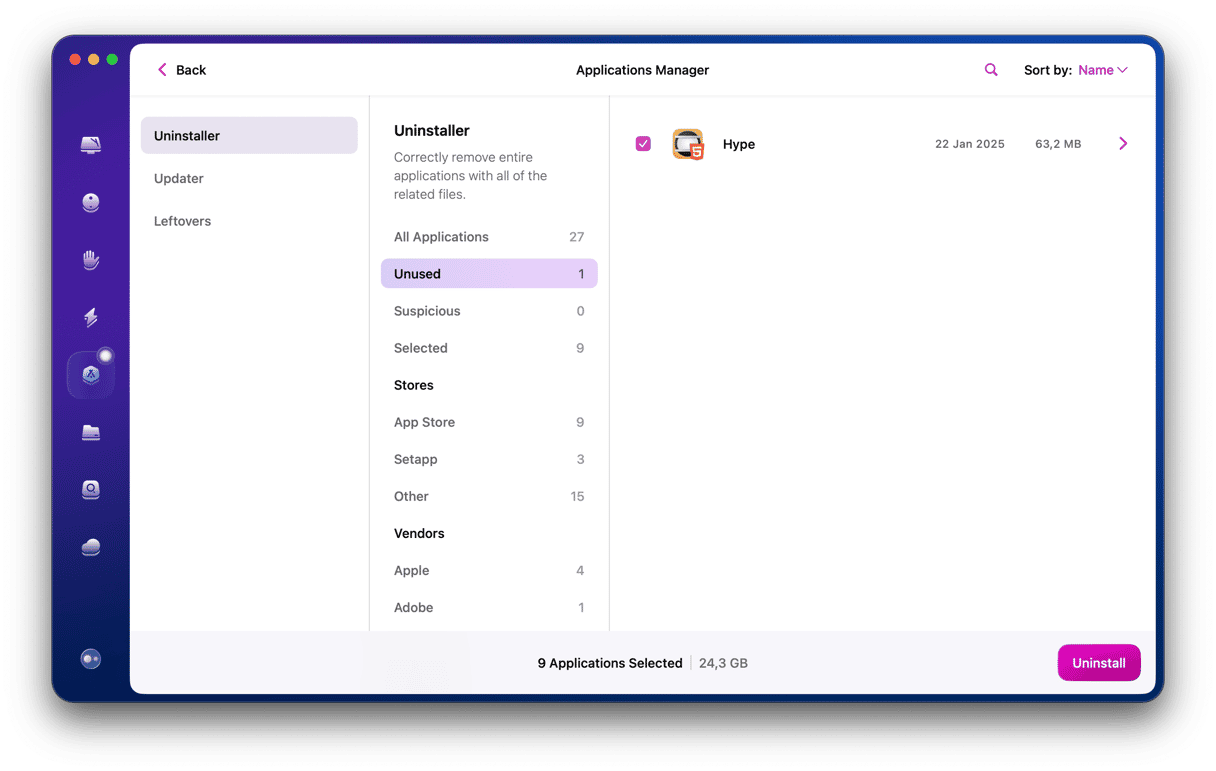
Now, check how many unused apps you can find on your Mac:
- Get started with a free CleanMyMac trial.
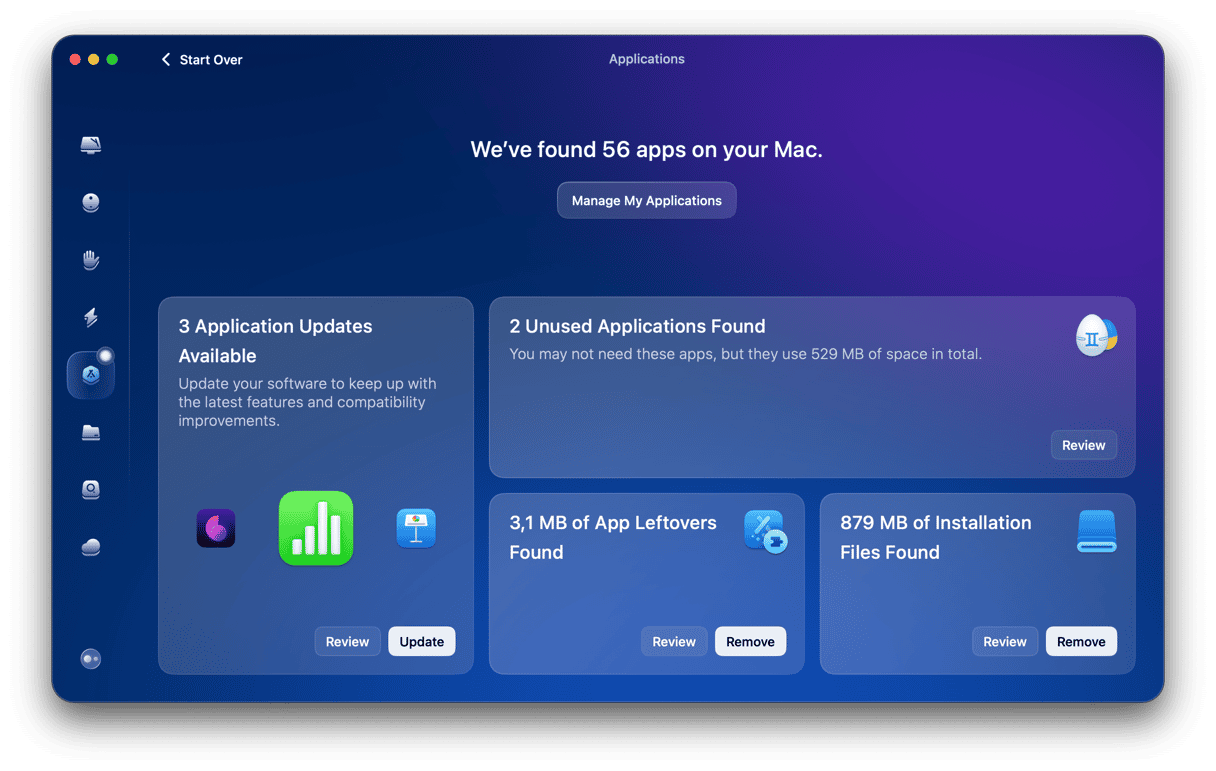
- After you unpack the app, click Applications and run a scan.
- Click Manage My Applications and check the Uninstaller section.

3. Clean up old iOS backups
If you’ve ever — or used to — physically connected your iPod, iPhone, or iPad to your Mac, then there is a good chance that there is a backup of every time you’ve done this. Whatever was on your iOS device at the time is going to be stored within your iTunes backup files space, which can take up a whole load of the room that you’ve probably got other uses for.
So if you want to delete these and save a whole bunch of space, close iTunes and then go to the following folder within Library:
Open the Finder > Go > Go to Folder...
Type in: ~/Library/Application Support/MobileSync/Backup
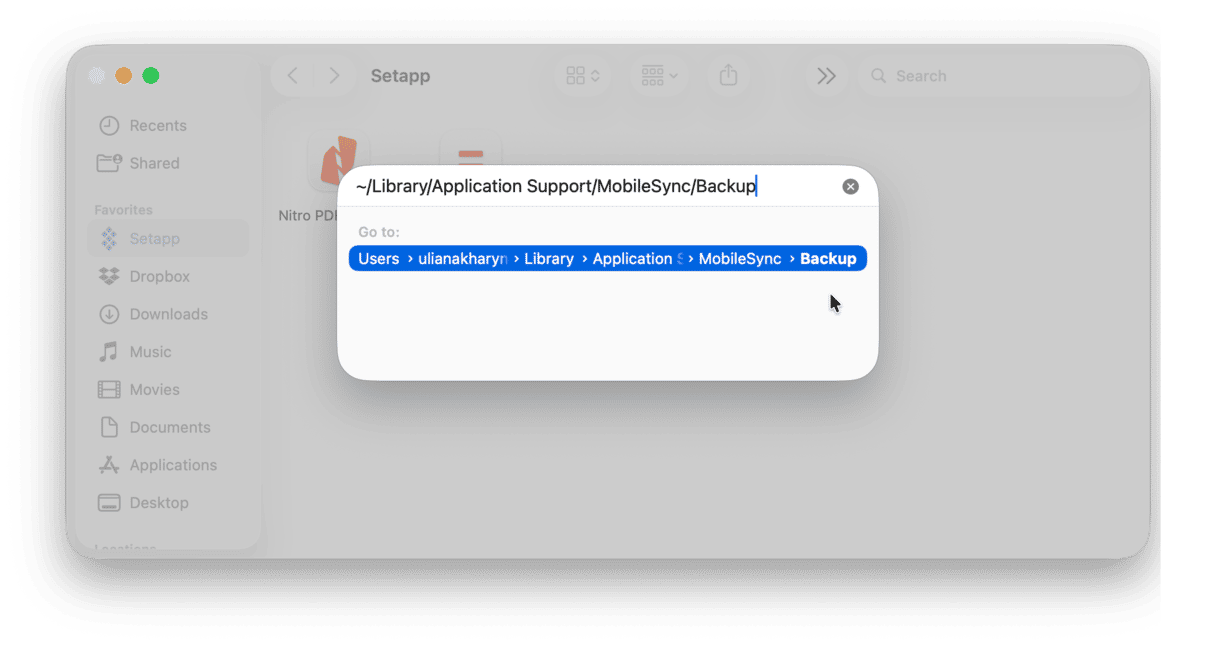
Now, everything stored within this backup folder can be deleted, saving you a lot of space. Except for the latest backup, of course.

4. Tidy temporary files
Most Macs accumulate a lot of temporary files and storage that isn’t needed. Every so often, macOS will try and purge these, but it’s always worth doing a thorough check to make sure there isn’t anything taking up more space when you’re trying to extract every available GB. There are several places where you are going to find temporary files:
- Web browsers
- System cache files
- Application cache
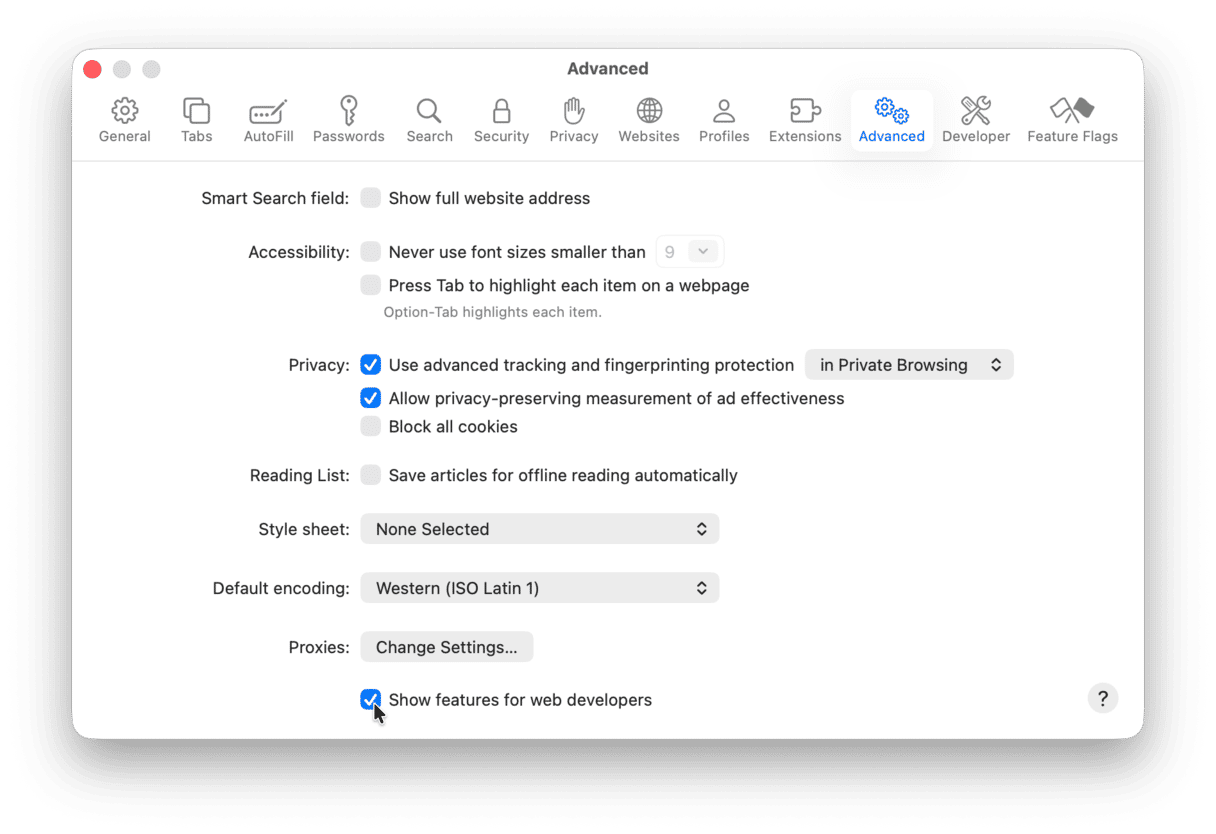
Here is how to clean your temporary data in Safari (may hold up to 1 GB of space):
- Open Safari > Settings > Advanced.
- Select Show features for web developers/Show Develop menu in menu bar and quit Settings.
- Click Develop from the menu bar > Empty caches.
How to clean your user caches:
Here you should find loads of files and folders that are taking up space you could use in better ways.
Go to Finder > Go > Go to Folder...
Now type in: ~/Library/Caches
Repeat the process for:/Library/Caches Without the “~” character.
Go inside these folders and move their content to the Trash. But don’t delete these folders themselves.
If you are not sure, CleanMyMac does this automatically.

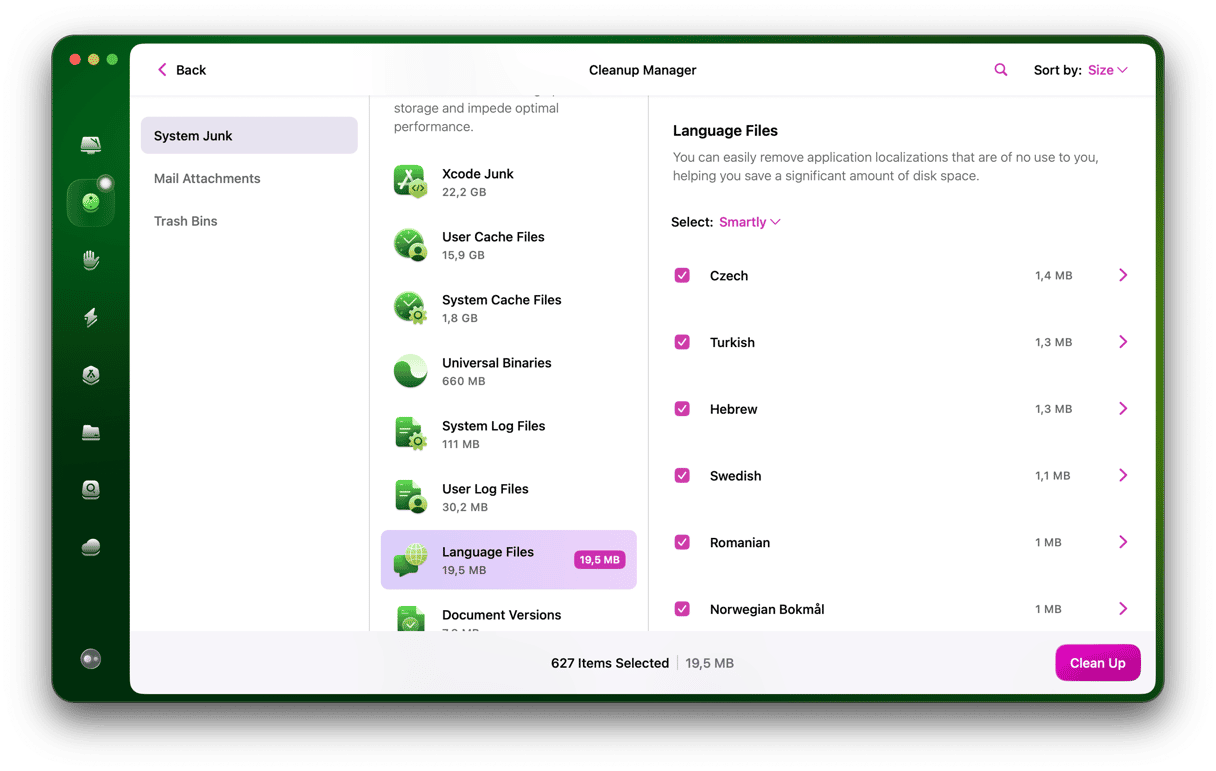
5. Delete language files
Although a Mac comes with as many languages as possible, there is a good chance you only use one — maybe two or three at most — as a system preference. Deleting all of those that you are never going to use will save a lot of space.
Unfortunately, there isn’t an easy way to clear extra language files manually. I recommend using CleanMyMac for this purpose because it really saves time.
- Open CleanMyMac — get your free trial here.
- Then, choose Cleanup > Scan.
- Click Review All Junk > Language Files.
- Select those you do not need and click Clean Up.
6. Clear out attachments and downloads
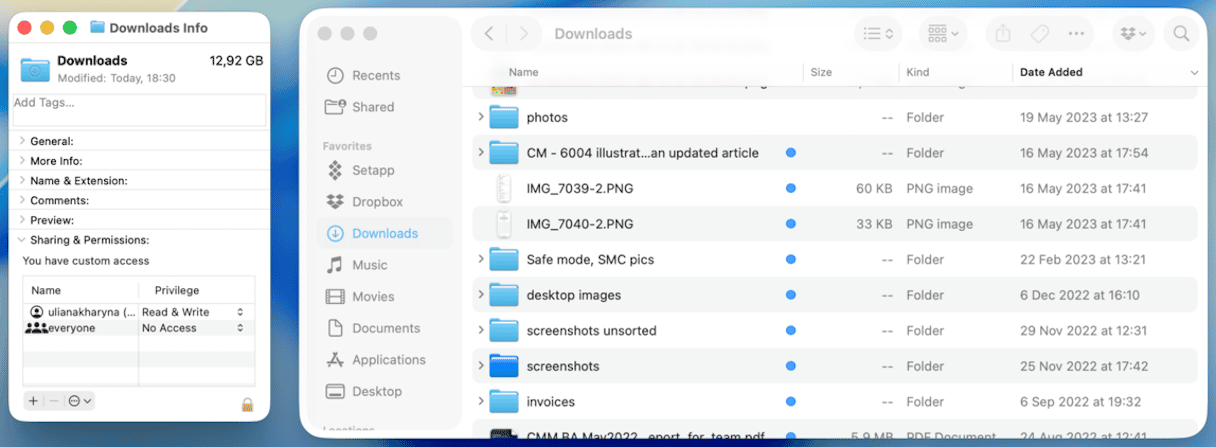
Whether you are using the built-in Mac Mail application, a third-party app, or one that you log in through a web browser, there is a good chance that email downloads are taking up space in your Mac. You could have years worth of downloads sitting there, waiting to be deleted, so now is your chance to clear out this junk.
Go through Downloads and drag everything that is taking up more space than you want into the Trash. You can also change settings within Mail or other email providers to avoid automatic downloads, thereby saving you even more space in the future.

7. Check for duplicates
If your Mac or previous versions of it had the old iPhoto app, then there is a good chance you’ve got duplicate photo libraries taking up space. You should be able to find these under Photos, where it should show you photo libraries from the new macOS Photos app and the old Photos app.
Here is a great way to scan your Mac for duplicates — My Clutter that comes with CleanMyMac.

Make sure everything you want to save is stored in a new folder or moved over to join other photos in your more recent storage area. Then, when you are sure everything else is an unnecessary duplicate, drag it all into the Trash. If you want to store them to make sure they don’t go missing while freeing up more space on your Mac, you can always store them in the cloud (a third-party application, such as Dropbox), or through iCloud, or use an external storage device. Once you are confident everything is stored safely, delete everything you don’t need and free up a whole load of space.
Final thoughts
As you can see, the answer to ‘how to get more storage on MacBook the manual way?’ is to spend looking for space eaters and make enormous effort. There are quite a few folders and files to go through, but it can be done. An easier path is to use a powerful Mac performance tool, such as CleanMyMac, which comes with Space Lens and other tools for decluttering your computer — a quick way to see what is taking up so much space and recover it with just a few clicks.
In only a few clicks, you could have loads of new hard drive space and your Mac running as good as new. Hope you found this article helpful. Stay tuned for more Mac tips.


