Occasionally, when you empty the Trash on your Mac, you may see the message ‘Some items in the Trash cannot be deleted because of System Integrity Protection’. That means that macOS won’t delete the files in question, and they will remain in the Trash until you move them out. There’s a very good reason that macOS won’t delete these files, as we’ll explain in this article. We’ll also show you how you can override the error message and force empty the Trash.
What is System Integrity Protection?
System Integrity Protection (SIP) was introduced in macOS El Capitan as an extra layer of security for critical files on your Mac. It prevents the root user from modifying or deleting those files. Before the introduction of SIP, anyone or any process with root access could alter or delete any file on your Mac. That meant that if you downloaded malware and it gained root user status, it could do anything it wanted.
Following the introduction of SIP, many applications and utilities that needed access to mission-critical files had to be modified so that they continued to work in a post-SIP world.

When does the error message appear?
The ‘Some items in the trash cannot be deleted’ error message most commonly appears when you manually delete Time Machine backups. Time Machine backup files are protected by SIP, so if you try to drag them to the Trash and empty it, you may see the error message. The message can also pop up if you try to delete any other file protected by SIP.
How to automatically force empty Trash on Mac
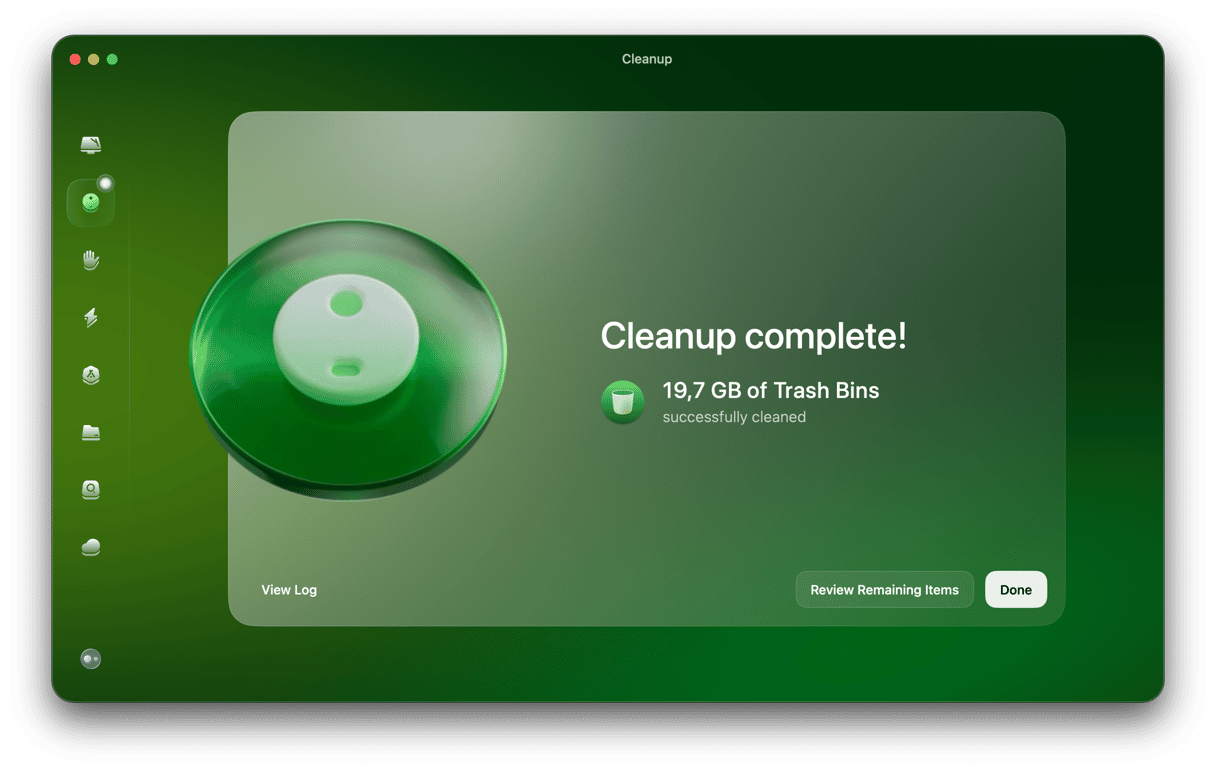
Your Mac has more than one trash bin. Each hard drive or SSD you have connected has its own Trash. Disconnecting the drive doesn’t empty the Trash, and so it continues to take up space. Also, when you use a Gmail account in Mail or any other email client, messages you delete remain in a folder on your Mac. All these attached bins, including Gmail, can be emptied at once, using a module in a handy app called CleanMyMac. CleanMyMac has lots of tools to help keep your Mac free from junk files and running smoothly, and Trash Bins is one of them. It can also help override problems emptying the Trash in the Finder. Here’s how to use it.

- Download CleanMyMac for free here.
- Choose Trash Bins in the sidebar.
- Click Scan.
- Press Empty (or Review Details if you want to see what’s in the Trash).
Is it safe to disable SIP?
If you know what you are doing and are certain that what you need to do won’t cause any problems with your Mac, it is safe to disable SIP. However, make sure to re-enable it as soon as the issue is gone.
How to disable SIP on a Mac

If you really need to disable SIP and understand the risks, here’s how to do it.
- Shut down your Mac.
- Restart it while holding down Command-R to enter Recovery Mode.
- Click on the Utilities menu.
- Choose Terminal.
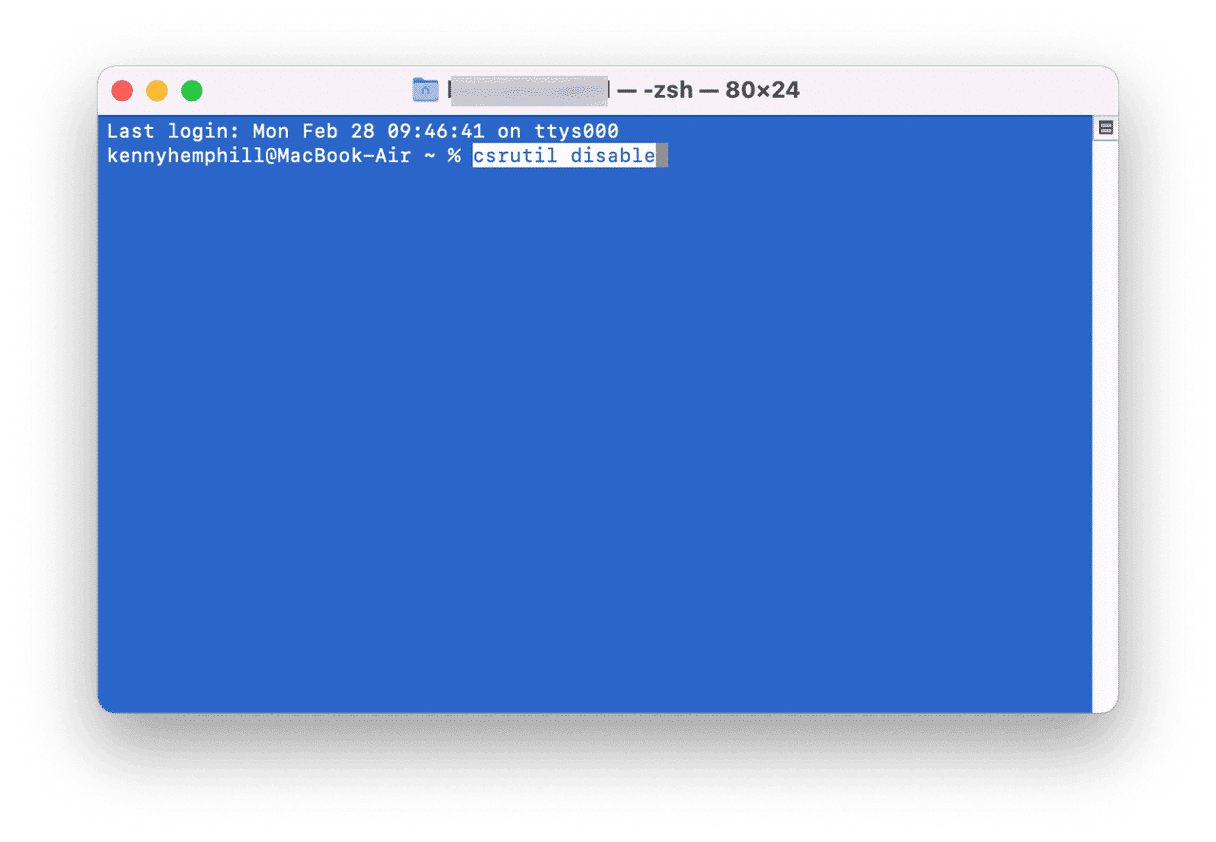
- Type the following command at the prompt: csrutil disable
- Press Return.
- Click on the Apple menu and choose Restart.
Now, try emptying the Trash.
When you’ve done what you need to do, follow the steps above to re-enable SIP, but this time, type: csrutil enable
You can check the status of CIP at any time, without rebooting in Recovery Mode, by launching. Terminal from Applications > Utilities and typing: csrutil status
System Integrity Protection prevents applications and processes from modifying or deleting important system files on your Mac. However, there may be occasions, such as when you can’t empty the Trash when you need to disable it. Follow the steps above to do that, and remember to re-enable it as soon as possible when you’re done.


