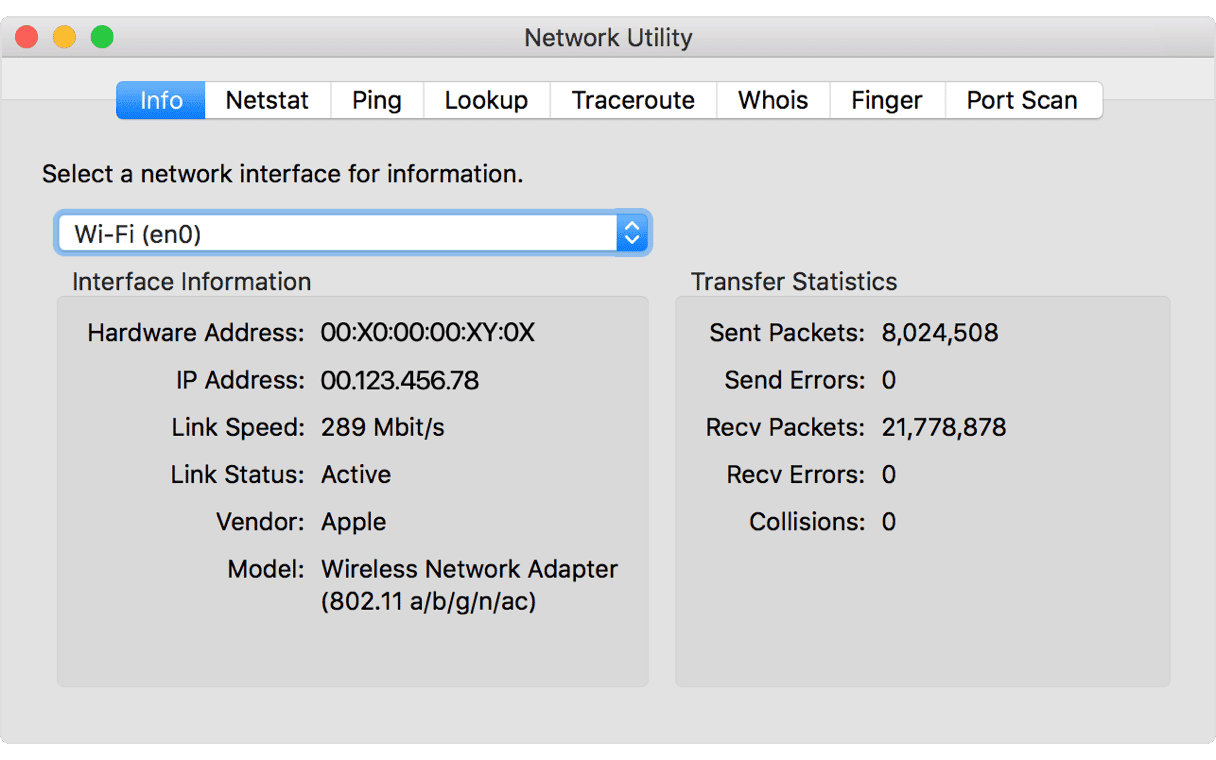
macOS always comes with a whole load of useful features and tools, one of which is Mac Network Utility, a way of finding out more about each of your network connections. In this article, we take a look at how to use the Apple Network Utility feature.
For anyone unsure where to find it, Apple has buried Network Utility in a Systems folder, which means you need to search for it through Spotlight. If you are going to need this fairly often, then placing an alias where you can find it, such as on your Desktop, can be useful.
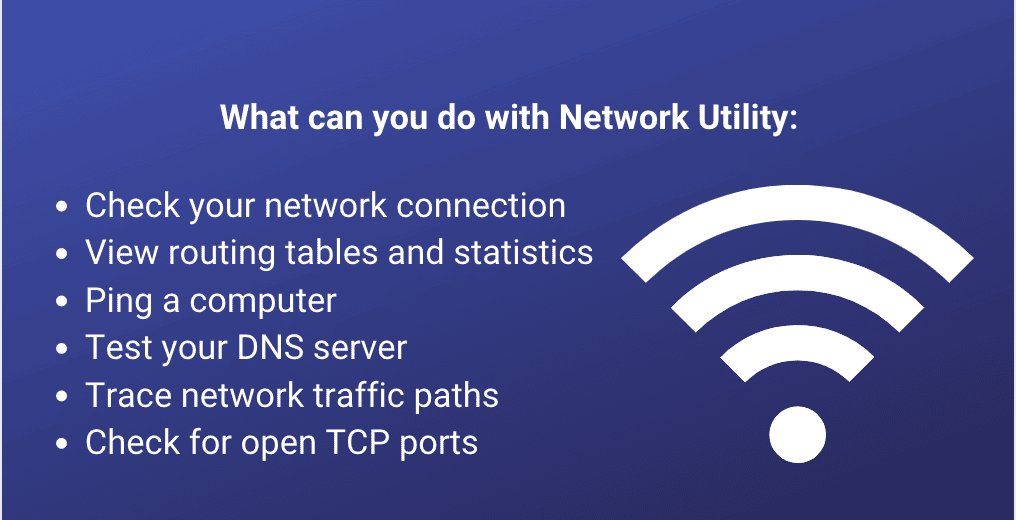
What can you do with Mac Network Utility?
- Netstat (Short for Network Statistics): This used to be something that could only be done in Terminal. It is a fairly sophisticated tool that now can be accessed through a user-friendly graphic interface instead of inputting command line code. Use Netstat to examine your Mac’s routing tables, viewing detailed summaries of packets received and sent through common network protocols.
- Ping: Providing you know another computer, server, or device’s IP address, use the Ping test to ensure it can communicate with that device at that IP address.
- Lookup: Use this to view the information provided by your Domain Name System (DNS) server.

- Traceroute: Find out exactly the path a message or transmission takes from one computer or device to another.
- Whois: Unless someone has protected this data, use this to trace “whois” information from a server.
- Finger: Again, unless this has been protected, use the Finger protocol to trace user information with a user name and domain address.
- Port Scan: With an internet or IP address, this can be used to scan for open TCP ports.
As you can see, it’s a pretty comprehensive list of features that may surprise some Mac users. Apple gives you the tools to quickly and easily look up a lot of information on IP addresses, domain names, and connectivity ports.
How to use the macOS Network Utility?
With each of these features, it depends on what information you are looking for, what you already have (e.g., someone else’s or another device’s IP address or domain name), and whether or not they’re in your network or can be connected to your network remotely. This even works whether or not your machine is air-gapped.
Although Network Utility was only designed for OS X, the Finder tool can scan for the relevant data packets connected to iOS devices that are currently on your network. It can be a useful feature for those wanting to add more to an iOS tool kit.

Each search feature is designed to be as simple as possible, so even those without technical knowledge can use and access them. All of the options above provide simple input features and search buttons, so once you’ve got the information — e.g., an IP address — you can go ahead and search for more details. Take the Port Scan feature of Network Utility; it can run for quite a while searching for open TCP/IP ports, as it will scan for port numbers ports 1 through 65535.
To ensure Network Utility is effective and useful, you need a strong internet connection and your Mac running as smoothly as possible. What if your Mac is having connectivity issues?
Let’s look at how to solve connectivity problems to ensure you can use Network Utility properly.
Test the real speed of your internet
With a Mac and with the right tools, you have a lot of control over how fast — or not — you surf the internet. It isn’t only down to your provider and network speed. But sometimes, the data that your provider gives you is incorrect. So how do you ensure that your internet is fast enough?
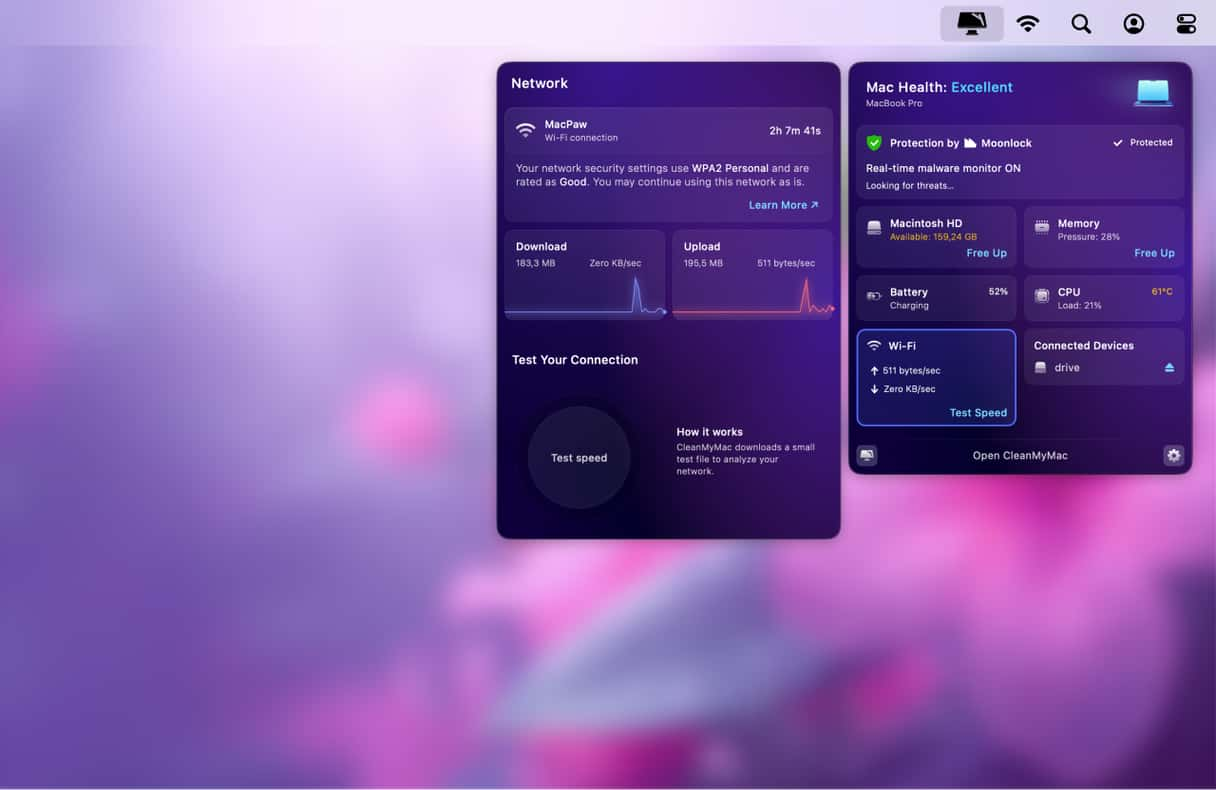
You can do this with a free tool that comes with CleanMyMac. This app is a well-known Mac optimizer that is notarized by Apple, unlike many other cleaner apps.
- Get your free CleanMyMac trial.
- Now, click a tiny iMac icon in the top bar (where your time is).
- This will open a Menu App. Click Test Speed to see your current internet speeds (upload and download).

Flush DNS cache to improve your internet connection
Your Mac stores some of the Domain Name System queries in the form of cache. When your network slows down, or you can’t connect to certain websites, you may clear the cache and thus reset your internet connection.
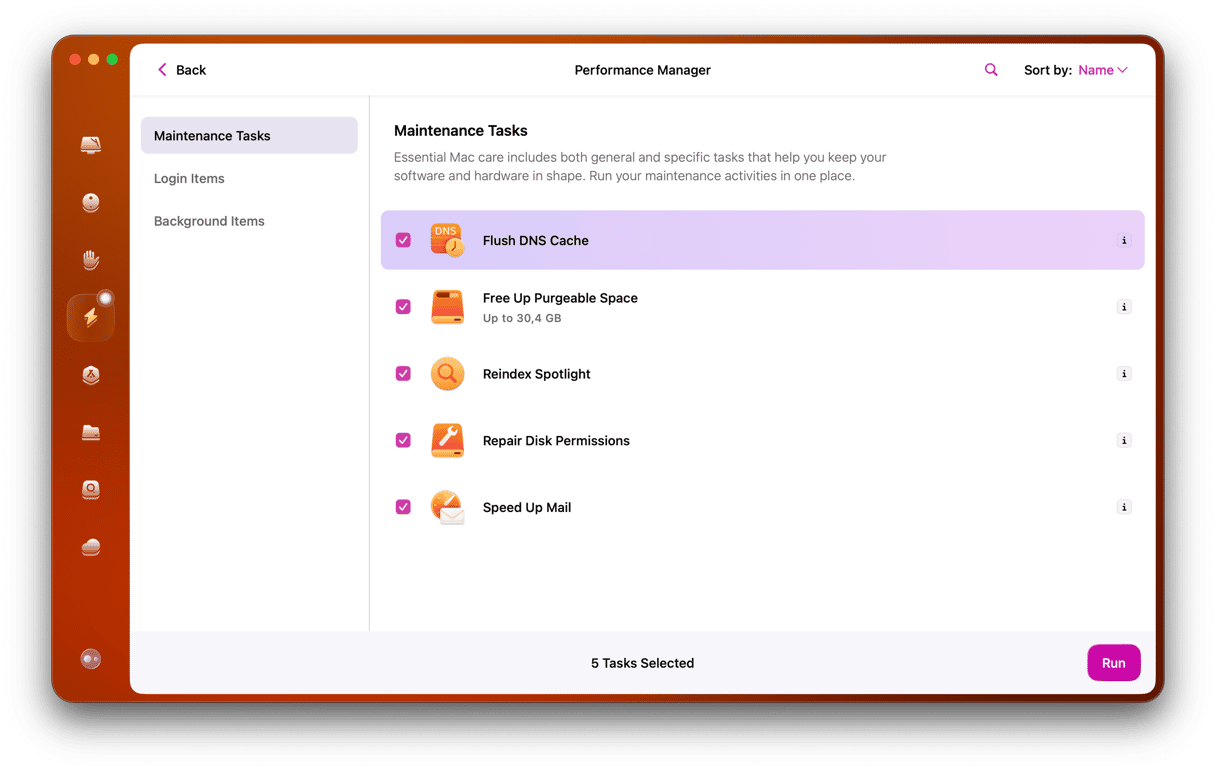
For this, you’ll need the main CleanMyMac app, not the one we’ve just used.
- Open CleanMyMac.
- Click Performance > Scan > View All Tasks.
- In the Maintenance Tasks tab, choose Flush DNS cache and click Run.

Get started with a free CleanMyMac trial.
Did it work? Your internet speed should increase a little bit.
CleanMyMac is a really useful Mac performance improvement app. It comes with a whole load of features and tools that improve how a Mac runs, including its network and browser connections, so that if you run searches through Network Utility, you can be sure that it is running as smoothly as possible.


