System logs are an important resource when you need to troubleshoot problems on your Mac. By searching or scrolling through them, you can identify how and when problems occurred, which should help resolve them. Most people, however, don’t even realize this resource exists and don’t know how to view Mac system logs. We’ll show you how in this article.
What are system logs?
Every time you do anything on your Mac, it causes several processes to run and lots of tasks to be executed. Every task your Mac performs is recorded in a log and stored so that you can review it later if you need to. Those logs are known as system logs. To most of us, reading them is like reading a language we don’t understand. However, if you know what to look for, they can be invaluable.

How to view system logs on a Mac
The application used to view system logs is called Console. It’s tucked away inside the Utilities folder in Applications. To open it, you can either navigate to Applications > Utilities and double-click Console. Alternatively, press Command-Space to pull up Spotlight and type Console. Then, press Return when you see the app.
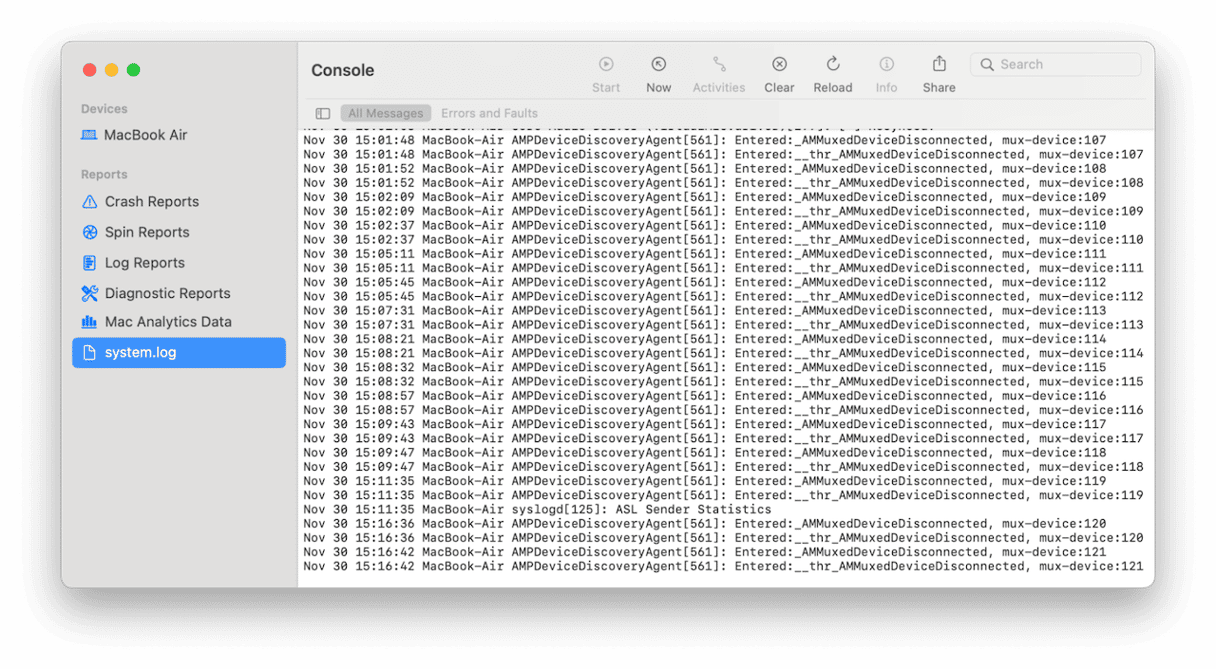
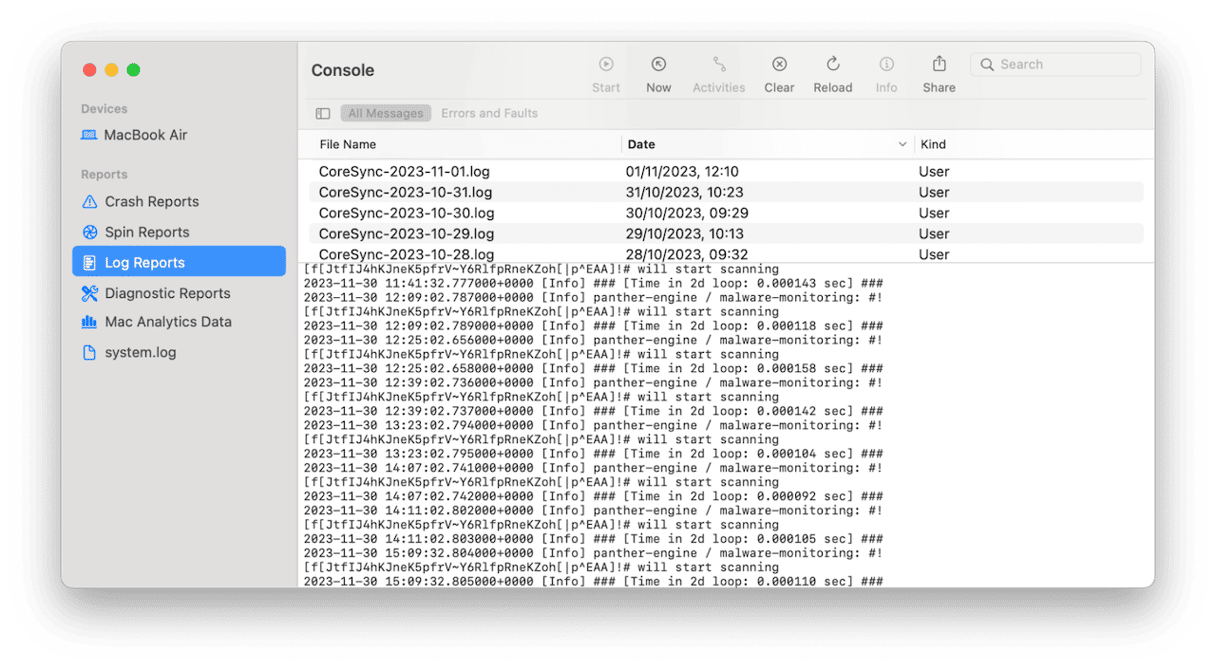
When you open Console, you will see there is a main window and a sidebar on the left. The sidebar has categories of system log reports. So, for example, Crash Reports will give you all the data on tasks that were processed just before a crash. Log Reports give you information on what specific applications were doing at any given point.

You can use the search box to search for a log if you’re looking for something specific, or you can sort logs in each category by file name, date, or kind.
System logs can be particularly useful for app developers, and if you report a problem to a developer, you may be asked to send them a log file of the crash report, for example. There are a few ways you can do that. One is to use the Share button in the Console window. It works in the same way as sharing in any other app, allowing you to share the content of the log directly in a message or email or send it to another app.
Another way is to send the developer the text file containing the log. Every log you see in Console has a text file in Finder. To find it, right-click or Control-click on the log entry in Console and choose Show in Finder. You can then copy the text file and attach it to an email or message.
The third way is to locate the log file in Console, select it, and then press Command-A to select its content. Copy it using Command-C and then paste it into a new Text Edit document. You can then share that document with the developer.
How to manage files on Mac
System log files are text files that are stored in various folders deep in your user Library folder and main Library folder on your Mac. And when you’ve used your Mac for a long time, they can grow to quite a size. However, log files aren’t the only files taking up space on your Mac that you may not know about. There are temporary files that should have been deleted but weren’t, old cache files, files left over from applications you’ve deleted, and files for languages you don’t use.
In fact, together, these junk files can take up several gigabytes, even tens of gigabytes, on your boot drive. Removing them yourself to free up space is time-consuming and laborious. So, most of us just leave them where they are. But there is a way you can remove them and free up all that space very easily — CleanMyMac’s Smart Scan module. It scans your Mac, looking for those files. While it’s doing that, it also looks for ways to optimize performance and checks for malware. Once it’s finished, you can remove the junk with a couple of clicks. And if it finds malware, you can remove that easily, too. You can download CleanMyMac for free here and try it for yourself:
- Open CleanMyMac.
- Click Scan.
- Click Run.

Watch your system generate logs as you work
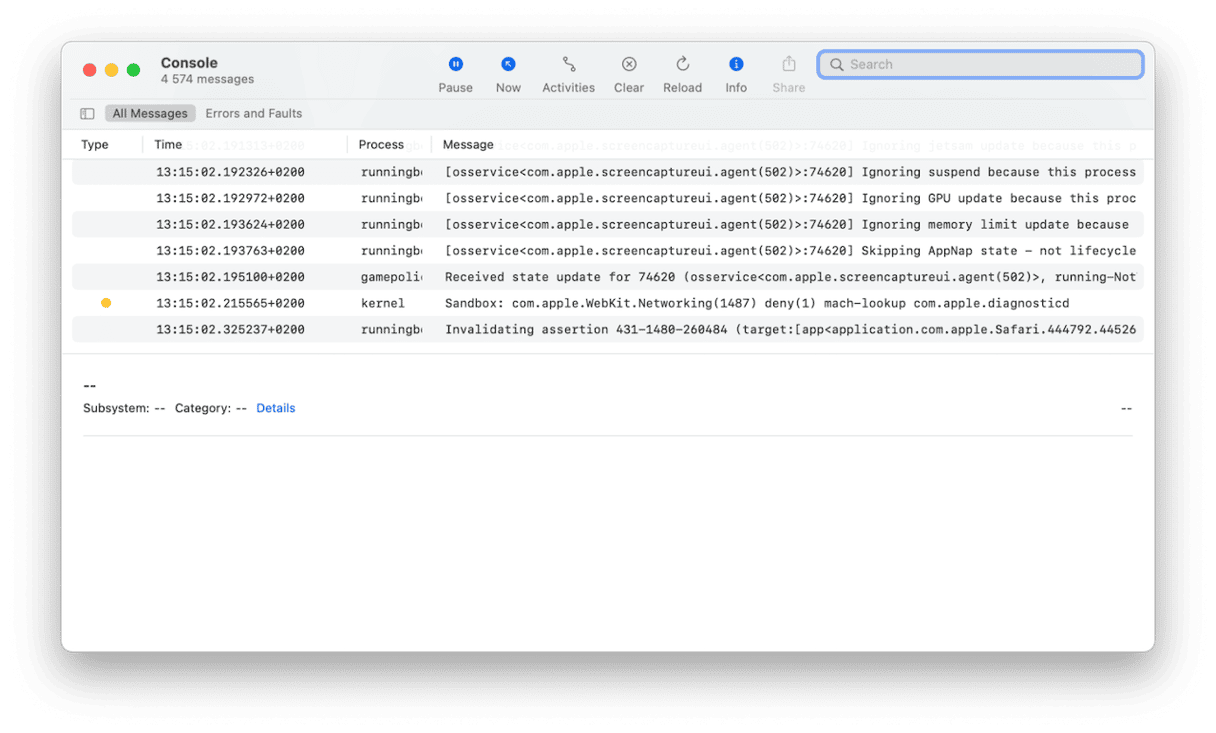
There’s a feature in Consol that allows you to watch as system log files are generated. It’s like peeking behind the curtain at the theater or lifting the hood of a car while the engine is running. You can see all the processes that run to allow your Mac to do what you want it to do. To see it in action, do the following:
- Open Console.
- Under ‘Devices’ from the sidebar, click the name of your Mac.
- You will see a message telling you that streaming logs will impact performance.
- Click Start Streaming.
- You will see logs being created in the top window.
- You will also see a reminder that streaming will impact performance. So, when you’re done, click the pause button in the toolbar and quit Console.

The Console utility in macOS isn’t the most widely used app. In fact, most Mac users don’t even know it exists. However, it can be extremely useful. Console is the easiest way to view system logs on a Mac. You can also use it to view crash reports and diagnostic reports. While every entry in the logs is a text file in its own right, viewing them in Console is much simpler than hunting them down in Finder. Once you’ve found the log you want, you can copy it or share it, perhaps with the developer of an app you’re having a problem with. Follow the steps above to view the system logs on a Mac.


