Anyone who manages a mixed network of Mac and Windows computers, or anyone who just has a few of each on the same network, should know what Active Directory on Mac is and how to use it. First, though, a quick recap on Active Directory and what it is.
What is Active Directory on Mac?
Without getting too geeky and technical, Active Directory is a way for network administrators to manage user logins and software deployment. It allows sysadmins to do things like issuing a single login for each user for multiple different services, such as logging into Windows, using Outlook, and working online with Sharepoint. It also allows them to deploy updates and software installations across the network.
How to use Active Directory on Mac?
Most networks these days consist of more than just Windows PCs and servers. They often include Macs and mobile devices. Active Directory on Mac is a way of describing the process of connecting a machine running macOS to Active Directory on a Windows server.
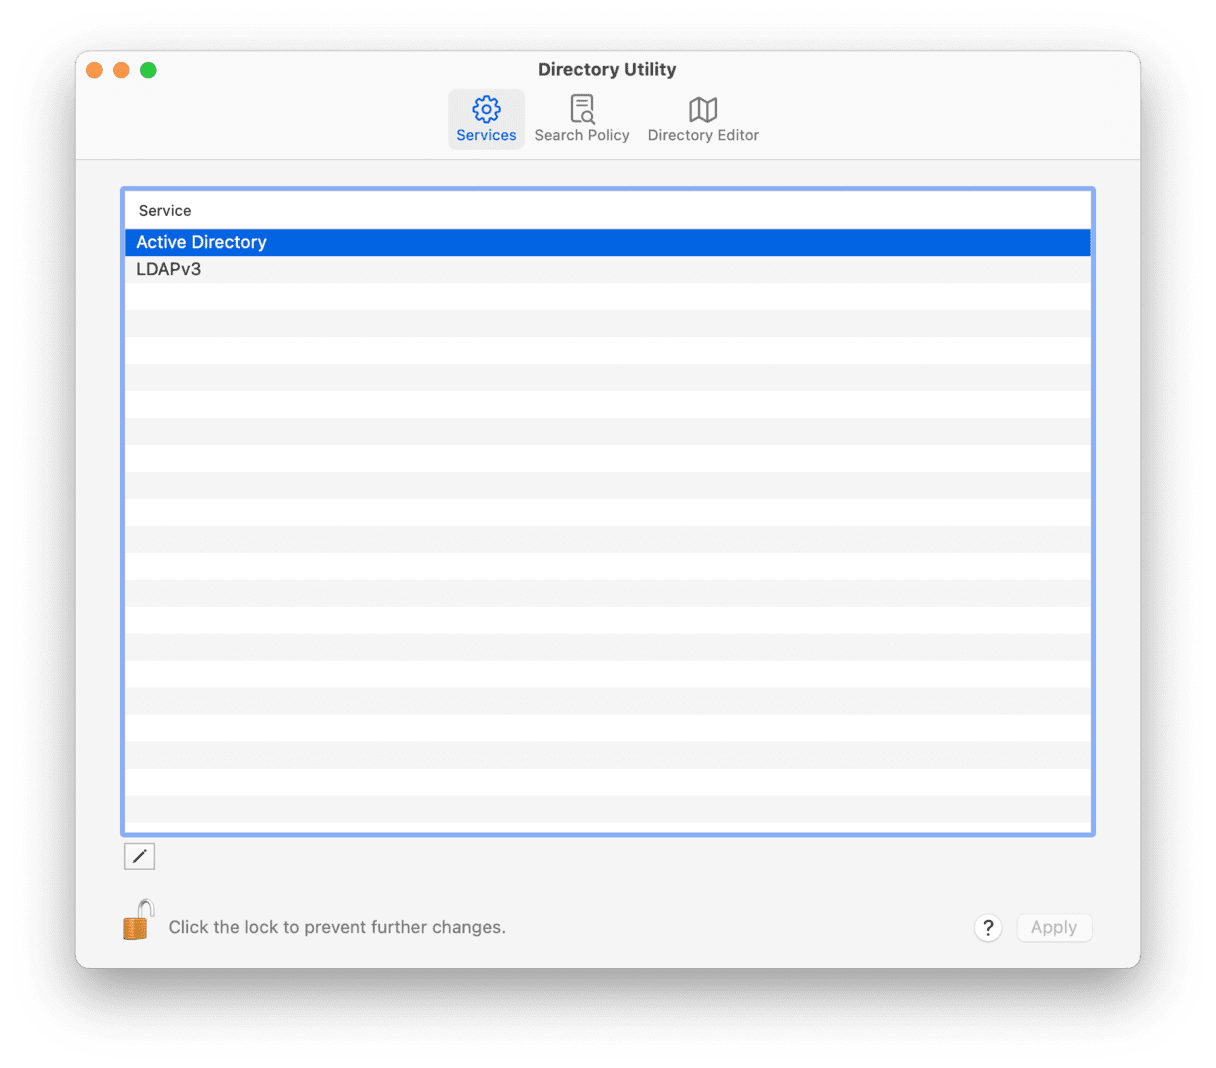
The most straightforward way to add a Mac to Active Directory is to use Apple’s Directory Utility, accessed in the Users & Groups section of System Settings. One of the services in the Utility, Active Directory Connector, allows you to configure a Mac to access basic account information on a Windows server running Windows 2000 or later. The Connector generates all the attributes needed for macOS authentication from Active Directory user accounts and supports Active Directory authentication policies, including password changes, expirations, forced changes, and security options.
%20(1)%20(1)_1671753448.png)
How to open Directory Utility
The Directory Utility is about 10 clicks away from your User & Groups pane. Here is how to open it on your Mac:
- Click on the Apple logo > System Settings > User & Groups.
- Go to Network account server and click Edit.
- Next, click Open Directory Utility.
- Click Open Directory Utility.

Once you join a Mac to a domain on Active Directory and it’s fully integrated with it on a Windows server, users of the Mac:
- Are covered by the organization’s domain password policies;
- Use the same username and password credential to access secured resources;
- Are issued user and machine certificates identified from an Active Directory Certificate Service server;
- Can navigate a distributed file system and connect to the underlying SMB server.
The Connector also supports a number of other services, such as:
- Packet encryption and packet signing options for Windows Active Directory domains;
- Dynamic generation of unique IDs;
- Active Directory replication and failover;
- Mounting Windows Home folders;
- Using a local Home folder on a Mac.

Can’t set up Active Directory?
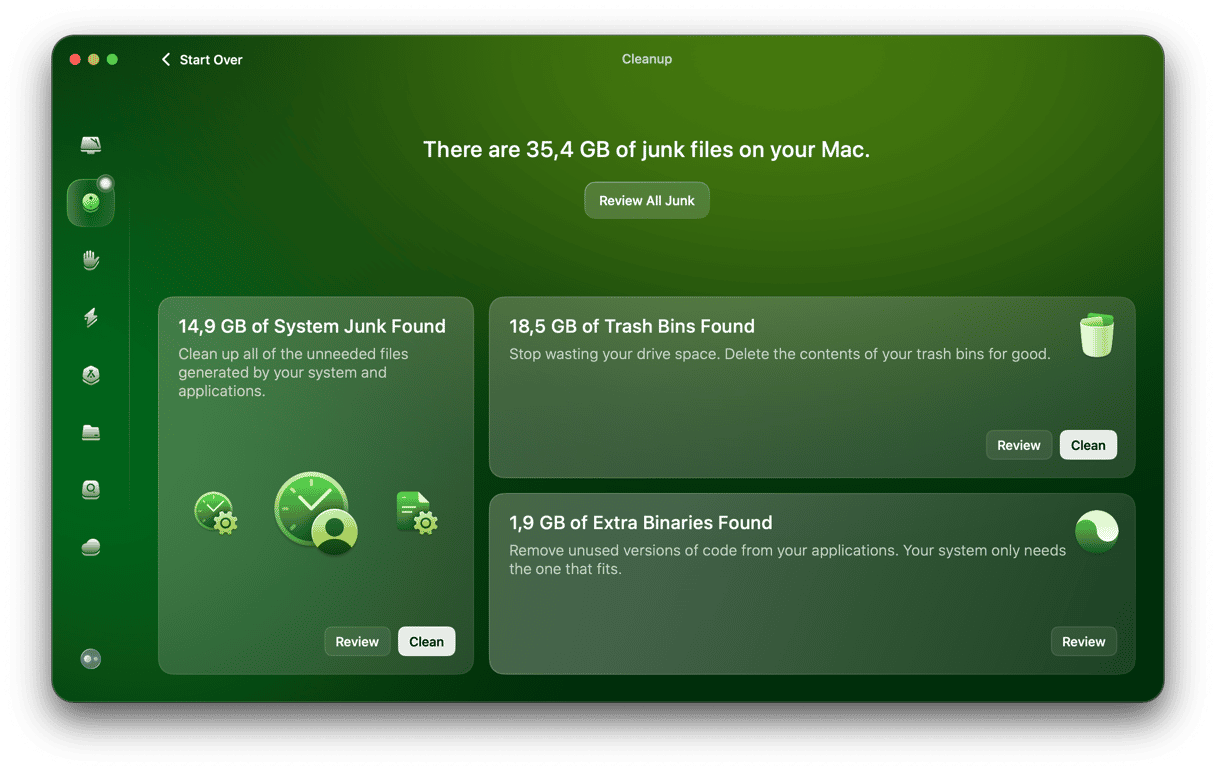
If the steps above didn’t work for you, it’s probably because there is cached data on your startup drive that’s causing software conflicts. The best way to get rid of them is to remove system junk from your Mac using an app. I recommend CleanMyMac, a Mac maintenance app that is notarized by Apple.
- Download and install CleanMyMac for free — it takes 3 minutes.
- Choose the System Junk module and click Scan.
- Follow the onscreen instructions.

Possible problems with Mac and Active Directory and how to fix them
As with any networking task, connecting a Mac to Active Directory and keeping it connected isn’t without its challenges. Maintaining the connection, for instance, relies on DNS services working properly, which in turn relies on the Mac in question retaining the same name. If the name of the Mac changes, that can disrupt the connection. And as anyone who has administered Macs on a network knows, macOS sometimes changes the name of a Mac, adding (1), for example, when it detects a ‘ghost’ Mac with the same name. That can be all it takes for problems to occur.
Fixing DNS problems can be tricky. But there is one thing you can try that may well solve them, and it’s quick and easy to do: flush the DNS cache. The DNS cache is where your Mac keeps the data it needs to find and connect to other computers on a network, or on the internet. Sometimes, if it becomes corrupt, it can make it difficult for the Mac to find the computers it needs to connect to. And in that circumstance, clearing the cache can fix it.

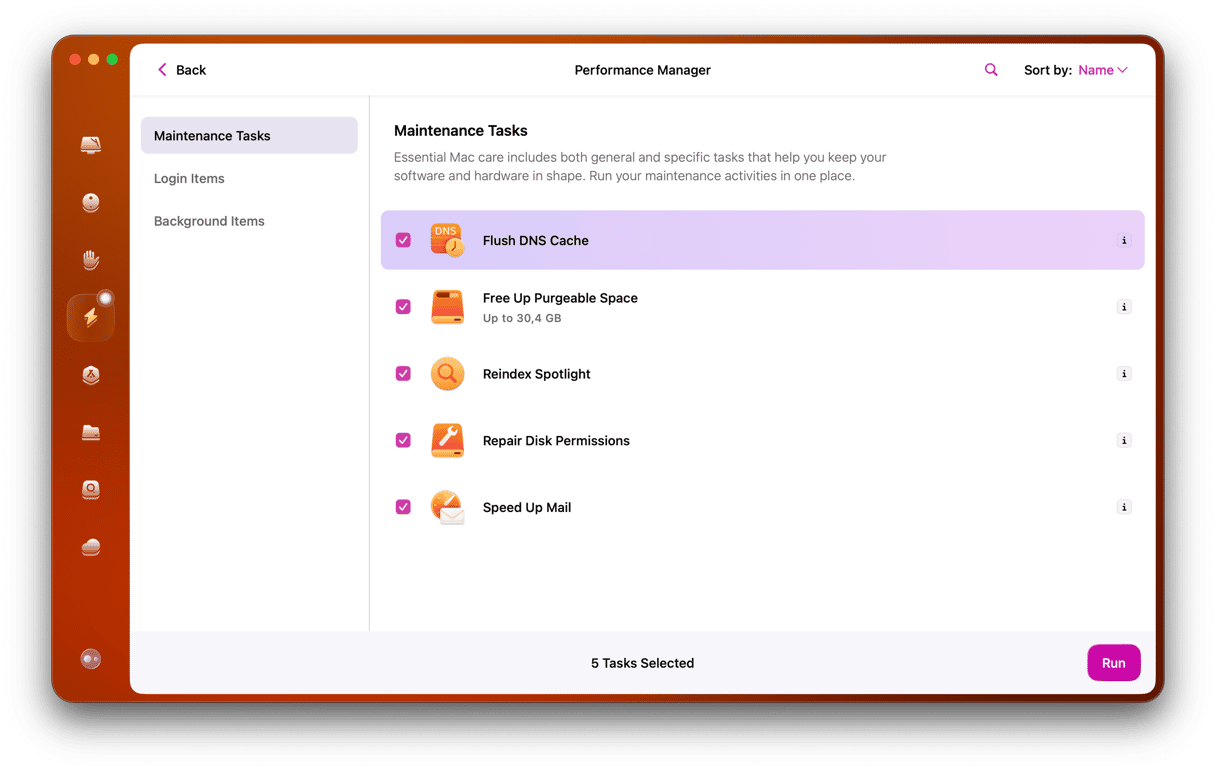
There are two main ways to flush DNS cache: the manual way and the much easier automatic method. You can read about how to flush DNS cache manually using Terminal, but I prefer to do it the easy way — using CleanMyMac. It can clean out DNS cache with a couple of clicks.
- Download and install CleanMyMac.
- Open it and choose the Maintenance tool in the sidebar.
- Select the box next to Flush DNS cache.
- Click Run.
Once you’ve done that, and it’s finished, your Mac’s DNS cache will be clean, and it will reconfigure next time you connect to a server or the internet. You may find that that’s all you need to do to get Active Directory working for your Mac again.
Active Directory is an important tool for any network administrator, and using it to configure Macs makes looking after them on a mixed network much easier. Occasionally, things go wrong with the binding, and when that happens, one possible solution is to flush the DNS cache. For that, I recommend CleanMyMac that makes it much easier and quicker to do.

Final tip
If you’re still experiencing problems connecting Active Directory, you may try an alternative route. A bandaid solution would be to enable Apple Remote Desktop. This way, you could add all Macs from your network and send remote UNIX commands to all these computers.


