Cache files can take up lots of space on your startup disk. They can also cause applications to run more slowly or become unstable, and cache files created by image and video editing tools often take up the most space. In this article, we’ll show you how to clear cache in Adobe Premiere Pro.
What is Adobe cache?
According to Adobe, Premiere Pro creates cache files whenever you import audio or video into a project. The cache makes it quicker and easier for Premiere to access the clips and so speeds up performance. In addition to the cache files themselves, Premiere also creates a database so that it can keep track of cache files.

Why clear Adobe cache?
There are three reasons you should clear Adobe cache:
- To free up space.
- To improve performance — according to Adobe, it is the best practice for optimum performance of Adobe Premiere Pro.
- To troubleshoot a problem.
How to clear Adobe cache on your Mac
There are a couple of different methods for clearing Adobe cache. You can do it in the application itself — in this case, Premiere Pro. Or you can do it in the Finder. We’ll show you both.
Premiere Pro
- Close any open projects.
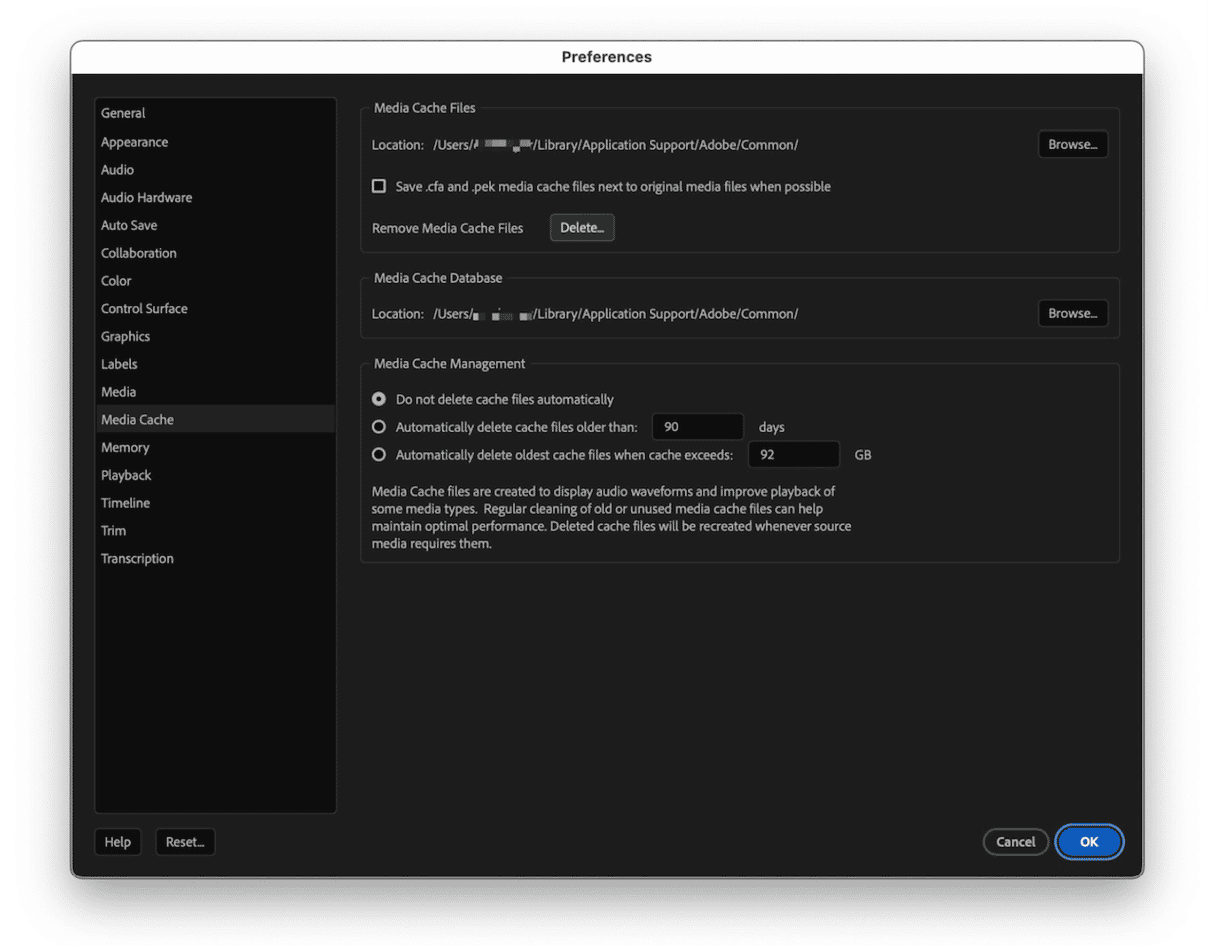
- Click the Premiere Pro menu and choose Settings > Media Cache.
- Next to Remove Media Cache Files, click Delete.
- In the dialog box that opens, choose one of the options below:
- Click Delete unused media cache files to get rid of cache files for which the source media can no longer be found.
- Click Delete all media cache files from the system to get rid of all cache files.
- Click OK.
- If you chose the second option in step 4, Quit Premiere Pro and relaunch it. The application will re-create any cache files it needs.

Adobe cache files aren’t the only cache files, far from it. There are probably several gigabytes of cache and other files you don’t need on your startup disk. As well as cache files, there are also log files, language files for languages you don’t use, multiple versions of documents, binaries you don’t need, and Mail attachments you’ll probably never open (and if you do, you can re-download from the server). The easiest and quickest way to get rid of all those files is the Cleanup feature in CleanMyMac.

It scans your Mac, looking for junk files, and when it’s finished, it presents what it has found to you in easy-to-understand tiles. You can then take a deeper dive and review what it has found. You can either get rid of everything with a click, or select the files you want to delete and just remove those. It couldn’t be easier and will clear out several gigabytes of precious disk space. Try CleanMyMac for free.
The Finder
- Click the Finder icon in the Dock and the Go menu from the menu bar.
- Choose Go to Folder.
- In the text box, paste this path:
~/Library/Application Support/Adobe/Common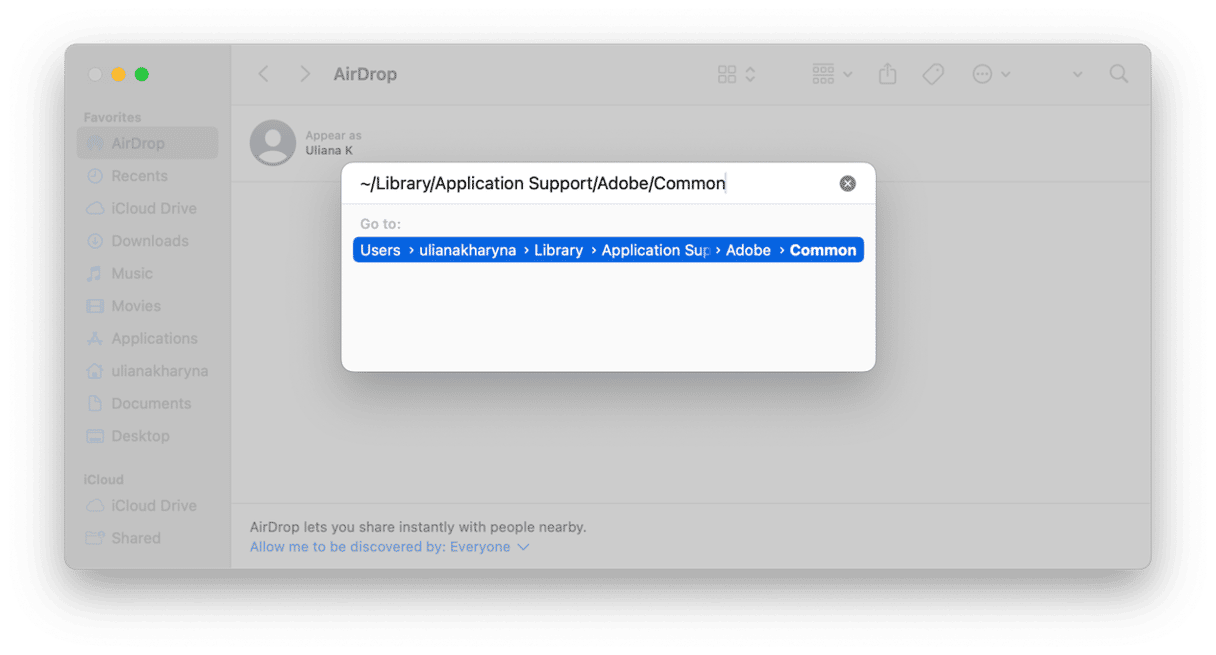
- Look for these two folders: Media Cache and Media Cache Files.
- Drag all the files in those folders into the Trash.
- Empty the Trash.


How to clear Adobe Premiere cache automatically
You can change the settings in Premiere so that the cache is deleted automatically either when they reach a certain age or when the size of the cache exceeds a capacity you set.
- In Premiere Pro, go to Settings > Media Cache.
- Select the checkbox next to Automatically delete cache files older than [days] and type a value into the box.
- Alternatively, choose Automatically delete cache files when cache exceeds [GB] and type a value in that box.
- Click OK and quit Settings.

How to change where cache files are saved
If you don’t want cache files to be saved on your startup disk, you can save them on an external disk, although you will need to remember to connect that disk when you use Premiere Pro. In Settings > Media Cache, click Browse next to Location. Navigate to where you want to save the files and select that folder.
Adobe Premiere Pro caches every video and audio clip you import into a project so that it can access them more easily and speed up performance. But that cache can grow very large and, as well as taking up lots of disk space, can create performance issues instead of alleviating them. Follow the steps above to clear Adobe cache on your Mac.