Adobe Creative Cloud (CC) is a collection of 20+ desktop and mobile apps, including Photoshop, Illustrator, Premiere Pro, and more. Although these tools are useful, you may need to uninstall the CC Suite. Beware the temptation of simply dragging the app icon to the Trash — it does not delete leftover files. But worry not, we’ll show you how to delete Creative Cloud from Mac effectively step by step.
Before you uninstall Adobe Creative Cloud from Mac
Before deleting Creative Cloud, here are several things you need to do:
- Uninstall all Creative Cloud apps, such as Photoshop, Premiere Pro, or Illustrator — keeping them on your Mac won’t let you remove the Creative Cloud desktop app.
- Make sure you’ve already synced all your files to your Creative Cloud account — you might lose files that are not synced.
- Check if you have admin privileges, especially if you’re an enterprise user.
How to uninstall Adobe Creative Cloud in one click
If you want to remove CC, all Adobe-related apps, and leftovers with one shot, using a third-party uninstaller is a way to go. The excellent option is CleanMyMac, which is a feature-packed tool with a user-friendly interface. It also works flawlessly as a junk cleaner, malware remover, and system optimizer.
Here’s how to force uninstall Adobe Creative Cloud with its help:
- Get your free CleanMyMac trial.
- Install and open it.
- Go to Applications and run a quick scan
- Click Manage My Applications and find Adobe under Vendors.
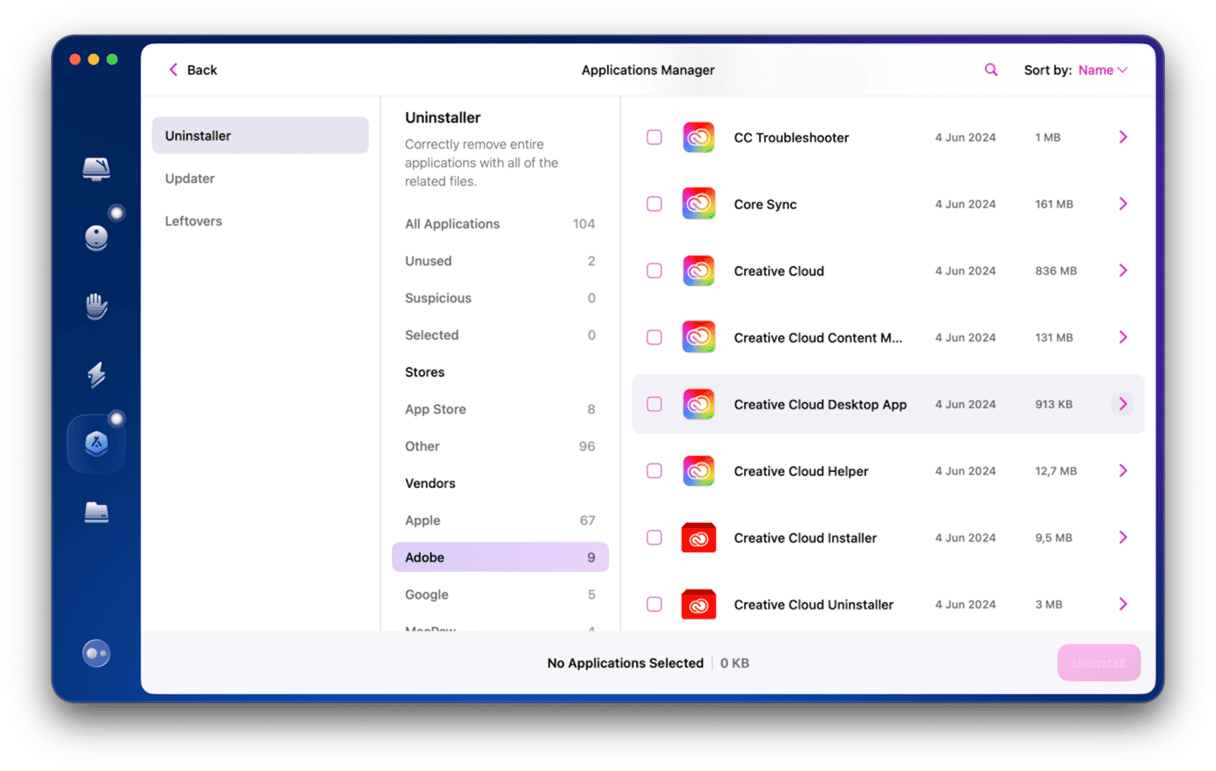
- Select all CC-related apps and click Uninstall.
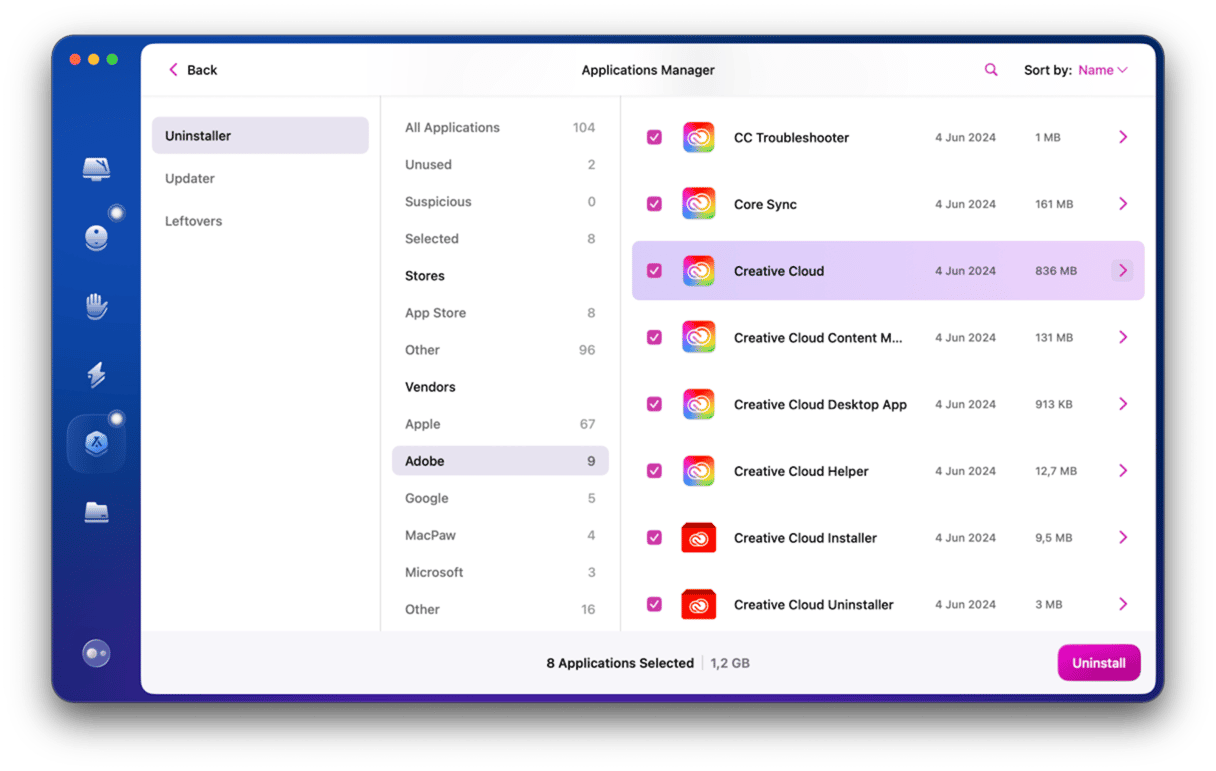


Congrats! Now, you’ve deleted Adobe Creative Cloud and its components for good.
If your reason for uninstalling is that CC’s causing issues for your Mac, you can try to reset it. Resetting means that you get all the app’s preferences and settings back to their default condition. You force it to start again as it had just been downloaded.
Here’s when the Applications feature in CleanMyMac comes in handy again. Find Creative Cloud in the list of apps, select all its files, except for Binaries, and click Remove. That’s all!

How to remove Adobe Creative Cloud from Mac manually
1. Uninstall Adobe apps
First, you need to remove all CC-related apps (Photoshop, Lightroom, InDesign, Illustrator, etc.) from your system. Otherwise, you won’t be able to uninstall the Creative Cloud desktop app. So, to avoid seeing this warning:

… follow these steps:
- Open the Adobe Creative Cloud desktop app.
- Go to the All Apps tab and search for apps installed on your Mac.
- Click the More Actions icon (ellipsis) under the name of the app you want to uninstall.
- Choose Uninstall.
- Follow the on-screen instructions to proceed with the deletion.

2. Quit Adobe Creative Cloud apps
Next, you need to quit Adobe CC and all related processes. Here’s how to stop Creative Cloud from running in the background:
- Go to the Applications folder > Utilities > Activity Monitor. You can also open Activity Monitor using Spotlight.
- Search for any processes associated with the Creative Cloud.
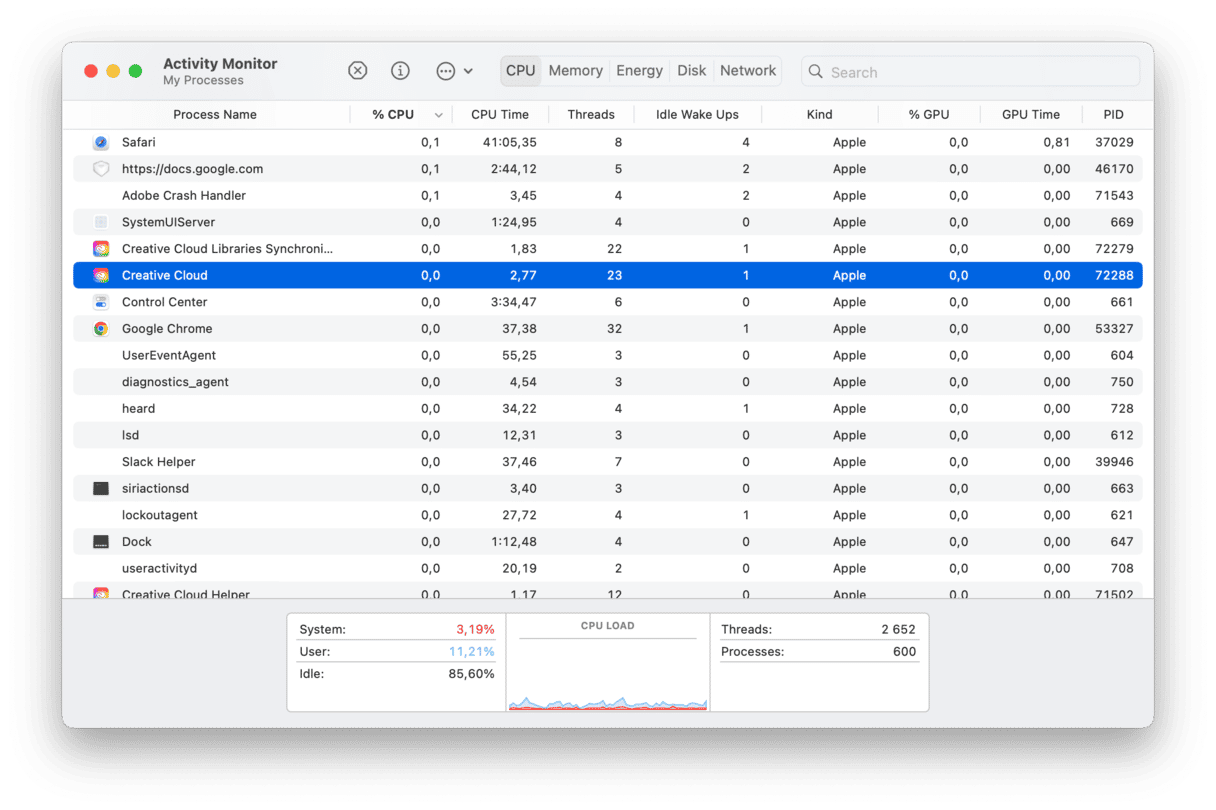
- Select them and click the Force Quit button [x].
- Click Quit in the pop-up window to confirm the action.
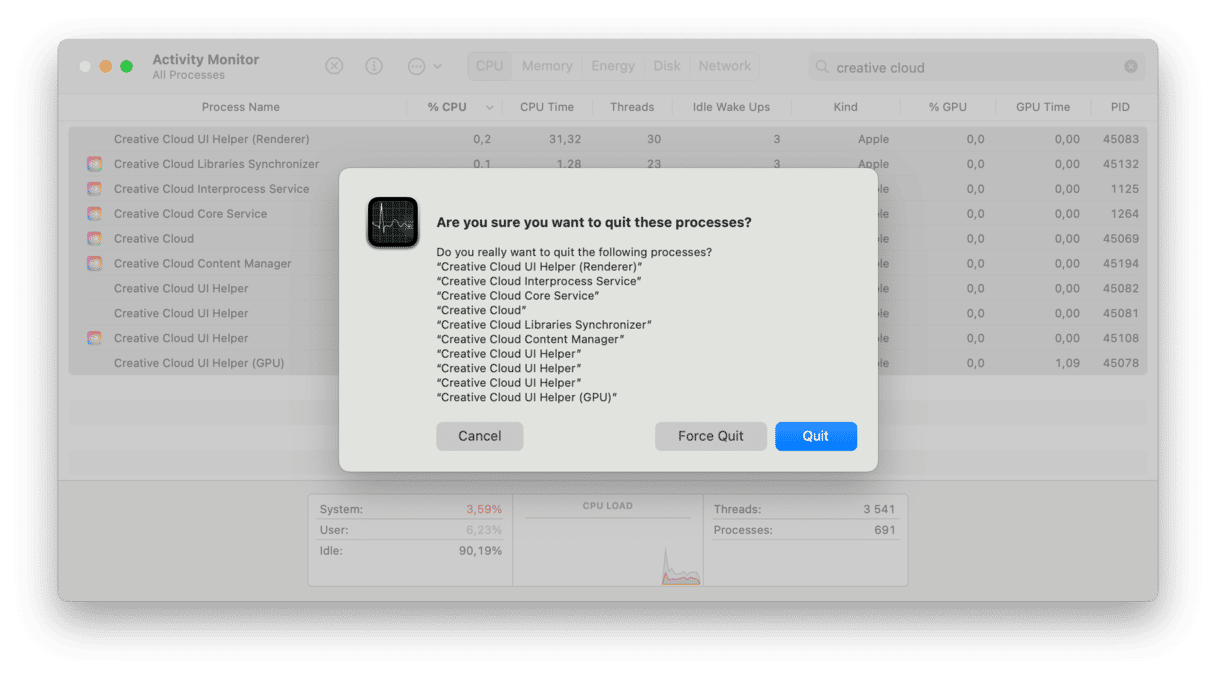


Now, you’re ready to get rid of the desktop app.
3. Find the Adobe Creative Cloud Uninstaller and run it
To eliminate all CC components, Adobe recommends uninstalling it with a special uninstaller. Here’s how to use it:
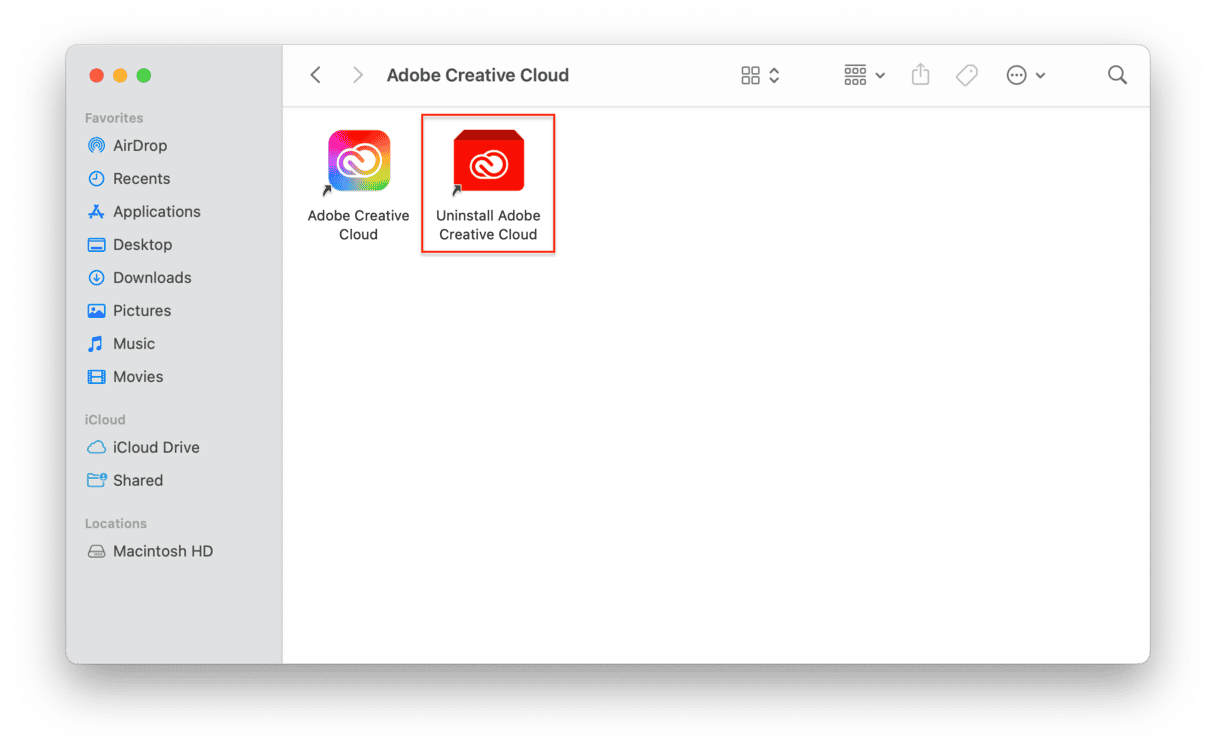
- Go to Applications > Adobe Creative Cloud.
- Open the Creative Cloud Uninstaller.
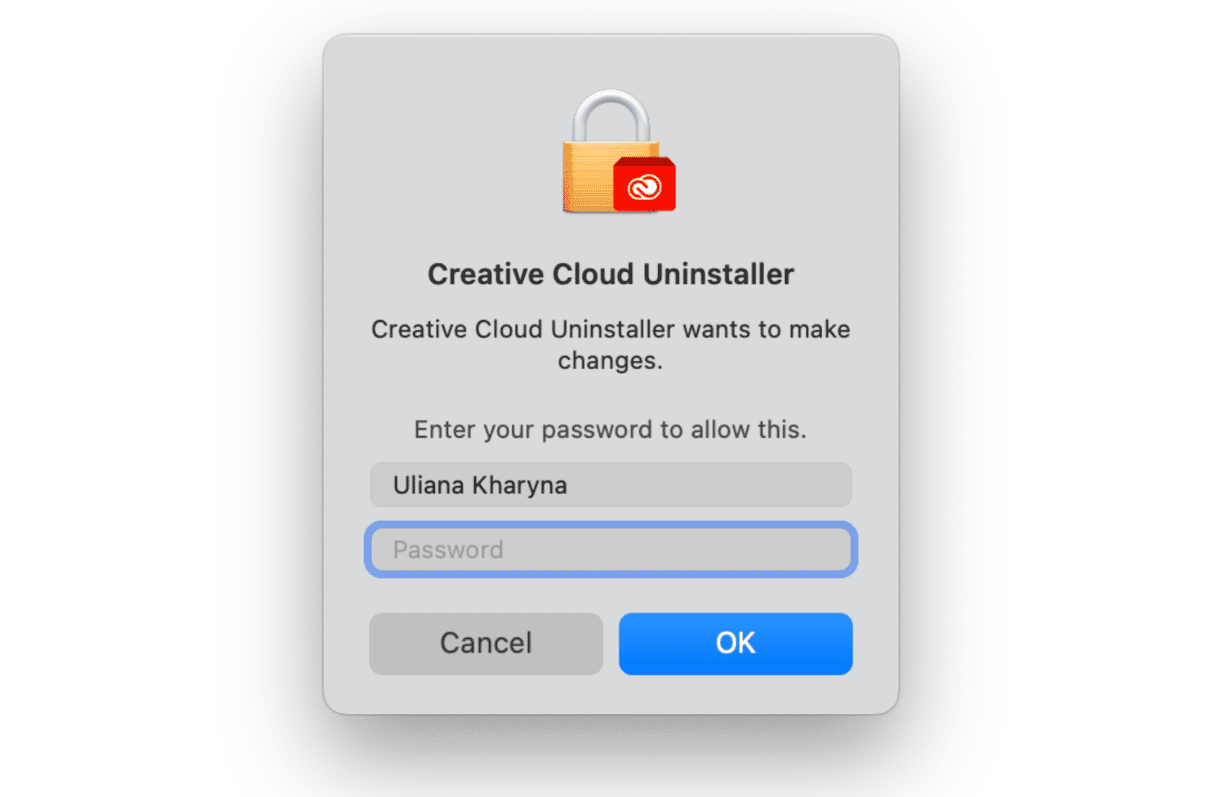
- Enter your administrative password when required and click OK.
- Hit Uninstall to kickstart the process.
- Click Close when the confirmation message appears. Done!
Can’t find the Creative Cloud Uninstaller on your Mac? Receiving error alerts when deleting the app with its help? The solution is to download the latest version of the CC uninstallation tool on helpx.adobe.com
Once you download the ZIP file, extract it and open the uninstaller.
Depending on your security settings, you may receive an alert asking, “Are you sure you want to open it?”.
Click Open to continue. Follow the on-screen instructions to complete the process.
4. Remove Adobe Creative Cloud-related files and folders
Finally, you need to get rid of CC leftovers. The problem is that the dedicated Adobe tool doesn’t actually remove all traces of the app from your Mac. Some components may still hide behind your system files and folders. To find and trash the remains:
- Choose Go to Folder from the Go menu in the Finder.
- Paste ~/Library into the box that appears and press Return.
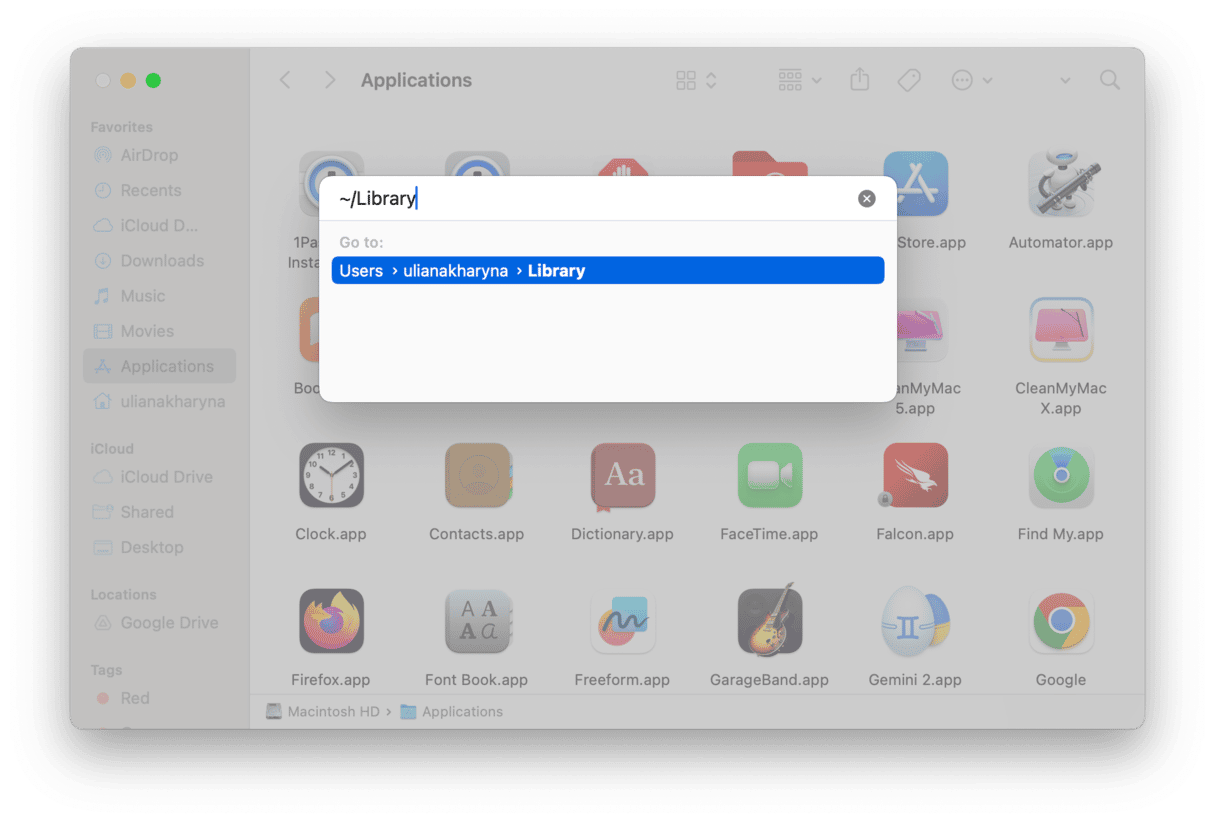
- Look for any Adobe-related files in the folder and trash them.
- Repeat steps 2 and 3 for the following locations:
~/Library/Application Support
~/Library/Preferences
/Library/LaunchAgents
/Library/LaunchDaemons
/Library/PrivilegedHelperTools
Once you’ve finished cleaning out the system folders, empty the Trash to complete the uninstallation. Now, Adobe CC should be fully removed.
What to do if Creative Cloud won’t uninstall
Sometimes, you cannot uninstall Creative Cloud even if you closely follow all of the steps outlined above. It can happen for a variety of reasons, but it is also fixable. Here are a few tips:
- Make sure that you’ve quit all CC-related processes via Activity Monitor.
- Ensure that you are signed into your CC account. Users report on forums that they cannot uninstall it if they are signed out.
- Check if CC and macOS are up to date. It will fix any bugs or glitches that are preventing CC from uninstalling.
- Reset CC and then try uninstalling it again. Use CleanMyMac and its Applications tool for the reset. Just like with the update, it will fix any issues and help make the uninstallation process flawless.
- Restart your Mac and try again.
- If you dragged Adobe apps to the Trash instead of using CC Uninstaller, you may need to reinstall them, then choose Uninstall from the pop-up next to each Adobe app you had on your Mac, and finally, try uninstalling Creative Cloud.
- Check if your user has admin privileges in System Settings > Users & Groups. If not, you can change it by clicking i next to your standard user and enabling the option Allow this user to administer this computer. If you are an enterprise user, ask your admin to help you.
Deleting or resetting Adobe Creative Cloud is a piece of cake, especially if you have tools like CleanMyMac at hand. But if you want to cope with this task manually, follow the steps above. And if you want to get rid of other unneeded apps that are still there on your computer, check out our handy guide on how to uninstall programs on Mac.


