With each new iPhone update, the quality of the video you can shoot improves dramatically, making it easier than ever to shoot beautiful, high-resolution videos without limit. Until you run out of space, that is.
High-resolution videos are saved as large files and take up a lot of space on your iPhone. Large video files are also more difficult to upload to social media and to send in emails and texts. Fortunately, you can easily compress your videos before sending them or sharing them online. Smaller files mean more space on your iPhone for more videos.
There are a few different ways to compress or reduce the size of a video on an iPhone. Let’s take a look at them all.
How to reduce video size on iPhone
You can choose to reduce the size of a video before recording or compress the video after you’ve recorded it. There are several apps that you likely already have on your iPhone that can compress videos, too. Read through the methods below and decide which one will work best for you.
Reduce the size of a video to a lower resolution
To change the video resolution on your iPhone so that it takes up less space in the process, you just have to change the size of your videos in the Settings on your iPhone. The downside is that this method will reduce the quality of your videos while reducing file size. Follow these steps:
- Navigate to Settings on your iPhone.
- Tap ‘Camera’ > ‘Record Video.’
- Depending on the model of your iPhone, you will have several resolution and fps (frames per second) options to choose from. You will also see a note under the choices giving you an estimate of how much room each option will take up on your iPhone. If saving space is more important than quality, choose the first option (720p HD at 30 fps). If you want higher-quality videos, choose one of the middle options.
Compress a Video on iPhone Using an App
There is no built-in option to compress a video on iPhone after you’ve recorded it, but many different apps are available that provide this feature.
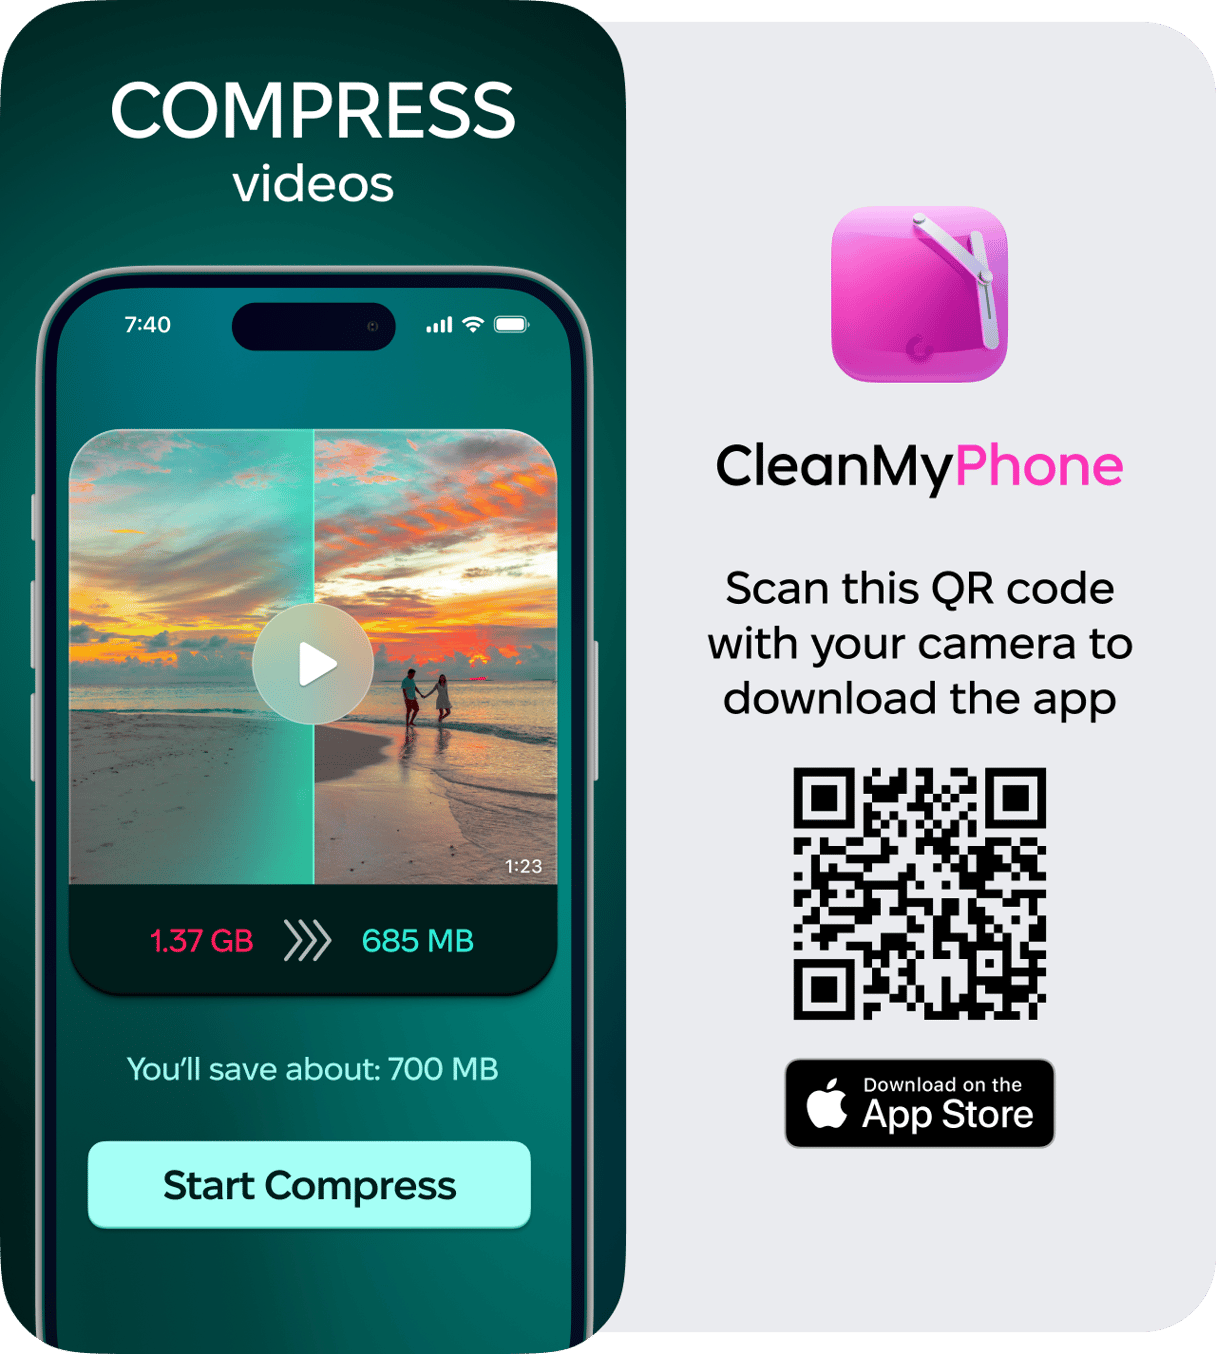
We’ve been talking about compressing videos to save space, but you also need to think about managing your photo content so it doesn’t become overwhelming. CleanMy®Phone will help you do both.
- Download CleanMy®Phone.
- Go to the Organize module.
- Choose Compress videos.
- Select videos for compression.
Also, you can sort through your photos, remove old screenshots, duplicates, and similar images that waste space.

Apart from CleanMy®Phone, here’s an overview of three applications that we would recommend for compressing videos on your iPhone without reducing the quality. All of these apps have free versions and premium versions, depending on your individual needs. Compressing videos after the fact is the best way to save space on your iPhone, especially if you take a lot of videos.
- Compress Videos & Resize Videos: This highly-rated app allows you to compress large videos without reducing the quality. Compressed videos are saved to your Photo Library, but also within a dedicated file so that they are easy to find when you need them. This app makes it easy to compress more than one video at a time.
- Panda Video Compressor: Free up space on your iPhone by compressing videos with Panda Video Compressor. The free version allows you to choose the size and quality of your video before compressing. The premium version removes ads and allows you to compress multiple videos at once.
- Video Compress - Shrink Video: This bare-bones app is incredibly easy to use, mainly because its only function is to compress your large video files into smaller ones. Add your video, select the target size, and tap a button. That’s it.
How to send a large video file via email
One of the primary reasons for compressing a video file is so that it is easier to send over email or upload it to social media. If this is your primary objective, you can easily upload your uncompressed video to a file-sharing service and then send a link to the video for easier viewing.
The upside to using cloud storage is that you can delete the video from your iPhone once you’ve uploaded it to the cloud. Using a file transfer service is only useful for sending videos — it will not save them or reduce storage space on your iPhone.
Here are a few different services you can use for easier sharing via email or text:
- Dropbox: Dropbox is a file storage and sharing service that allows users to store and share up to 2 GB of data for free. Once you use up the allotted space, there is a monthly charge. The price depends on how much storage space you need.
- Google Drive: Google Drive is a personal cloud platform and file-sharing service similar to Dropbox. You can use Google Drive across devices, and the free version allows each user 15 GB of space for free.
- WeTransfer markets itself as the simplest way to send large files. Casual users can send up to 2 GB worth of files at no charge.
All of these methods for managing large video files are useful, and the option you choose will depend on your overall goals. If file quality is most important, use a third-party app to compress your videos. If size is most important, change your iPhone settings to use a smaller file size, which will also reduce video quality. Finally, if your goal is simply to send a large video file, use a cloud storage service or WeTransfer. Take charge of your videos now before you run out of space!


