Most Mac users are aware of recovery mode, where you boot your Mac from the Recovery partition in order to fix a problem with the boot volume or reinstall macOS. But what do you do if recovery mode doesn’t work or if your Mac won’t even boot into recovery mode? The answer is to use a little-known process called device firmware update (DFU). In this article, we’ll explain what DFU mode on your Mac is, when you might need to use it, and how it works.
What is DFU mode?
DFU mode is similar to macOS Recovery in that you only enter it when your Mac has a problem. In this case, you’d use it if you can’t access recovery mode for some reason or if recovery mode doesn’t work. Unlike recovery mode, which uses a hidden volume on your Mac to boot from, DFU acts on your Mac’s secureROM. DFU mode doesn’t boot macOS at all, and so it is able to apply changes that can’t be made once your Mac has booted. Apple calls this process reviving or restoring a Mac.
When should DFU mode be used?
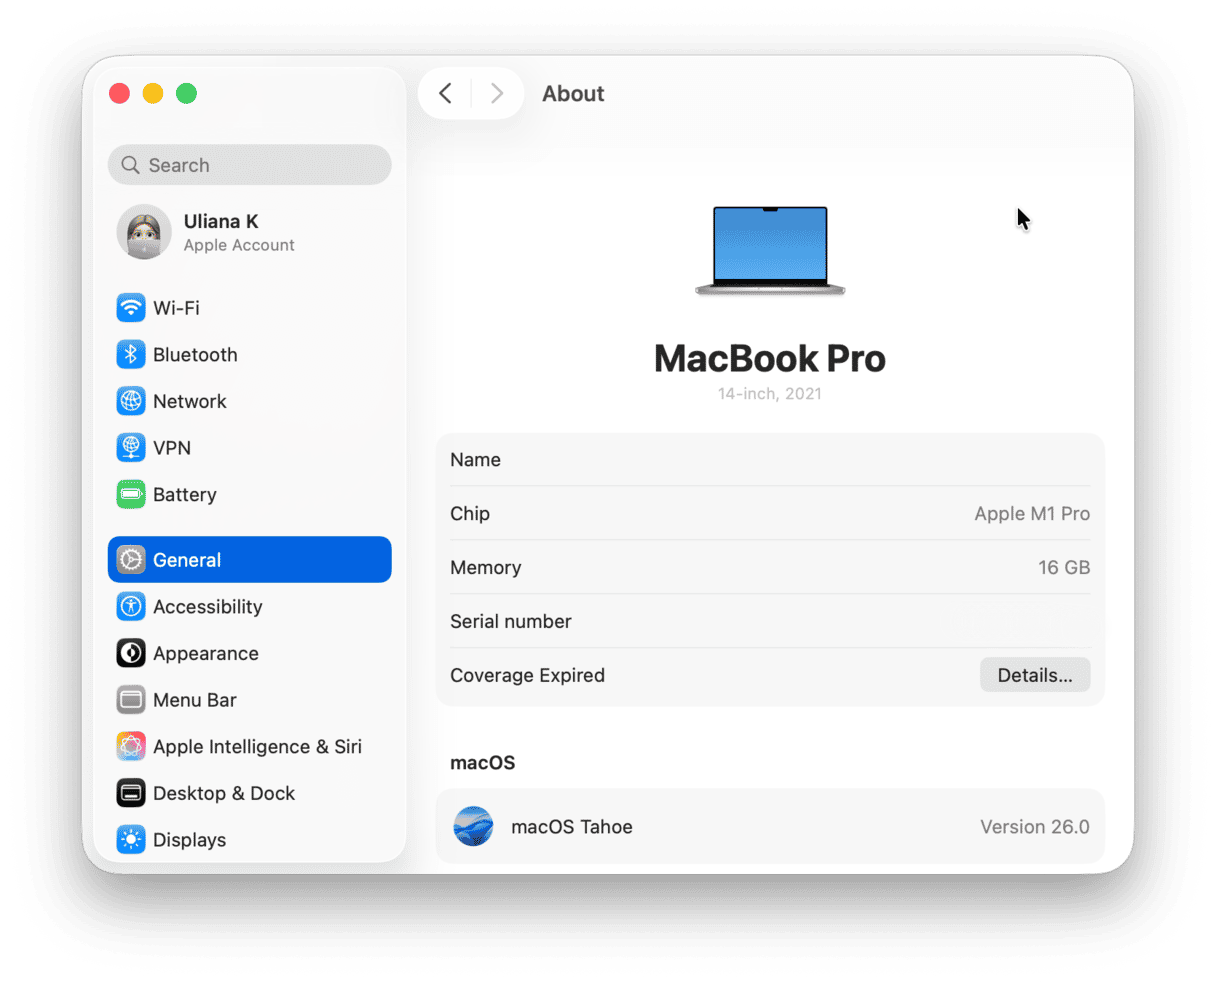
DFU mode only works on Intel-based Macs that have the T2 security chip and on Macs with Apple silicon — check out this article from Apple to find out if your Mac comes with T2 security chip. If your Mac was released after late 2020, most likely, it is with Apple silicon (M chips). You can check in System Settings > General > About.
Here are a few situations in which you might need to use it are:
- When your Mac boots and displays an exclamation point inside a circle
- If your Mac boots up and the screen remains blank
- When the status indicator light on your Mac rapidly flashes amber or is solid amber (the display may also be blank)
- When macOS installation fails persistently, even in recovery mode
How to use DFU mode on your Mac
Before you try to use DFU mode, there are a few things you need. We’ve listed them below. You should make sure you have them all before you start.
- The Mac on which you want to run DFU mode (remember, it must be a Mac with Apple silicon or an Intel-based Mac with a T2 security chip).
- Another Mac running macOS Sonoma or later. This one can be any model and with any chip.
- A USB-C to USB-C cable that supports both data and charging. Don’t use a Thunderbolt 3 cable.
Once you have everything you need, the next step is to prepare the two Macs for DFU mode. The process is different for desktop and mobile Macs. Follow the steps below that apply to the Mac you need to revive.
How to prepare a MacBook Pro or MacBook Air for DFU
- Connect both Macs to a power source. If your Mac has a MagSafe port, use that instead of a USB-C or Thunderbolt port.
- Plug one end of the USB-C cable into the DFU port on the Mac you want to revive. You can find out on this page on Apple’s website which port is the DFU port on your Mac.
- Make sure nothing else is connected to your Mac except for the cable supplying power.
- Make sure the other Mac is turned on and connected to the internet, then plug the other end of the USB-C cable into any USB-C port.
- On the Mac you want to put into DFU mode, press and hold the power button until it turns off. If it turns on, repeat the step until it turns off.
- Press and release the power button on that Mac, then immediately press Control + Option + Shift + Power.
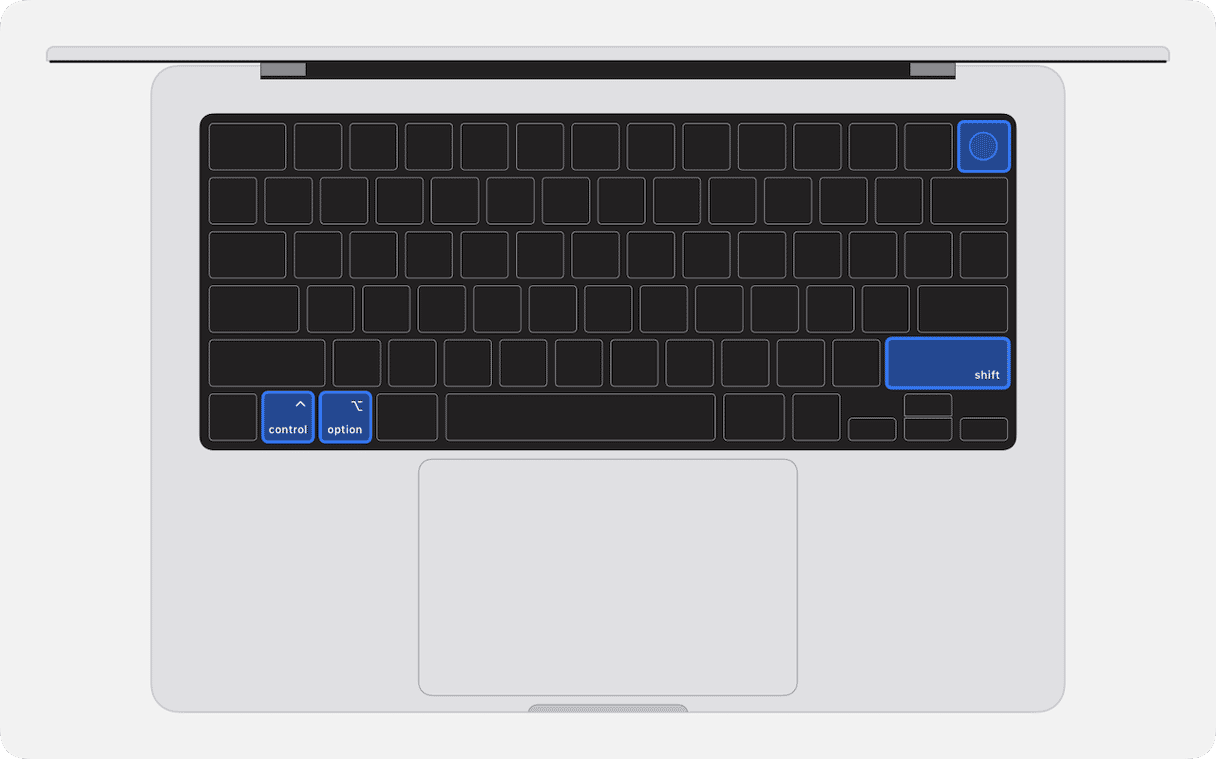
- On a Mac with Apple silicon, hold the keys for ten seconds then release Control + Option + Shift. Hold the power button for another 10 seconds. On an Intel-based Mac with T2 security chip, hold all the keys for three seconds, then release them all.
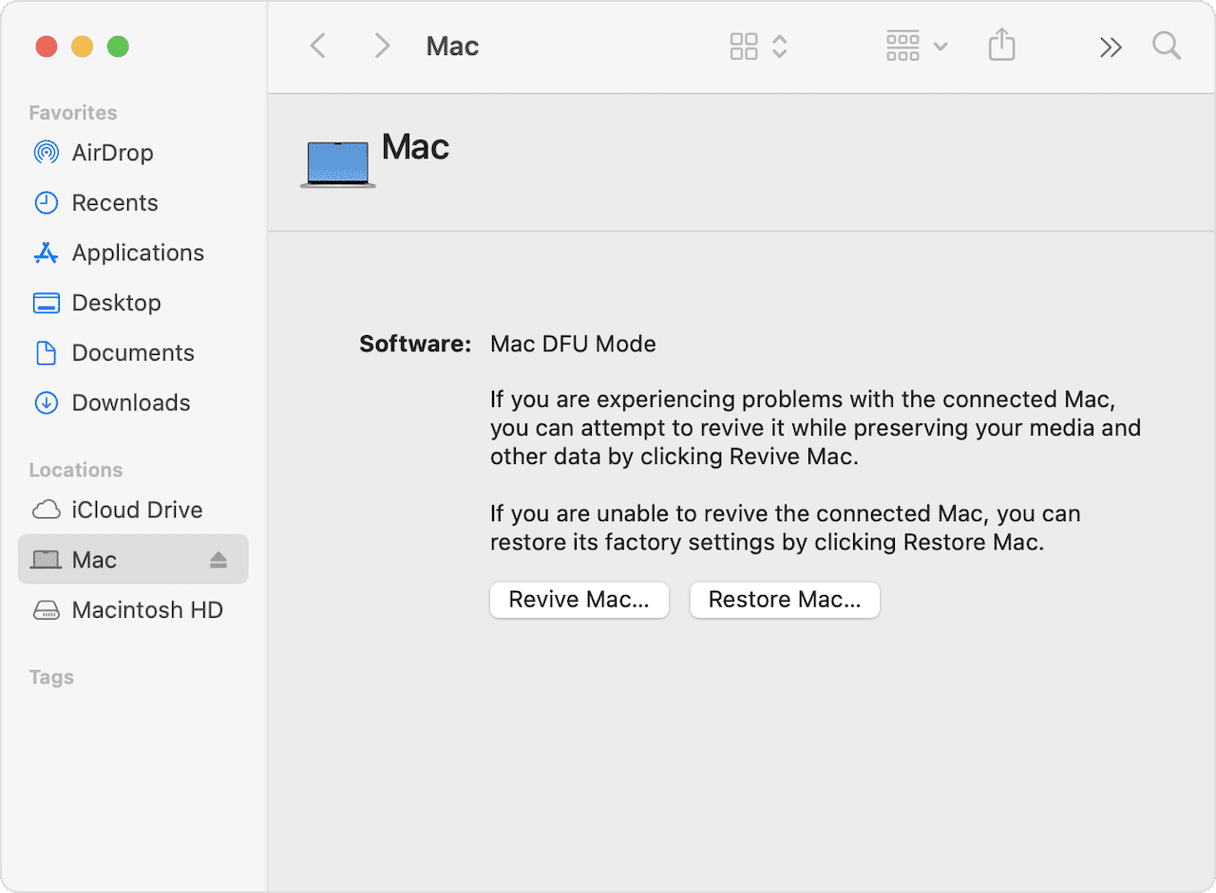
- You should see the DFU window in the Finder on the other Mac. The Mac you want to revive or restore will still have a blank screen but will be in DFU mode.
How to prepare a desktop Mac for DFU
- Follow the first four steps above.
- Unplug the Mac you want to restore or revive.
- Press and hold the power button on that Mac.
- Keep holding the power button while you plug the Mac into a power socket and for ten seconds afterward.
- You should see the DFU window in the Finder of the other Mac.
Once your Mac is in DFU mode, you can choose to Revive or Restore it from the DFU window on the other Mac by clicking the appropriate button. You should try Revive first because it will retain your data. If that doesn’t work, you can choose Restore, which will restore your Mac to factory settings and wipe all your data.
Forum tip: How to choose a different OS when you restore a T2 Mac
Some users have reported that when they choose Restore on an Intel-based Mac with T2 security chip, they have to boot into recovery mode to reinstall macOS and that they are unable to choose which version of macOS is installed. Here is a suggested solution, though we should stress that we haven’t tested it and if you try it, you do so at your own risk:
- After entering DFU mode and choosing Restore, boot into recovery mode
- Connect a USB stick with a bootable version of the macOS you want to install.
- Click the Utilities menu and choose Terminal.
- Paste the following command, replacing “path/to/USB/” with the file path to the USB stick and its name, and “version” with the version of macOS on the USB stick:
/path/to/USB/Install macOS version.app/Contents/MacOS/InstallAssistant - Press Return. The installer on the USB stick should run and install macOS.
How to keep your Mac running smoothly
If you need to use DFU mode, it probably means that something has gone quite badly wrong with your Mac. While you may not be able to prevent that, there are plenty of things you can do to keep your Mac running smoothly and as speedily as possible. They include:
- Scanning for malware
- Getting rid of junk files like old cache files, temporary files that were never deleted, and language files for languages you don’t use
- Update all applications
- Flush DNS cache and clear purgeable disk space
- Clear out clutter
The easiest and quickest way to do all of that is to use the Smart Care feature in CleanMyMac. It scans your Mac looking for malware, junk, clutter and applications that have updates available, as well as opportunities to optimize performance.
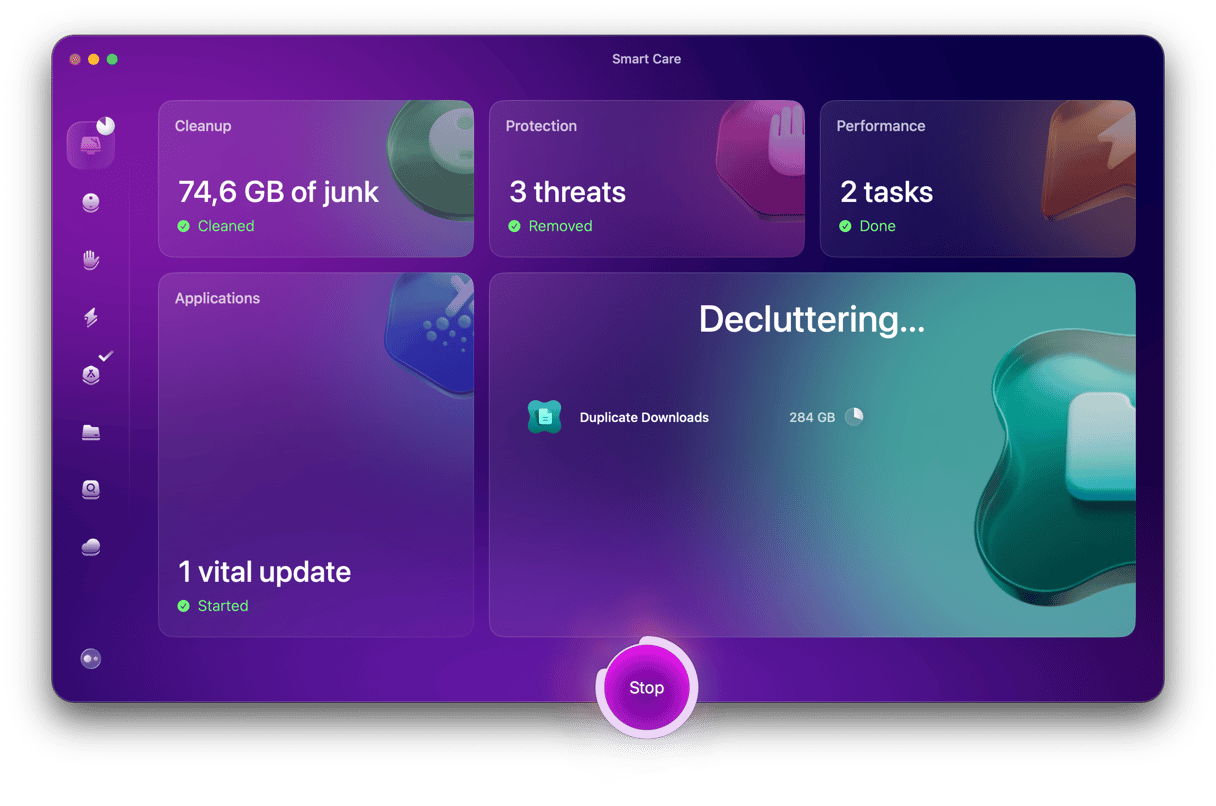
When it’s done, you can review what it has found and choose what recommendations to implement. Get your free CleanMyMac trial. Then, open the app and click Smart Care > Scan > Run.
DFU mode updates the firmware on your Mac’s secureROM and can fix problems that you can’t fix in recovery mode. If problems can’t be fixed, DFU mode allows you to restore your Mac to factory settings so you can use it again. Follow the steps above to use DFU mode on your Mac.


