If you spend a lot of time on your Mac using command line interfaces and also use Windows, you’ve probably heard of PowerShell, which allows you to use the same shell and scripting language on both macOS and Windows. In this article, we’ll show you how to install PowerShell for macOS.
What is PowerShell?
PowerShell, developed and distributed by Microsoft, is a combination of command-line shell, configuration management framework, and scripting language. One notable feature of the command-line shell is that in addition to accepting and returning text, it can also accept and return .NET objects. The shell also features a pipeline for chaining commands and a help system similar to UNIX man pages. The scripting language has built-in support for data formats like CSV, JSON, and XML.
How to download and install PowerShell on Mac
There are a few different ways to download and install PowerShell on your Mac, but before you start, note that PowerShell 7 requires macOS 11 (Big Sur) or later to run.
1. Homebrew
If you already have Homebrew installed on your Mac, this is probably the simplest method.
If you don’t already have Homebrew installed, you can install it from Terminal using this command:/bin/bash -c “$(curl -fsSL https://raw.githubusercontent.com/Homebrew/install/HEAD/install.sh)”
Once you’ve installed Homebrew, use the command below to install PowerShell:
brew install powershell/tap/powershell

To check that PowerShell is installed correctly, type: pwsh

To upgrade PowerShell, first update Homebrew, then install the PowerShell upgrade.
brew updatebrew upgrade powershell
If you want to install a preview version of PowerShell, use this command:
brew install powershell/tap/powershell-preview

To start using it, use the command: pwsh-preview
2. Installer package
Instead of Homebrew, you can install PowerShell like you would install any other app. Here’s how:
- Go to Microsoft’s PowerShell download page here
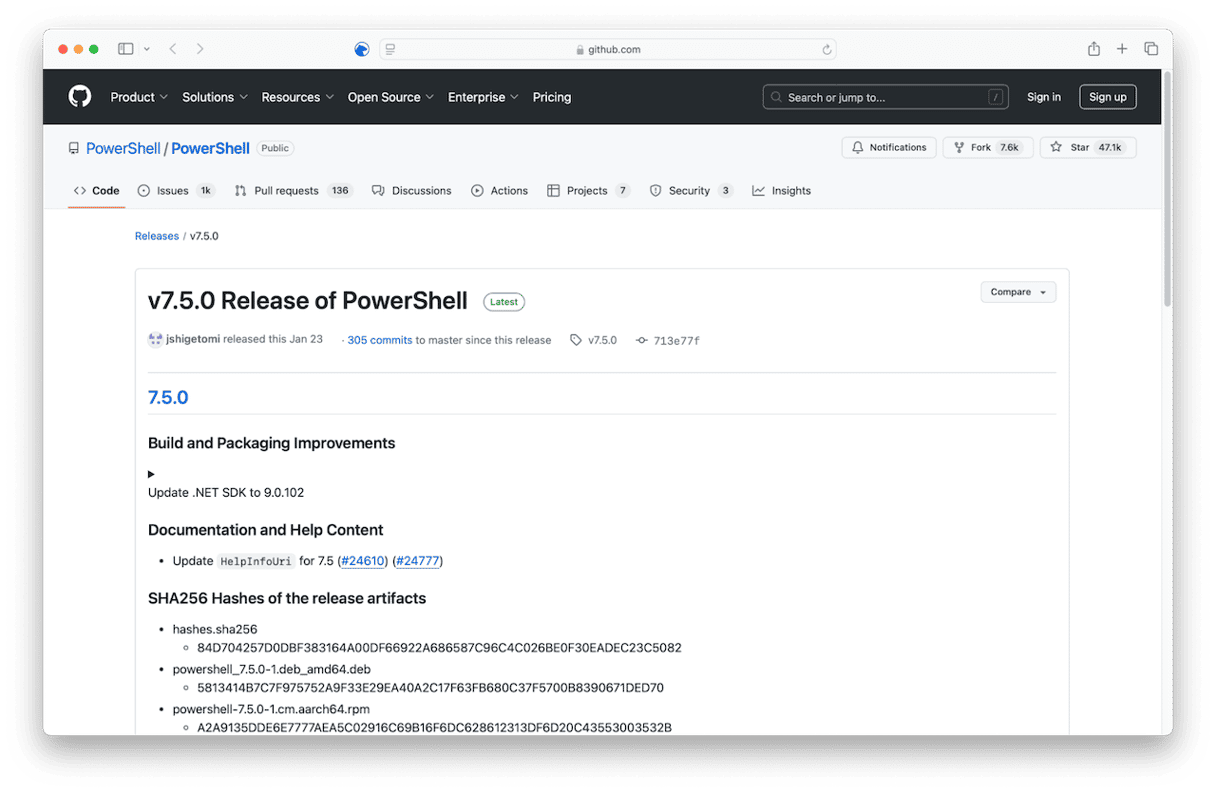
- Download the arm64.pkg file if you have a Mac with Apple silicon or the x64.pkg file if you have an Intel-based Mac.
- When the pkg file has downloaded, double-click it to start the installation.
- Follow the on-screen instructions to complete the installation.
- Alternatively, install it from Terminal using the command:
sudo installer -pkg ./Downloads/powershell-7.5.0-osx-x64.pkg -target / - Enter your password to run it.


Install PowerShell binary archives
You would normally only use this method if you were a systems administrator who wanted to install PowerShell on multiple Macs over a network.
- Go to Microsoft’s PowerShell download page and locate the tar.gz file for the version you want to install.
- Right-click the link and copy it.
- In Terminal, use the following command to download the tar.gz, paste the URL after the command, and press Return
curl -L -o /tmp/powershell.tar.gz - Create the target folder for PowerShell using this command:
sudo mkdir -p /usr/local/microsoft/powershell/7 - Expand PowerShell to the target folder:
`sudo tar zxf /tmp/powershell.tar.gz -C /usr/local/microsoft/powershell/7 - Set permissions:
sudo chmod +x /usr/local/microsoft/powershell/7/pwsh - Create the symbolic link that points to PowerShell:
sudo ln -s /usr/local/microsoft/powershell/7/pwsh /usr/local/bin/pwsh
How to optimize your Mac and keep it running smoothly
Depending on how you use PowerShell and what tasks you use it to run, it could place heavy demands on your Mac’s resources. So, it’s a good idea to make sure your Mac is optimized and running as speedily and as smoothly as possible before you start. That means:
- Running maintenance tasks like reindexing Spotlight, flushing DNS cache, and repairing disk permissions
- Clearing out junk files and clutter like temporary files, old cache files, and application binaries you don’t need, and duplicates.
- Keeping applications up to date
- Scanning for malware
Doing all that manually is not possible – at the very least, you need a specialist tool to scan for malware. And rooting out junk files, updating applications one at a time, and running maintenance tasks is tedious to say the least.
However, there is one application that can do all of that, including scanning for malware. CleanMyMac’s Smart Care feature scans your Mac and then tells you exactly what needs to be done. You can choose to follow all of its recommendations with one click or review its findings and decide for yourself which tasks to run. Get your free CleanMyMac trial. Then, open the app and click Smart Care > Scan > Run.

If you work on both macOS and Windows and often use the command line to run tasks and execute commands, Microsoft’s PowerShell is a great option. It combines a command-line shell with a scripting language and a configuration management framework. It has some great features, like the ability to accept and return .NET objects, and supports data formats like CSV, JSON, and XML. Follow the steps to download and install PowerShell on your Mac.