If you want to use your Mac for data science, AI, or anything else that involves coding Python on your Mac, you will probably know that there are a few different ways to install a recent version of Python, along with the packages you need to work with. One of those options is Anaconda, a package manager for Python. In this article, we’ll explain how to download and install Anaconda on your Mac.
What is Anaconda?
Anaconda is a distribution of Python for machine learning and data science and simplifies package management and deployment. It comes with 250 packages already installed, and users can install a further 7,500 packages from the Python Package Index (PyPI). It can be controlled via a command line interface or using the Anaconda Navigator graphical user interface (GUI). One of the features of the Anaconda package manager that manages package versions in Anaconda is that it analyzes what is currently installed, along with version limitations of installed packages, and works out how to install a compatible set of dependencies for whatever the user is trying to install or update.
How to install Anaconda on your Mac
There are two ways to install Anaconda on your Mac: using the command line interface in Terminal or using a supplied install wizard, which has a GUI. We’ll show you how to do both.
Install Anaconda using the wizard
- Go to the Anaconda download page here and click the arrow next to ‘Download.’ Choose either the Intel or Apple Silicon versions of the installer.

- When the installer has downloaded, double-click it to open it. Click Continue.
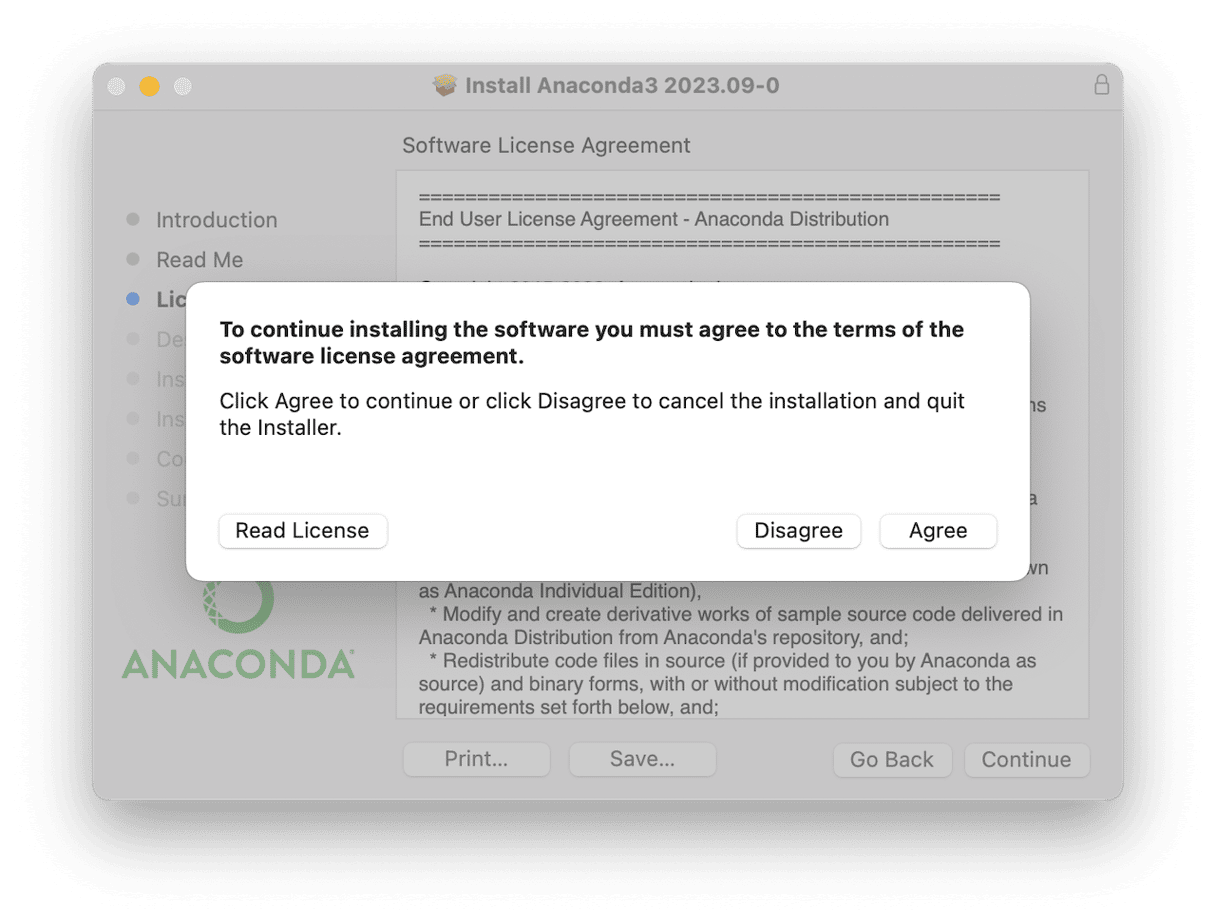
- Proceed through the Introduction, Read Me, and License screens, following the instructions on the screen.
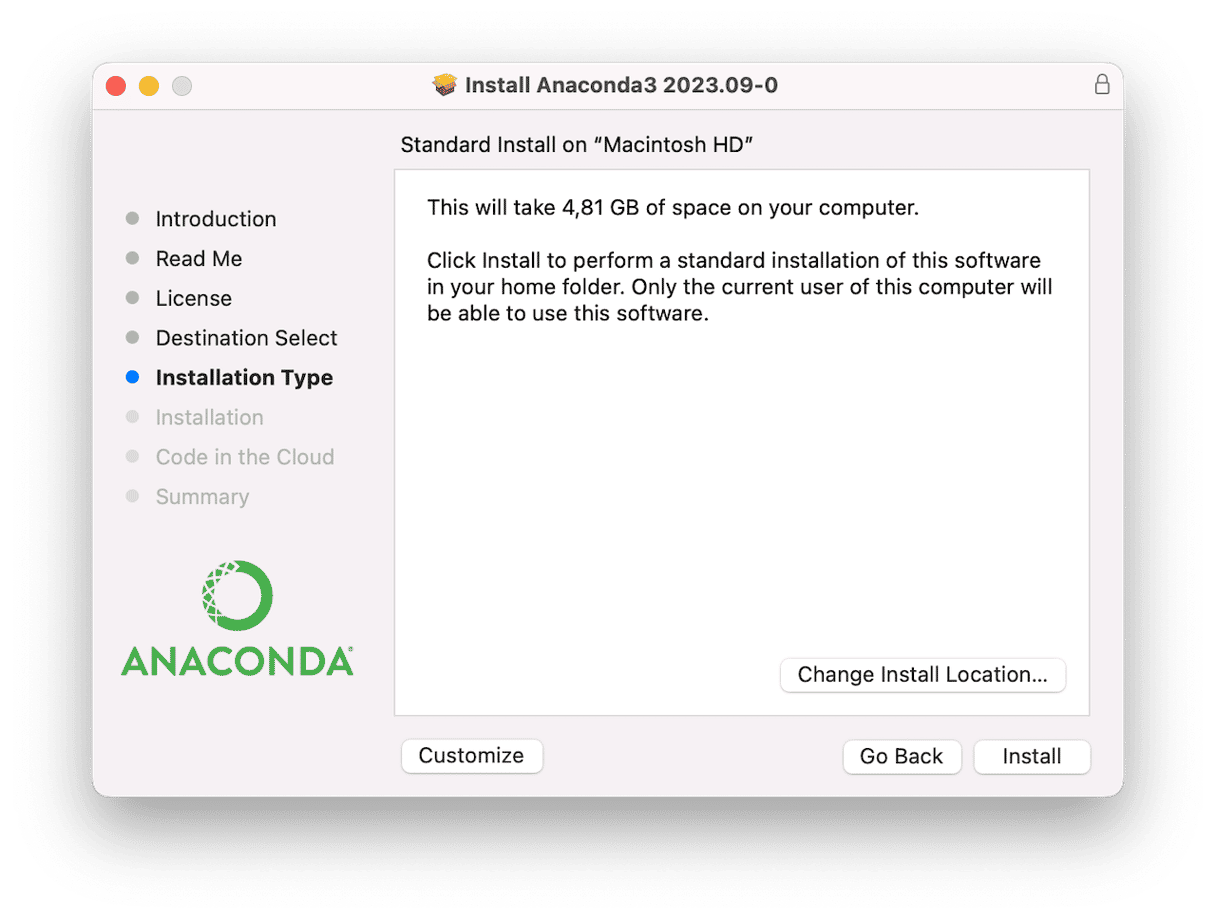
- In the Destination Select section, choose Install for me only. Click Continue > Install.
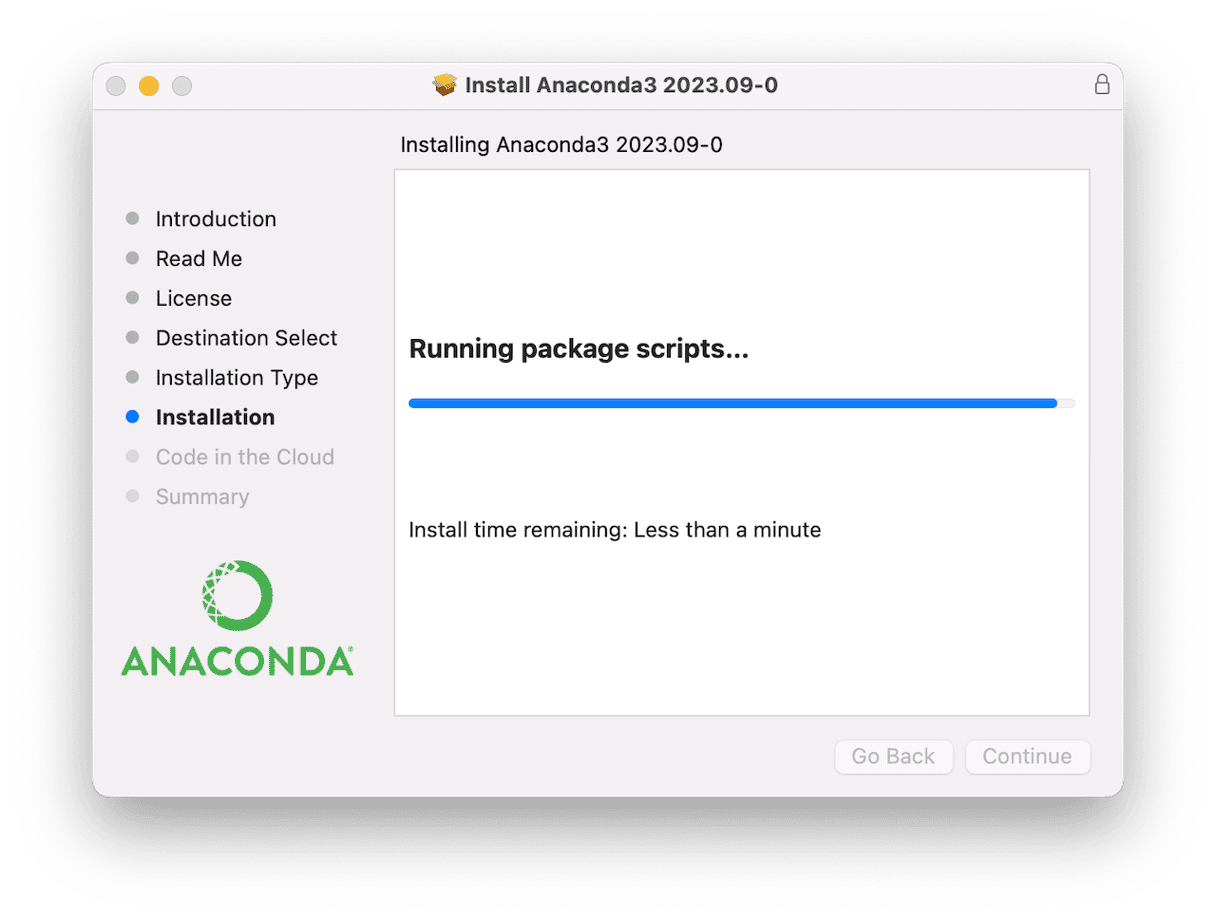
- When the installation finishes, click Continue.
- The next screen is an introduction to Anaconda’s cloud notebook service. If you want to learn more about it, click the link. If not, click Continue.
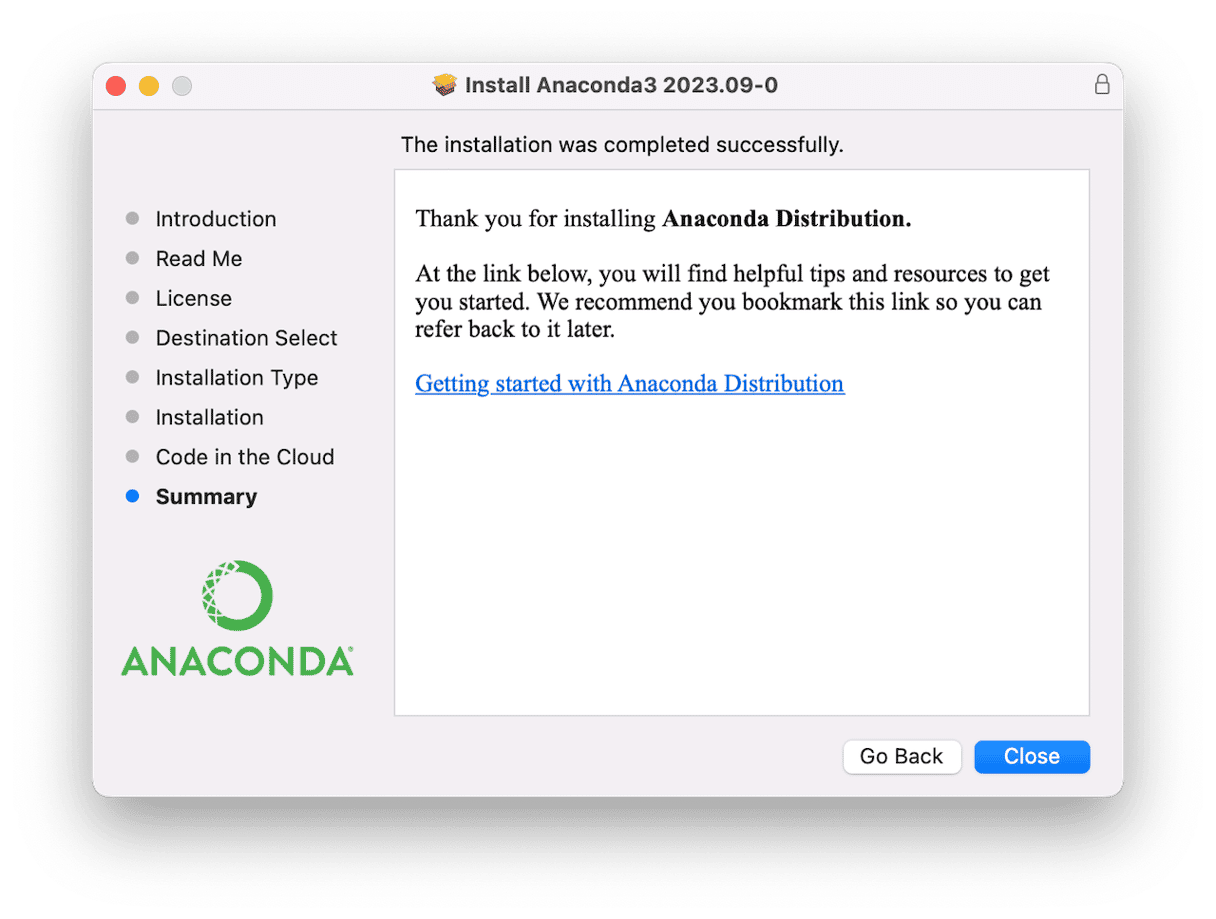
- When you see a message telling you Anaconda has been successfully installed, click Close.

How to improve Anaconda performance on your Mac
Once you’ve installed Anaconda, if you want to make it run more smoothly, there are several maintenance tasks you can run that should speed it up. These tasks should be carried out on a regular basis to keep your Mac running as smoothly as possible and include running macOS maintenance scripts, repairing disk permissions, freeing up RAM, and reindexing Spotlight. Doing all that manually is time-consuming and not much fun. However, there is an easy way to run them all — Maintenance module in CleanMyMac. It can run all those tasks as well as thin out Time Machine snapshots, free up purgeable disk space, and refresh DNS cache with just a few clicks. You can download CleanMyMac for free here and try it out for yourself.


Install Anaconda using Terminal
- Download the command line version of Anaconda for your Mac, being careful to choose the ‘M1’ version if you have a Mac with Apple silicon, from here
- Go to Applications > Utilities and double-click Terminal to open it.
- Type this command:
bash - Drag the installer from your Downloads folder onto the Terminal window to add its path to the command (Note: you should type the bash command even if you’re running a recent version of macOS that uses zsh as the default shell in Terminal). Press Return.
- You will see a ‘Welcome to Anaconda’ message and a request to press Return to review the license agreement. Press Return.

- Press and hold Return to scroll to the end of the agreement. Type yes and press Return to agree to the license. Press Return again to agree to the default install location.
- You will see a message telling you where Anaconda will be installed, and then the installation will begin. When you see a message asking you if you want to initialize Anaconda, type yes and press Return.
- If you’re running macOS Catalina or later, you also need to initialize Anaconda in a zsh shell. Type this command:
source ~/anaconda3/bin/activate - Press Return, then type this command:
conda init zsh
- Press Return.
- Quit and relaunch Terminal.
- To check Anaconda has installed properly, type:
conda list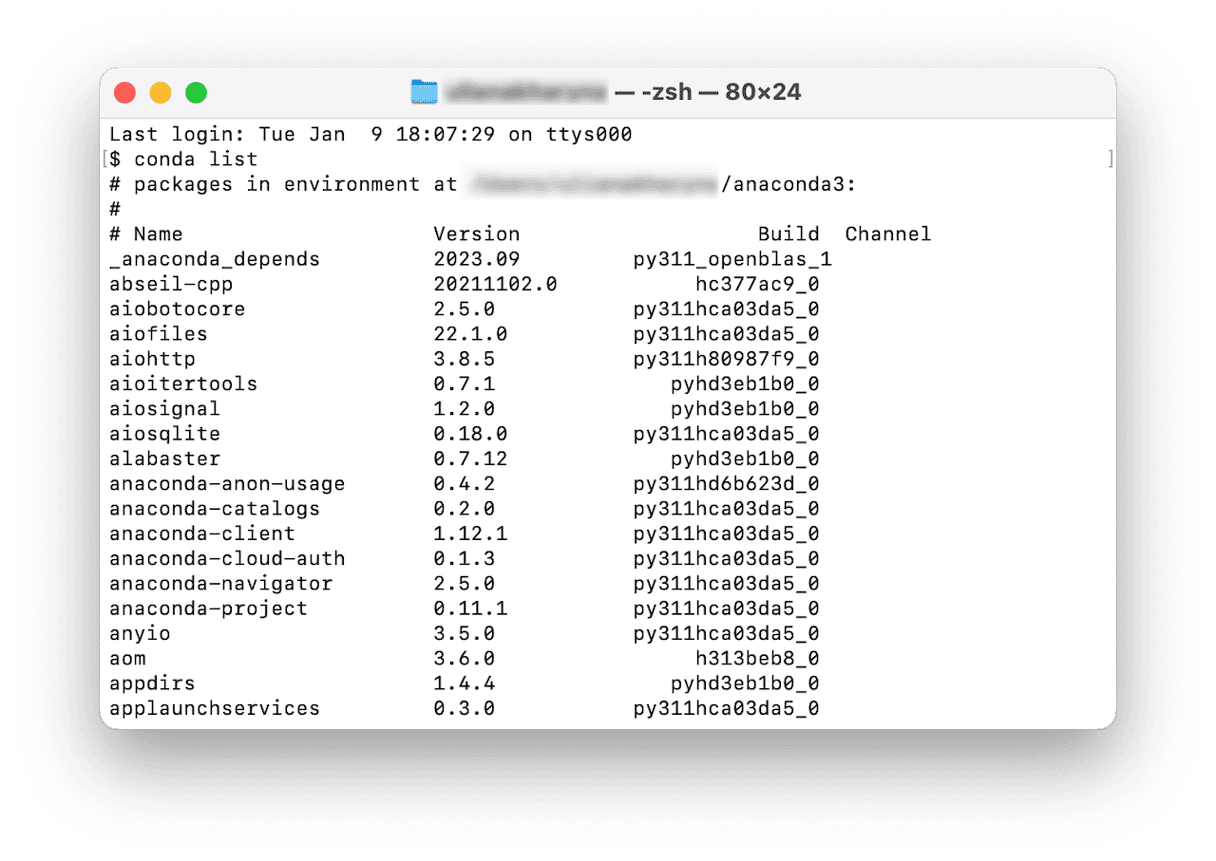
- You should see a list of installed files.
- To open Anaconda Navigator, type:
anaconda-navigator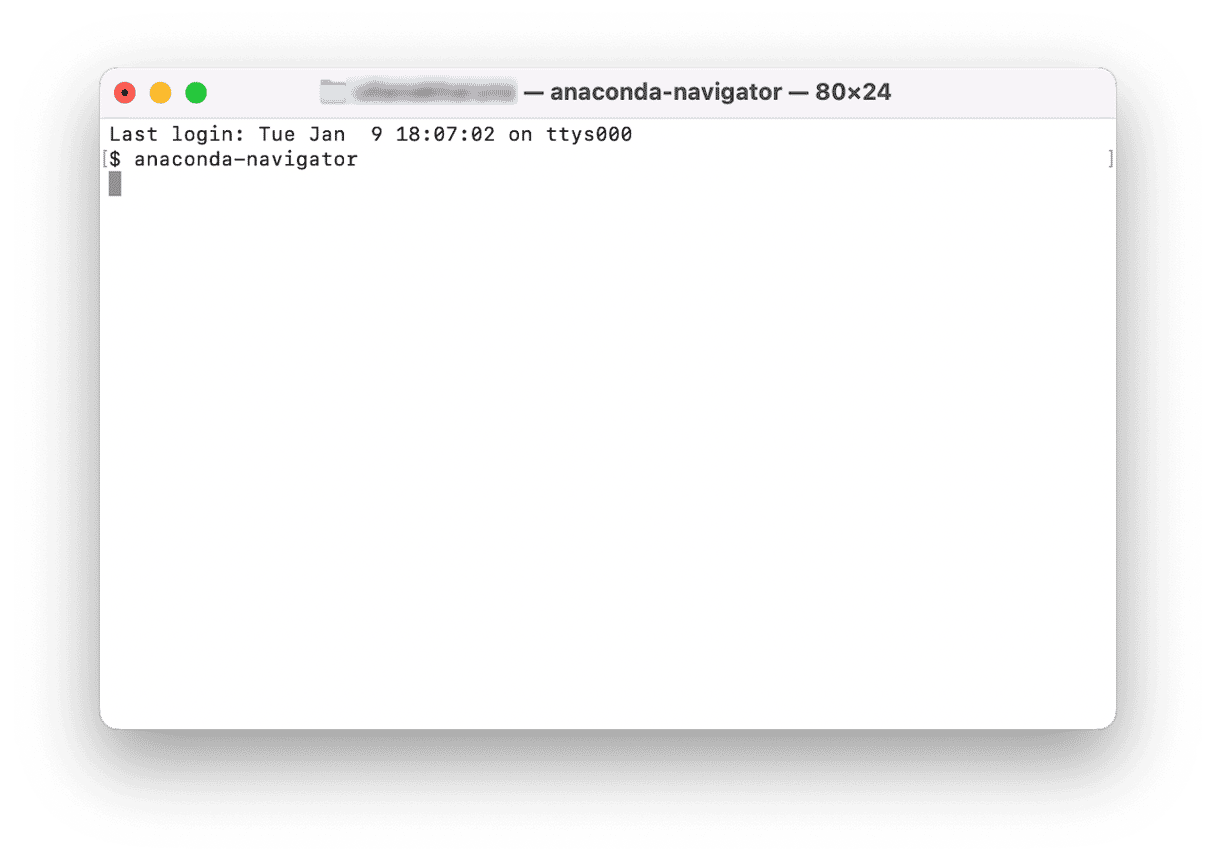
If you install Anaconda and then decide you don’t want to use it, you can uninstall it by following the guide here.
Anaconda is an excellent package manager for anyone who wants to code Python on their Mac. Follow the steps above to install Anaconda on your Mac using either the GUI installer or the command line tool.


