Disk Utility is one of the most valuable tools in your Mac’s Utilities folder. You can use it to partition, repair, completely erase, or reformat a disk. Occasionally, however, Mac users run into a problem: Disk Utility doesn’t let erase a disk.
That could happen because the Disk Utility erase greyed out or unable to complete the task. Whatever the reason is, we’ll show you how to deal with it.

Why won’t Disk Utility erase my disk?
There are a few reasons why the erase process may have failed on your Mac.
- The disk you’re trying to erase is the disk you booted from. Unfortunately, you can’t do that. If you want to erase your startup disk, you’ll need to either boot in Recovery mode or boot from an external USB disk or USB stick.
- The disk is damaged. If the disk you’re trying to erase is badly damaged, Disk Utility may not be able to access the information needed to erase it.
- The disk isn’t mounted. If a disk is connected to your Mac but not mounted in the Finder, Disk Utility won’t be able to erase it. The solution to this one is simple, just choose the disk in Disk Utility’s sidebar and click Mount in the toolbar. Once it’s mounted, you’ll be able to erase it.
What to do if Disk Utility won’t erase your disk
Repair the disk
The first thing to do, assuming you are trying to erase an external disk and not your startup volume, is to use Disk Utility to try and repair it.
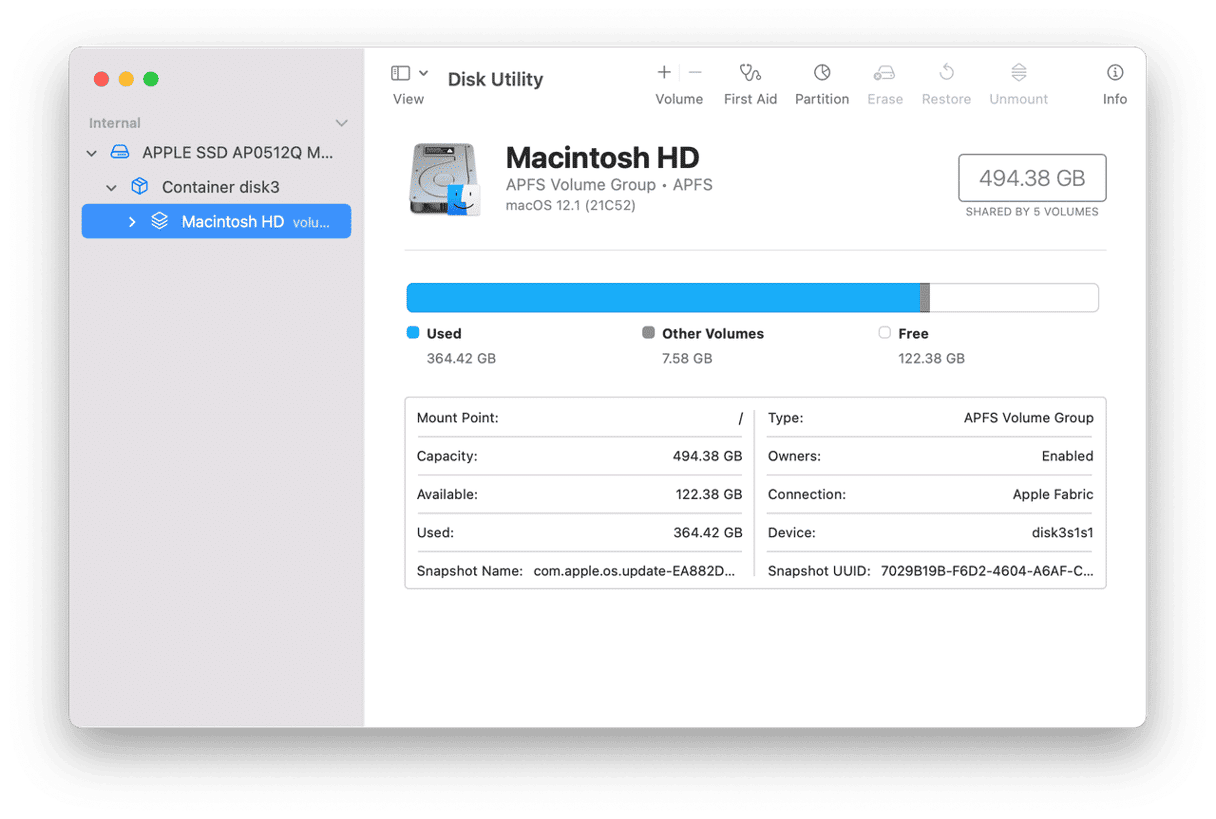
- Disk Utility and select the disk you are trying to erase (if you can’t see it in the sidebar, click the View menu and choose Show all Devices).
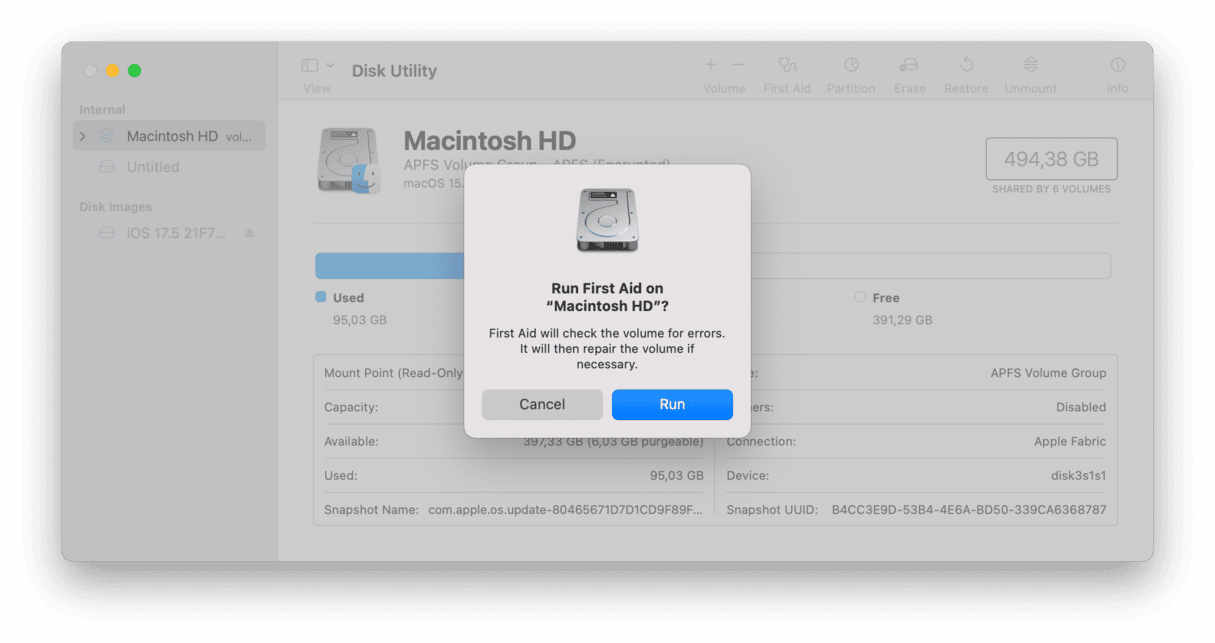
- Choose First Aid in the toolbar.
- Click Run.
- Wait for Disk Utility to finish disk repairing.

Once the process is completed, try erasing it again.
Update macOS
There’s a possibility that a problem with Disk Utility or the disk you’re trying to erase has already been fixed in the latest version of macOS.
To check if an update is available, follow the steps below.
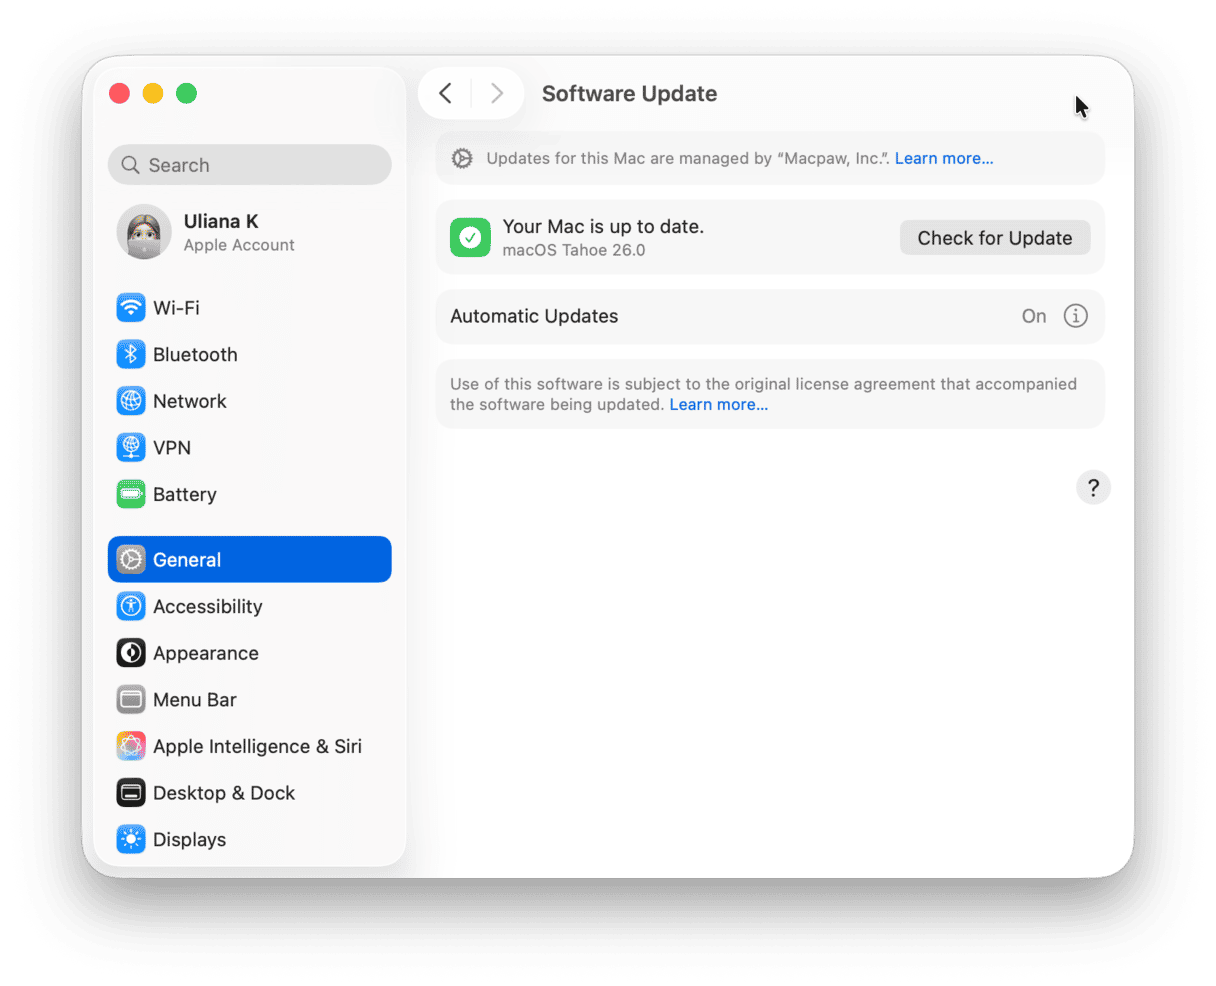
- Go to System Settings > General.
- Click Software Update.
- Wait for it to finish checking. If there is an update available, click Update.

Erase a volume rather than the whole disk
If you are trying to erase an external disk with more than one volume on it, try doing it one volume at a time. Rather than selecting the whole disk in Disk Utility’s sidebar, choose volume beneath it (you might have to click the dropdown arrow next to the disk’s name to see it), then click Erase.
Use Terminal to erase the disk
To erase a disk in Terminal, you’ll need first to get its identifier using the ‘diskutil list’ command and then tell Terminal to erase it, reformat using the format you specify, and give it the name you specify. Here’s how to do that for a disk you want to format as HFS+ Journaled with the name ‘MacPaw.’ You can replace ‘MacPaw’ with whatever name you want and ‘JHFS+’ with ‘APFS’ if you want to format it like that.
- Open Terminal and type this command:
diskutil list - Note the identifier for the disk you want to erase. For instance:
dev/disk2(disk identifiers are on the left, volumes on the right). - Use the following command to erase and reformat the disk as described above:
diskutil eraseDisk JHFS+ MacPaw /dev/disk2
Remember to replace ‘JHFS+’ with your preferred format, ‘MacPaw’ with the name you want to give the reformatted disk, and ‘/dev/disk2’ with the identifier you noted in step 2.
Restart in recovery mode
If Disk Utility won’t let you erase a disk, try to start up from a different volume. Fortunately, macOS now has a separate partition that contains an installation of the OS from which you can boot. You can use Disk Utility to erase your startup disk, then reinstall macOS using Internet Recovery.
How you restart in recovery mode depends on whether you have an Apple silicon or Intel-based Mac. Follow the steps below for your Mac.
Intel-based Mac
- Shut down your Mac.
- Hold down Command-R and press the power button.
- Release Command-R when you see the Apple logo.
- Type in your admin username and password when you see the Apple logo.
- You will now see the macOS Utilities screen.
Mac with Apple silicon
- Shut down your Mac.
- Press and hold the power button.
- Release the power button when you see the Options screen.
- Click Options, then type in your admin username and password.
- You should now see the macOS Utilities screen.

Both Apple silicon Intel-based Mac computers
- Choose Disk Utility from macOS Utilities.
- Choose the volume you want to erase from the sidebar.
- Click erase and follow the standard process for erasing the disk.
- When the disk has been erased, quit Disk Utility.
- Choose Reinstall macOS from the Utilities menu and follow the instructions.
Once you’ve reinstalled macOS, you can restore your data from backup. Or, if you were planning to sell your Mac or give it away, you’re good to go.
Disk Utility is a handy app for repairing, erasing, and reformatting disks. Occasionally, it might not be able to erase a disk. Use this article as your guide to fixing dysfunctional Disk Utility, and you should then be able to erase the disk effortlessly and stress-free.


