Preview is a built-in app in macOS and a default app on Mac to view PDFs or image files. If you double-click a PDF, JPG, or PNG file on Mac without changing settings, it will automatically open in Preview. Over the years, Preview has gone from being an app for viewing files to the one that now allows annotation and even editing. Often, such basic functionality is all you need when working with files. So when Preview is not working, you might feel a bit lost. In this article, we’ll explain what to do to not feel this way again.
What happens when Preview doesn’t work?
There are several cases that indicate that Preview is not working properly. These are the most common ones:
- Preview keeps crashing
- It doesn’t launch
- It won’t open a file it should open
- You’re unable to use some of the tools
How to fix it when Preview is not working on your Mac
If you’ve encountered the problems listed above or have other issues with Preview, try the solutions listed below to resolve them.
1. Try multiple files
What appears to be a problem with Preview may actually be a corrupt file, meaning that before you try anything else, try opening several different files to see what happens. If the rest of the files work, you’ll know that the problem is with the patient zero.
2. Force quit Preview
In case your Preview freezes and becomes completely unresponsive, it’s time to use Force Quit. To do that, press Command-Option-Escape, choose Preview from the list of apps, and then click Force Quit. If you launch Preview again, it might actually work as it normally does.
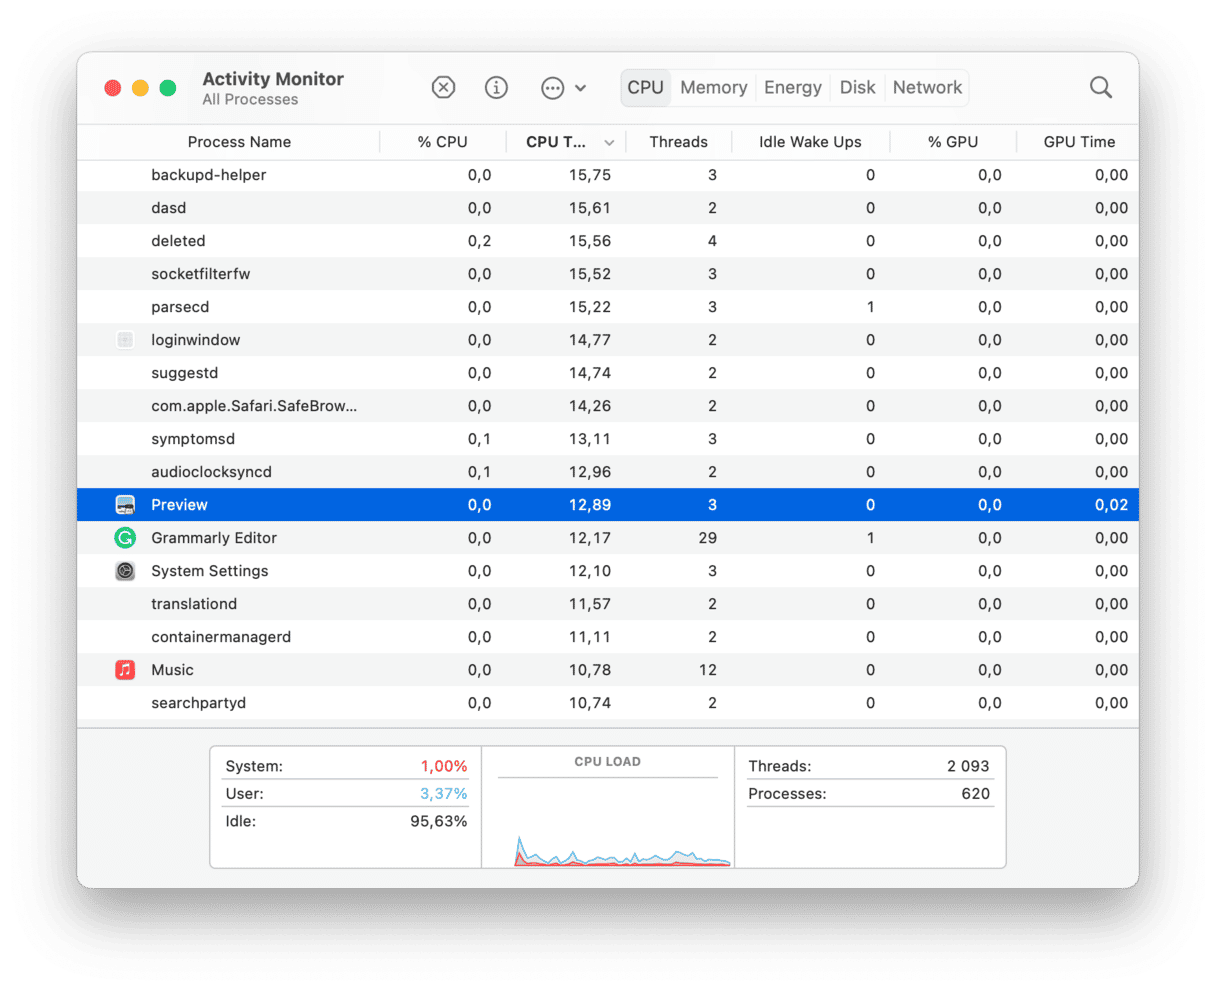
But if, after relaunching Preview, it’s still unresponsive, use Activity Monitor to check if it’s consuming an excessive amount of resources. If so, use the ’Quit’ button in Activity Monitor’s toolbar to shut down processes that are causing problems.
- Open your Applications folder, then Utilities, and open Activity Monitor.
- Click the CPU column header to order processes by the CPU cycles they are consuming.
- If you see Preview near the top, select it and click [X] to quit it.
3. Restart your Mac
Sometimes, a quick restart can solve all your problems. It fixes problems with apps and clears out RAM or temporary files. If a regular Restart from the Apple menu doesn’t solve the problem, try shutting down your Mac, waiting a few seconds, and then starting it up again.
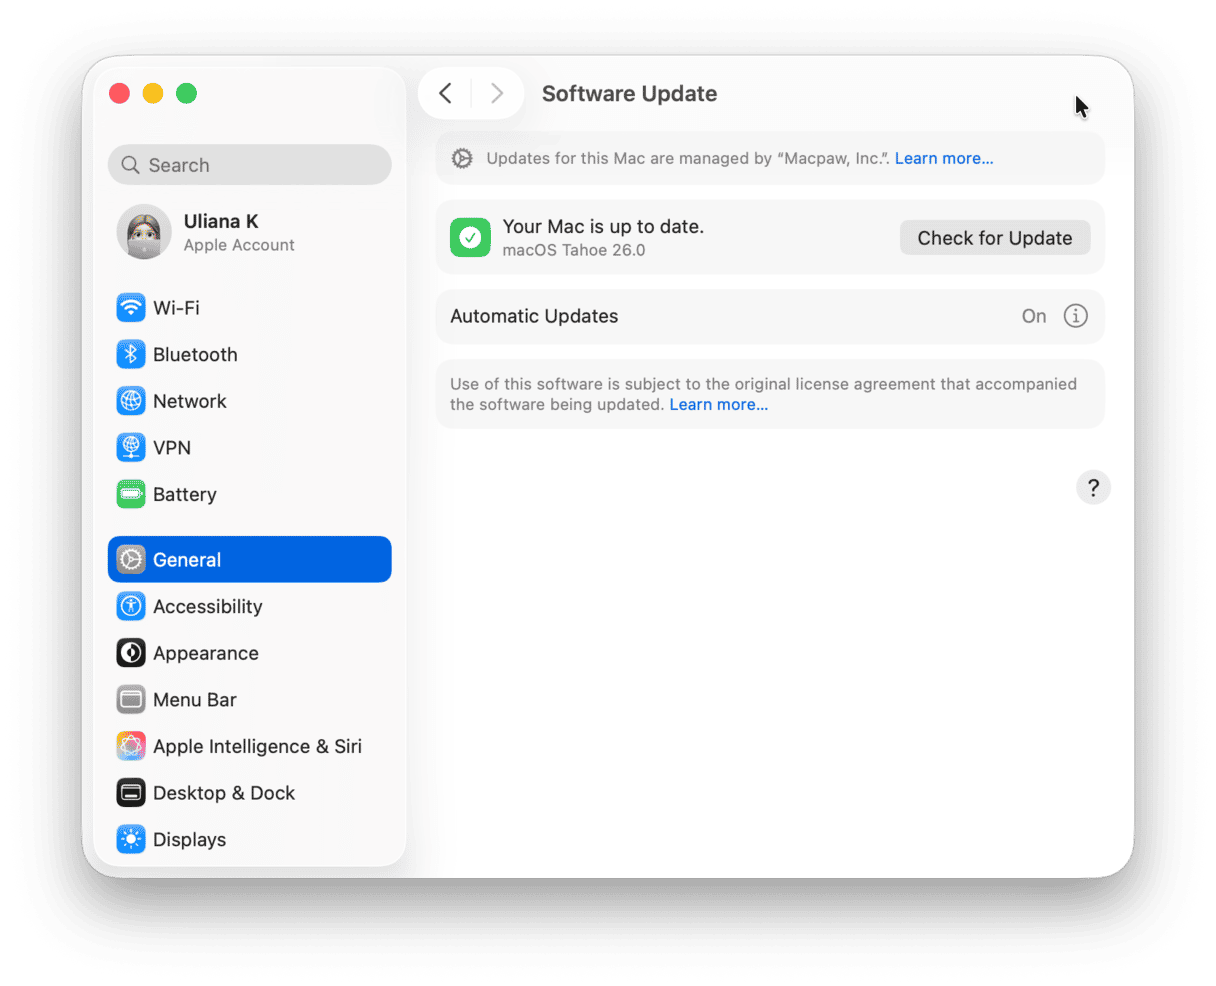
4. Check macOS is up to date
It’s possible that the version of macOS running on your Mac has a bug that has been fixed in the later version, and that’s causing Preview not to work.
- Click on the Apple menu and choose System Settings.
- Choose General and click Software Update.
- If there is an update available, click Update now.
5. Reset Preview
If macOS is up to date, the next step would normally be to reinstall the misbehaving application. However, Preview is a system application that can’t be reinstalled that easily. You have an option to reset Preview so that it goes back to the state it was in when macOS was first installed. This may fix the problems you’re having.
To reset Preview, we need a specialist tool. One tool that you can use that does lots of other things besides resetting misbehaving applications is CleanMyMac. You can download it for free here. Once you’ve done that, follow the steps below to reset Preview:
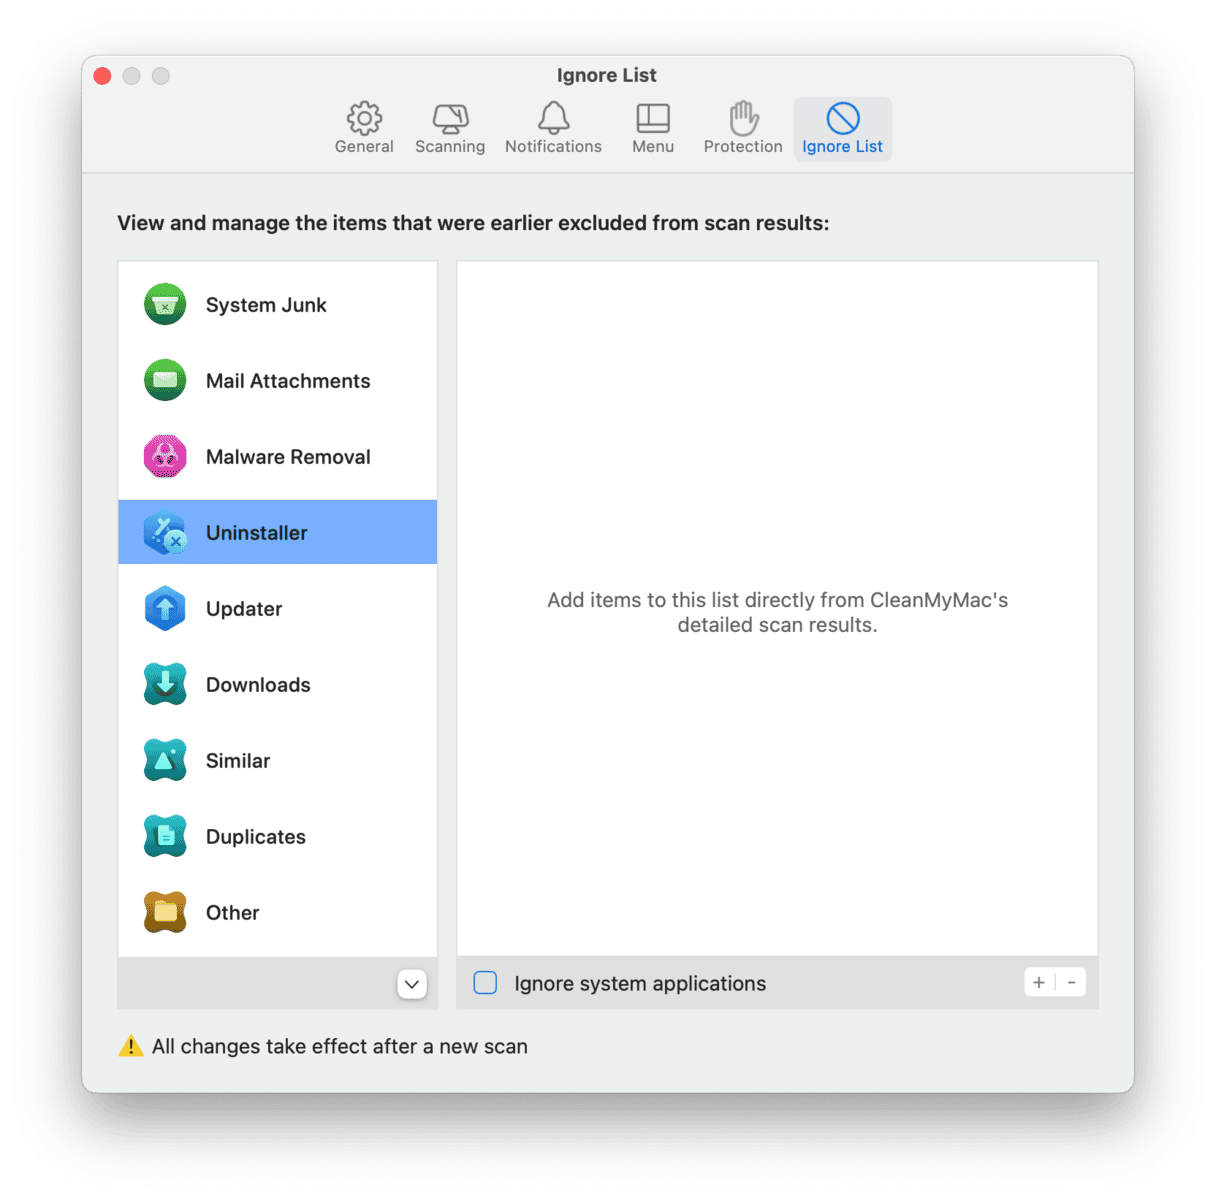
- Open CleanMyMac, then click the CleanMyMac icon in the top-right menu.
- Choose Settings > Ignore List.
- Click Uninstaller and make sure the ‘Ignore system applications’ box is not selected.
- Quit Settings.
Next, we go back to the CleanMyMac application and do the following:
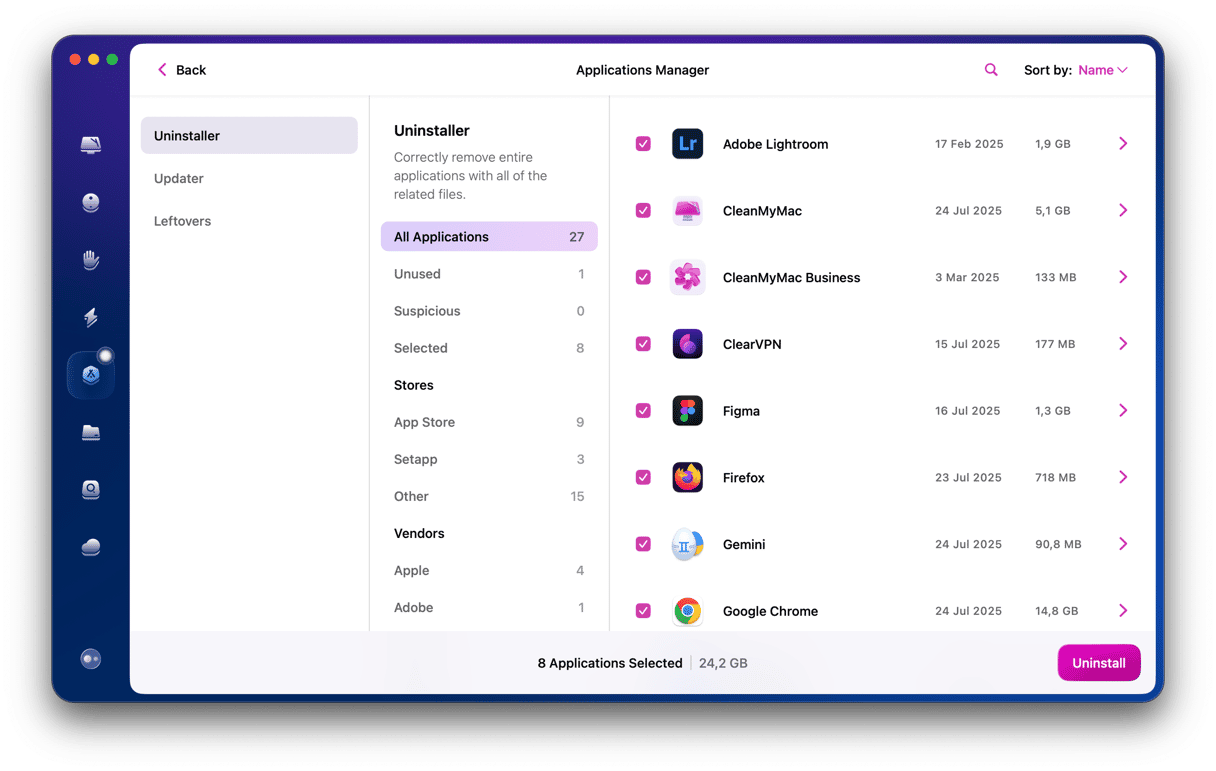
- Click Applications in the sidebar menu and run a quick scan.
- Click Manage My Applications > Uninstaller.
- Scroll down the list of apps until you see Preview.
- Click the arrow on the right and check the ‘Container’ box.
- Click the Remove button.
6. Restart your Mac in safe mode
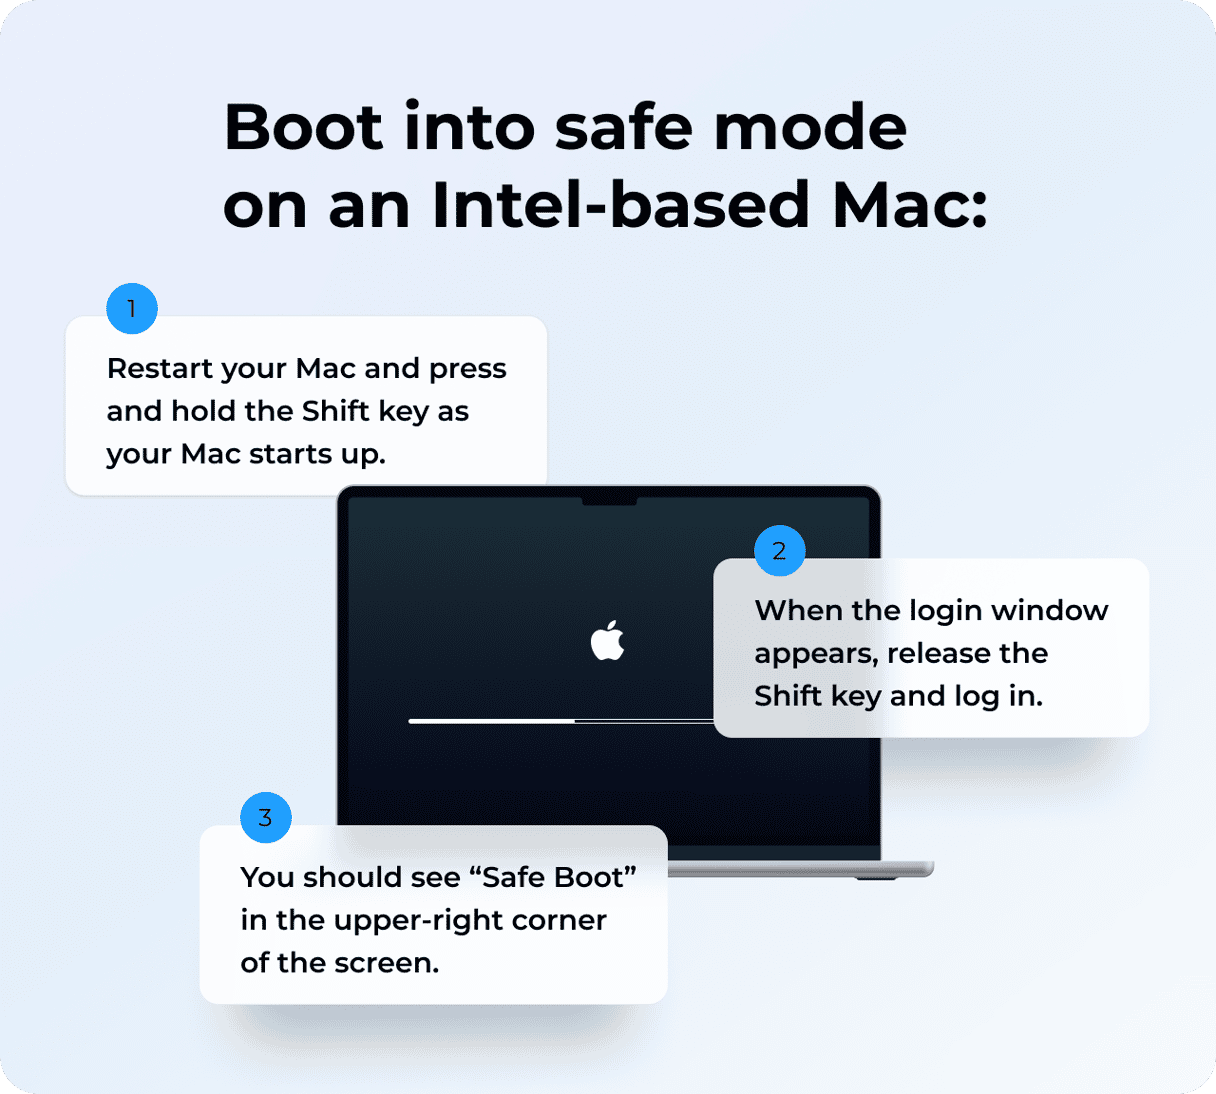
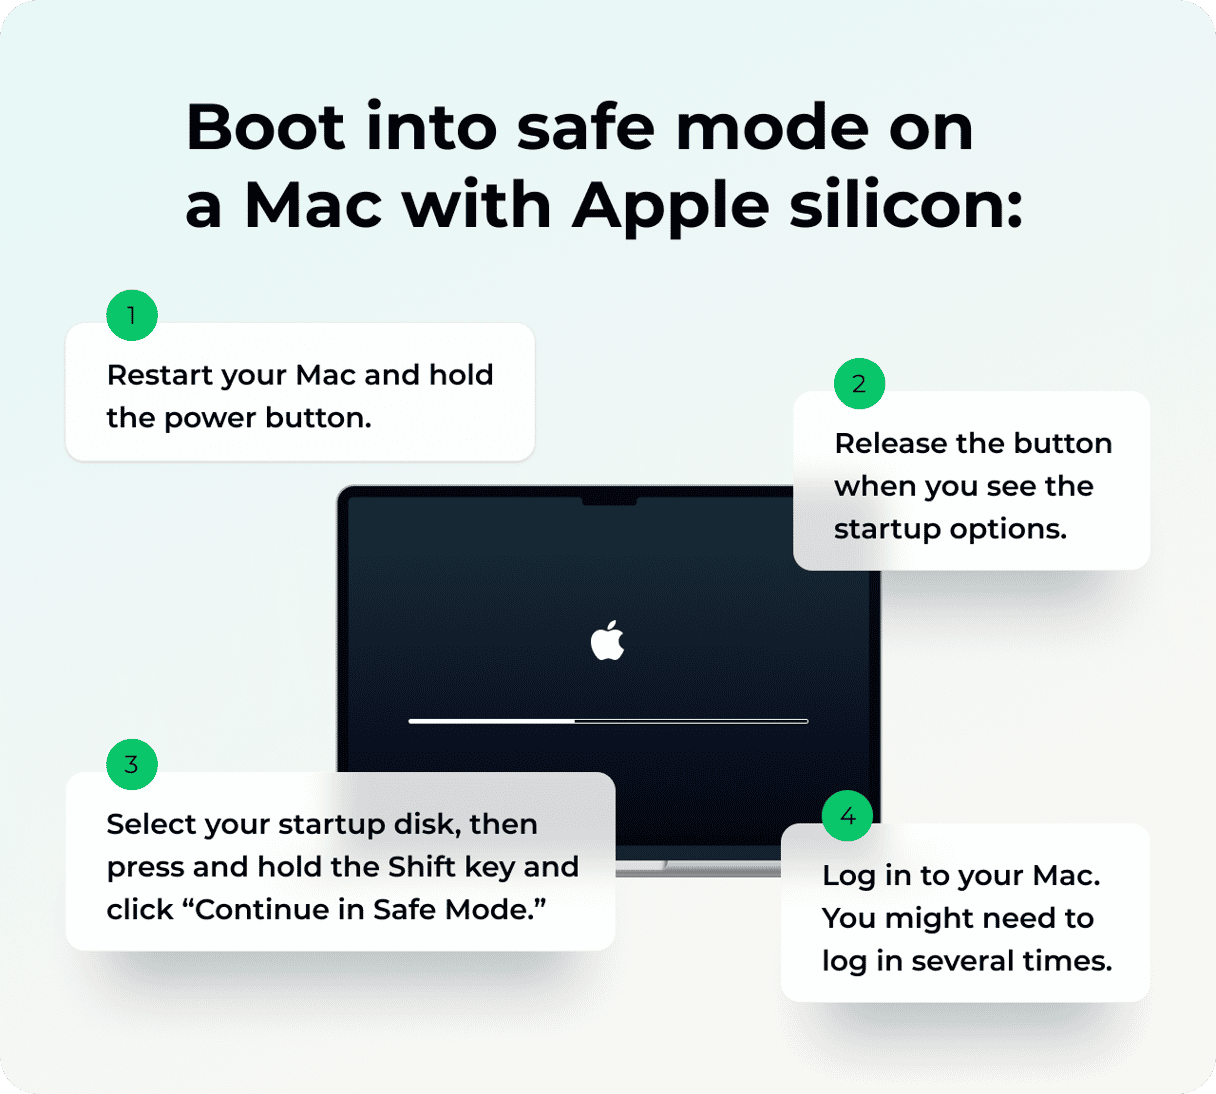
When you reboot your Mac in safe mode, it loads only those extensions that are necessary for it to run. It also runs repairs on your boot disk and fixes any problems it finds. The process for rebooting in safe mode is different for Intel-based Macs and Macs with Apple silicon. Follow the steps below based on the type of Mac you’re using.
Intel-based Mac
- Shut down your Mac.
- Press the Power button to switch it on while holding the Shift key.
- Release the Shift key when you see the login window, then log in.
- You should see ‘Safe Boot’ in the top corner of the login window.
Mac with Apple silicon
- Shut down your Mac by pressing and holding the Power key.
- Wait until you see Startup Options on the screen and release the Power key. Choose Options.
- Select your startup disk, hold down Shift, and choose ‘Continue in Safe mode.’
- Release the Shift key and log in.
Once you’ve restarted your Mac in safe mode, try launching Preview again and open several files at once. If Preview works properly, the problem is probably with a launch agent or login item. To check if it’s a login item, disable all login items and restart your Mac.
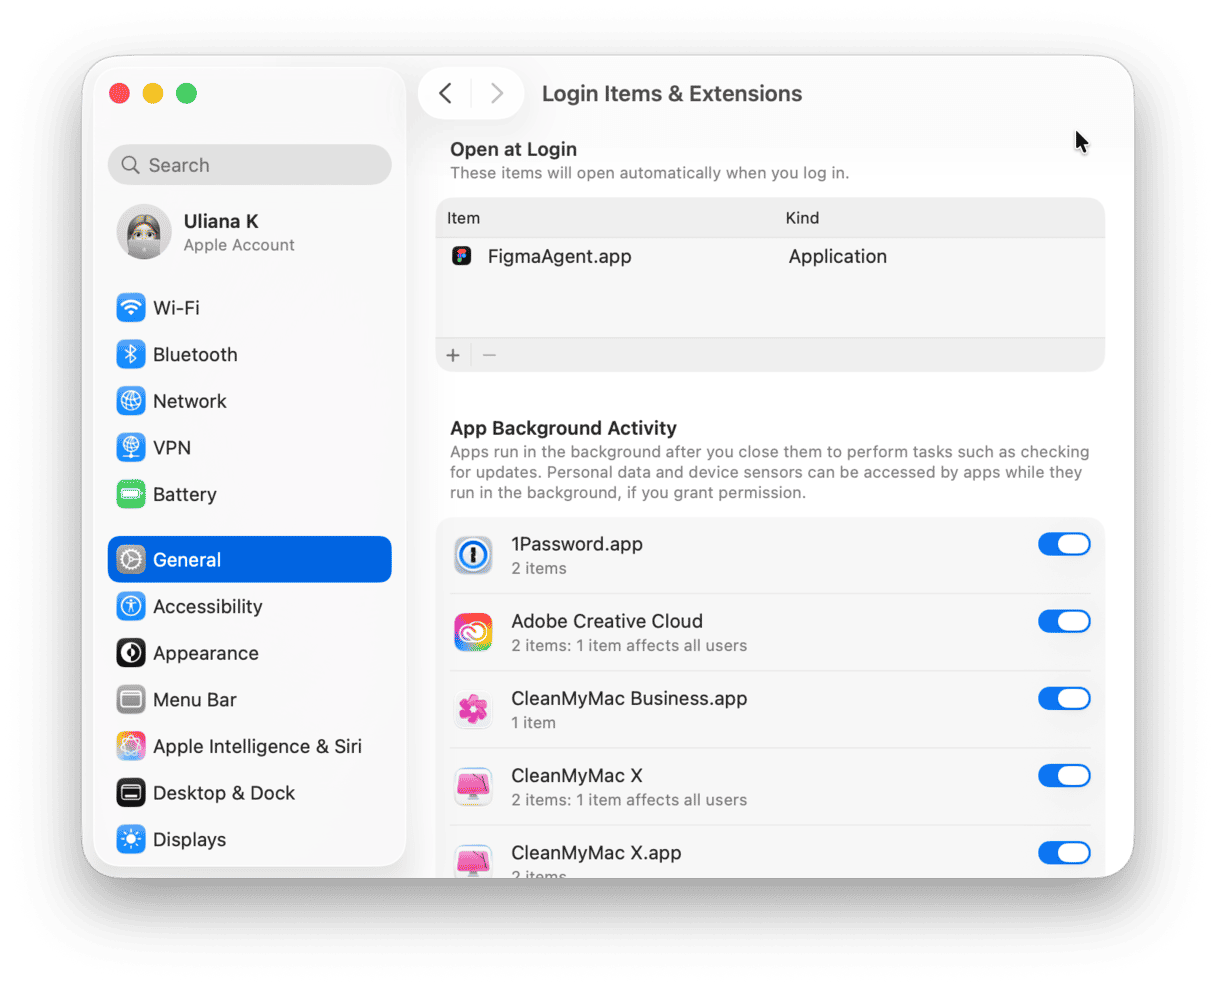
To disable login items, do the following:
- Click on the Apple menu and choose System Settings.
- Select General.
- Click Login Items & Extensions.
- At the ‘Open at Login’ section, select each item on the list and click the ‘-’ button.
- Restart your Mac.
If Preview works after the startup, the issue was a login item. To find out which one, re-enable one, restart your Mac, and try Preview again. Continue enabling login items one at a time and restarting until Preview fails to work. That’s how you find the one causing the problem.
If Preview doesn’t work when you start up with Login Items disabled, the problem wasn’t with a Login Item but with a launch agent. It is more difficult to fix, as there is no way to turn launch agents on and off.
7. Scan your Mac for malware
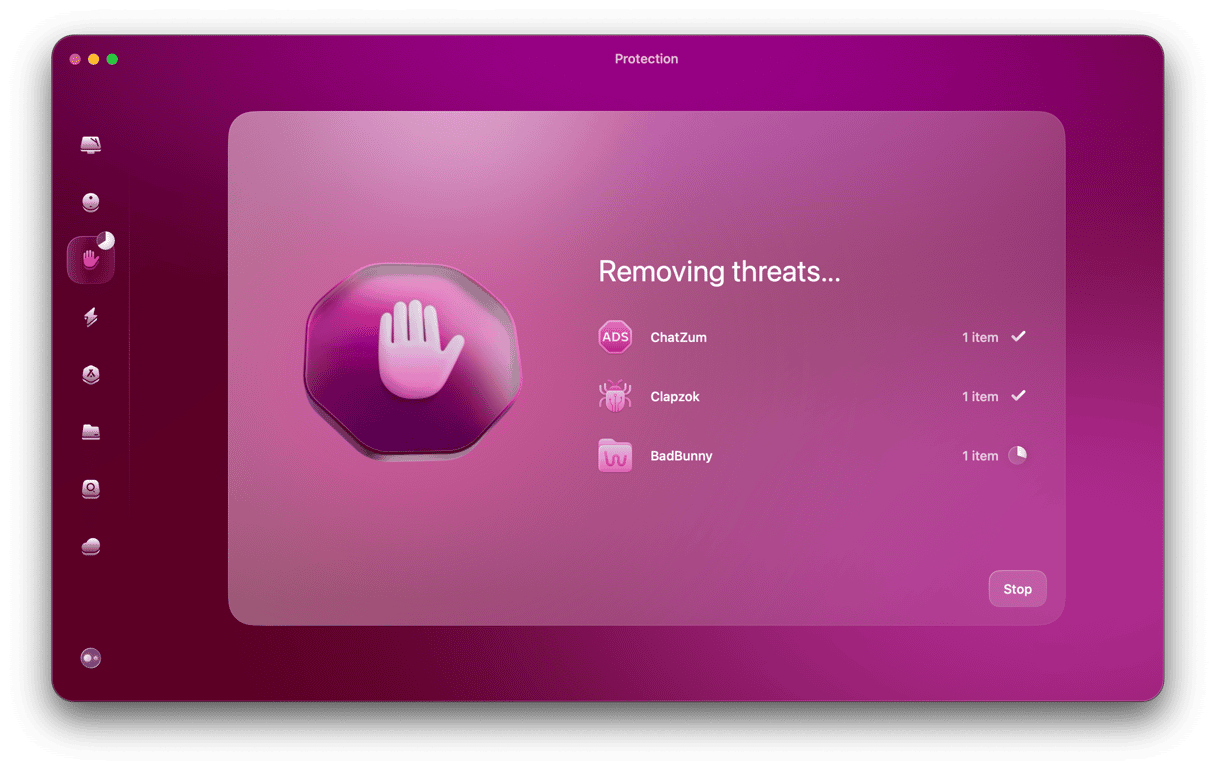
The other reason Preview is not working on your Mac can be a malware infection. Try scanning your Mac with a dedicated cleaner app, such as CleanMyMac.
- Open CleanMyMac and choose the Protection tool.
- Click Scan.
- If it finds anything, click Remove.
8. Reinstall macOS
This is the final option because it’s the most disruptive and takes the longest. Before you reinstall macOS, don’t forget to back up your Mac. You can do that with Time Machine or any other backup tool.
First, boot into recovery mode.
For an Intel-based Mac:
- Shut down your Mac.
- Press the Power key to restart and hold down Command-R to boot in Recovery mode.
For a Mac with Apple silicon:
- When turning on your Mac, press and hold the Power button.
- Keep it pressed until you see startup options.
- Click the Gears icon (Options) and hit Continue.
- You may be asked to select a user and enter their administrator password. Follow on-screen instructions and press Next after any action you take.
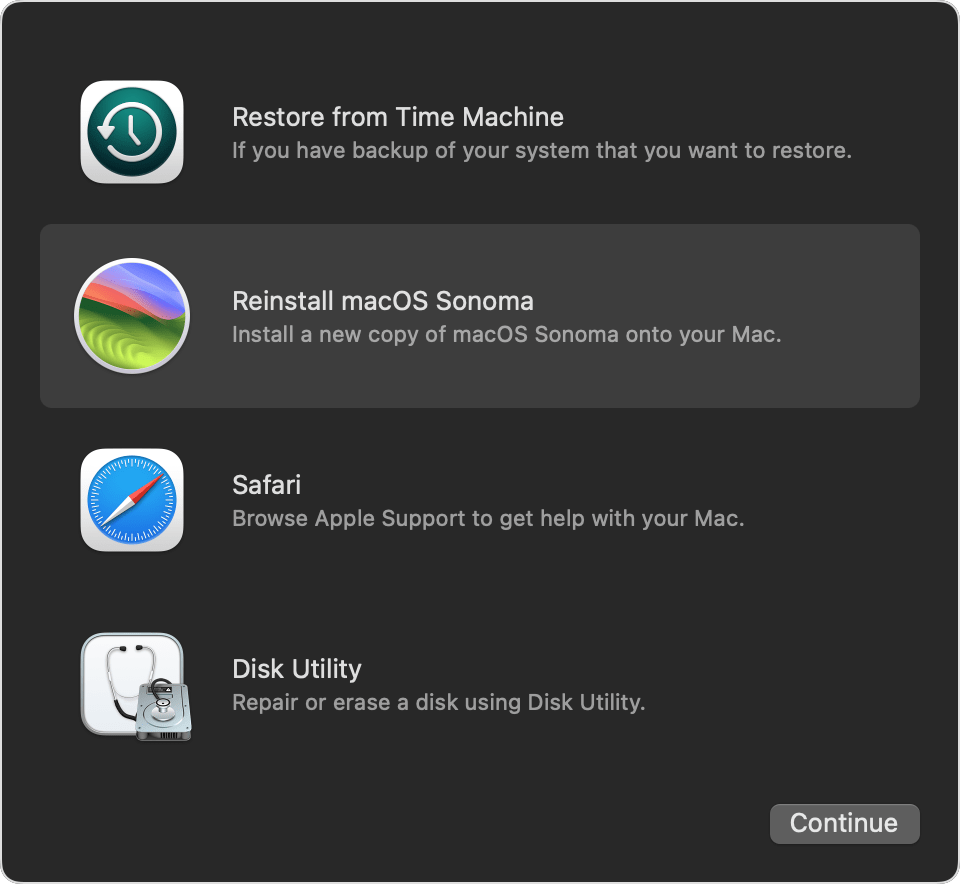
Now, follow these steps:
- When you see the macOS Utilities window, choose Reinstall macOS.
- Follow the instructions on the screen to complete the reinstallation.
- Choose to restore from Time Machine (in case you were using it to back up your data).
Preview is a super-useful preinstalled tool that comes with macOS. It can be used to view and edit image files, PDFs, or scan documents using an iPhone camera and scanner. Also, it has a useful annotation feature. So, when Preview is not working, we obviously get frustrated. If this happens to you, follow the steps described in this article to fix it. If all else fails, you’ll have to reinstall macOS, but first, try resetting Preview with a safer option — CleanMyMac.


