You might see lots of error messages when using your Mac. Some are simple and self-explanatory. Others don't seem to make much sense at all. "com.apple.buildinfo.preflight.error error 21" is definitely at the more obscure end of the scale. It usually pops up when you try to reinstall macOS in recovery mode, and it stops the installation. The good news is that preflight error 21 is rarely a sign of a hardware fault, and you can usually fix it yourself. In this article, we'll explain what it means, what the other error numbers mean, and how to fix it.
What does "com.apple.buildinfo.preflight.error error 21" mean?
The error occurs when you try to reinstall macOS in recovery mode. It means that when your Mac checks that everything is in place to reinstall the operating system, something reports a problem. The disk you're trying to reinstall macOS on may have a problem, or, if you're using Internet Recovery, you may have a network issue.
"Preflight" is the set of checks the macOS installer runs before it starts copying files. It makes sure the disk is in good shape, the installer is genuine, and your Mac can take the version you're installing. If any of those checks fail, the installer stops and shows the preflight error, with a number at the end.
Find your fix by error code
Check the number at the end of the error message, then go to the matching fix.
Error | What it usually means | Start with |
21 | The installer can't confirm your disk is ready | Check that your disk is APFS and repair it in Terminal |
10 | The installer can't get what it needs from Apple | Check the date and time, then your internet connection |
12 | Your version of macOS can't be updated this way | Use the full macOS installer (see "If you see the error on a working Mac") |
20 | There's a problem with the format or free space on the target disk | Check the disk format, then erase the disk if needed |
Tip: Keep your Mac running smoothly
We all know that prevention is better than cure. And so, it makes sense to do everything you can to avoid this kind of error on your Mac. For example, you could scan for malware, run maintenance tasks, and update all your applications. Malware can cause all kinds of problems, and failing to update your apps could mean running buggy software.
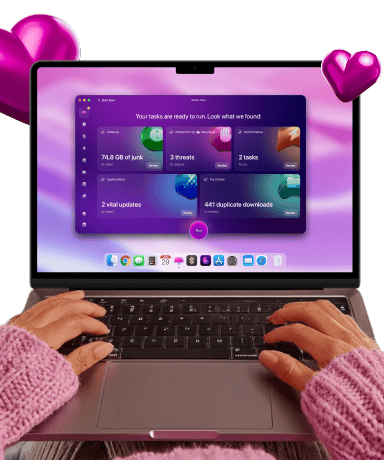
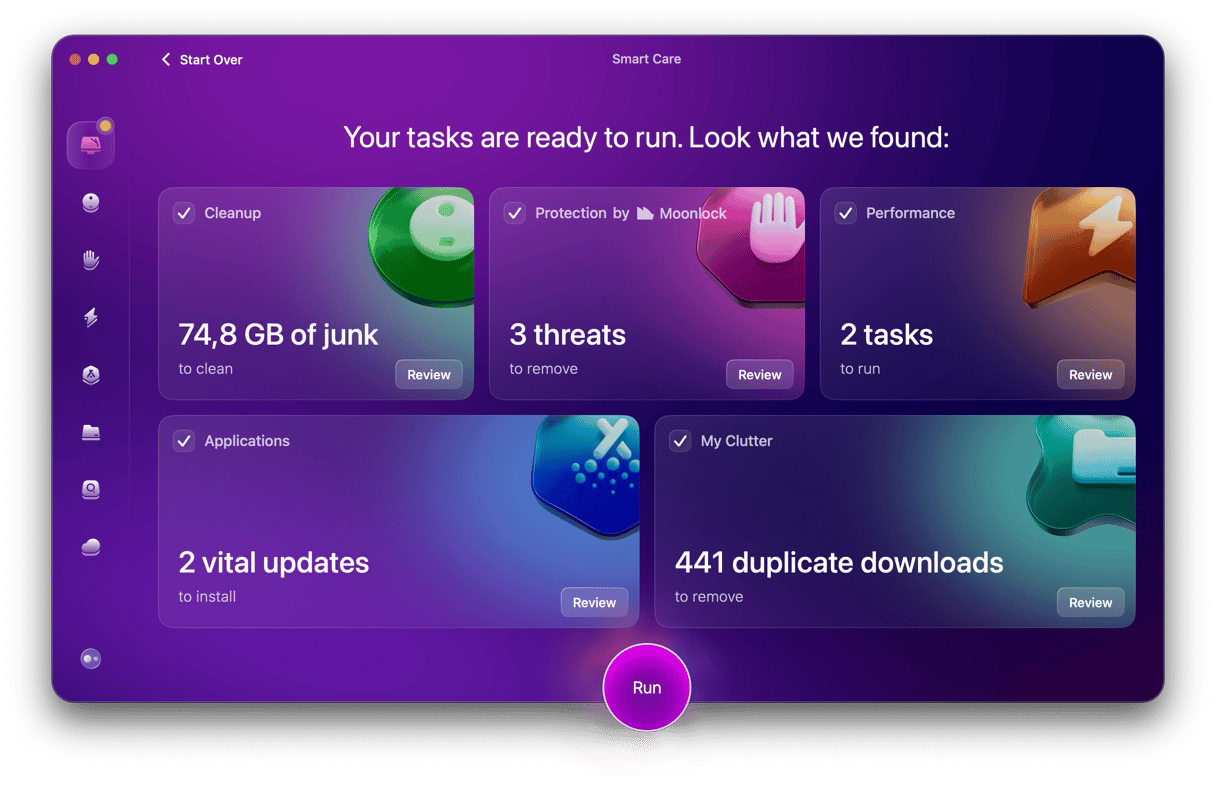
The easiest way to do all of that and keep your Mac running smoothly is to use CleanMyMac's Smart Care feature. It scans your Mac for junk files, clutter, and malware, recommends maintenance tasks, and checks which applications have vital updates available. Best of all, it takes only a few clicks to scan your Mac and apply its recommendations.
- Get your free CleanMyMac trial — test it for 7 days free.
- Open it and choose Smart Care in the sidebar.
- Click Scan.
- Wait for it to finish, then click Run to implement all its recommendations or Review to see what it found.
What do error codes 21, 10, 12, and 20 mean?
Apple doesn't publish a list of these codes. However, most of the error messages and the patterns in user reports still give a pretty clear picture:
- Error 21 is the one most people see. It usually appears when you get to the point of choosing a disk to install macOS on. It means the installer couldn't confirm that the disk is fit for installation. Common causes include a disk that isn't formatted as APFS, file system errors, or a damaged system volume.
- Error 10 usually points to a problem getting files from Apple's servers. It's common in Internet Recovery and after you've already erased your disk. An unstable connection or the wrong date and time are the likely culprits.
- Error 12 comes with Apple's own explanation: "The base build is not compatible with this install method." It means that the version of macOS on your Mac can't be updated the way you're trying to update it. It often shows up in Software Update, especially on beta versions of macOS.
- Error 20 is the least common of all. It's usually linked to the target disk, either because it doesn't have enough free space or because its format isn't one the installer accepts.
How to fix "com.apple.buildinfo.preflight.error error 21" on your Mac
Before we get into how to fix the issue, back up your data now if you can. If you can boot your Mac, run a Time Machine backup or copy the data you need to another disk. Some of the steps below will delete the data on your startup disk. And if you don't already have a regular backup schedule, set one up as soon as you're back up and running.
Check the date and time
This one may seem trivial; however, many people miss it. If your Mac's clock is wrong, the installer can't verify Apple's security certificates, and the preflight check fails. The clock can go wrong if your Mac has been switched off for a long time or its battery has run completely flat.
- In recovery mode, choose Utilities > Terminal from the menu bar.
- Type date and press Return to see what date your Mac thinks it is.
- If the date is wrong, set it in this format: month, day, hour, minute, year. For example, for October 7, 2026, at 2:30 pm, you'd type:
date 100714302026
Press Return, then type the date again to check that it worked. Quit Terminal and try reinstalling macOS straight away. Don't restart first, in case the clock resets.
Use 24-hour time. You don't need to be exact to the minute; the date is what matters. You also don't need to type sudo or a password in recovery mode.
Reset NVRAM
NVRAM (the memory that stores important settings even when your Mac isn't plugged in or is running on battery power) is unlikely to cause installation problems in recovery mode. Still, it's easy to reset, so it's worth a try.
- On a Mac with Apple silicon, restart your Mac normally.
- On an Intel-based Mac, restart while holding Command-Option-P-R and release the keys when you hear the second startup chime.

If you have an Intel-based Mac, it's also worth resetting the SMC, the chip that manages power, fans, and other hardware. The steps depend on your model, and Apple has instructions here. On a Mac with Apple silicon, a simple restart does the job.
Use Disk Utility to repair your startup disk
- Restart your Mac. If the error occurred while you were in recovery mode, follow the steps you took to boot into recovery mode to do that again.
- Try to do whatever you were doing when you got the error message. If you get it again, reboot your Mac into recovery mode. If needed, press and hold the power button to turn it off first. If you don't know how to boot your Mac in recovery mode, you can find instructions on Apple's website here.
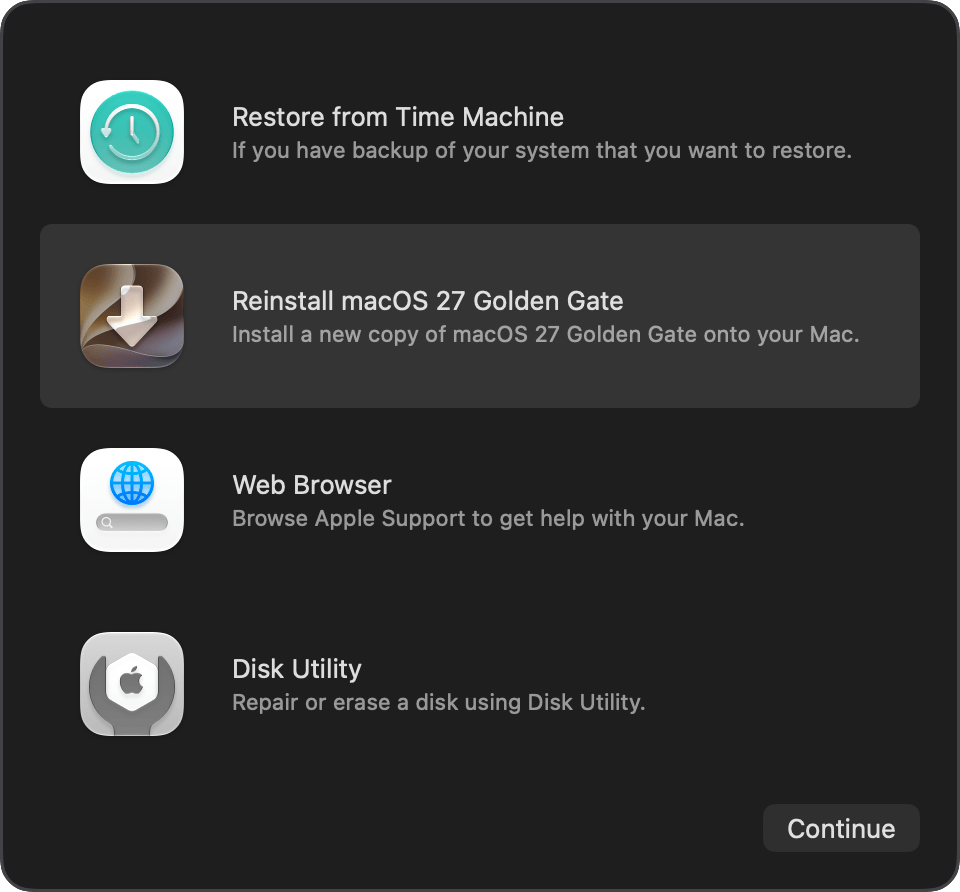
- When your Mac restarts into recovery mode, choose Disk Utility from the menu.
- Select your startup disk in Disk Utility's sidebar.
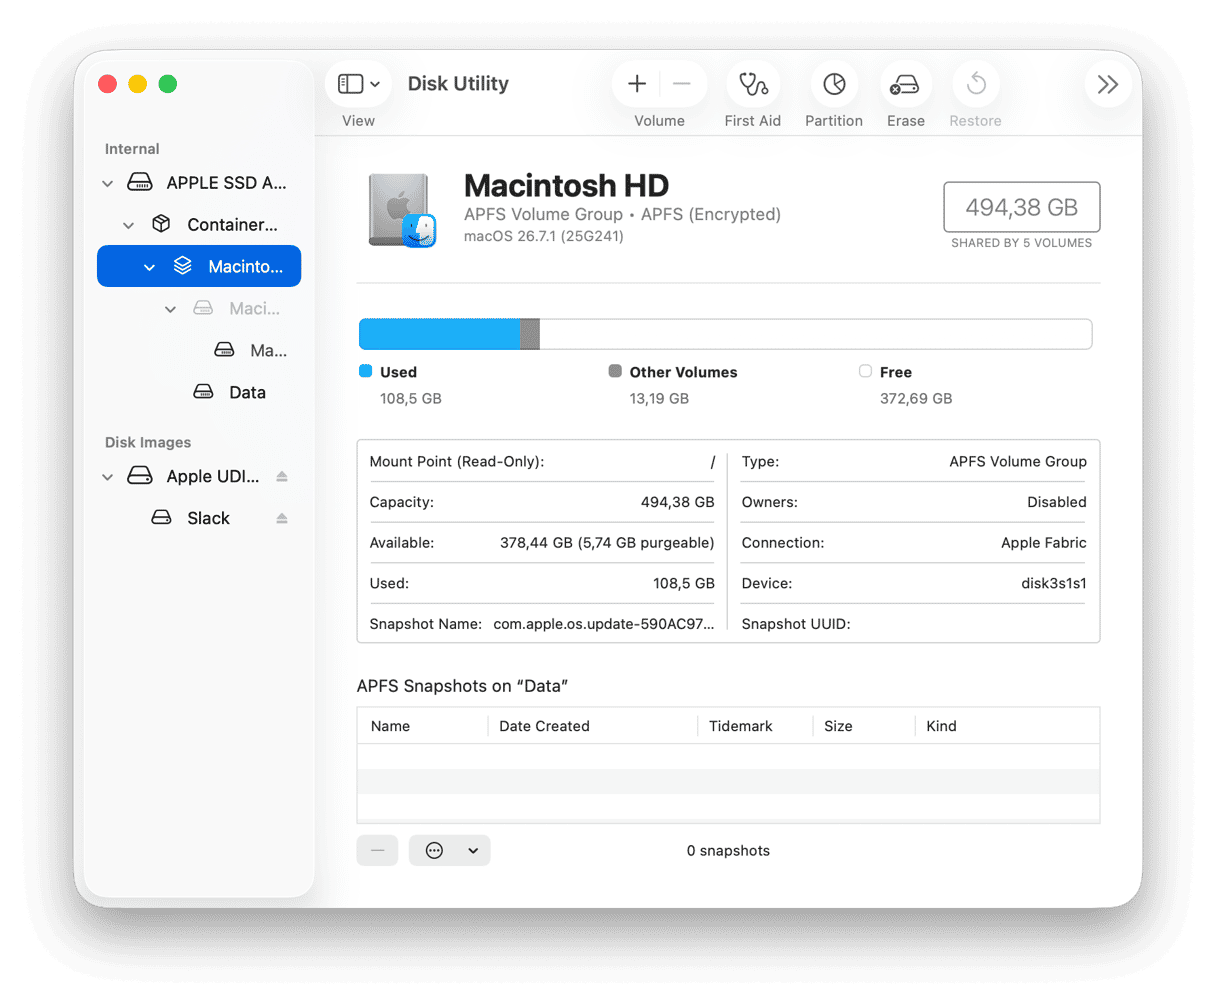
- Click First Aid in the toolbar, then click Run, and wait for Disk Utility to check your disk and fix any problems.
- When it's done, restart your Mac in Recovery mode and try reinstalling macOS.
Check and repair your disk in Terminal
If First Aid shows everything's fine, but you still get error 21, check your disk in Terminal. It reveals more details and tells you something First Aid won't: whether your disk is in the right format.
- In recovery mode, choose Utilities > Terminal.
- List your disks:
diskutil list - Find your internal disk, which is usually disk0. Then find the APFS container that holds Macintosh HD. On a Mac with Apple Silicon, that's usually disk3. On an Intel-based Mac, it's usually disk1. Make a note of both.
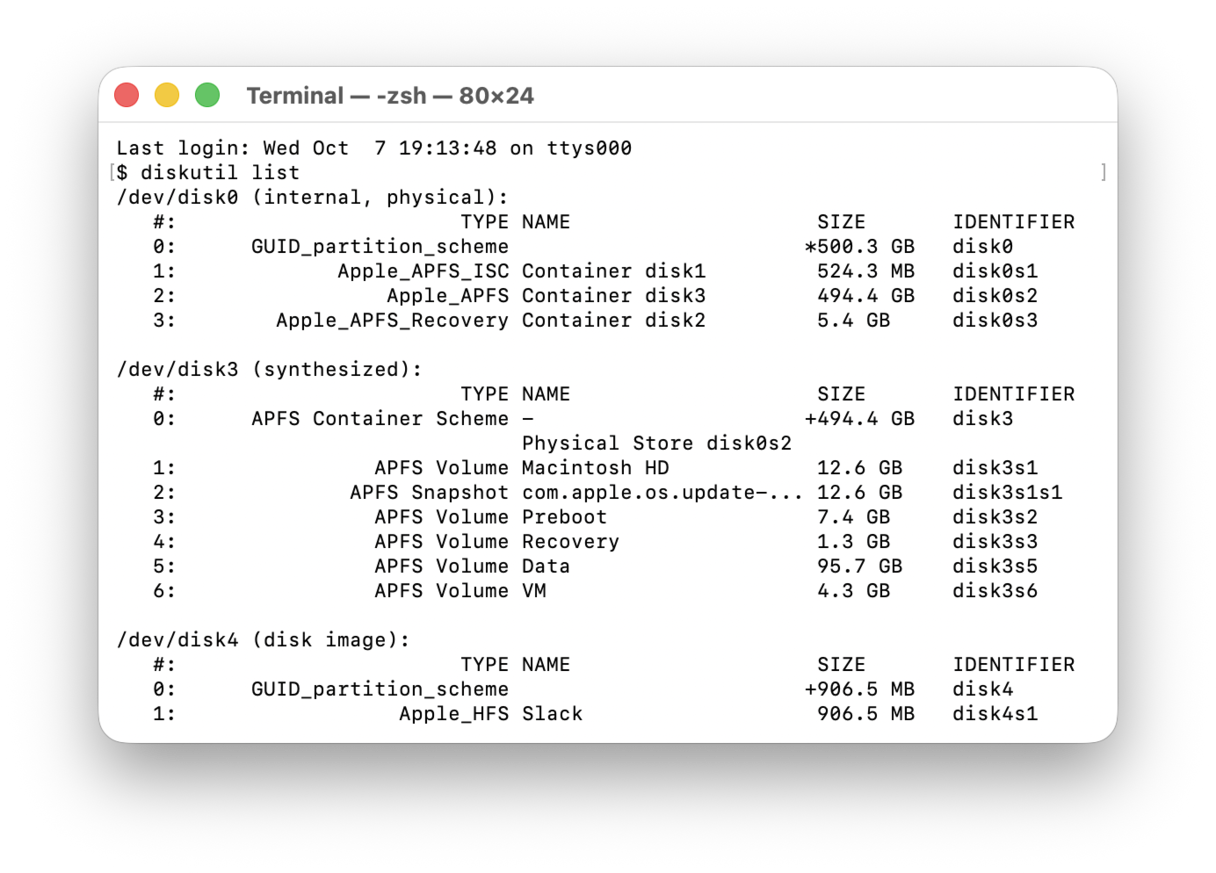
- Check the format. Look at the line for Macintosh HD. If it says "APFS Volume," you're fine. If it says "Apple_HFS," the disk is formatted as Mac OS Extended, and recent versions of macOS won't install on it. You'll need to erase it as APFS (see "Erase your Mac and start from scratch." below).
- Repair the physical disk. Swap disk0 for your disk's identifier if it's different:
diskutil repairDisk disk0 - If Terminal asks you to confirm, type y and press Return.
- Repair the APFS container. Swap disk3 for your container's identifier:
diskutil repairVolume disk3 - Wait for each command to finish. The last line should read something like "Finished file system repair on disk3." Then quit Terminal and try reinstalling macOS. If Terminal reports errors it couldn't fix, go to "Erase your Mac and start from scratch."
Try Internet Recovery
If the recovery system on your Mac's disk is damaged, you can get the preflight error every time you do anything to the disk. Starting up from a different copy of recovery gets around that.
- Intel-based Mac: Shut down your Mac. Turn it on and immediately press and hold Option-Command-R until you see a spinning globe. This installs the latest version of macOS that's compatible with your Mac. To install the version that came with your Mac, or the closest one still available, use Shift-Option-Command-R instead.
- Mac with Apple silicon: There's no Internet Recovery shortcut. Instead, your Mac has a backup copy of recovery, called fallback recoveryOS. Shut down your Mac, then press and release the power button. Immediately press and hold it again until you see the startup options.
If Internet Recovery fails too (error 10)
Internet Recovery needs a good, steady connection to Apple's servers. If it fails, check your connection:
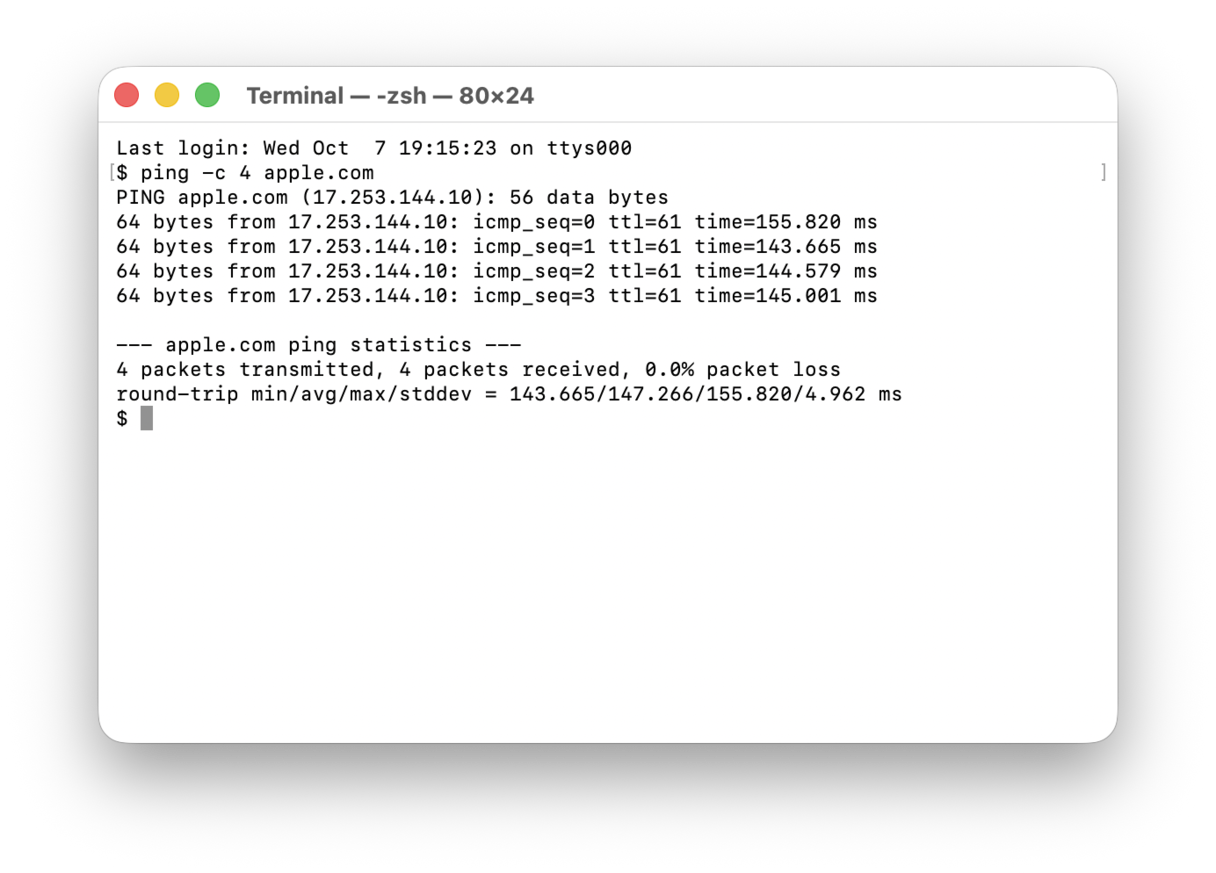
- Open Terminal from the Utilities menu and type:
ping -c 4 apple.com - If you see "4 packets received," your connection is working. If you see "Unknown host" or "100.0% packet loss," it isn't.
- If you're on Wi-Fi, try an Ethernet cable if you can. Wi-Fi in recovery mode can be unreliable.
- Avoid networks that make you sign in on a web page, like those in hotels and cafes. Also avoid work networks that need a username and password. Recovery mode can't connect to these properly.
- Some routers with parental controls, and some company firewalls, block Apple's download servers. To check whether that's the problem, connect to your iPhone's Personal Hotspot and try again.
Erase your Mac and start from scratch
If nothing has worked so far and you can't boot your Mac normally, boot into recovery mode again and erase your Mac. Then you can do a clean install of macOS.
- Boot your Mac into recovery mode.
- Choose Disk Utility from the menu.
- In Disk Utility, select your startup disk in the sidebar and click Erase.
- Choose APFS as the format and give the startup disk a name.
- Click Erase Volume Group.
- When Disk Utility is finished erasing your disk, click Done and then quit Disk Utility.
- Choose Reinstall macOS from the menu and choose Continue.
- Follow the on-screen instructions to complete the process.
After you reinstall macOS, your Mac will restart and guide you through the setup process. During that process, if you have a Time Machine backup, you will be offered the chance to restore from it using Migration Assistant.

Reinstall macOS from an external drive or USB stick
If reinstalling from Recovery mode fails even after you've erased your startup disk, you have one final option. You will need access to another Mac, but if you do, you can download macOS from the App Store and install it on a USB stick or external drive, boot from it, and then reinstall macOS onto your startup disk. You can find full instructions for creating a bootable installer in this article.
If you see the error on a working Mac (not in recovery mode)
Most people see this error in recovery mode. It can also appear when you try to update macOS in Software Update on a Mac that's otherwise working fine, usually as error 12. In that case, your disk is fine. Software Update can't get you from your current version to the one you want. This happens most often with beta versions of macOS.
The fix is to use the full macOS installer instead of Software Update:
- Open Terminal from Applications > Utilities.
- Use this command to check which full installers are available:
softwareupdate --list-full-installers - Download the one you want. Replace VERSION with a version number from the list, for example, 26.1:
softwareupdate --fetch-full-installer --full-installer-version VERSION - When it's finished, you'll find the installer in your Applications folder. Open it and follow the on-screen instructions.
If you're running a beta, you may need to turn off beta updates in System Settings > General > Software Update first.
After the fix: Clear out old developer files
If you restored from Time Machine or reinstalled without erasing your disk, your old Xcode DerivedData, caches, and build files are still there. They can take up tens of gigabytes and cause odd build errors.
The free CleanMyMac CLI tool can clear them out for you. It finds developer clutter from Xcode, Docker, package managers, project folders, and AI tools, then removes only what you approve.
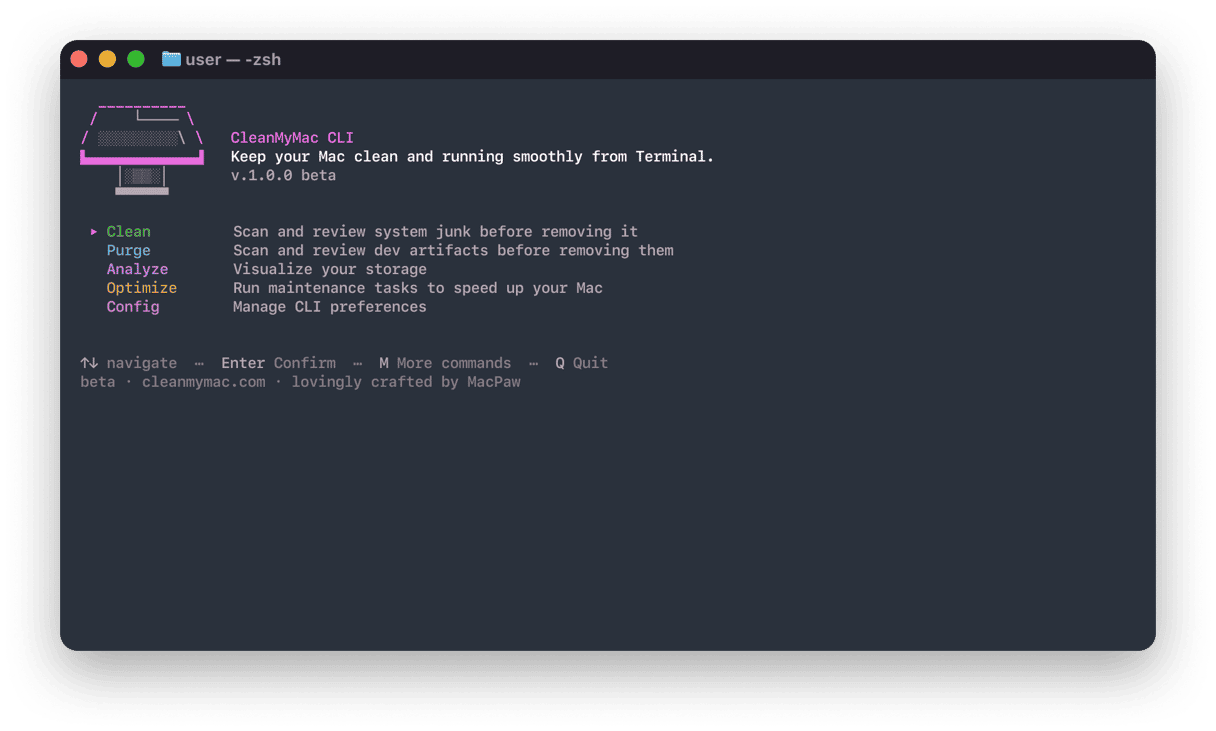
- Install it with Homebrew:
brew install --cask cleanmymac-cli - Clear Xcode junk, such as DerivedData, Module Cache, and Device Support:
cleanmymac clean junk - Review the results. Press Space to deselect anything you want to keep, then press Return to clean.
To clear caches from Homebrew, npm, and other developer tools, run cleanmymac clean dev. Xcode rebuilds its caches when needed, so your next build will take a little longer.
For more, read Why is Xcode so big? and How to clear Xcode cache.
Frequently Asked Questions
How do I fix preflight error 21?
Start by checking that your startup disk is formatted as APFS. Then run First Aid on it, either in Disk Utility or with diskutil in Terminal. It's also worth checking the date and time on your Mac. If none of that works, erase the disk and reinstall macOS.
What is error code 21 on Apple restore?
It means the macOS installer's preflight check failed, so the installer couldn't confirm your disk was ready. It's not usually a hardware fault, and you can often fix it without losing data. Erasing the disk is the last resort, so back up first if you can.
How do I get my Mac out of Internet Recovery mode?
Press and hold the power button until your Mac turns off, then turn it on again normally. If it keeps starting up in Internet Recovery by itself, its built-in recovery is probably damaged. In that case, use Internet Recovery to reinstall macOS. That puts a fresh copy of recovery on your disk too.
How do I reinstall macOS without an internet connection?
You need a bootable USB installer. Reinstalling from recovery mode still downloads macOS from Apple, even when you use the recovery system on your own Mac, so you still need an internet connection. To make a USB installer, you'll need another Mac that's online.
The "com.apple.buildinfo.preflight.error error 21" message means the macOS installer's checks found a problem. That's usually your disk, your connection, or the date and time on your Mac. Check the number at the end of the message, start with the matching fix above, and work through the rest if you need to. In most cases, you'll have your Mac up and running again without a trip to the Apple Store.