There are a few things that can go wrong on your Mac that are likely to induce real anxiety or even panic. But being locked out completely and unable to change your password is one of them. When that happens, it seems as if there is nothing you can do and that you will never be able to log in or access your data. Thankfully, that’s not the case; in this article, we’ll show you what to do if you see the error message ‘the supplied iCloud account was unable to unlock this volume.’
Before we start
If you haven’t already encountered this issue and are still able to log in to your Mac, make sure you have a regular backup schedule. Ideally, that would mean backing up your Mac to an external drive using Time Machine. It’s free, easy to set up, and the easiest way to recover data if the worst happens. Having a Time Machine backup will mean that if you have to follow the instructions below to regain access to your Mac, you will be up and running again very quickly.
Why am I seeing ‘the supplied iCloud account was unable to unlock this volume’?
This error usually occurs if you type your password incorrectly several times and need to reset it. In that situation, you would normally be asked for details of your iCloud account. And if the iCloud account whose details you enter isn’t the account that the administrator of the Mac is signed into, you won’t be able to change the password. ‘Unlock the volume’ refers to the fact that in recent versions of macOS, File Vault is turned on, and you need to successfully log in to decrypt the startup disk.

The reason that the error ‘the supplied iCloud account was unable to unlock this volume’ appears at all is that your Mac’s startup disk is encrypted, and the only way to decrypt it is to use your login password or Touch ID. But that’s not the only way macOS protects your data. Another example is the control over which applications can access things like your Mac’s camera, your Documents folder and Desktop, and data from Calendar and Reminders. Keeping on top of all those permissions can be time-consuming, but not if you use CleanMyMac’s Protection Manager.

It allows you to manage all app permissions in one place. It also scans your Mac for malware, and lets you clear your Recent Items list, the list of Wi-Fi networks your Mac stores, and data like cookies and cache stored by web browsers on your Mac. You can test CleanMyMac for 7 days — get your free trial here.
3 ways to fix ‘the supplied iCloud account was unable to unlock this volume’
1. Reset your password
If you think you might have entered the wrong iCloud details when you tried to reset your password, it’s worth restarting your Mac and trying again if it allows you to.
- Press and hold the power button to shut down your Mac.
- Press the power button to reboot it.
- When you see the login screen, try to log in with your username and password.
- If that doesn’t work, click the ‘?’ next to the login window.
- You should see an option to reset your password. If so, click it.

The next steps depend on how your Mac is set up to recover your password. For example, it could be from your Apple ID or using a Recovery Key if you have one. If you are offered options, choose one. Depending on what you choose, you will be asked for one or more of the following:
- Your File Vault recovery key
- Your Apple Account email address or phone number and the verification code sent to another device
- The volume you want to recover — choose Macintosh HD or whatever your startup disk is called
- Another user on the Mac whose password you know — choose Forgot all Passwords
- Permission to deactivate the Mac — grant permission
- Permission to create a new keychain — allow it to create a new keychain
If you are unable to reset your password, go to the next section.
2. Use recovery mode to reset
If you can’t reset your password from the login screen using the steps above, the next option is to try resetting it in recovery mode. To do that, you will need to boot your Mac into recovery mode. The steps for doing that vary depending on the Mac you have. You can find instructions for your Mac on Apple’s website here.
Once you’ve restarted using the process for recovery mode, follow the steps below.
- When your Mac starts up, it will ask you to choose a user account for which you know the password. Choose ‘Forgot all passwords?’
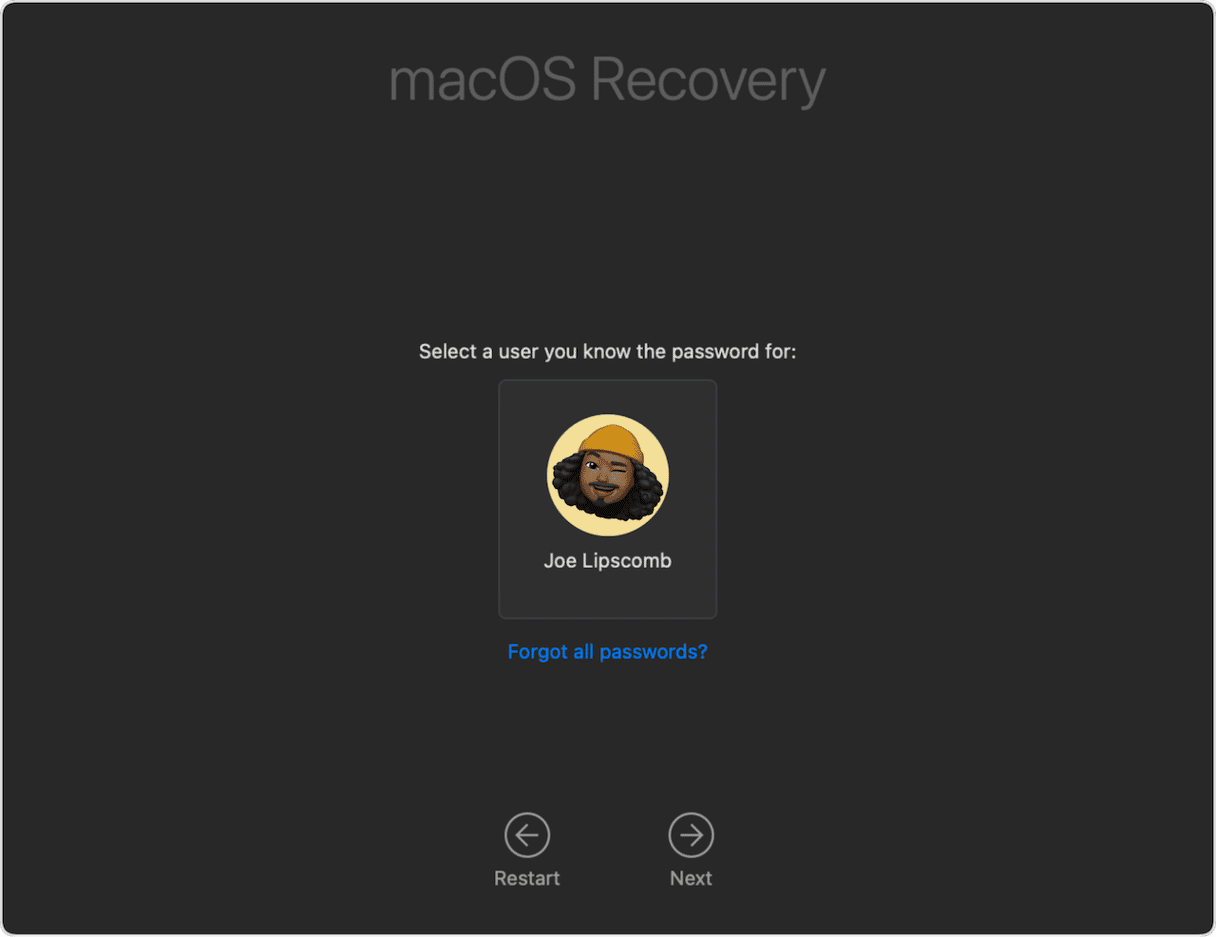
- Follow the instructions on the screen; depending on your set-up, this may allow you to reset your password.
- When you’re done, choose Exit to Recovery.
- If you were able to reset your password before you chose Exit to Recovery, click the Apple menu and choose Restart. If not, go to step 5.
- Click the Utilities menu in the menu bar at the top of the screen and choose Terminal.
- Type resetpassword and then press Return.
- In the window that opens, choose the option that applies to your situation and click Next.
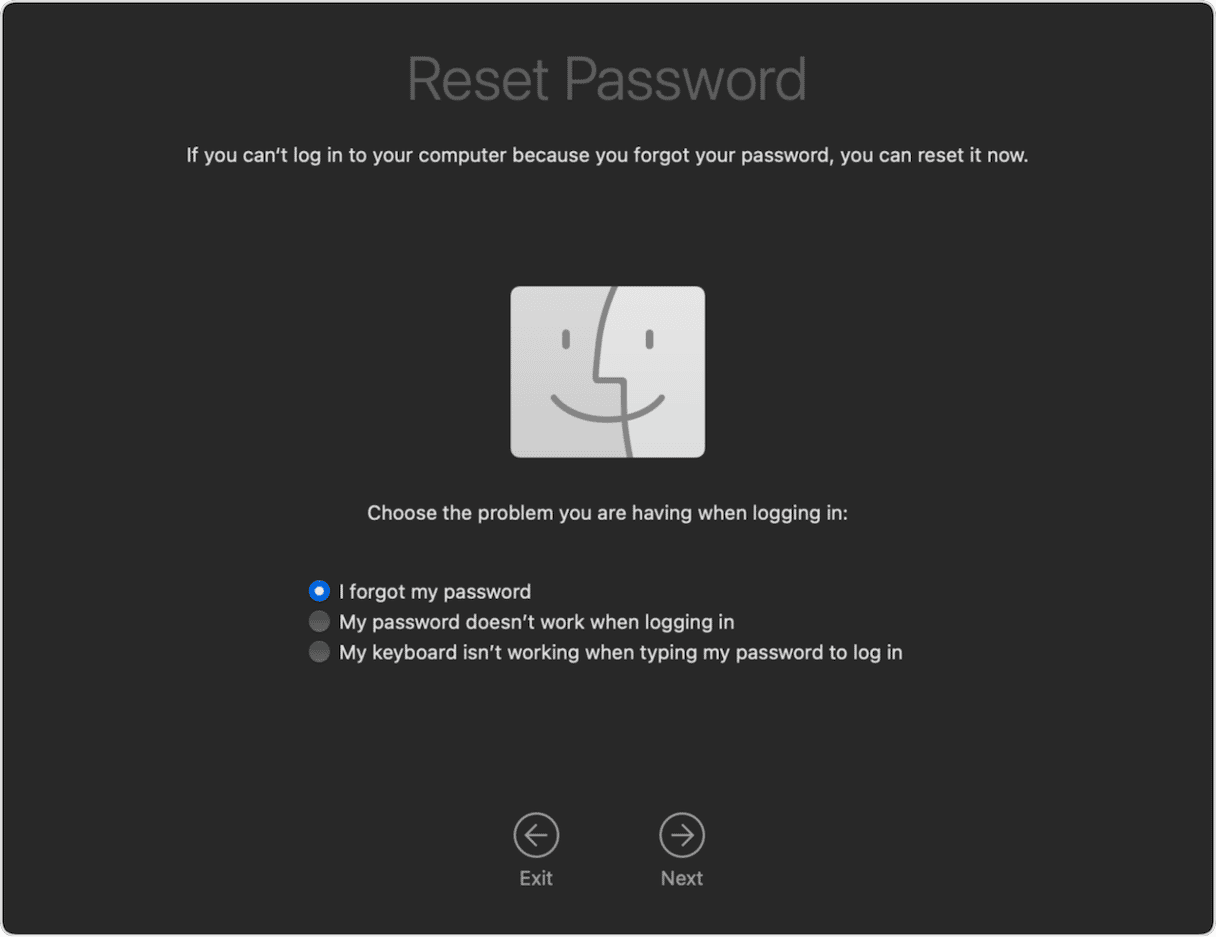
- Provide the information requested and follow the instructions on screen to reset your password.
- Click the Apple menu and choose Restart.


3. Reinstall macOS
If neither of the options above allowed you to reset your password, you will need to erase your Mac completely.
- Reboot your Mac into recovery mode.
- When you’re asked to choose an account for which you know the password, click Recovery Assistant in the menu bar at the top of the screen, and choose Erase this Mac.
- In the window that opens, click Erase Mac to confirm.
- When your Mac has been erased, it will restart. If it restarts and shows a question mark, restart it again in recovery mode, and choose Reinstall macOS.
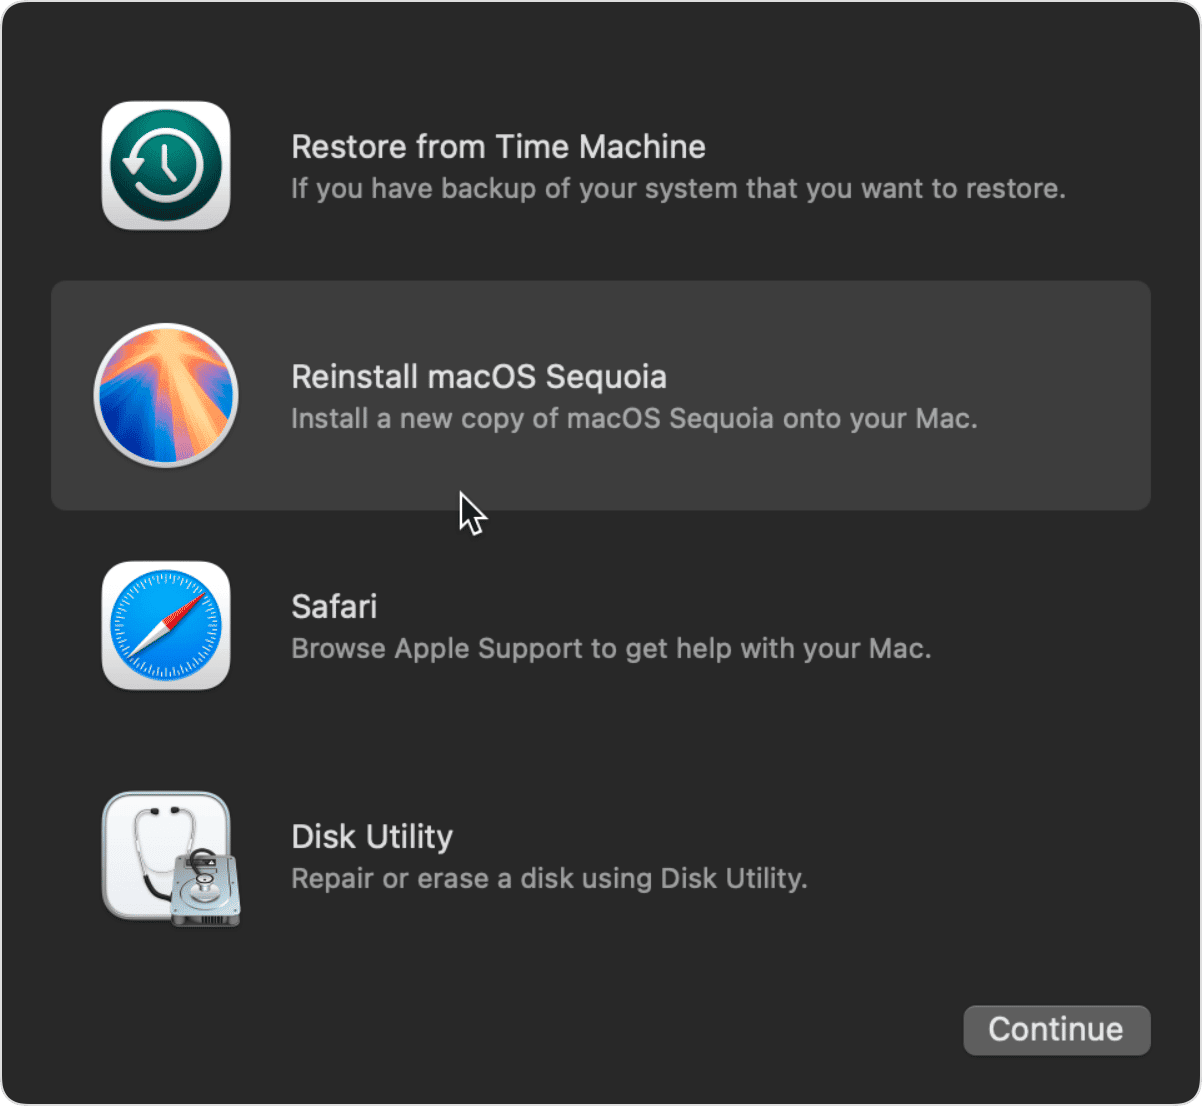
- If it starts up with an Activate Mac window, enter your Wi-Fi network details and then your Apple account and password (not your Mac username and password) when you’re asked. Then, when it’s been activated, choose Exit to Recovery and click Reinstall macOS.

It can be alarming if you see an error message saying ‘the supplied iCloud account was unable to unlock this volume.’ However, it doesn’t have to be a serious problem. You just need to find a way to change your user password so you can log in. And there are several options for doing that. Follow the steps above to do that and start using your Mac again.