Apple’s online services have become a huge part of its business and a huge part of the experience of using a Mac, iPhone, and iPad. The services range from iCloud Drive and Apple Maps to streaming music and video. And they all rely on the ability to verify your identity. Without that, you wouldn’t be able to access any Apple online services. And you wouldn’t be able to use features like Find My or Continuity camera. Even AirDrop relies on you being signed into your Apple account. Verification is handled by the Apple ID server. So, if you can’t connect to that, you can’t use any features or services that require Apple ID. In this article, we’ll show you what to do if you see the message ‘there was an error connecting to Apple ID server.’
What is Apple ID server?
Apple ID server is the remote service that verifies your identity when you log into your Apple ID. It checks your username, checks the device you’re logging in from, and, if necessary, sends a two-factor authentication code to a trusted device or via SMS to your phone. You can then log in using your password and the code. All this is handled behind the scenes so that all you see is the box into which you type or paste your Apple ID, password, and verification code. Most of the time, it all works as it should and takes a few seconds. If there is a problem, however, you may see the error message, “Verification failed. There was an error connecting to the Apple ID server”.
What does “there was an error connecting to the Apple ID server” mean?
The message is pretty straightforward, and it means that your device cannot connect to the Apple ID server. It usually happens because of the issues with the internet, date and time settings, software issues, or a problem with Apple servers or your Apple ID credentials. Whatever the reason, we’ll show you how to fix “there was an error connecting to the Apple ID server” on MacBook.
How to fix ‘there was an error connecting to the Apple ID server’
1. Check your internet connection
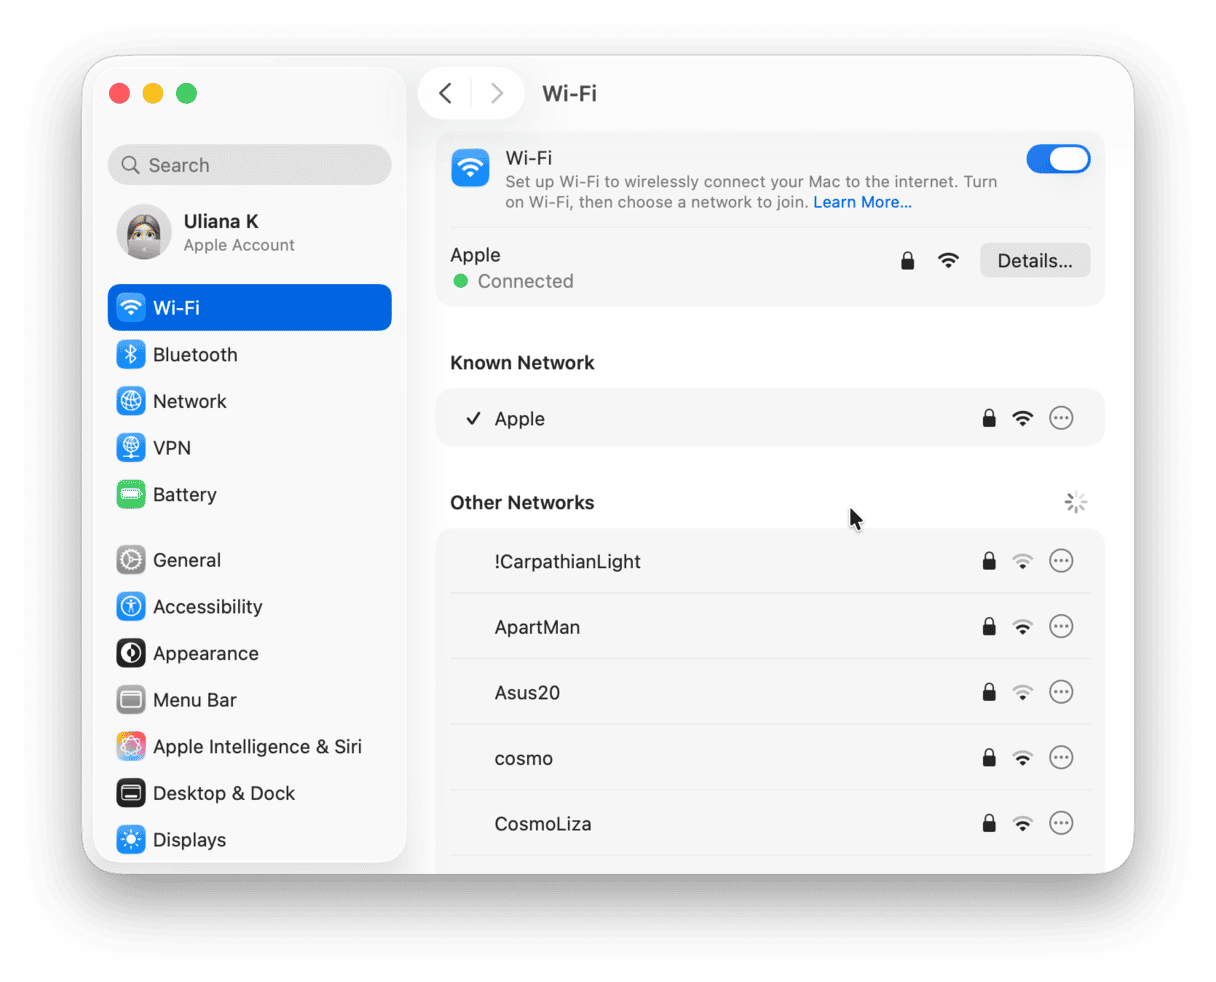
The most obvious causes are sometimes the right ones. So, before you do anything else, make sure your internet connection is ok. There are three points of possible failure: your broadband router’s connection to your ISP, your Wi-Fi network, and your Mac’s Wi-Fi. Check that they all work.
2. Check Apple’s servers
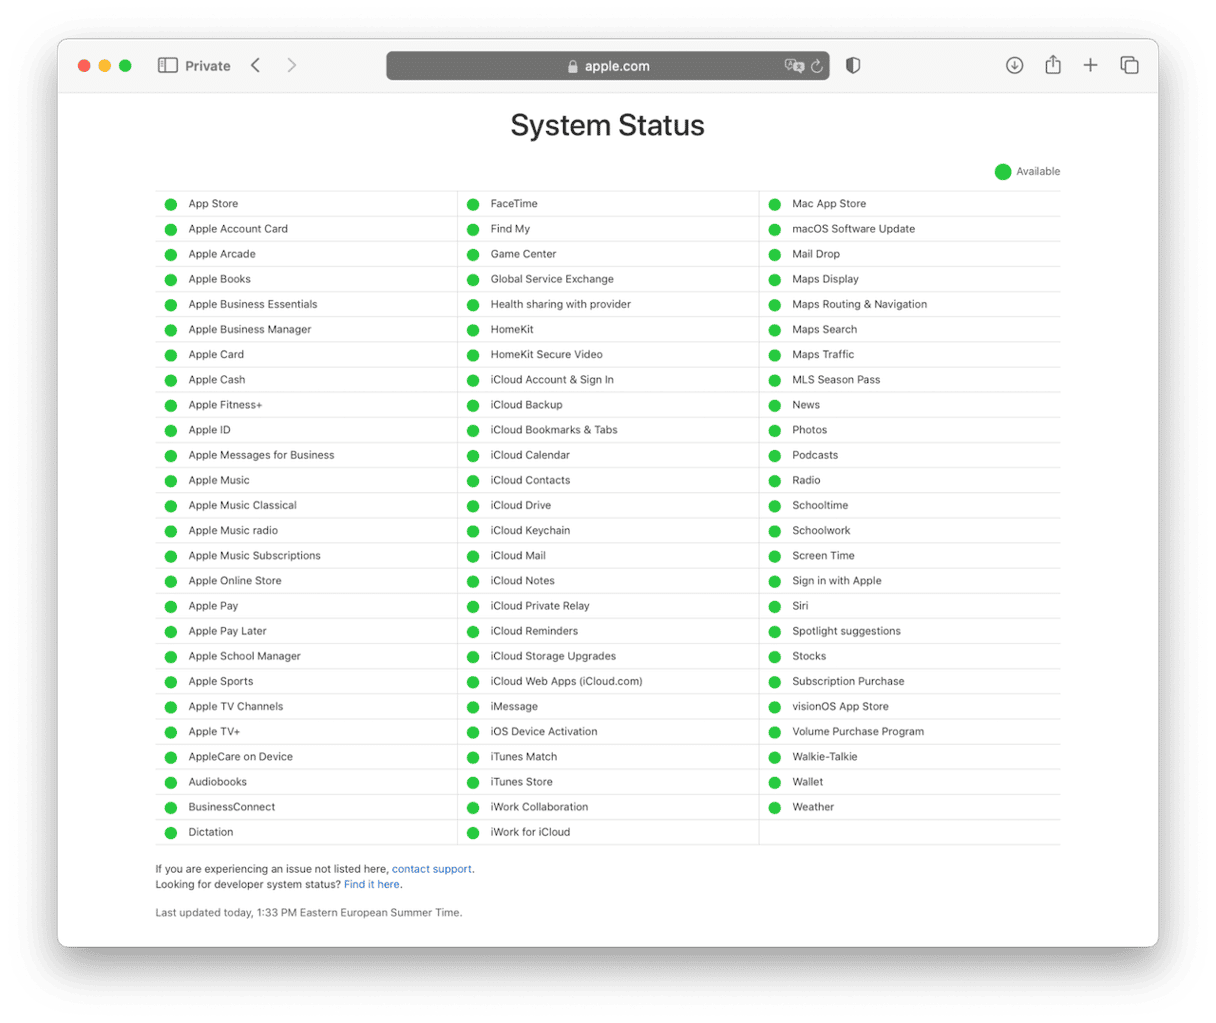
If your internet connection is working ok, the next step is to check Apple’s servers. You can do that by visiting the status page on Apple’s website here. Look for ‘Apple ID’. If there’s a green light next to it, it’s working properly. If there is a red or amber light, it means there is a problem. All you can do then is wait for it to be fixed.
3. Restart your Mac
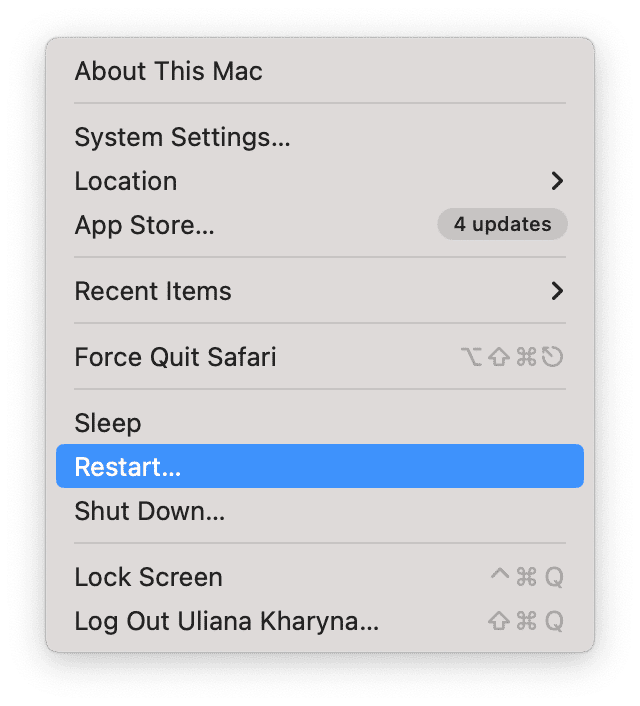
Restarting your Mac clears out temporary files and frees up memory. You should do it as one of the first steps whenever you’re having a problem with your Mac. Once it has restarted, try again whatever you were trying to do when you got the Apple ID server error.
4. Clear out junk files
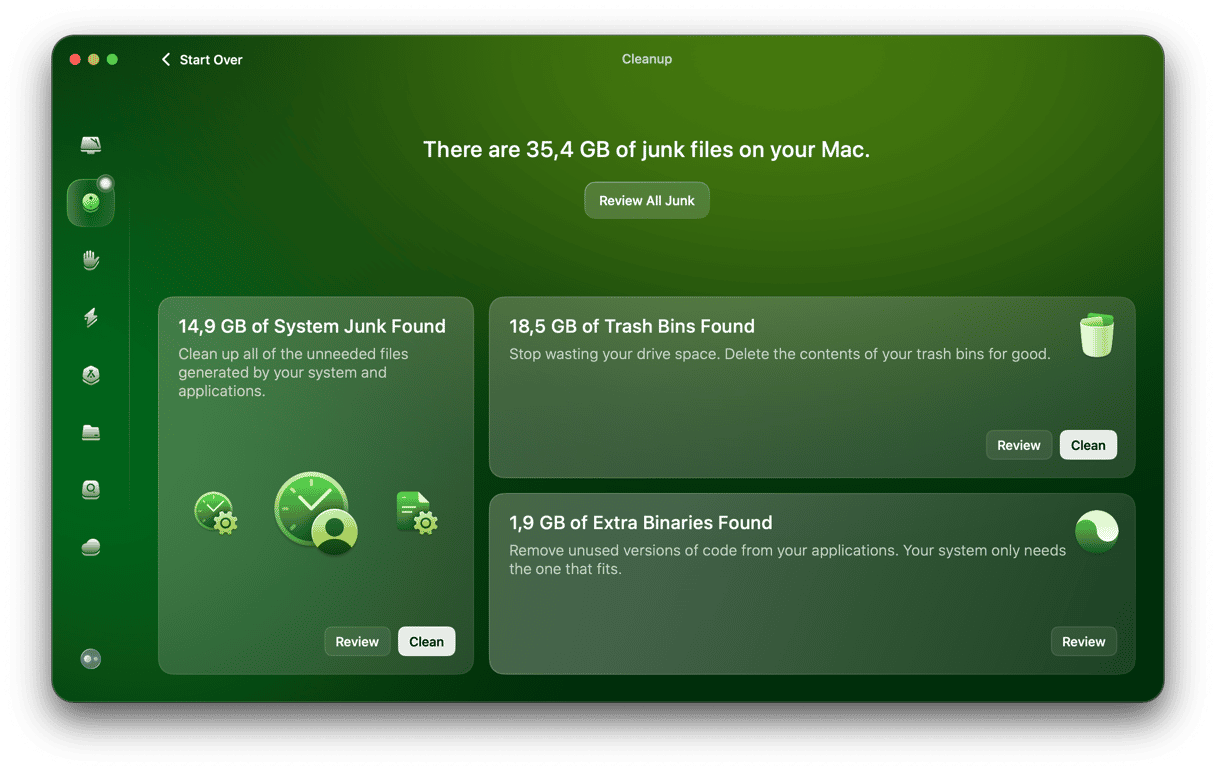
One possible cause of problems with your connection to the Apple ID server is junk files on your Mac. Junk files include old cache files, temporary files that should have been deleted but never were, settings files for apps no longer on your Mac, and language files for languages you don’t use. Together, these files can take up several gigabytes’ worth of space on your boot disk. So, clearing the junk doesn’t only potentially fix problems; it frees up space, too.
Clearing out junk files manually is laborious and takes a long time. Thankfully, CleanMyMac’s System Junk module can do it for you. You can download CleanMyMac for free here. Once you’ve done that and installed it, open it and follow the steps below to clear out the junk:
- Choose System Junk in the sidebar.
- Click Scan.
- Wait for it to finish, and when it has, choose whether to delete everything it has found or to Review Details and choose for yourself what to delete and what to keep.
- Click Clean.
5. Check date and time
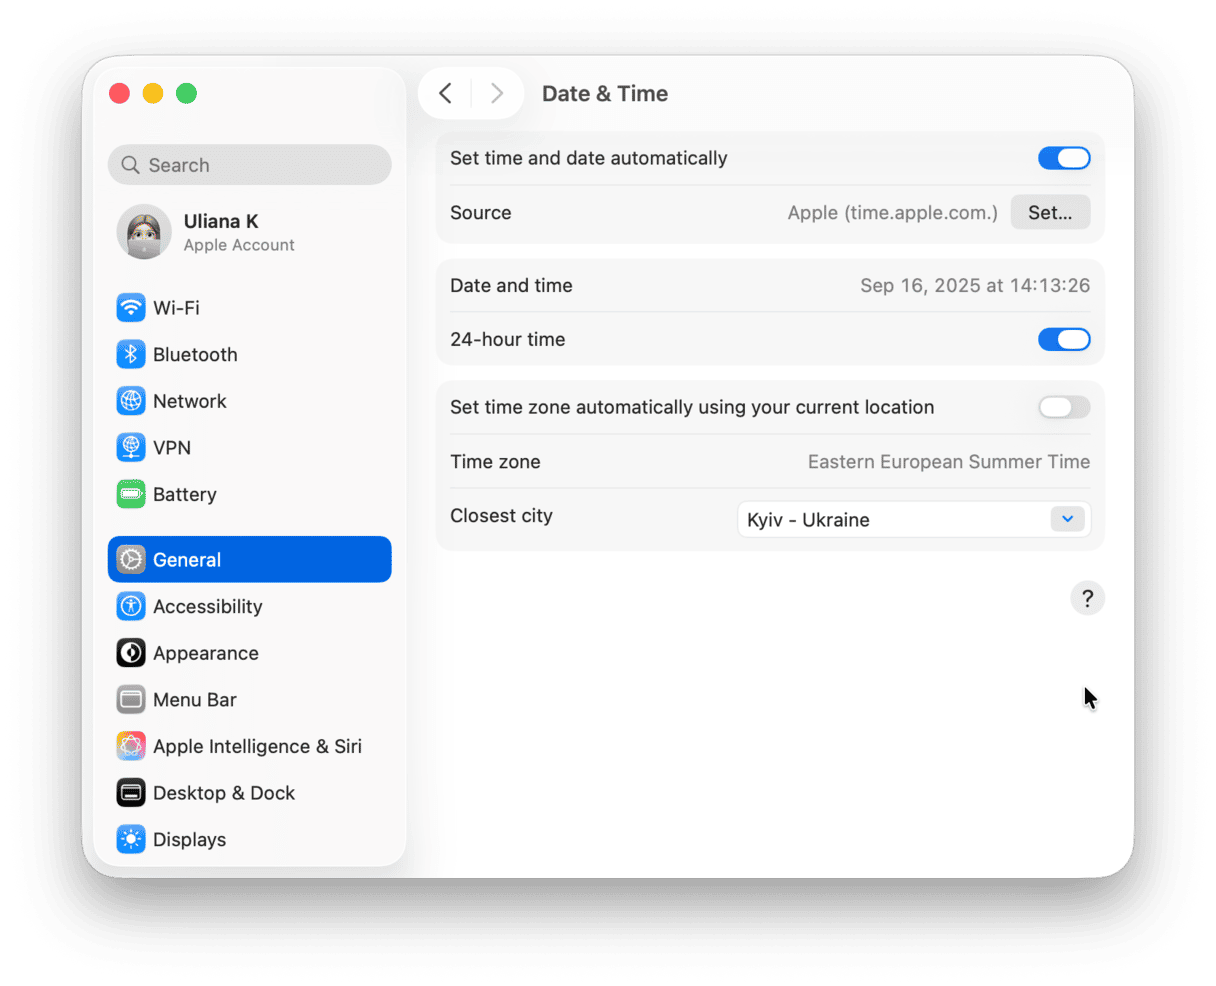
If the date and time on your Mac’s clock are different from those on Apple ID servers, it could cause a problem, and they may refuse the connection. Here’s how to check date and time on Mac:
- Click the Apple menu and choose System Settings.
- Go to General > Date & Time.
Make sure the clock is set to automatic and the server is time.apple.com
6. Update macOS
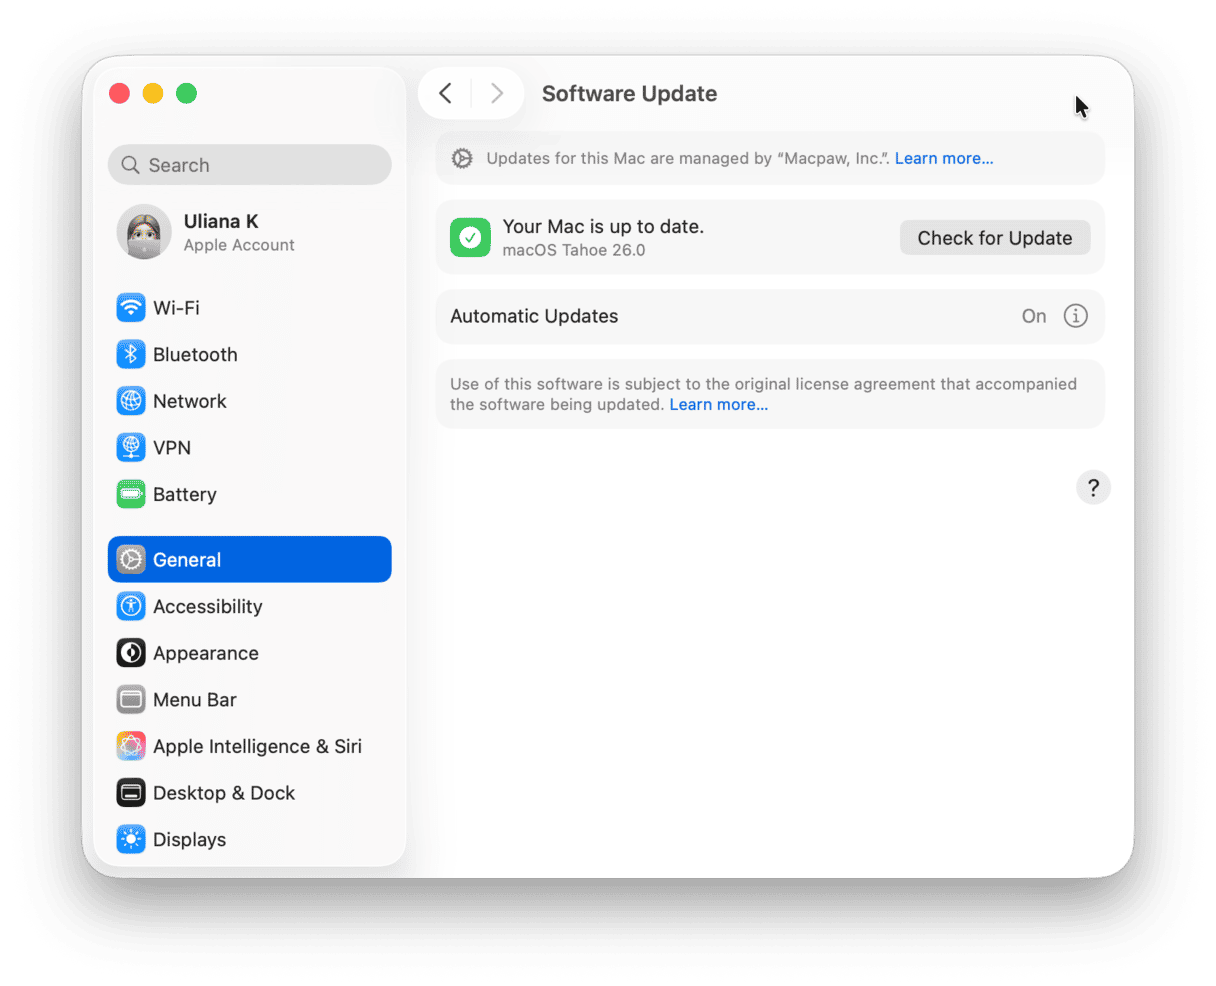
It’s possible that the error connecting to the Apple ID server could be a bug in macOS that has been fixed in a recent update. The solution is to check for an update and install it if there is one available:
- Open System Settings and go to General > Software Update.
- Wait for it to check for an update.
- If there is one available, follow the instructions on the screen to install it.
7. Deactivate VPN
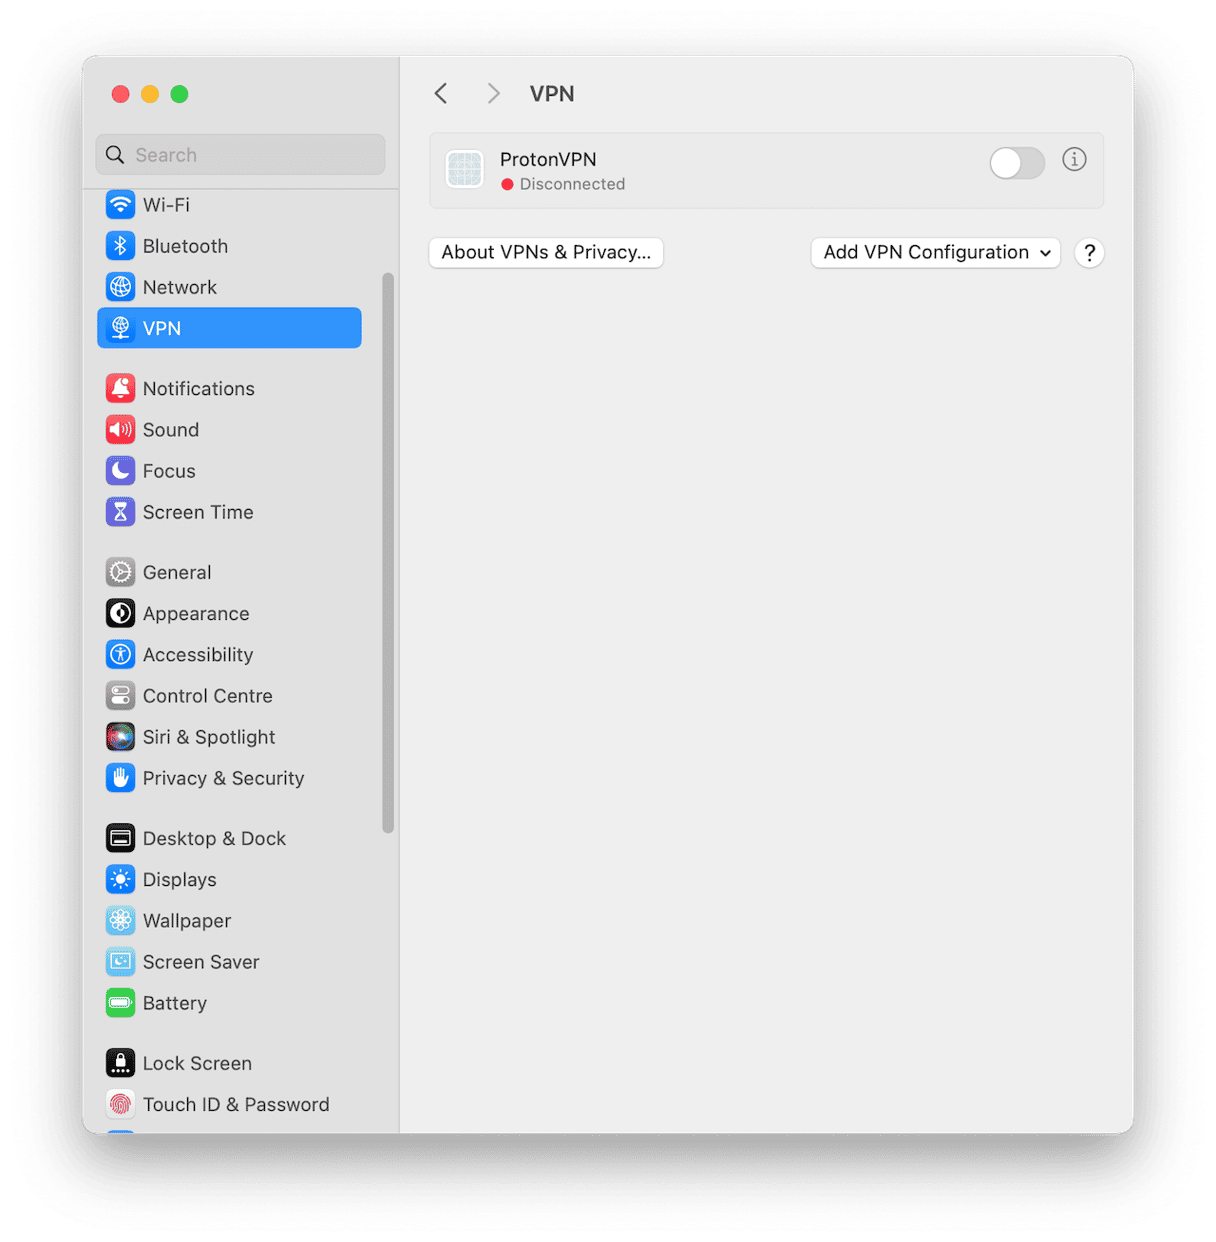
If you’re using a VPN to connect to the internet, it’s worth switching it off and trying to connect to Apple ID again just in case the VPN is blocking it. How you disconnect the VPN will depend on how it’s set up:
- If you use a third-party VPN, disconnect using that.
- If not, go to System Settings > VPN and switch it off there.
8. Turn off third-party security software
If you use an antimalware tool that automatically checks for threats or a third-party firewall, try deactivating them temporarily and check if the problem still occurs. It’s possible that the firewall or antimalware software is blocking connections to Apple’s Apple ID servers. If you find that you are able to connect when these tools are deactivated, check whether there is an update available for them that will fix the problem. If not, speak to your tech support team or tech support at the company that supplied the software and ask them for help.
9. Sign out of your Apple ID and back in again
This is the equivalent of switching it off and switching it back on again:
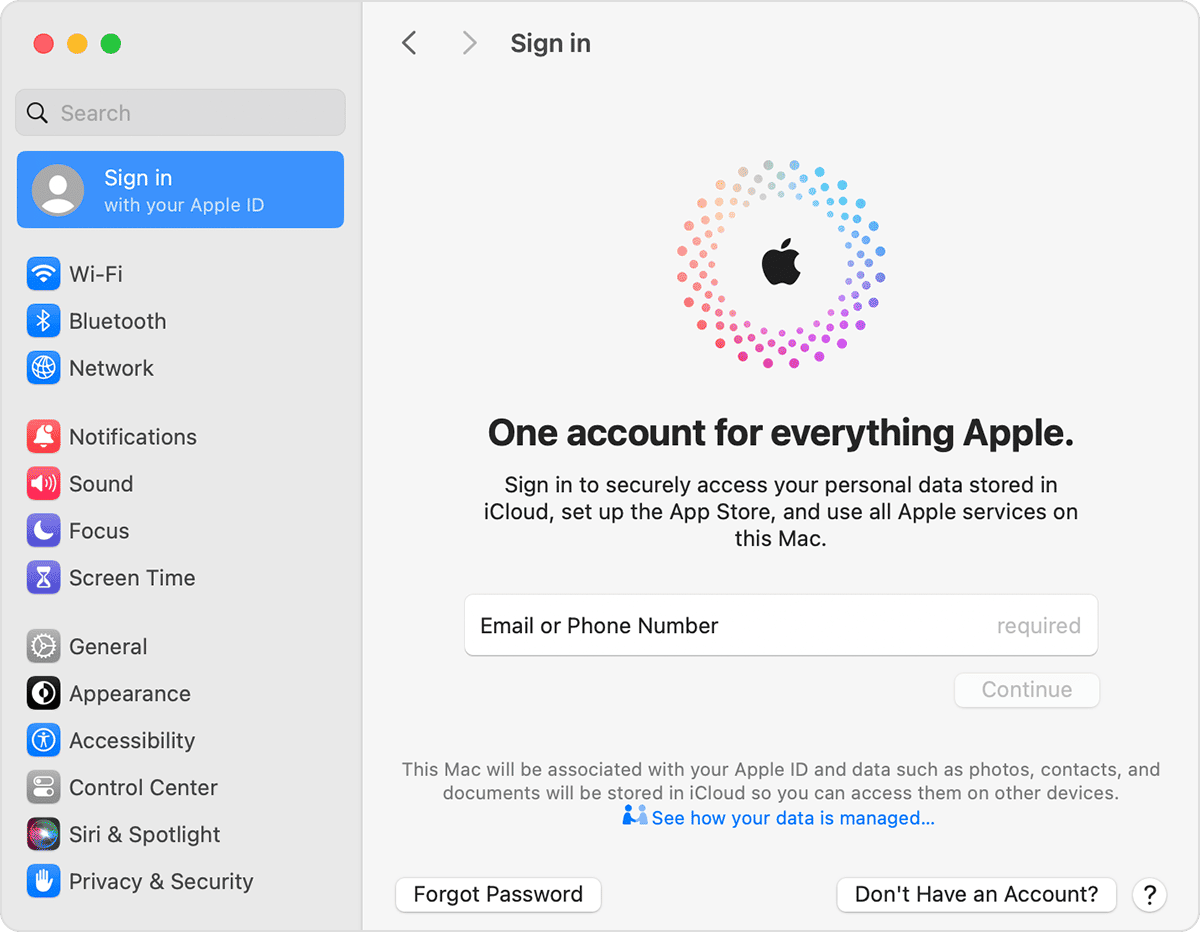
- Go to System Settings and click on your name.
- Scroll to the bottom of the window and click Sign Out.
- Once you have been signed out, click Sign in to sign back in again.
10. Change your password
If you are still getting an error connecting to the Apple ID server, try changing your Apple ID password:
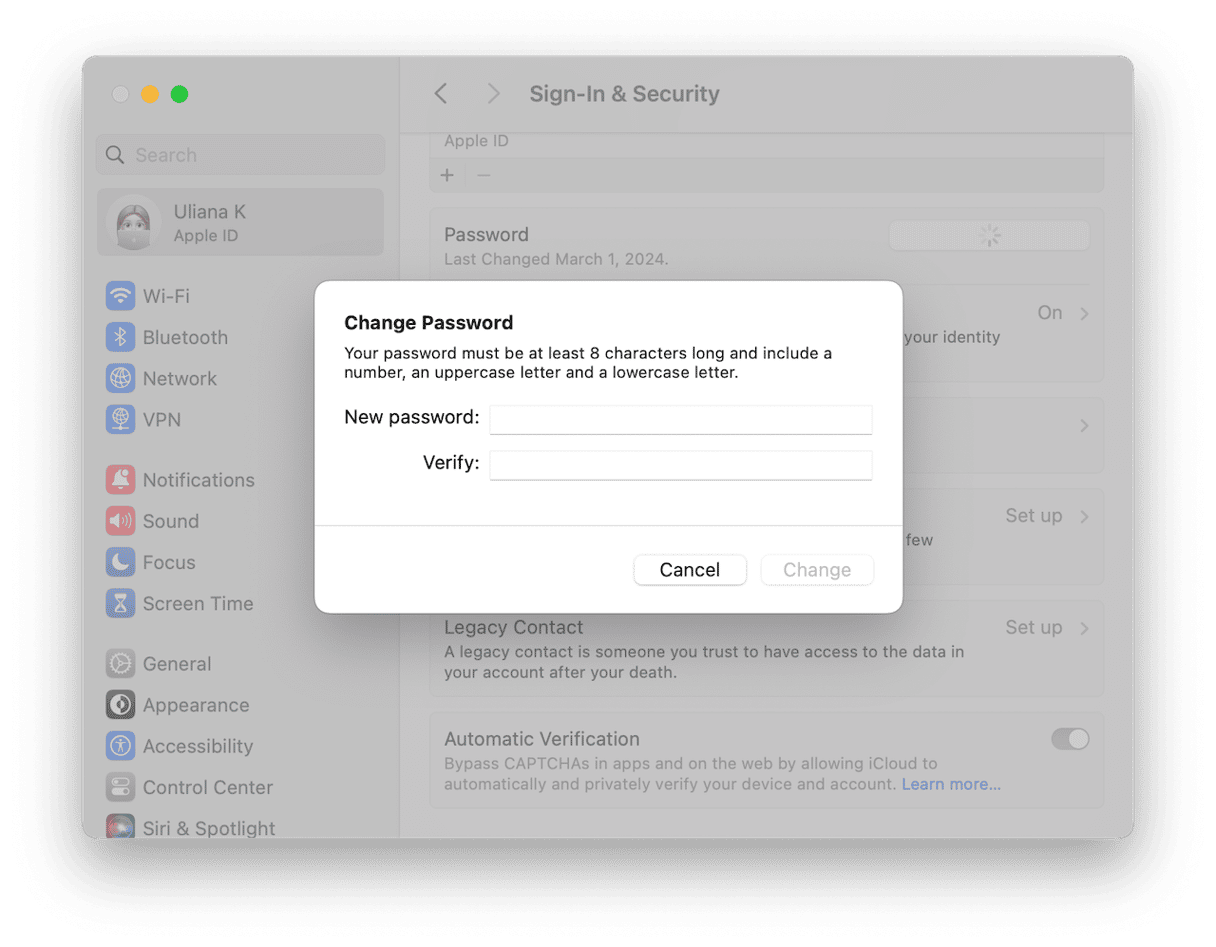
- Open System Settings, click your Apple ID, and choose Sign in & Security.
- Then, click Change Password. Follow the instructions on the screen to create a new password.
11. Sign in from a different device
If nothing so far has worked, you should try signing in using a different device. That could be another Mac, a PC, an iPad, or an iPhone. You will need to sign out of your Apple ID on the device and then sign back in again using the new password you created in the previous step.
Verifying your Apple ID is a crucial part of using your Mac because so much of what you need to do involves Apple online services. So, if you ask yourself, “why does my MacBook say there was an error connecting to the Apple ID server?” it can be very frustrating. However, it might not be too difficult to resolve. Follow the steps above to find the cause of the problem and fix it.


