From restaurant menus to your favorite recipe books, you witness the magic of food photography every day without even noticing it. But when you decide to snap a photo of that gorgeous breakfast in your favorite coffee shop, it doesn’t look quite as good as in real life. But don’t worry: whether you want to take photos of food for your own enjoyment or aspire to make food photography your career, we’ll show you how to improve your shots.
These food photography tricks help you take better photos
Food photography artists get hired by big food companies specifically to capture the perfect-looking meal. And while that career is a long way to go, by following these simple tips you’ll quickly start taking better food pics in the comfort of your home:
- Use the right camera equipment
- Focus on visuals (less on taste)
- Use a neutral background
- Shoot in natural light
- Compose and arrange
- Take your time
- Choose the right editing tools

1. Use the right camera equipment
In a world full of cameras, lenses, and all the settings that go with each of them, it can be difficult to figure out which suit your case. For food photography, most professionals will recommend a full-frame digital camera, but cropped sensors are much cheaper and will still serve the purpose.
As for lenses, a 50mm lens is usually the go-to choice, as it adds perspective and field of view similar to how we would see it with our own eyes — and these lenses are usually the most affordable. Alternatively, if you need to capture intricate detail of the subject, a 60mm macro lens would be a better choice. You could also use a 24-70mm zoom lens, as it offers a wide choice of focal options, while a 85mm/90mm tilt-shift lens could be considered “the best” if you have the budget for this option. The tilt-shift lens allows you to have precise control over the perspective and plane of focus.
Although pros would recommend always shooting in manual mode, if you aren’t comfortable or yet familiar with doing so and not interested in experimenting at this time, you can utilize the Auto setting on your camera.
2. Focus on visuals (less on taste)
It’s natural to want something to look as good as it tastes, but there’s a reason your home-made barbeque dinner doesn’t look like the barbeque dinner you saw advertised at the local restaurant: yours is edible. Food photography professionals don’t prepare meals for eating, they prepare them for a photoshoot, which sometimes means using paint, glue, food coloring, and other beautifying techniques. Of course you want your food to look as close to realistic as possible, but you shouldn’t be afraid to do what you have to to get the perfect shot.
Meat looking a little too brown? Add some red food coloring. Lettuce appearing too dull on your burger? Paint it a brighter green. Milkshake getting watered down too quick? Use glue instead of milk. You get the point.

3. Use a neutral background
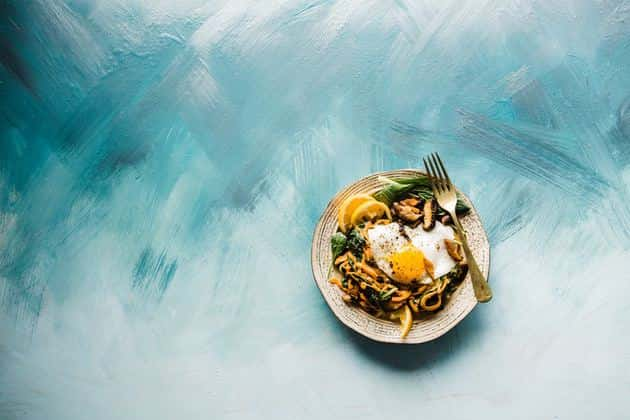
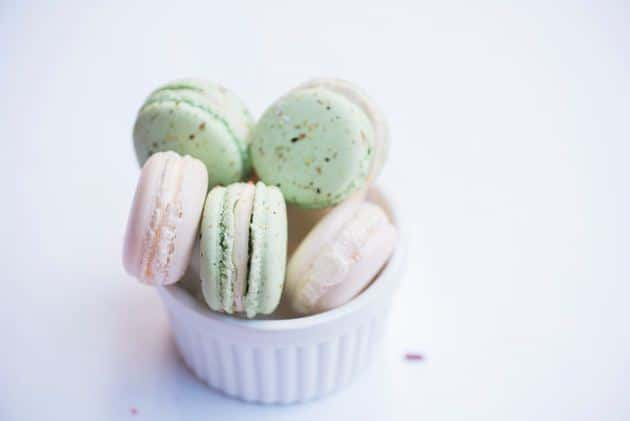
You never want the background to steal the attention away from your subject. Thankfully, you can easily avoid that by using a neutral background. Earthy, non-vibrant colors and basic patterns are always a good choice, because colorful accents can be incorporated into the dish instead. Some popular background choices include picnic tables (wood patterns), table cloths, granite countertops, and solid color photography background paper.

4. Shoot in natural light
You want your food to look realistic and appetizing. Natural light is ideal for that, because it will keep the colors close to the real deal. Of course you can’t always rely on the weather, so studio lighting can be used in place of natural sunlight, but it’s more likely to give the photo a yellowish artificial color.
The best shooting conditions will be presented on overcast days, as the sunlight will be naturally diffused. Shooting in direct sunlight will over expose your shot and give the subject harsh shadows. If you need to diffuse sunlight, simply use a reflector or even a white sheet of paper to redirect the light. To shoot in natural light indoors, find the best spot with the most sunlight and use a white sheet to diffuse it.
5. Compose and arrange
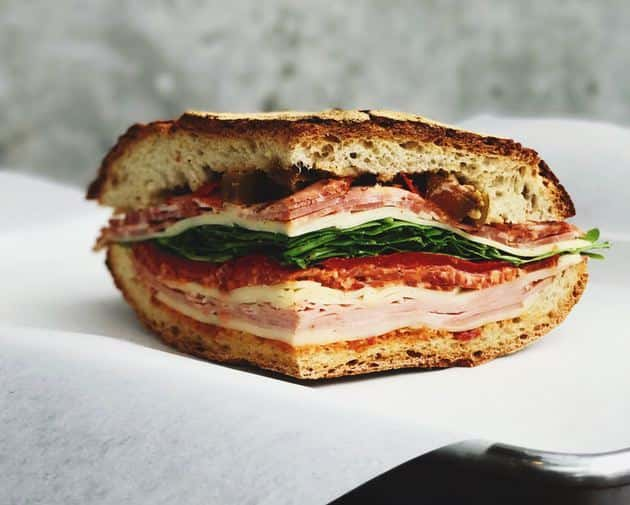
Because there are nearly endless possibilities, composing the shot is often the most tedious task, but definitely one of the most important. A good thing to keep in mind when arranging your dish is to always make sure it’s the main subject of the shot. It doesn’t necessarily have to be in the middle of the photo — rather it needs to be arranged as the most eye-catching detail, especially if you incorporate other objects and decorations.
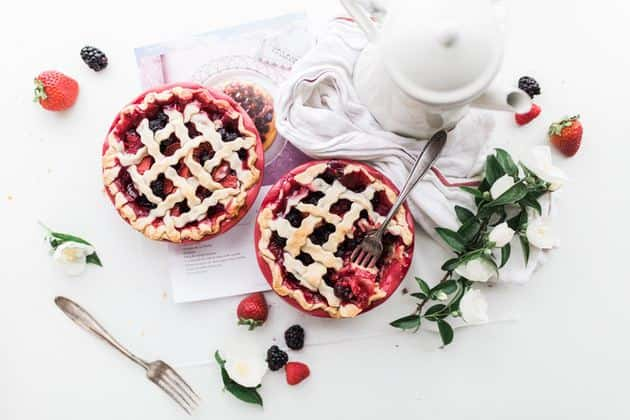
If you do choose to add decorations, arrange them to draw the viewer's eye to the main subject. You can add things like flowers, leafs, or berries to the plate to make it pop more, while accenting your subject with additional less eye-catching decor like nuts, french fries, or chocolate drizzle. Objects like a book, a cup of coffee, or a wedding ring can make the subject stand out while also giving it a “theme.”

6. Take your time
One of the biggest rookie mistakes is to rush through a shoot, so don’t be afraid to take your time. You need to have enough time to take plenty of photos, adjust the arrangement, change your settings and lenses, and review the photos as you go. Keep in mind that if you shoot in manual mode, your camera settings may need adjusting every time you change angles and lenses. And every time you change these, you’ll need to review the shots to ensure you have everything set correctly.
You’ll likely end up with a lot of similar photos while you experiment with your settings and composure, and sorting through these can be an unnecessary waste of time. To quickly eliminate any duplicates, download Gemini 2 for Mac. It’s free to try and will do all the hard work for you.
7. Choose the right editing tools
No matter what kind of photography you do or how good your photos are straight off of the camera, you should add photo editing software to your workflow. With food photography, it’s especially important to experiment with the colors — for example, increasing vibrance can make brightly colored foods look more appealing. Color correction is another thing you may want to work with, especially if the lighting during your shoot was not ideal. Additionally, filters can be added to give the entire shot an overall different appearance, and you can crop, tilt, and add frames to highlight the main subject of your photo. Avoid black-and-whiting food photos, though, unless you’re going for an “artsy” effect.
That’s really all there is to it! As long as you can put together a mean-looking meal — and use the the food photography tricks above — you can surely capture it on camera. If you ever feel lost, Google Images is full of inspiration to help get you on your feet in the food photography niche.


