As someone with many Apple devices, I recently decided to take the plunge and consolidate my data on a local NAS server. Once set up, I had a shared drive for all my devices. Overall, it was a great learning experience, but there were definitely some hair-pulling moments. I want to use my experience to help anyone out there who is thinking of going the NAS route. Hopefully, in doing so, you can save your hair.
Free up a NAS and organize your remote storage
Before we get into my shared network drive tips, let’s start with the most basic question…
What is a NAS drive?
NAS stands for Network-Attached Storage. In plain language, a NAS is a centralized file storage device that other devices and computers can remotely connect to. The NAS is a shared network that allows these multiple devices to access and share large amounts of data.
Why did I get a NAS drive?
There are many good reasons to set up a NAS. For example, being able to access shared files across all your devices easily or the devices within a family or office is a real-time saver. Doing something fun like creating a library of music on your NAS, which can then be accessed on any device, is rewarding and convenient.
But personally, I was most interested in NAS as a backup solution. I’m interested in media, so I have a lot of big files, which means stacks of external hard drives lying around. Some would get lost. I’d forget where specific files were. It was a nightmare.
I tried backing up to the cloud, but the file sizes made it a challenge, and I had security concerns. So I got a NAS and set it up with redundancy in mind. Redundancy means that when a single drive inside the NAS dies, the content is never lost because it is mirrored on the other drives.

A shared drive sounds great. What’s the problem?
When consolidating a lot of files to a central location, you create the possibility of organizational chaos. Since you’re probably interested in a shared drive to better organize your digital life, it can be frustrating when faced with this very issue.
To save you this frustration, below are my three biggest tips to organize and clean up your NAS drive.
Duplicates - NAS problem #1
One early example was after backing up photos from my Mac, Macbook, iPhone, and iPad. I felt pleased to have all my photos in one location, but I soon realized that I was creating mountains of duplicate photos.
I looked at my work folders. Same thing. Music folders? Yup. Video folders? Of course.
In the past, when cleaning up duplicate files on NAS, I’ve manually identified the duplicates and deleted them. But given how many files had more than one version now, I really couldn’t see an alternative beyond spending an entire weekend cleaning up the NAS drive by hand.
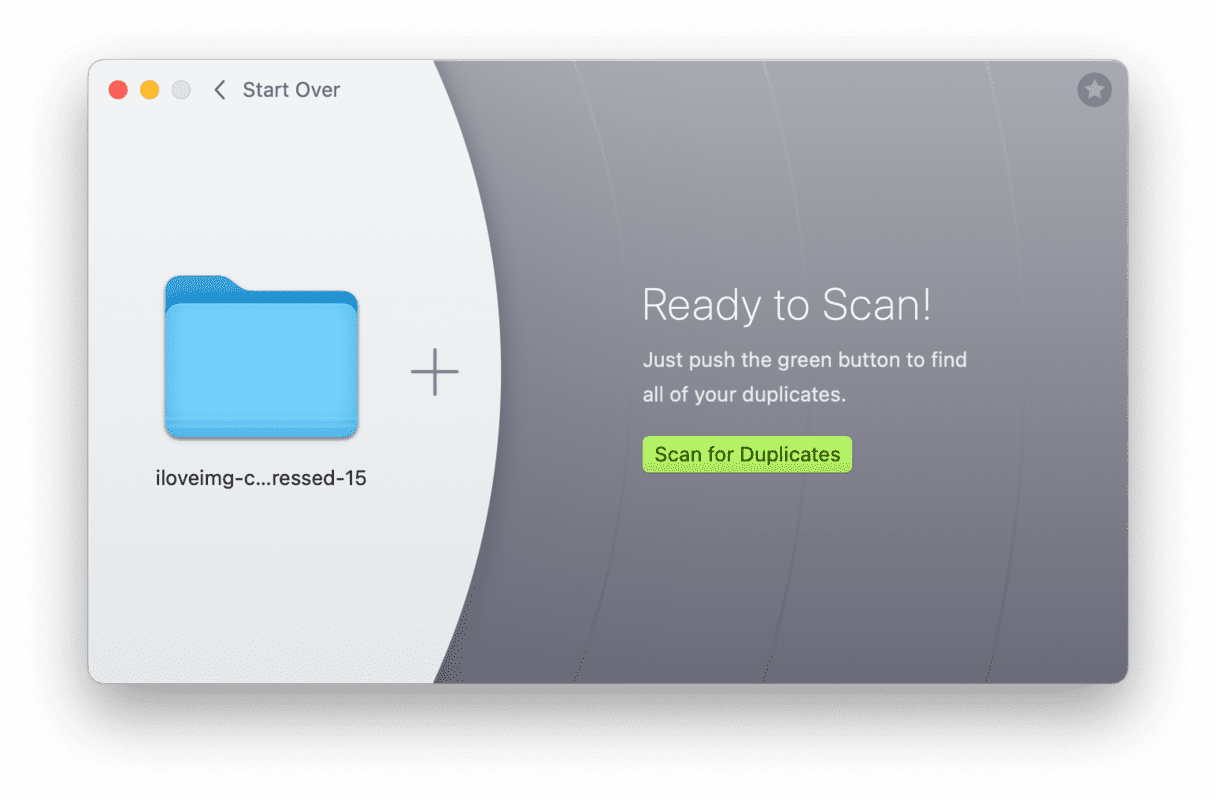
So I found my solution — Gemini 2: The duplicate file finder. This app is truly a lifesaver. It found hundreds of duplicate photos and other file types, but it also let me quickly choose which files to keep and which files to remove.

At one point, I accidentally deleted a photo that I did want in two locations, but Gemini 2 knows the dumping of duplicates is so fun that you may get carried away and make a mistake. So it even has an undelete feature, which I used to resurrect the photo. Sure, you can download and try Gemini 2 for free.
Another feature lets you find similar photos on all your storage drives, like five photos of your sleeping cat that look identical to the naked eye. I haven’t used this for now, but it’s nice to know I have the option if space ever becomes an issue.
Create a shared music library - NAS Problem #2
I mentioned earlier that I was able to set up a music library on my NAS so that I could play my music from any device on the network. It also allowed me to free up space on my overflowing Macbook, which improved my Mac’s performance.
Successfully moving my iTunes library to my NAS took me a little while to figure out, but you don’t have to make my missteps because below are the steps I used to make my audio dream a reality.
- Close iTunes.
- Copy your entire iTunes folder (in the Music folder on your Mac) to the NAS.
- Hold Shift and launch iTunes. Continue holding Shift until prompted to locate or create a new library.
- Point iTunes to the iTunesLibrary.itl file on the NAS.
- Close iTunes.
- Move the existing iTunes folder on the Mac to another location or simply rename it.
- Launch iTunes and make sure everything is in order.
- Play your favorite tunes!
Important Note #1 - Time Machine only creates local backups, so your new iTunes library file and media on your NAS won't be backed up automatically. Be sure to set up a new backup process for these files.
Important Note #2 - If your network is slow, you may experience some lag when making changes to files in iTunes.
Low on space - NAS Problem #3
I set up a NAS, in part, to have more space. But once I consolidated data from all my devices and external drives, the massive amounts of space were chewed up so quickly!
I knew there were a lot of files that I could lose to make more free space on my network drive, but once again, it seemed like it was going to take ages to look through each folder manually. I had such luck with Gemini that I decided to look for a solution again.
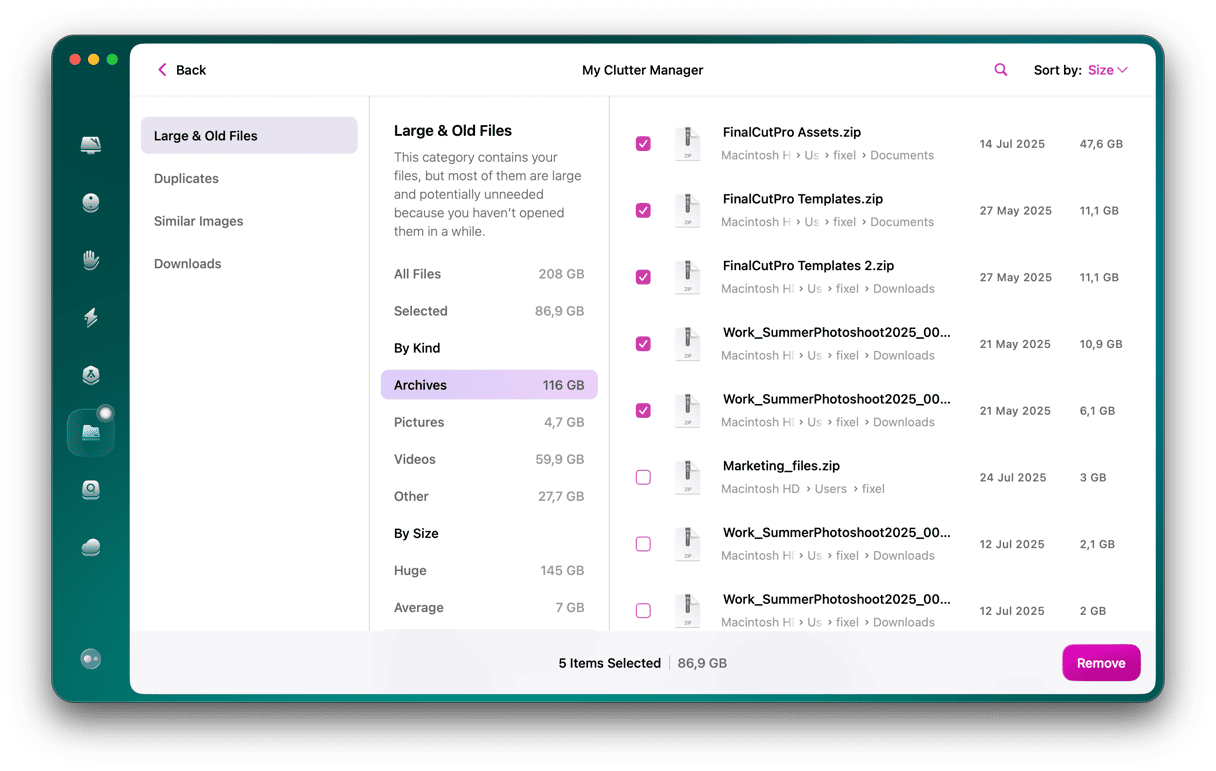
Here CleanMyMac could help me. Its main purpose is to optimize Macs by clearing out junk files and memory-hogging apps. It has a tool called Large & Old Files that discovers what's wasting space on storage.

Simply get CleanMyMac to scan any shared folder or even the entire shared network, and it will return results for you to review. You can sort the files by size or when they were last used on the review screen. This was a great way to identify the significant space-wasters easily.
For the ultimately shared drive cleanup, you can use the app to move whatever you want to the trash, to another location, or delete them permanently.
I found old work project files, and within minutes I had cleared away almost 1TB.
A shared drive doesn’t have to be NASty
If you’re on the fence about network sharing, let me push you off that fence. Having a NAS shared drive will connect your digital world, make everything easier, and keep your data safe. Shared drive organization can be intimidating, but follow my tips, and you’ll have a clean and organized NAS at the center of your shared network.


