If you only have a few files on your Mac — maybe because it’s new — finding the ones you need isn’t difficult. However, as you use your Mac and create more files, it becomes more complex. And it becomes even more difficult when you need to find files that weren’t created by you but by applications or macOS. In this article, we’ll show you how to find any file on your Mac.
How to find a file on Mac
There are two main ways to find files on your Mac: the Finder (hence its name) and Spotlight. If you know which folder the file is stored in, you can go ahead and navigate to it in the Finder window and look for the file there. However, if you don’t, you’ll need to search for it. And that’s where Spotlight and the Finder’s own search feature come in handy.
How to search on Mac using Spotlight
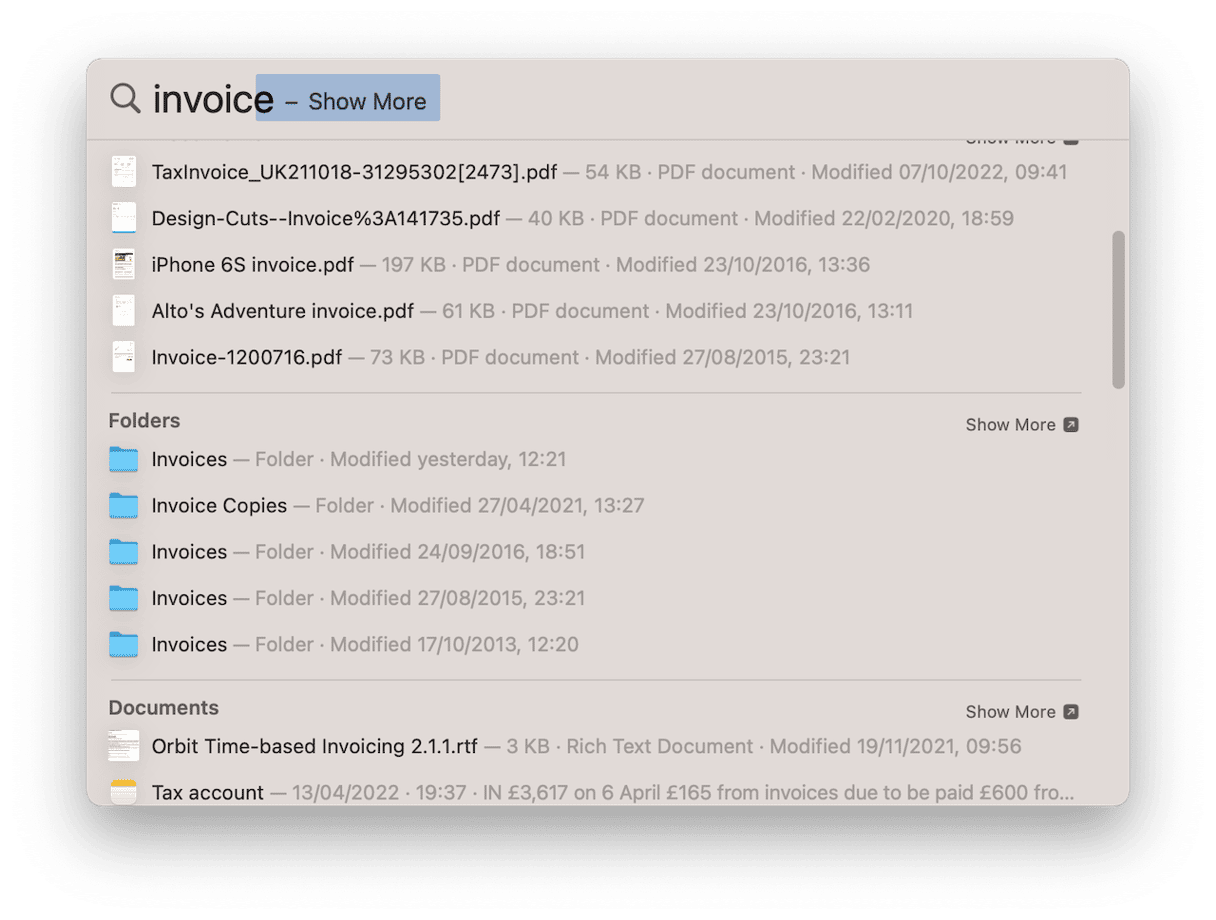
Spotlight has many uses. You can use it as an application launcher, to look up information online, and to search within apps like Contacts. However, its main use is to search for things, including files, so, basically, it serves as a Macintosh search.
Here’s how to use Spotlight to find files on Mac:
- Invoke Spotlight by clicking its icon in the menu bar (the default keyboard shortcut is Command-spacebar).
- Start typing the name of the file you’re trying to find.
- When it appears in the results below the Spotlight search bar, select it.
- To open the file, press Return or double-click it.
The Spotlight method is great if you just want to open the file and don’t care about where it is stored. But if you need to know its location, you should use the Finder.

How to use the Finder to find files on your Mac
The easiest way to find files on your Mac using the Finder is just to open the Finder window (control-click the Finder icon in the Dock and choose New Finder Window or click anywhere on the Desktop and press Command-N) and browse the folder in it. Depending on which view you’re in, clicking or double-clicking on a folder will open it.
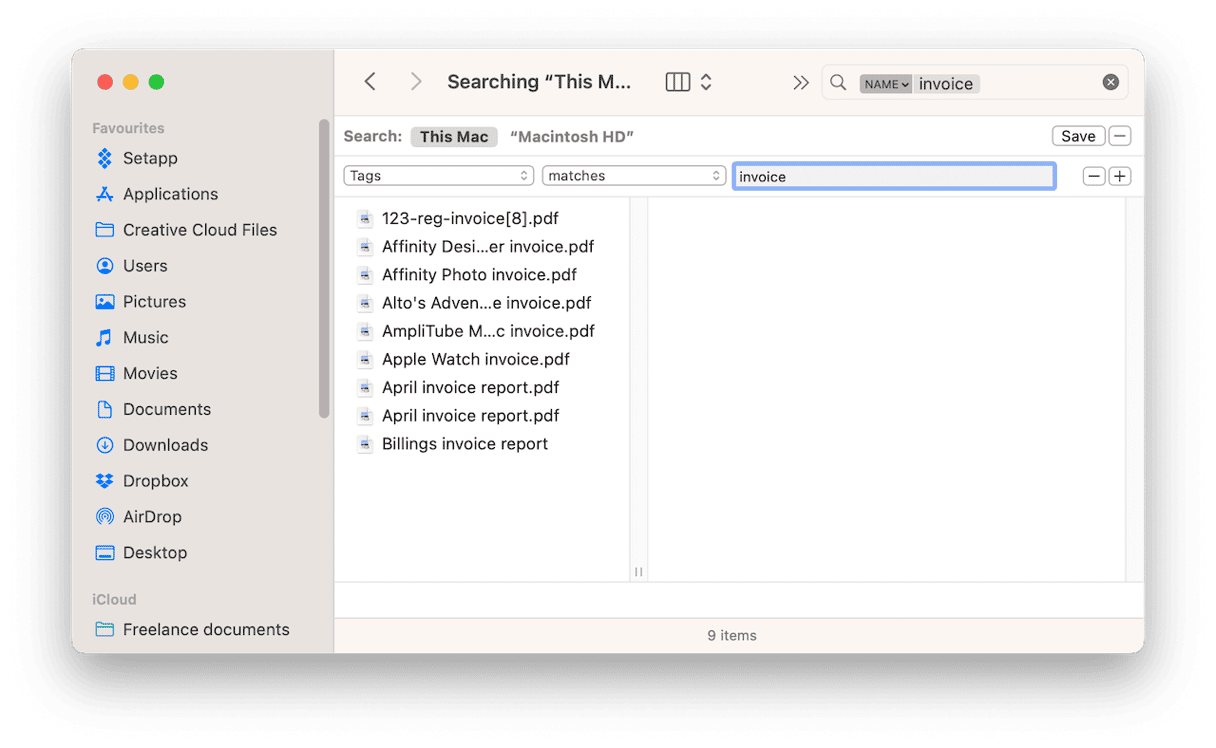
However, while browsing is the easiest way, it’s not the quickest. The quickest way to find files using the Finder is to search for them using the search box at the top of the Finder window.
When you click the magnifying glass in the Finder window and start typing the name of a file in the search box, you’ll see the results of the search start to appear in the window. As you type more, the search narrows, and the number of files matching the term decreases.
If you find the file you want, you can go ahead and select it. If not, you can modify the search by clicking ‘+’ and adding filters, such as the kind of file it is and when it was created. This is really useful if you have lots of files, especially if they have similar names. Once you’ve set the filters and the search is successful, you can save the whole thing as a Smart Folder and store it wherever you like. Next time you open that folder, the results of the search will update according to the search criteria and the files on your Mac at that time, and the matching files will appear in the folder as if they were stored there. The files don’t move; the smart folder just displays copies of them.

How to make files easier to find
The Finder allows you to tag files to make them easier to find. You can use one of the pre-created colored tags or create your own and use those. If you click the down arrow next to ‘Tags’ in the sidebar of the Finder window, you’ll see all the tags that are in, and if you click one, you will see all the files that have been marked with that tag. When you use the search box in the Finder window, you can also type the name of a tag to show the files associated with it, and you can include tags as filters when you create a Smart Folder.
To tag any file, do the following:
- Click the file you want to tag.
- Choose the tag tool in the Finder toolbar.
- Type the name of the tag.
- Select a color.
- Click ‘Create new tag.’
If you need to quickly open a file, Spotlight is great. But if you want to know where that file is stored or are not sure of its name, using the Finder is the best solution.

Frequently asked questions
How do I search for files on Mac
There are two options. The quickest one is to use Spotlight, but you can also use the search box in the Finder window.
How can I make it easier to search for files?
Create a Smart Folder. That way, the search will be saved and updated each time you open the folder.
Are there any other ways to make it easier to search for files?
Use tags. By tagging files, you can then click the tag in the Finder search bar or include it in searches.


