Whether you work from home or want network storage for media files like a music library, connecting to a network drive allows you to access files and folders that are not stored on your Mac or a directly attached storage like a USB stick. If you want to read from the network drive and write to it, you need to map it first. Worry not; it’s easy. In this article, we’ll show you how to map network drive on Mac.
What is a network drive?
A network drive is a storage device or server with storage on it that is connected to a network and can be accessed by other devices on the network (e.g., your MacBook). The administrator of the network drive creates accounts for the drive and sets permissions for reading from it and writing to it. By logging into the drive from your Mac, you can access its files and, if your account has permission, read and write files.
The most common type of network drive for home use is known as network attached storage (NAS). These devices often have multiple drives and can be set up so that the drives mirror each other, providing protection against one drive failing. You can usually install software directly on the drive that allows it to perform tasks like streaming media, hosting a blog, or downloading files directly from the internet.
In an office environment, a network drive is usually connected to a server on the network. You then connect to that server from your Mac and can access the storage drive.
One thing that network attached storage drives are very useful for is archiving large files or files you haven’t opened in a long time. Often, these files sit on our boot disk, taking up space that could be used for other things. Yet, we rarely use them. Identifying these files, though, especially those that haven’t been opened in a long time, is not easy. That is unless you use the My Clutter feature in CleanMyMac.

It has been designed to identify exactly those files and display them graphically in a way that makes it easy to see which are the largest and oldest on your Mac. It can also find duplicates, forgotten downloads, and similar images. You can then choose to delete them or move them off your boot disk onto a network attached storage drive. Get your free CleanMyMac trial. Then, open the app and give My Clutter a try.
How to map to a network drive on your Mac
Regardless of which type of network drive you want to map, the first thing you need is the address of that drive on the network. That address could be an IP address or a file path. There are two protocols Macs can use to map to a network drive: AFP and SMB. AFP is an Apple protocol that only works with Apple devices and network drives that support it. SMB works with Macs, PCs, and pretty much everything else. Most of the time, you’ll use the SMB protocol, which means the network address should be prefixed with ‘smb://’
In an office environment where you want to map a network drive to your Mac, the easiest way to get the IP address or file path is to ask someone.
If the network drive is a NAS, the instructions for the NAS should tell you how to find the drive on your network and obtain its address. Often, that involves navigating to a web address in a browser and letting the website ‘find’ your NAS.
Once you have the file path or IP address, follow the steps below to map the network drive on your Mac.
- Click the Finder icon in the Dock.
- Click the Go menu and choose Connect to Server.
- Type or paste the IP address or file path of the network drive into the text box. remembering to start with ‘smb://' or ‘afp://'

- Click Connect.
- If you’re asked to log in with a username and password, type those in and press Return.
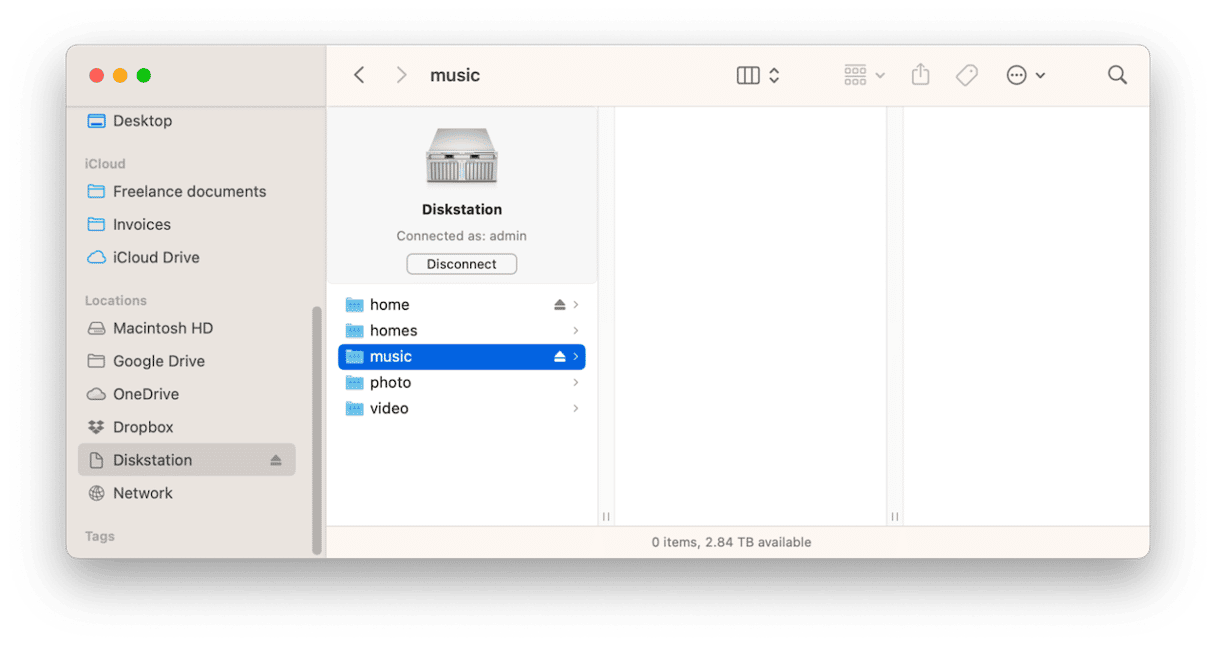
- Wait for a few seconds, and the network drive should open in the Finder.
- You should also see the drive in the Finder sidebar under Locations.


How to connect quickly to a mapped drive on your Mac
If the network drive you have connected to doesn’t appear in the sidebar of the Finder window, click Network in the sidebar and navigate to the drive. Then, drag it onto the sidebar in the Sharing section. You can do the same with any folder on the network drive, so you can access that quickly from any Finder window.
To create an alias of the network drive on your desktop, do the following:
- Click Network in a Finder window sidebar.
- Navigate to the drive and select it.
- Choose a volume on the drive if it has more than one.
- Click the More button in the Finder window toolbar (a circle with three dots in it).
- Choose Make Alias.
If you want to make an alias of a folder on the drive instead of the root level of the drive, select the folder at Step 3.
How to make sure you connect automatically to a mapped drive
If you want to connect to a mapped drive as soon as you log in to your Mac, you can add it to your Login Items.
- Click the Apple menu and choose System Settings.
- Go to General and then Login Items & Extensions.
- Click the ‘+’ at the bottom of the ‘Open at Login’ list.
- Navigate to the drive or a volume or folder on it.
- Click Open.
The volume or folder you added will now connect automatically when you log in to your Mac.
You can use NAS as a backup disk, but before you do that it’s a good idea to get rid of all the junk files on your boot volume. Otherwise, you will back up junk files along with everything else and fill up the space on the network drive more quickly. The easiest way to remove junk files is to use CleanMyMac’s Cleanup feature.

It scans your Mac, looking for these junk files, and allows you to either review what it has found or delete them all with a click. Get started with a free CleanMyMac trial. Now, open the app and click Cleanup > Scan > Clean. Easy!✅
How to see mapped drives on your Desktop
If you want to be able to see mapped drives on your desktop but can’t, follow these steps:
- Open a new Finder window.
- Click the Finder menu.
- Choose Settings > General.
- Select the box next to Connected Servers.
- Close the Settings window.

If you don’t want to have to type in the address of a server every time you connect to it, click the ‘+’ at the bottom of the Connect to Server window to add it to your favorites.
To disconnect from a mapped network drive or server, hover over it with the mouse pointer in the Finder sidebar and click the eject icon. Or you can Ctrl- or right-click on it and choose Eject.
How to manage files with a network drive
Did you know that when you use NAS to store files, you may end up with duplicates. It can happen if you manually copy files to the network drive while the Time Machine completes a backup in the background. Another reason is misconfigured syncing and sharing settings.
Whatever the cause, it is necessary to remove duplicates to avoid cluttering your network drive. You can try to hunt them down manually by sorting them by name or size. Be ready to look in each folder you have created on your drive, though. This way, you will find exact duplicates only.
There is a quicker and more effective alternative, however — CleanMyMac and its Smart Care feature. It scans your Mac and looks for duplicate downloads, among other things. Just open the app and click Scan > Run.

If you want to manage storage on a drive more effectively, run another scan using the My Clutter feature as described above.
Knowing how to map network drive on Mac permanently is very useful. It makes it very easy to read and write files to and from it. When you map a network drive, it appears in the Finder sidebar under Locations, and you can access it just like any other drive. Follow the steps above to map a network drive to your Mac.


