It can be difficult to get the correct file path when you’ve got loads of files — hundreds or even thousands isn’t unusual after a couple of years of using the same Mac. We attempt to solve this problem in this article for those tired of looking for files and file paths on a Mac.
After trying Spotlight Searches or browsing through files, you might be ready to give up. At times, not knowing the right name can cause software conflicts. But don’t despair. There is always a way to locate a file path.
How to get a file path on a Mac?
To get a basic understanding of where your file is located, just right-click the file.
- Right-click the file.
- Click Get Info.
- Look up what’s written under General > Where — this area shows the enclosed folder of your document.


How to copy the file path
Copying any text from the previous window isn’t easy, obviously. But still, you need a complete file address that you can copy and paste anywhere. So you do one extra step:
- Click Finder.
- Click View in the upper bar.
- Click Show Path Bar.
Interestingly, the file path will immediately appear underneath the Finder window.
- Now, Control-Click the file you want the location for.
- Hold the Option key.
You will see the new command that has appeared in the context menu — Copy …. as Pathname
- Click the selected command.

You are now ready to paste. This information is pasted into the Clipboard. Make sure to complete pasting/moving it elsewhere, or this will be lost, and you will need to find the folder again.
And that is how to get a folder path on a Mac. Nice and simple.
If you are looking for file paths because you want to find the largest and oldest files and delete them, doing it manually can be tricky. But there’s an easy way to find such files — My Clutter feature that comes with CleanMyMac (get your free trial here). It has the Large & Old Files tool that sorts all your files by size, kind, and date accessed. You can then select files and click Remove to delete them.

How to find the file path using Terminal
Also known as a folder path or directory path, they aren’t always easy to find. When every other method has failed, turn to Terminal as your solution.
- Go to Applications > Utilities.
- Open Terminal.
- Make sure you are using it as a Super User, which means being logged in as an Admin, so type in
sudo suand press Return.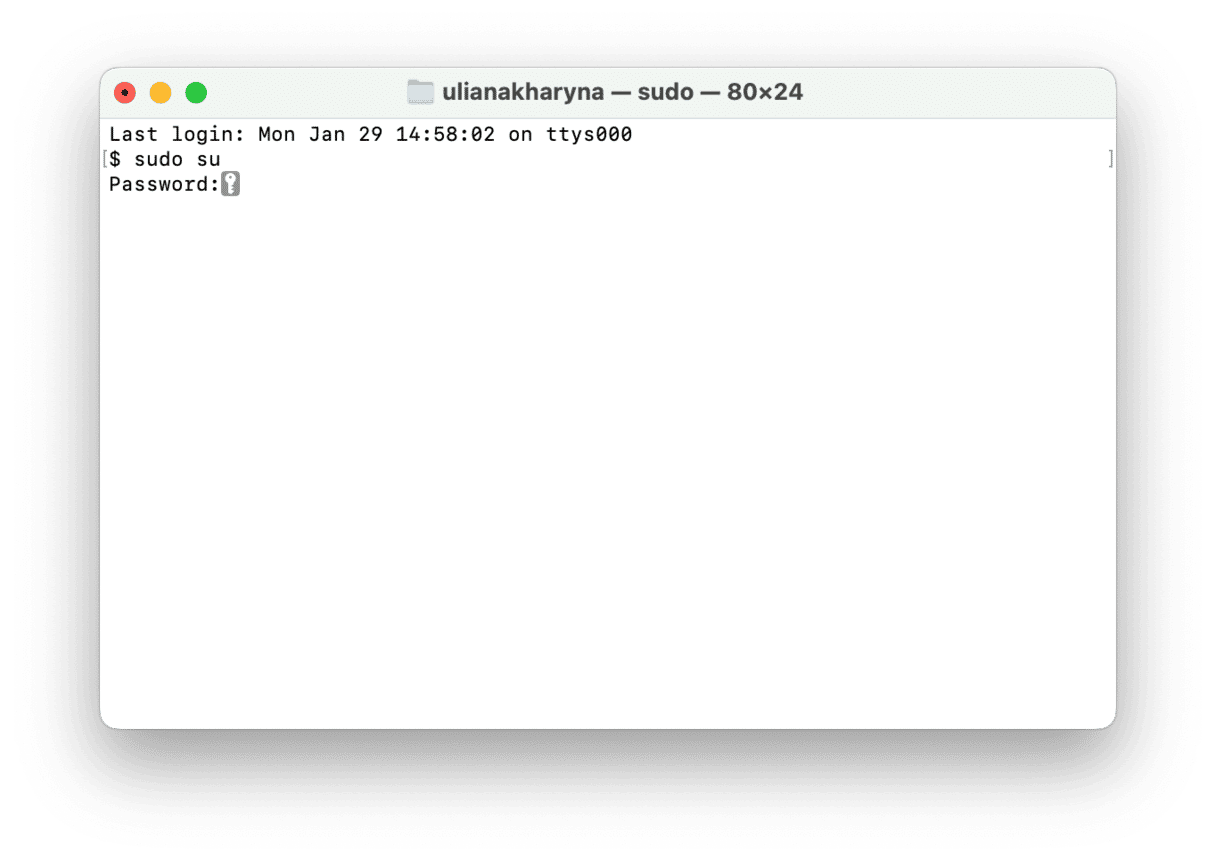
- Enter your password.
- Now, you need to have something of an idea of what this file might be called, so once you do, type in the following (insert the name of the file instead of randomfilename):
find / -name randomfilename - Give it time to process the query, which could take several minutes.
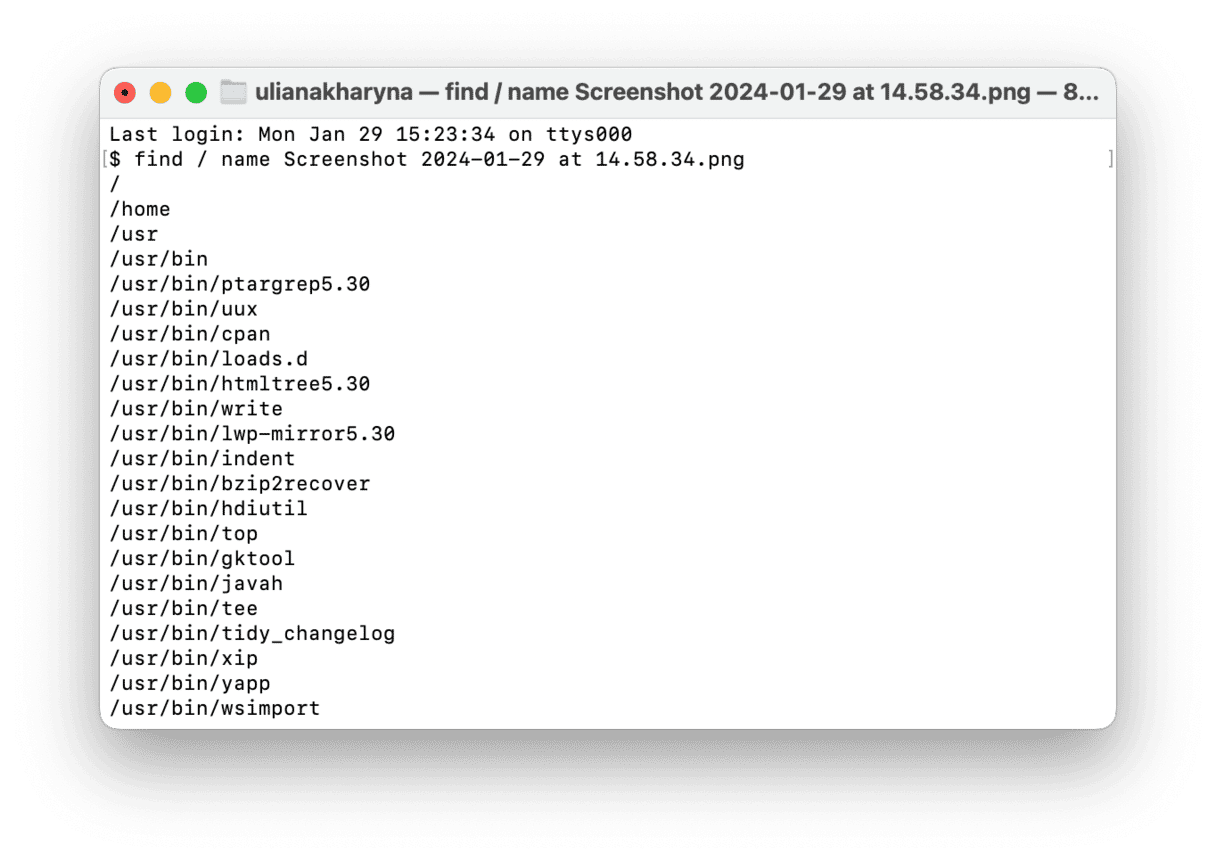
- A list of names should appear, some or many of which you can ignore as they will be followed by file-end names, such as “operation not permitted,” so focus on the ones that make the most sense, such as:
/Library/Application Support/randomfilename/settings/ - Now, copy and paste the full name and drop it into Finder or Spotlight Search.
Alternatively, you can drag and drop the file onto the Terminal window, showing the full path. Hopefully, this will bring you to the file you need.

A shortcut to see unlisted (grayed out) files
For those who love Apple — which for many is more than a tech company; it’s a representation of a lifestyle — we’ve got a fun fact for you. Did you know there is a shortcut combination to see hidden files?
Here is how you access the shortcut:
- From Finder, go anywhere where you suspect there are hidden files, such as the Macintosh HD root directory or the Home folder.
- Next, press the Command-Shift-Period keys, which should show hidden files in that folder.
- As you press the shortcut, the files are visible. If you press it once again, they disappear.
Any hidden files that have been made visible will have greyed-out names and icons.

How to find other hidden files on Mac?
It isn’t always easy to know where you’ve put every file on your Mac.
After a couple of years of constant use, a Mac can start to resemble a cluttered old-school file cabinet. Files in places that once made sense but are now in the wrong place. Files and folders should be in the right place but have been put somewhere else. Files that seemingly don’t exist or are floating around elsewhere.
One solution is to use CleanMyMac. It’s a handy Mac performance improvement app that comes with a few tools for finding unlisted, hidden, and large old files that have slipped through the cracks. We’ve mentioned one above — My Clutter. However, there is another feature you may find useful — Space Lens. It builds a storage map of your Mac’s drive, so you can see what’s eating up space.

Here’s how to find space hoggers with Space Lens:
- Open CleanMyMac — get your free trial here.
- Click Space Lens > Scan.

These bubbles represent all your documents in relation to their size. You can dive into these folders to reveal their contents — a more visual alternative to the Finder. This feature will highlight a few gigabytes worth of space you can free up, uncovering files that can easily slip through the cracks and become forgotten.
By the way, CleanMyMac is notarized by Apple, which means this app is malware-free and safe to use on your Mac.
We hope you found this article useful about how to locate and copy the file path details when searching for what you need.


