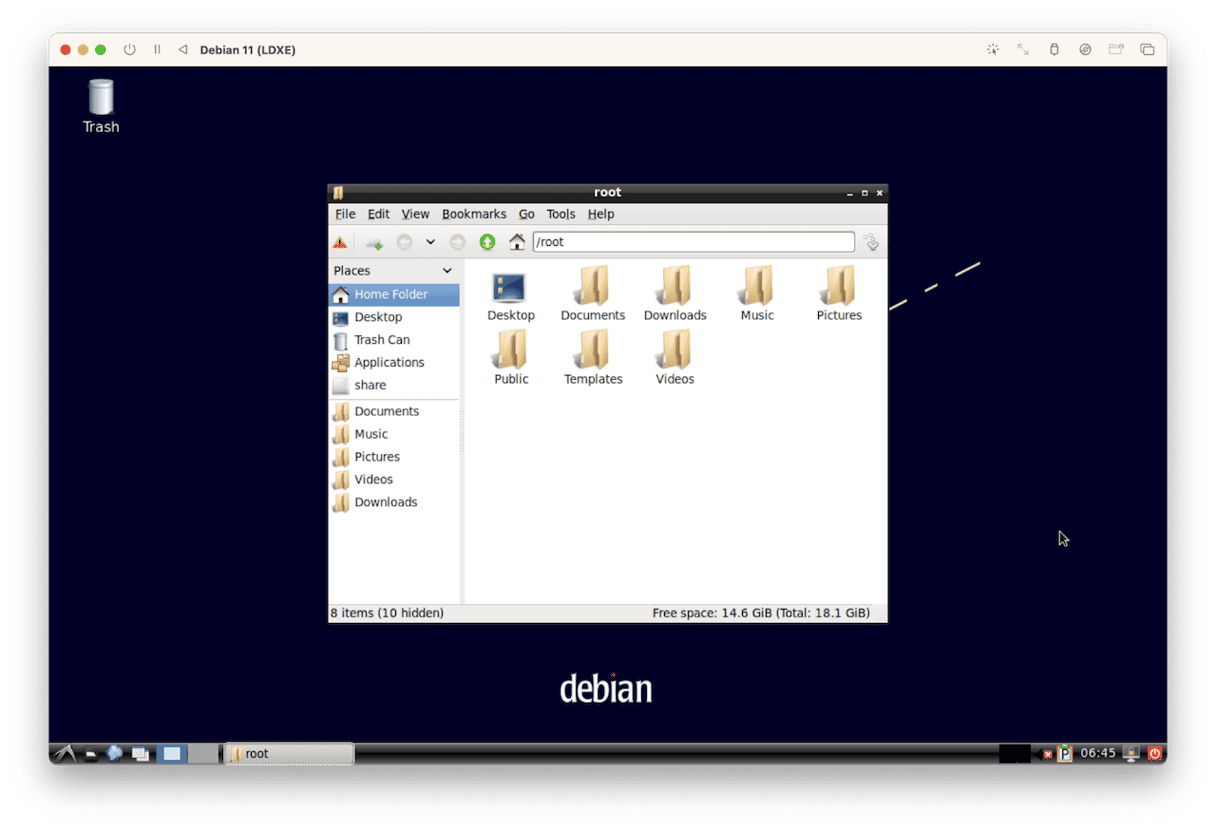
Installing Linux on a Mac with Apple silicon is much more complicated than it was on an Intel-based Mac, but it’s still possible with a little help. Intel-based Macs, thanks to their Intel architecture which supports macOS, Windows, and Linux, can run Linux distributions natively, thanks to Boot Camp. All you need to do is create a Boot Camp partition using Boot Camp Assistant and install your chosen flavor of Linux onto it. However, Macs with Apple silicon use ARM architecture that doesn’t support Windows. And so there is no Boot Camp Assistant on these Mac computers and no way to run Linux natively. To run Linux terminal for Mac with Apple silicon, you will need to use virtualization or emulation software to create a virtual machine on which you can install Linux. We’ll show you how to do that in this article.

What is Linux?
Linux is an operating system, just like macOS and Windows. Like macOS, it’s based on Unix. However, while macOS is developed and owned by Apple, Linux is open source. There are several flavors — or distributions — of Linux, like Ubuntu, Linux Mint, and Debian. Ubuntu is the one that’s closest to macOS in terms of look and feel. Because it’s open source, Linux is much more customizable than macOS, but it’s also less easy to use. And like macOS and Windows, it can only run applications that were developed to run on it.
Why install Linux on a Mac?
The most common reason is that you need to run applications or other software that isn’t available on Mac. Curiosity is another reason. And some people like to do it just for fun.
How to install Linux on a Mac
There are two ways to run Linux on a Mac with Apple silicon: virtualization or emulation. The first step is to choose the software you’re going to use to create a virtual machine. Virtualization is faster, but you can only use it with a Linux distribution designed for ARM64 CPUs. You can use emulation with any Linux distribution, but it’s slower than virtualization.
Virtualization and emulation options include:
- Parallels Desktop
- UTM
- Virtual Box
Parallels Desktop is the most well-established of the three and is probably the easiest to use. However, it’s also quite expensive. There is a free version of UTM available, although there is also a paid-for version on the Mac App Store that gives you access to updates. Virtual Box is free but can be difficult to configure if you haven’t used it before. For this article, we’re going to use UTM as a Linux emulator for Mac.

- Download UTM from the developer’s website here or the Mac App Store.
- If you downloaded it from the App Store, it will install automatically. If you downloaded it from the developer’s website, double-click the disk image and drag the application to your Applications folder.
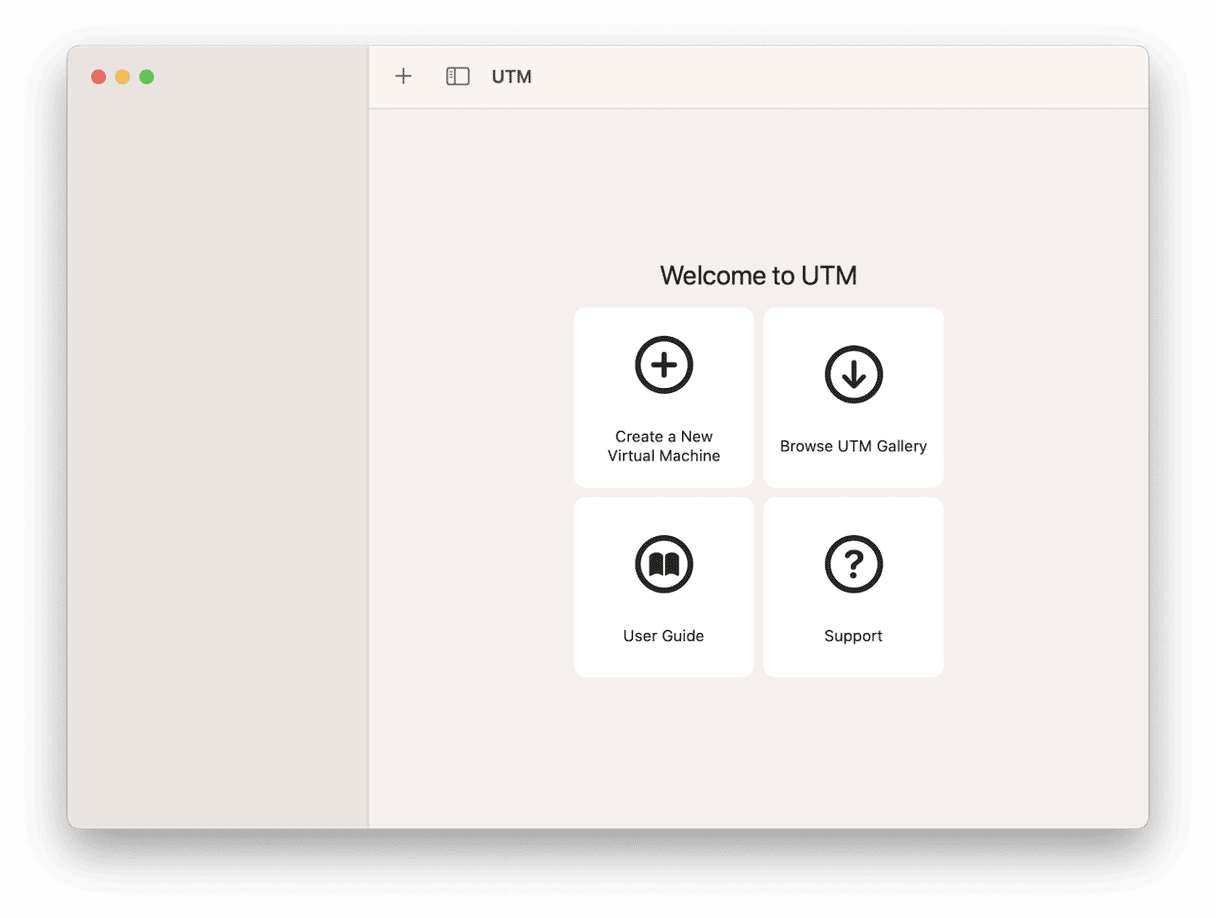
- Open UTM from your Applications folder.
- When it has launched, choose Create a new virtual machine.
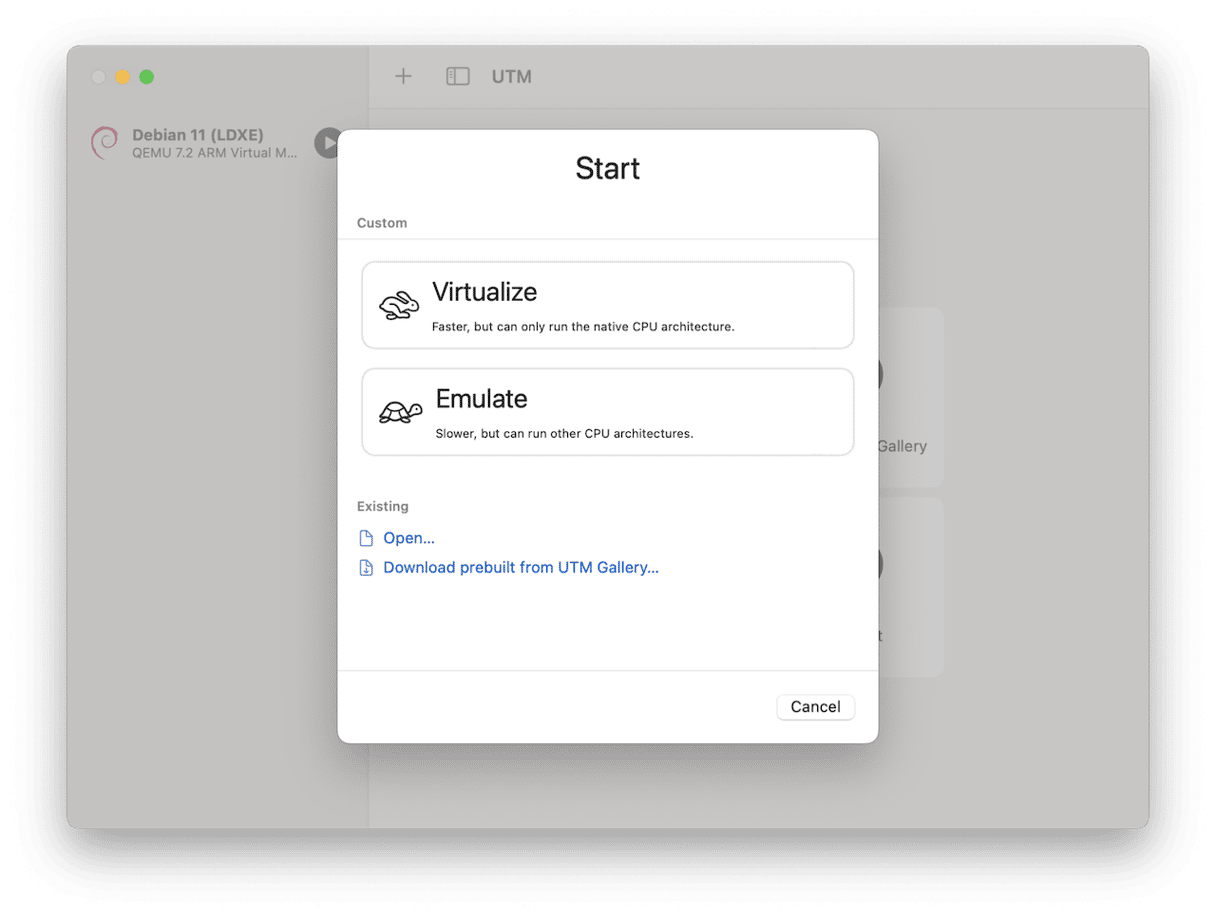
- On the Start screen, choose Download prebuilt from UTM gallery.
- Choose the Linux distribution you want to use, making sure it’s labeled ARM64.
- In the next screen, click Open in UTM.
- Wait for the Linux distribution to install.
- When it’s ready, select it and note the default username and password in the information window.
- Click the play button to start the virtual machine.
- When the graphical user interface appears, log in with the username and password you noted in step 9.
You can also use UTM to install a Linux distribution you have previously downloaded as an ISO file.

- On the start screen, choose Create a virtual machine.
- If the ISO image is an ARM64 Linux distribution, choose Virtualize; if not, choose Emulate.
- Choose Linux.
- Under ‘Boot ISO image’ in the next window, click Browse.
- Navigate to the Ubuntu ISO file you just downloaded and select it.
- Click Continue.
- Choose how much memory you want to allocate to the virtual machine, how many CPU cores, and whether to use OpenGL acceleration. Read the notes on the screen for each.
- The next screen asks how much disk space you want to allocate to the Linux virtual machine. You should consider this carefully. The space you allocate to the virtual machine will no longer be available for use by your Mac, so you shouldn’t allocate too much. On the other hand, if you plan to use Linux a lot and want to install lots of applications, you will need to give it enough space to do that. Set the figure and click Continue.
- You will now be asked if you want to share a directory on your Mac with the virtual machine. If you do, click Browse and navigate to the folder. Click Open.
- If you want to make the directory read-only in the virtual machine, check Share is read-only.
- Click Continue.
- Continue following the instructions on the screen to create the virtual machine.
- When it has been created, select it in the UTM sidebar and click the play button to run it.
Congratulations, you’re now running Linux on your Mac.


