There are lots of very good text editing applications available for the Mac, but if you need features aimed at coders, like syntax highlighting, code folding, bracket matching, or intelligent code completion, the pool of suitable tools shrinks quite a bit. And with the demise of the Mac version of Microsoft’s Visual Studio, that pool has become even smaller. It’s no wonder then that some Mac users, especially those who have used Windows in the past, yearn for Mac versions of Windows text editors. However, just because there is no Mac version of a Windows text editor, it doesn’t mean you can’t run it on a Mac. We’ll explain everything as we show you how to download and install Notepad++ on your Mac.
What is Notepad++
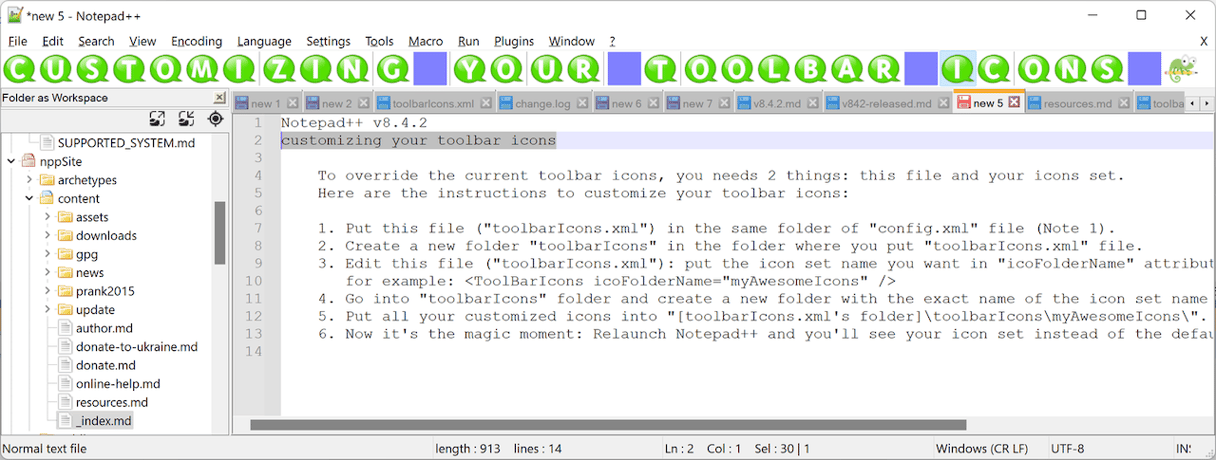
Notepad++ is a free, open source text and source code editor for Windows. It supports tabbed editing, which allows you to have multiple open files in a single window. It also supports syntax highlighting, code folding, and limited autocompletion. At one point, it was the most popular and most widely used text editor among Windows coders.

Is there Notepad++ for macOS?
No, there is no macOS-native version of Notepad++. However, there are a few workarounds, so you can still use it on your Mac.
How to download Notepad++ for Mac and install it
There are several different ways to install Notepad++ on your Mac:
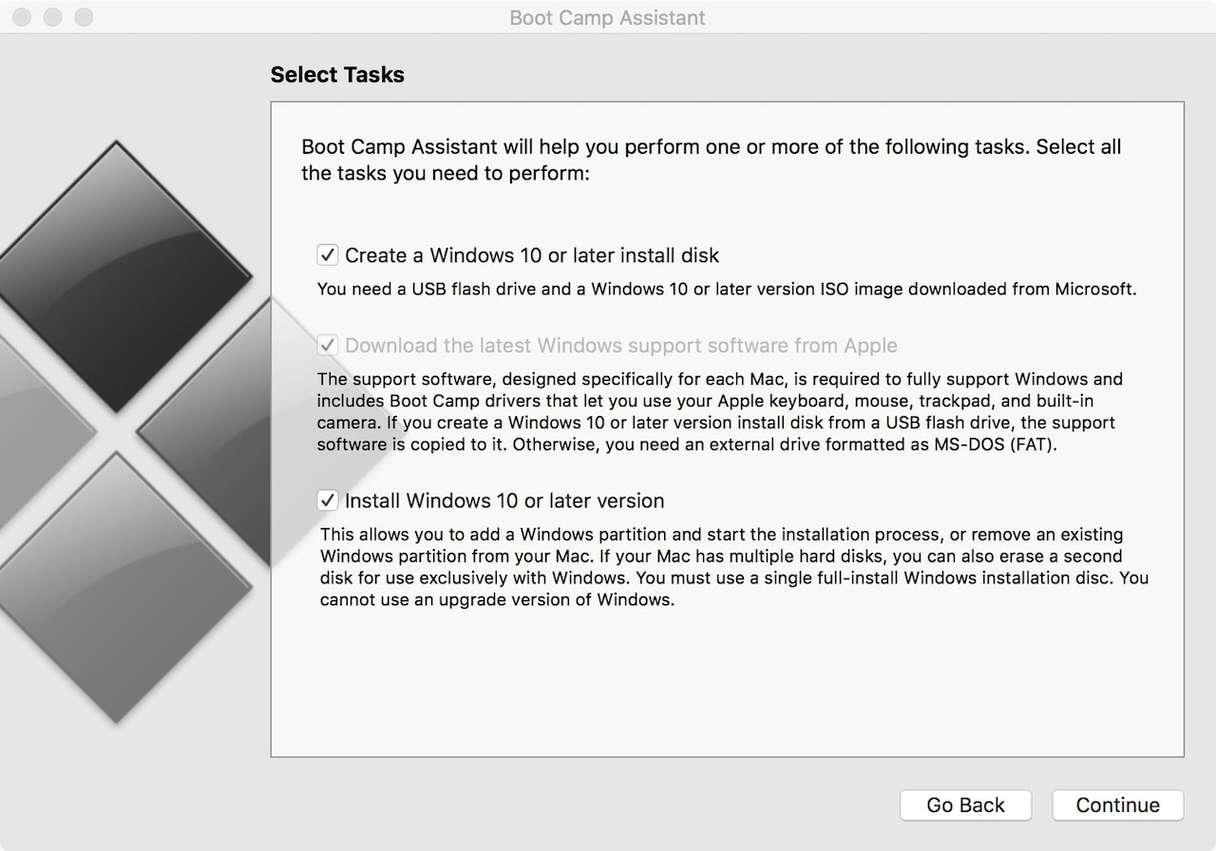
- If you have an Intel-based Mac and a copy of Windows, you can run Boot Camp Assistant and create a Boot Camp partition, install Windows on that, and then download and install Notepad++.
- You can use Parallels Desktop to create a virtual Windows environment and install Notepad++ in that.
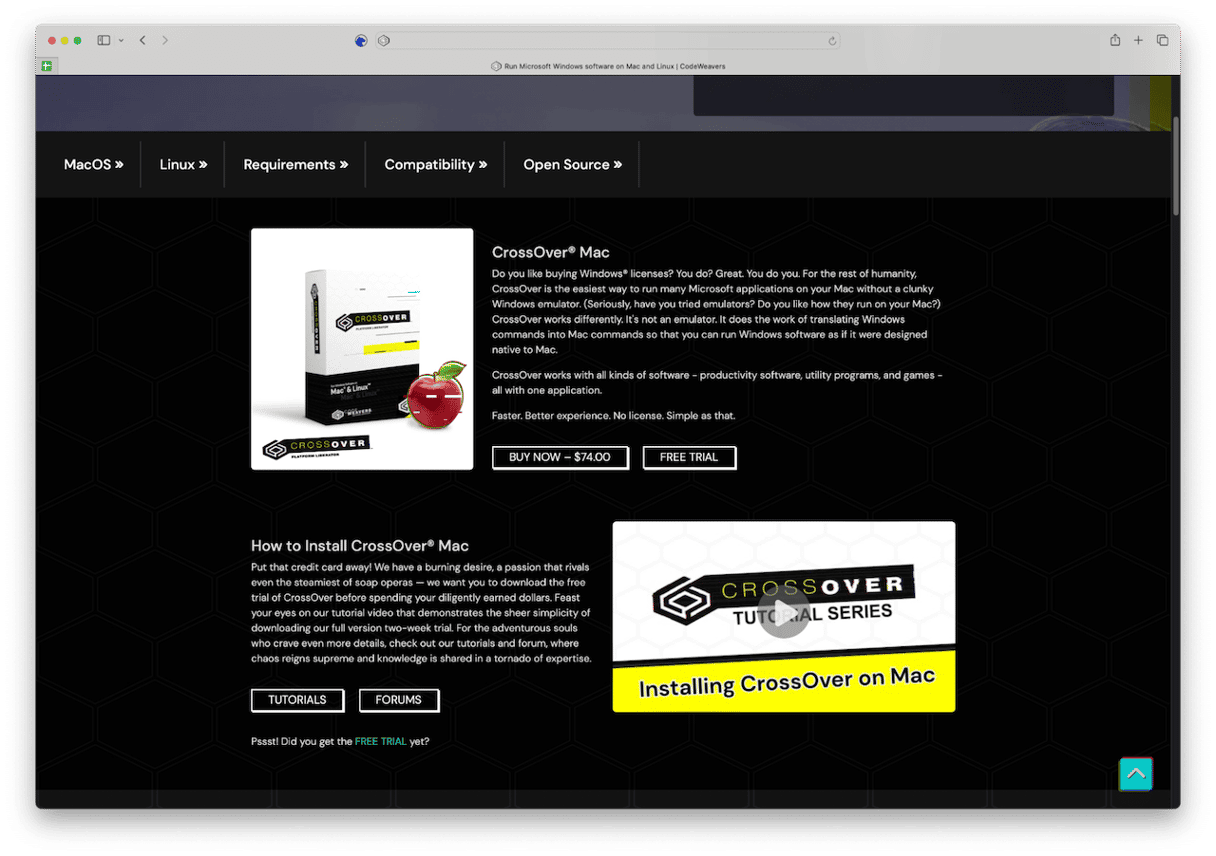
- Use an application like CrossOver or Porting Kit to create a compatibility layer and install Notepad++.
Of those options, the last is the simplest and, if you use Porting Kit, is also free. Parallels Desktop and CrossOver are both paid-for apps. And Boot Camp needs an Intel-based Mac and a licensed copy of Windows.
Porting Kit
We’ll start with the free method, which also happens to be the simplest.
- Go to the Porting Kit website and click Download.
- Once Porting Kit has downloaded, open it and click All Apps in the sidebar.
- If Notepad++ appears as an option, select it. If not, use the search bar at the top right of the window to search for it, then click Install.
- Porting Kit will now download and install Notepad++ along with any dependencies it needs to run. It will then run the Windows installer Notepad++.
- When it’s finished, you will see Notepad++ in the installed section of Porting Kit. It will also appear in your Applications folder, and you will be able to open it via Spotlight search or from Launchpad.
CrossOver
- Go to the CodeWeavers website and download either the free trial version or the full version of CrossOver. The free trial version is fully functional, but will only work for 14 days.
- Once you’ve installed CrossOver, click the Install button and search for Notepad++.
- Select Notepad++ when it appears.
- Click the install button.
- Wait for CrossOver to download and install Notepad++.
- When it’s finished, you will be able to launch Notepad++ from CrossOver, your Applications folder, Spotlight, or Launchpad.

Parallels Desktop
This option only really makes sense if you already have Parallels Desktop (or another virtualization tool, such as VMWare Fusion) installed on your Mac. If you do, follow the steps below.
- Open Parallels Desktop and open a web browser in Windows.
- Navigate to the Notepad++ GitHub page.
- If you have a Mac with Apple silicon, download this file: Installer.arm64.exe, or if you have an Intel-based Mac, download this one: Installer.x64.exe
- Once the installer has downloaded, launch it to start the installation.
- Once it has installed, you will be able to launch Notepad++ from the Windows Start menu. Depending on how you have Parallels Desktop configured, you may also be able to access it directly from your Mac.
Boot Camp
If you have an Intel-based Mac and a Windows installer on a USB stick or external hard drive, follow the steps below:
- Go to Applications > Utilities and open Boot Camp Assistant.
- Follow the instructions to create a Boot Camp partition and install Windows.
- When Windows has installed, reboot your Mac while holding down the Option key.
- Choose the Boot Camp partition as your startup disk.
- Once Windows has loaded, open a web browser and follow steps 2-5 above.

There are several good text editors available for macOS. But if you love Notepad++ and want to use it on your Mac, you may be disappointed there is no Mac version. Luckily, that doesn’t mean you can’t install it on your MacBook. Thanks to clever technologies like compatibility layers and virtualization, you can. Choose the method above that works best for you and follow the steps to download and install Notepad++ on your Mac.


