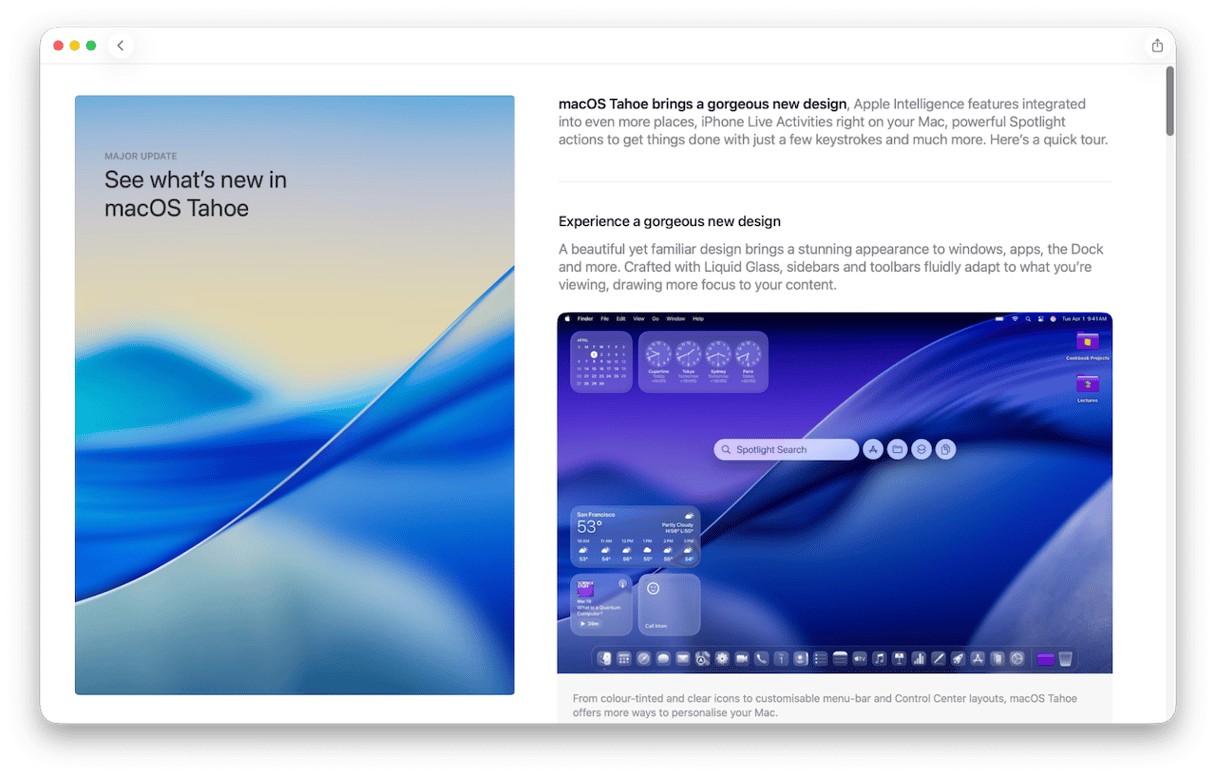
When Apple announced macOS Tahoe in June 2025, it made it clear that this would be the last version of macOS that would be supported on Intel-based Macs. From 2027, it will be Apple Silicon only. However, macOS Tahoe, with its Liquid Glass interface, also leaves several Macs behind. Some older Macs that were compatible with macOS Sequoia are not supported by macOS Tahoe. That doesn’t mean you can’t install it on one of those Macs, however. The Mac community is nothing if not ingenious, and that ingenuity has produced a patch that allows Tahoe to be installed on older Macs. In this article, we’ll show you how to install macOS Tahoe on an unsupported Mac.
Disclaimer: Nothing in this article should be interpreted as a recommendation to install macOS Tahoe on an unsupported Mac. It carries several risks, including significant hardware and software problems, and you will not get support from Apple or its authorized support partners to deal with them.
What Macs are supported for macOS Tahoe?
Here’s the list of Macs that Apple says are compatible with macOS Tahoe.
- MacBook Air with Apple silicon (2020 and later)
- MacBook Pro with Apple silicon (2020 and later)
- MacBook Pro (16‑inch, 2019)
- MacBook Pro (13‑inch, 2020, Four Thunderbolt 3 ports)
- iMac (2020 and later)
- Mac mini (2020 and later)
- Mac Studio (2022 and later)
- Mac Pro (2019 and later)
If your Mac is older than those on the list, it’s not officially supported, and you won’t be able to install macOS Tahoe on it using any of the conventional methods.
Why is my Mac not compatible with macOS Tahoe?
Every year, when a new version of macOS is released, it leaves behind some older Macs. This could be for one or more of several reasons. Sometimes it’s just that older Macs aren’t powerful enough to cope with the demands on resources imposed by the new OS.
Other reasons include the need for recent technologies, such as macOS Tahoe’s Liquid Glass interface needing Apple’s Metal graphics technology. And a third possibility is that, as in the case of the transition from Intel to Apple Silicon, Apple decides it will no longer produce the code necessary to support both platforms.
Can macOS Tahoe be installed on an unsupported Mac?
Yes, with help from additional software. Though, whether the installation is successful and the Mac boots into macOS Tahoe is not guaranteed. And if it does install and boot, you may experience performance issues.
Should you install macOS Tahoe on an unsupported Mac?
The answer to that question depends on why you want to do it and on the Mac you want to install it on. Installing it on your main Mac, especially one that you use for work, because you want to use Tahoe every day is probably a bad idea — you risk making that Mac unusable.
If, however, you have an older Mac sitting on a shelf that you don’t use for anything else and want to try to install Tahoe for a bit of fun, there’s no reason not to. Just make sure that you back up any data that is still on it before you start.
What do you need in order to install macOS Tahoe?
The first thing you need is a copy of the macOS Tahoe installer, and the only way to download that is to use a Mac that is officially supported to run Tahoe. You will also need to download another piece of software — OpenCore Legacy Patcher. It patches your Mac so that it bypasses the checks Apple makes to ensure you’re installing on a supported Mac.
Here’s the full list:
- A Mac that is supported by Apple for macOS Tahoe
- A USB stick with a capacity of at least 16GB
- The Mac that you want to install Tahoe on
- A working internet connection
How to install macOS Tahoe on an unsupported Mac
[Note: At the time of writing, OpenCore Legacy Patcher does not support macOS Tahoe. The development team is working on it and currently estimates it will be ready in winter 2025. The instructions below won’t work until then.]
- Plug the USB stick into the Mac that is supported to run Tahoe.
- Go to the App Store on the same Mac and search for macOS Tahoe. If you can’t find macOS Tahoe on the App Store, skip to step 5 and choose Download macOS Installer at step 8 below.
- When the installer appears in the search results, click Get to download.
- When it has finished downloading, the installer will launch automatically. Press Command + Q to quit it. The installer file is in your Applications folder.
- Download the OpenCore Legacy Patcher
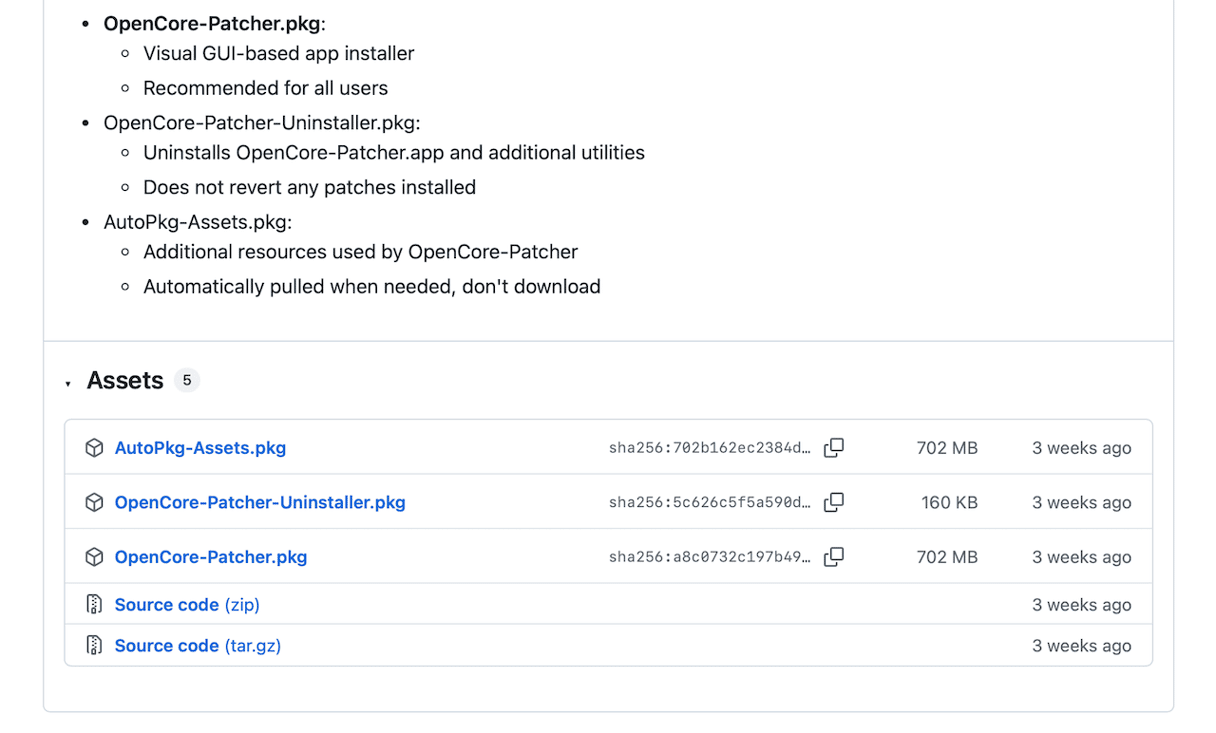
- Once it has downloaded, it should launch automatically. If not, go to your downloads folder and double-click the pkg file to launch it.
- From the main menu, choose Create macOS Installer.

- On the next screen, choose Use existing macOS Installer, navigate to the installer you just downloaded, and select it.
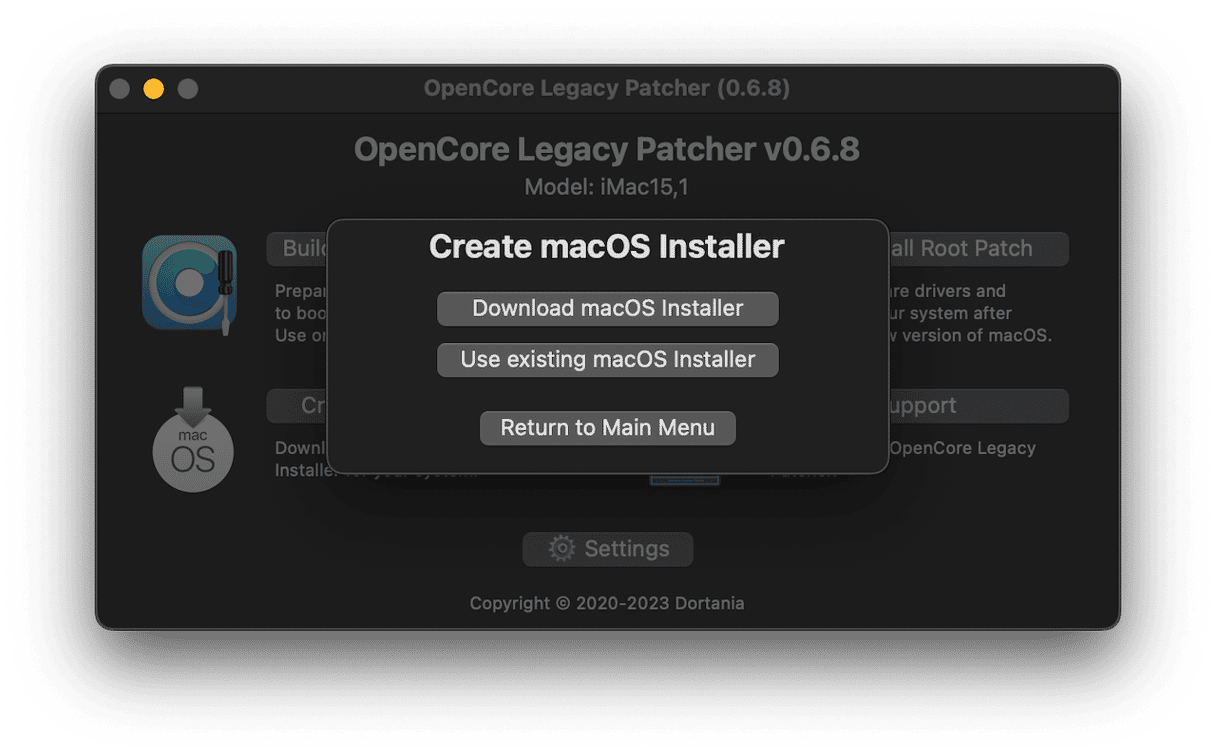
- Follow the instructions on the screen to create the installer.
- Next, choose Build and Install Open Core from the main menu and follow the instructions.
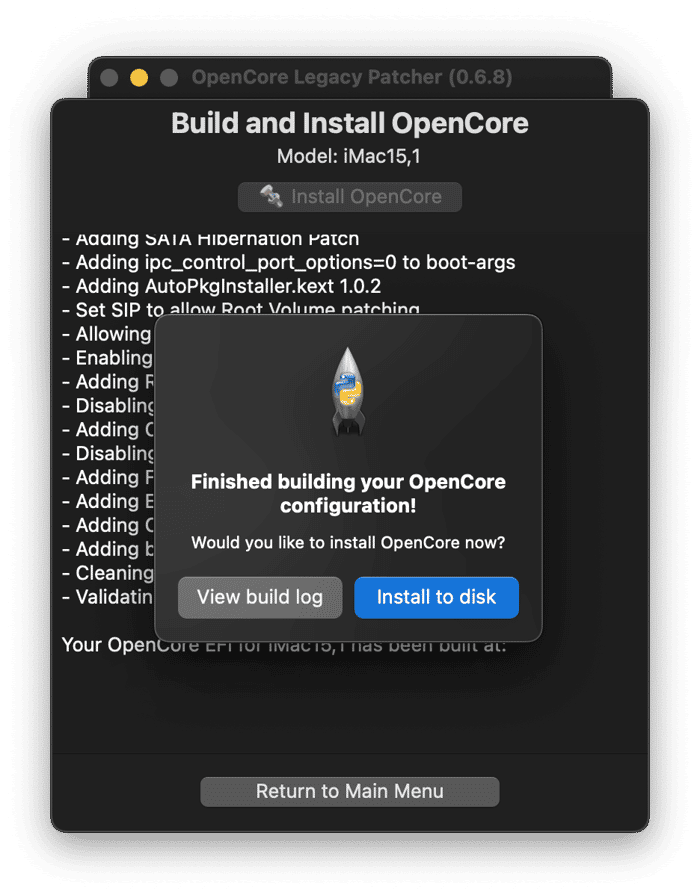
- Once you’re done, you’re ready to install everything on the unsupported Mac.
- Eject the USB stick from your Mac and plug it into the older Mac.
- Boot the older Mac while you hold down the Option key.
- Choose EFI OpenCore from the boot menu.
- On the next screen, choose Install macOS Tahoe.
- Wait for the installation to complete.


How to improve performance in macOS Tahoe
Whether you install Tahoe on a supported or unsupported Mac, it’s going to make heavy demands of your Mac’s CPU, GPU, RAM and storage resources. It’s a good idea to make sure your Mac is free from junk and clutter, running the latest version of all the apps you use, doesn’t have any issues with malware, and is running as smoothly as possible.
It’s a lot, and doing it manually is time-consuming. It’s the kind of thing most of us know we should do, but put off because it seems like a lot of effort. It doesn’t have to be. CleanMyMac’s Smart Care feature can take care of it for you. It scans your Mac, looking for malware, junk, clutter, apps that need updating, and opportunities to boost performance, and then reports back to you with recommendations. You can choose to accept them all with a click or review what it has found and decide for yourself what to run.
- Get your free CleanMyMac trial — you can use it free for seven days.
- Open CleanMyMac and choose Smart Care.
- Click Scan.
- When it’s finished, click Run to run all the recommended tasks, clear junk, and update your apps.

Can you install macOS Tahoe on an unsupported Mac? Theoretically, yes. Should you do it? That’s up to you. It carries several risks, and you certainly shouldn’t try it on your main Mac. If you want to give it a go on an older Mac you don’t use much anymore, follow the steps above and see how it goes.