How to take photos of the northern lights with your iPhone
The northern lights are a fantastic phenomenon that appears in the northern sky during certain solar events. When the northern lights are visible, the sky pulsates with different colors, including green, pink, purple, and red. The northern lights are more common in the northern reaches of the world.
Capturing the ethereal beauty of the northern lights with your iPhone is easier than ever, thanks to advancements in camera technology. In fact, it is often easier to see the northern lights when looking through your phone than it is to see with the naked eye.
Whether standing under the shimmering sky in Iceland or catching a display closer to home, your iPhone can be a powerful tool to capture the moment. Here’s a comprehensive guide to help you snap stunning photos of the aurora borealis with your iPhone.
Before diving into specific settings, it’s essential to understand that photographing the northern lights requires patience and the right environment. Your iPhone, equipped with features like Night Mode and adjustable exposure, is capable of capturing these vivid displays when the conditions are right.
Before capturing the northern lights
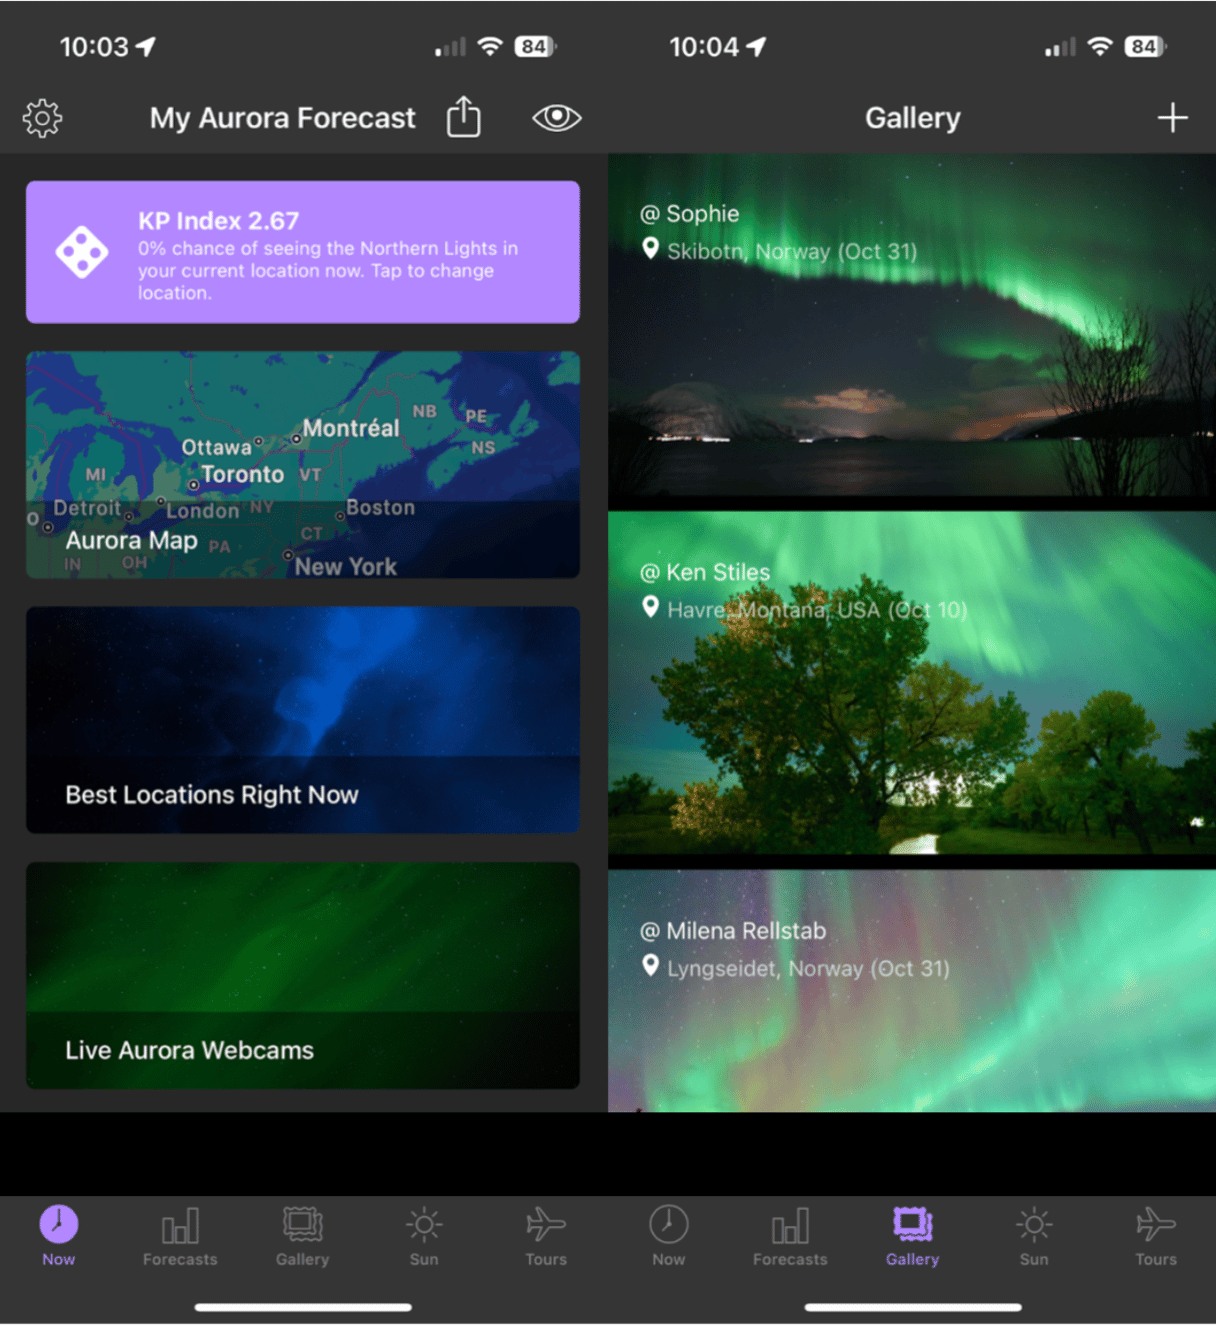
- Use an app like Aurora Forecast to help you find the best dates, times, and locations to view the northern lights.
- Find a dark, clear location with minimal light pollution.
- Use a tripod or stabilize your phone to prevent movement.
- Frame your shot using the settings detailed below and use a remote shutter to avoid camera shake when snapping your photo.
iPhone settings for shooting the Northern Lights
Getting the perfect shot starts with setting up your iPhone properly. Here are the key adjustments to make.
Turn On the Night Mode
Night Mode is your best friend when shooting in low light. It comes on automatically when your camera senses low-light settings. However, you can adjust the exposure to make the most of Night Mode for the Northern Lights. Here’s how to do it:
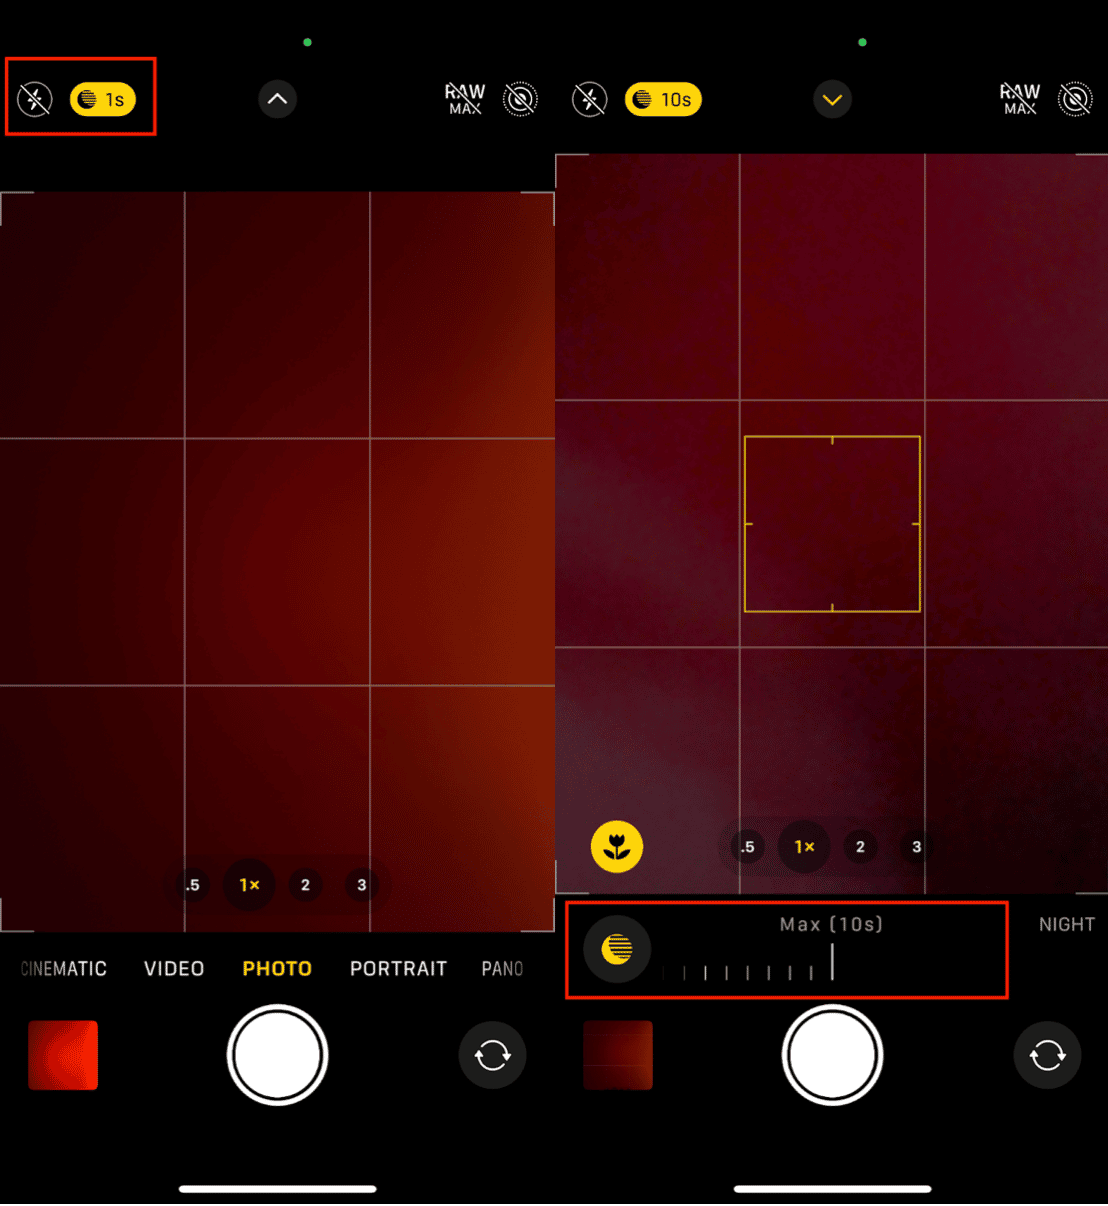
- Open the Camera app on your iPhone.
- Night Mode activates automatically in dim settings; you’ll see the Night Mode icon (a crescent moon) in the top-left corner.
- While in Night Mode, tap the down arrow at the top of the screen to open advanced camera settings.
- Tap the moon icon for Night Mode, and slide the slider to the right to adjust the timer to keep the shutter open as long as possible.
Pro Tip: Stabilize your iPhone to let Night Mode work its magic without any motion blur
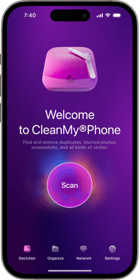
Use CleanMy®Phone to declutter your iPhone

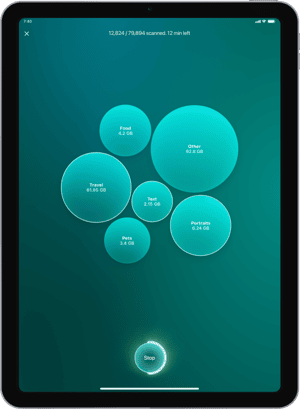
Before you embark on your northern lights adventure, free up space on your iPhone with CleanMy®Phone. This powerful app declutters your device, ensuring you have plenty of room to store those breathtaking aurora photos. Remove junk files, organize your media, and optimize your storage in just a few taps. Your iPhone will thank you!
Adjust exposure for shooting the northern lights
Manually adjusting exposure helps you control how much light the camera takes in. Use the Auto AF/AE feature to up the exposure before tapping the shutter button. Here’s how to do it:
- In the Camera app, tap on the screen to focus, and you’ll see the exposure slider appear.
- Slide up to increase or down to decrease exposure based on the brightness of the aurora.
A slightly longer exposure is ideal for vibrant colors, but keep it balanced to avoid overexposure.
How to tell your iPhone to preserve specific settings or not?
To make sure your settings stay consistent across shots:
- Go to Settings > Camera > Preserve Settings.
- Toggle on options like Exposure Adjustment and Night Mode to make it easier to find the perfect settings while out in the field.
This ensures your adjustments stay active even if you close and reopen the Camera app.
Bonus tips to prepare your iPhone for shooting the northern lights
Before heading out for your aurora adventure, ensure your iPhone is optimized for the task.
Choose the right iPhone model
While most modern iPhones can handle low-light photography, newer models like the iPhone 14 and later models offer advanced Night Mode and better sensors for capturing vibrant details in the sky.
Keep Your iPhone battery alive
Cold weather can drain your battery quickly. To avoid missing the moment:
- Keep your iPhone warm in your pocket or an insulated case.
- Carry a portable charger to replenish the battery as needed.
Use additional equipment
Enhance your northern lights shots with additional accessories:
- Tripod: Keeps the phone steady for longer exposures. This is essential for capturing sharp images of the northern lights.
- Remote shutter: Prevents hand movement when taking a photo.
- Clip-on lenses (optional): Add versatility to your iPhone’s camera, such as a wide-angle lens for capturing more of the aurora.
Photographing the northern lights with your iPhone is all about preparation, practice, and the right settings. By following this guide, you can capture the aurora’s vivid greens, purples, and reds in all their glory.
Don’t forget to declutter your phone with CleanMy®Phone to ensure you have space for every magical shot. Now, grab your gear, head into the wild, and let the aurora light up your photos!


