Wireless networking is brilliant, allowing you the freedom to work from any place where you can get a Wi-Fi signal or watch Netflix on your MacBook or iPad anywhere in the house… when it works. Sadly, it sometimes doesn’t. Wi-Fi is notorious for causing problems, from slow speed to dropped connections, or maybe your Mac is dropping Wi-Fi after sleep. Fortunately, there are lots of potential solutions. Here’s what to do if your Mac is dropping its Wi-Fi connection.
Is a problem with your Mac or your router?
There are two likely sources for the problem of dropped Wi-Fi connections. One is your Mac and the software it’s running. The other is your router. Let’s tackle your Mac first.
1. Check it’s not just one app
Sometimes, what looks like problematic Wi-Fi is just a web browser or Twitter client misbehaving. So, check multiple apps and websites to see if they all have problems. If it turns out to be just one, restart it.
2. Restart your Mac
If more than one app is having problems, restart your Mac. That might just fix it.
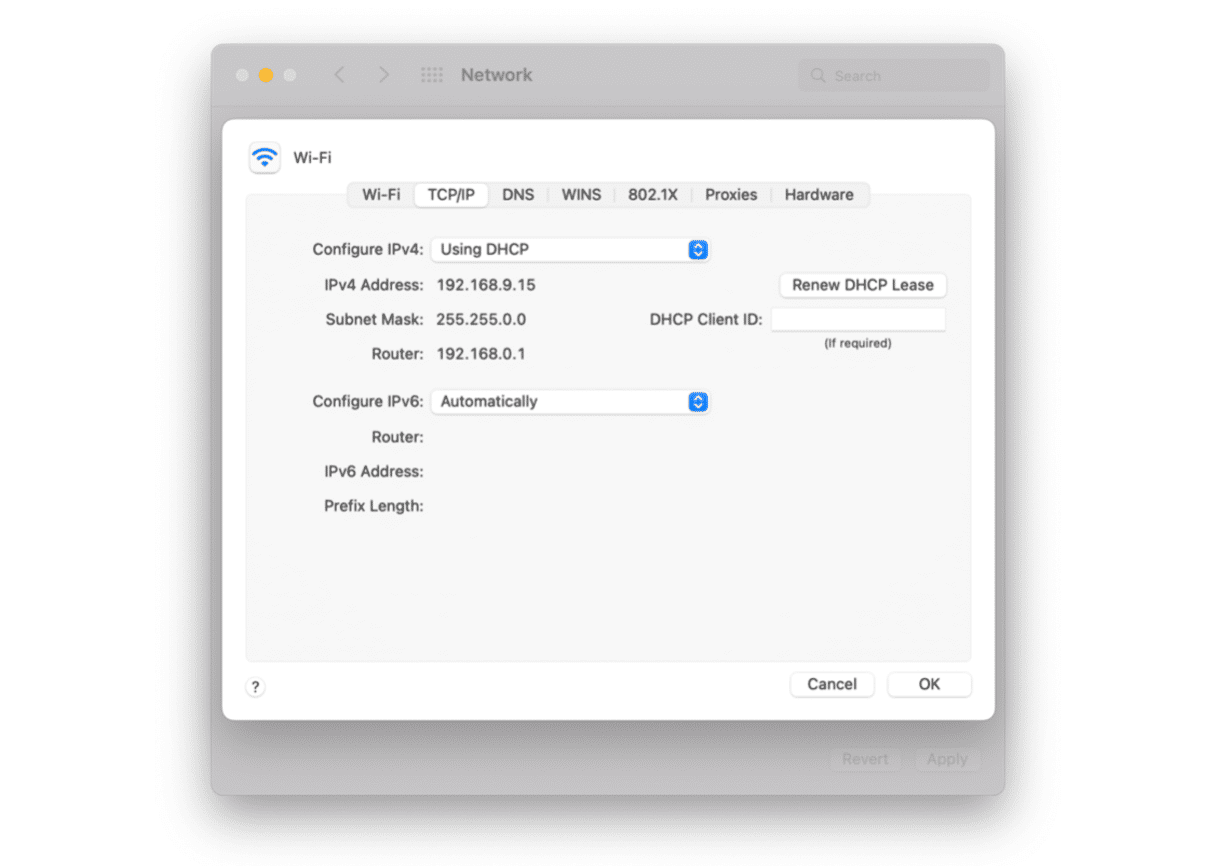
3. Renew your DCHP lease
Unless your Mac has a fixed IP address, it will be allocated one by your router using DHCP. It’s leased the address, and the lease is renewed from time to time. Sometimes, renewing it manually can fix misbehaving Wi-Fi.
- Go to the Apple menu and choose System Preferences.
- Click on the Network pane.
- Select Advanced and then the TCP/IP tab.

4. Press Renew DHCP lease.
4. Change the DNS server
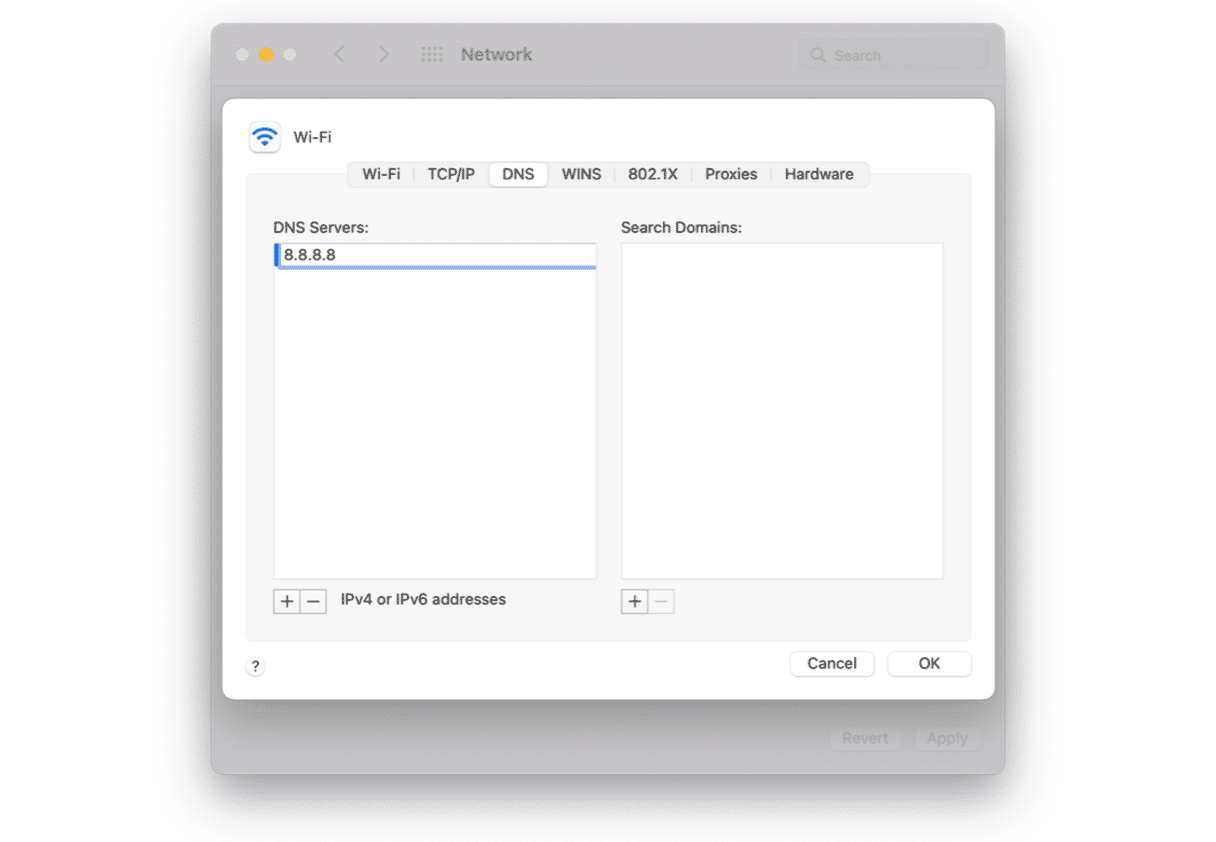
DNS servers match the address you type into a web browser or that coming from a link you click to an IP address. By default, your router uses your ISP’s DNS server. But you can override that and use another one, like Google’s free DNS server. Just follow these steps to do it:
- In the Advanced window in Network preferences, choose the DNS tab.
- Click the Add button and type: 8.8.8.8
- Press Ok and close System Preferences.

Fortunately, there is an easy way to delete them using CleanMyMac. I recommend CleanMyMac for all sorts of cleaning duties on your Mac, and the tool makes it very easy to flush your DNS cache. Here’s how:
- Download and install CleanMyMac, then launch it.
- Choose Maintenance from the sidebar.
- Check the box next to Flush DNS cache.
- Press Run.

If none of the above works, there is one more thing you can try before turning your attention to your router: unplug USB sticks, external hard drives, and anything else connected to your Mac (excluding the monitor, mouse, and keyboard). Sometimes, external devices can emit radio signals that interfere with the Wi-Fi connection.
5. Delete your old Wi-Fi connections
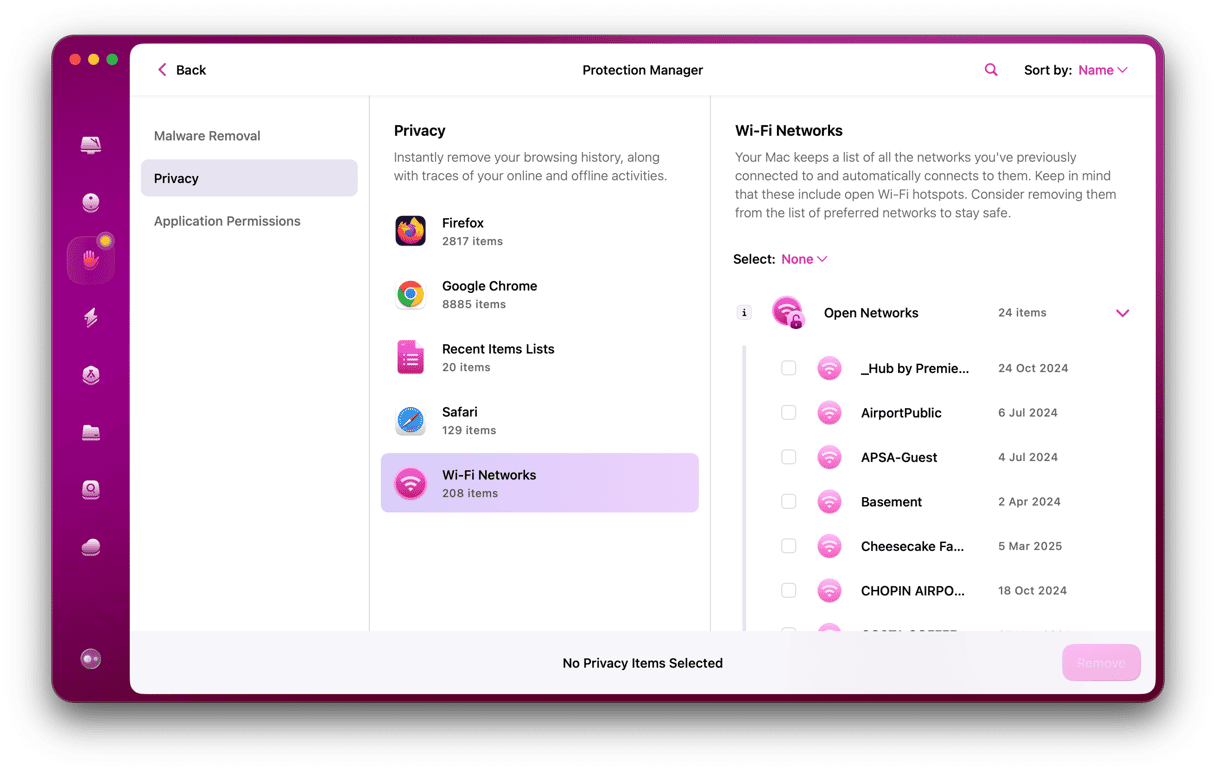
Sometimes, the only solution is to delete all your current Wi-Fi connections entirely and reestablish the connection from scratch. Again, it’s easy to do with the free version of CleanMyMac:
- Run CleanMyMac.
- Click the Privacy tab.
- Choose Wi-Fi Networks to remove.

Reconnect your Mac again. Now, it should be working well.
#6. Try your router
If you’re still having problems, it’s possible the problem lies with your router. The first thing you should do? Turn it off and back on again, of course! Better still, unplug it from the mains completely, wait for 10 seconds, then plug it back in, and wait for it to restart.
Another obvious culprit is location. Your router’s location can have a big impact on how it performs, including losing the signal. Here are some tips for placement:
- Keep it away from walls and tall furniture — the closer to the center of the room, the better.
- Don’t place it close to other wireless equipment. If the signals are on frequencies close to each other, that could cause interferences.
- Put it as high up as possible. Radio waves spread out and downwards, so placing it up high should give you greater coverage.
- Don’t put it close to anything metal. Metal surfaces reflect radio waves, preventing the signal from passing through them.
- Adjust the antennae. If your router has external antennae, try pointing them in different directions and upwards if you can.
One more thing...
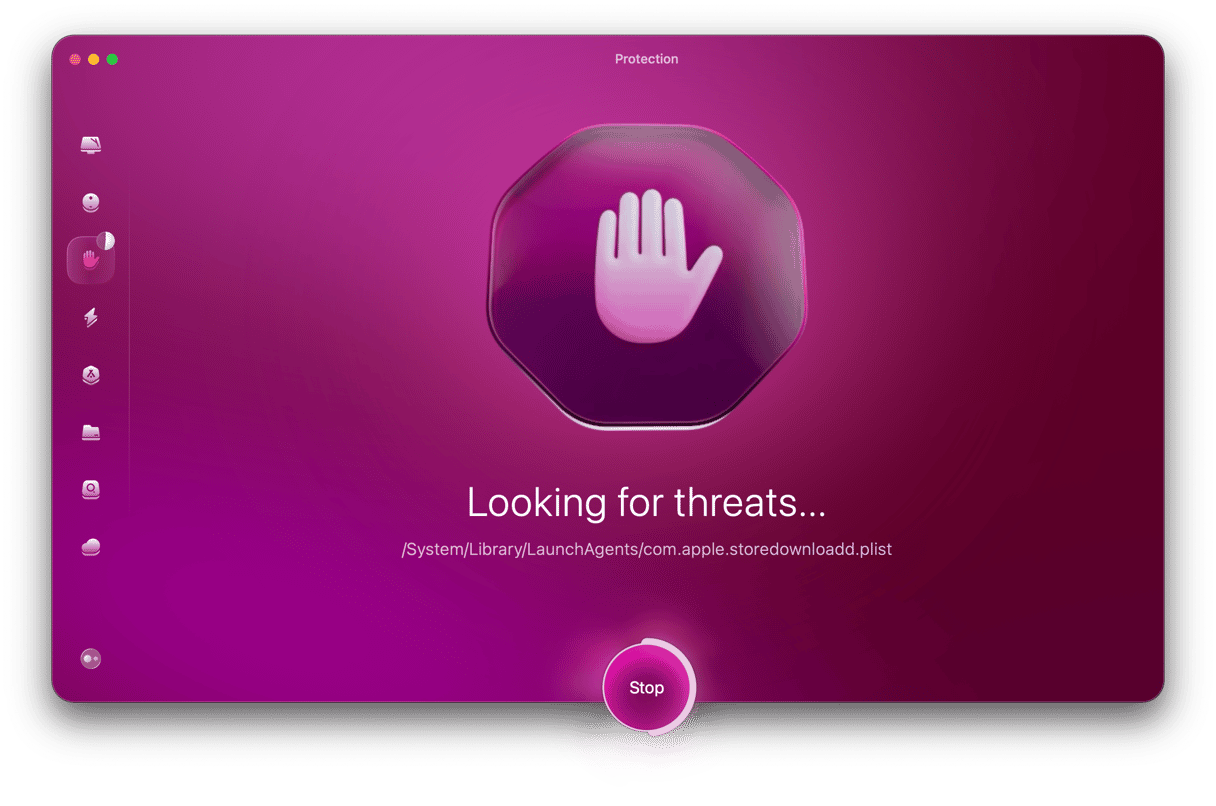
Some Mac users have reported that they have had Wi-Fi problems after installing malware, usually by clicking on a fake Adobe Flash updater like MacDownloader. Once installed, the malware creates lots of problems, including the Mac losing its Wi-Fi connection. If you think you might have downloaded malware, you can check it using CleanMyMac:
- Launch CleanMyMac.
- Choose the Malware Removal tool in the sidebar.
- Click Scan.
- Press Remove.

CleanMyMac will track down and remove all malicious files.
There are several reasons why your Mac may be losing its Wi-Fi connection. But if you follow the steps above one by one, you should track down the source of the problem and be able to fix it quickly.


