Most of us rarely encounter errors or error codes when using our Macs. Most of the time, as the saying goes, they just work. And when we do see an error message or error code, it’s usually pretty clear what’s wrong and what we have to do to fix it. Occasionally, however, obscure error codes appear, and it’s not obvious what we need to do. That’s the case with error code -8072. So, in this article, we’ll tell you everything you need to know about Mac error code -8072 — what it is, what it means, and most importantly, what to do about it.
What is error code -8072 on Mac?
Error code -8072 usually appears when you are trying to perform an operation on a file, such as emptying it from the Trash or copying it to another folder or disk, and the file is corrupted or has permissions set to prevent you from doing what you’re trying to do. It seems to occur most often when Time Machine backups are being deleted.

The full text of the error is ‘The operation cannot be completed. An unexpected error occurred (error code -8072).’
It’s possible that one reason you may have seen an error -8072 message is that there are junk files on your Mac causing conflicts with system files or other important files. That could cause files to become corrupted. One way to prevent that from happening is to get rid of the junk files. These junk files, including temporary files, caches, and language files, pile up and take up valuable space on your boot disk. Manually clearing them out can be a hassle, but CleanMyMac’s Cleanup feature makes it easy.

It scans your Mac for junk files, letting you remove them all with one click or review the scan results first. You can test CleanMyMac for free — get your free trial here.
How to troubleshoot error code -8072
Because there is no single cause of error -8072, and the error message doesn’t tell us anything, there is no way to try and find out what is causing the error. All we can do is try different approaches to fixing it. We know that it’s often caused by permission errors, so we can start there.
1. Check permissions
Click on the file in the Finder and press Command-I to open the Get Info window. At the bottom of the window, click on the arrow next to Sharing and Permissions. Next to Read & Write, it should say your username or ‘Everyone.’ If not, click on the menu and choose one of those. Try doing what you were doing with the file when the error message appeared.

2. Eject and reconnect the drive
If the file that’s causing the error is on an external drive or USB stick, eject it in the Finder, disconnect it, and then reconnect it and try again.
3. Boot in safe mode
Booting your Mac into safe mode loads only the essential extensions, performs checks on your boot disk, and repairs any problems it finds. If the error -8072 is caused by an extension or a problem with your boot disk, booting your Mac into safe mode could solve it. The process for entering safe boot is different depending on the type of Mac you have.
Macs with Apple silicon
If you have a Mac with an Apple M-series processor, follow these steps:
- Shut down your Mac.
- Press and hold the power button until you see ‘Loading startup options’ on the screen.
- Select a volume to boot from.
- Press the Shift key and click Continue in Safe mode.
- Wait for your Mac to restart. When it does, you should see ‘Safe Boot’ in the menu bar.

Intel-based Macs
If you have a Mac with an Intel processor, follow the steps below to boot in safe mode:
- Shut down your Mac
- Press the power button to start up your Mac and immediately hold down the Shift key.
- Release the Shift key when you see the login window and log in to your Mac.
- If you’re asked to log in a second time, do that.
- You should see ‘Safe Boot’ at the top of the login window.

Once you started up your Mac in safe mode and logged in, try and do what you were doing when the error code -8072 message appeared.
4. Disable System Integrity Protection (SIP)
SIP is a layer of security on your Mac that prevents certain files and folders from being modified by the root user in order to stop malware from changing things and causing problems on your Mac. However, occasionally, it can get in the way and prevent you from doing things you need to do, like modifying or deleting files.
You can turn SIP off using Terminal, but you should only do it temporarily. As soon as you’ve done what you need to do, you should reenable it.
- Boot your Mac into recovery mode. The process is different depending on the Mac you have, so follow the instructions for your Mac on Apple’s website.
- Click the Utilities menu and choose Terminal.
- Type:
csrutil disable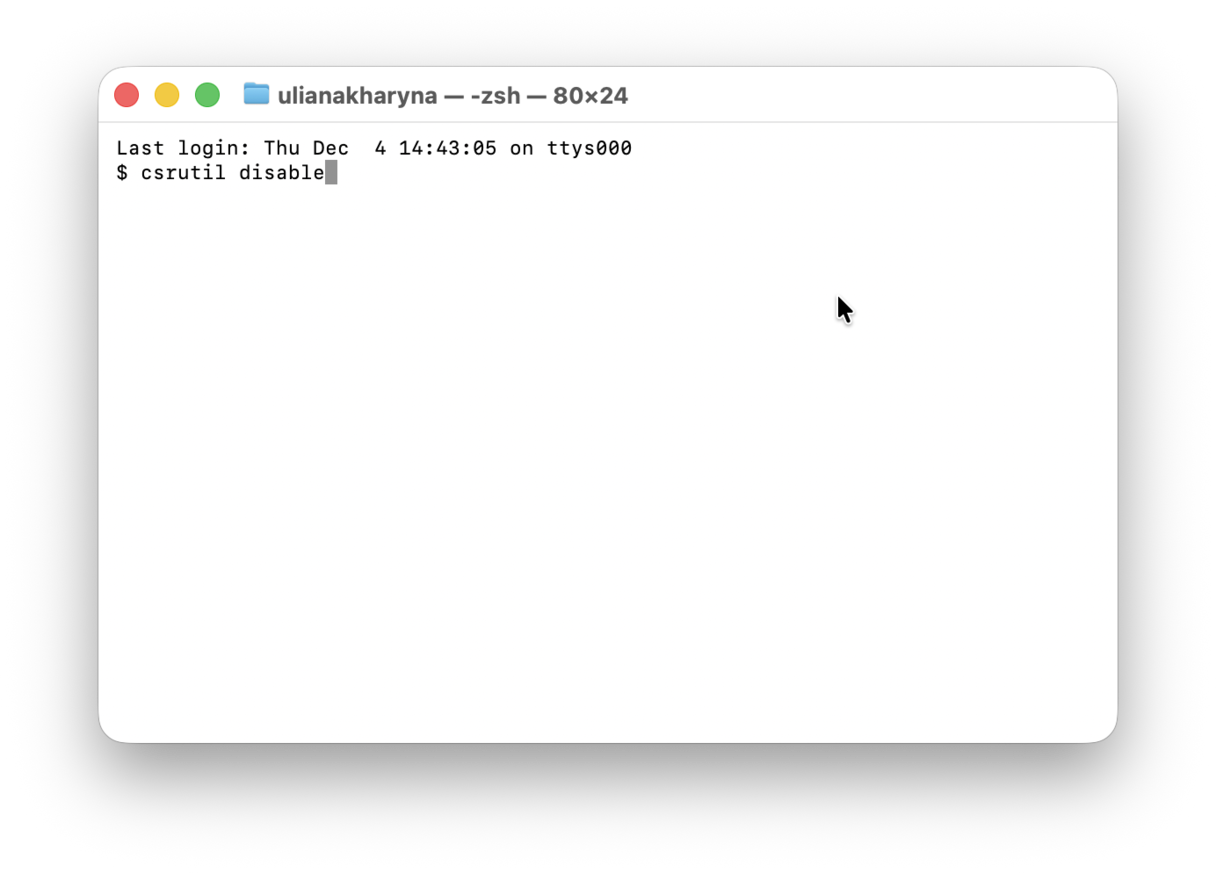
- Press Return.
- Restart your Mac normally and try to do what you were doing when you got the error message.
- Restart in recovery mode.
- Open Terminal.
- Type:
csrutil enable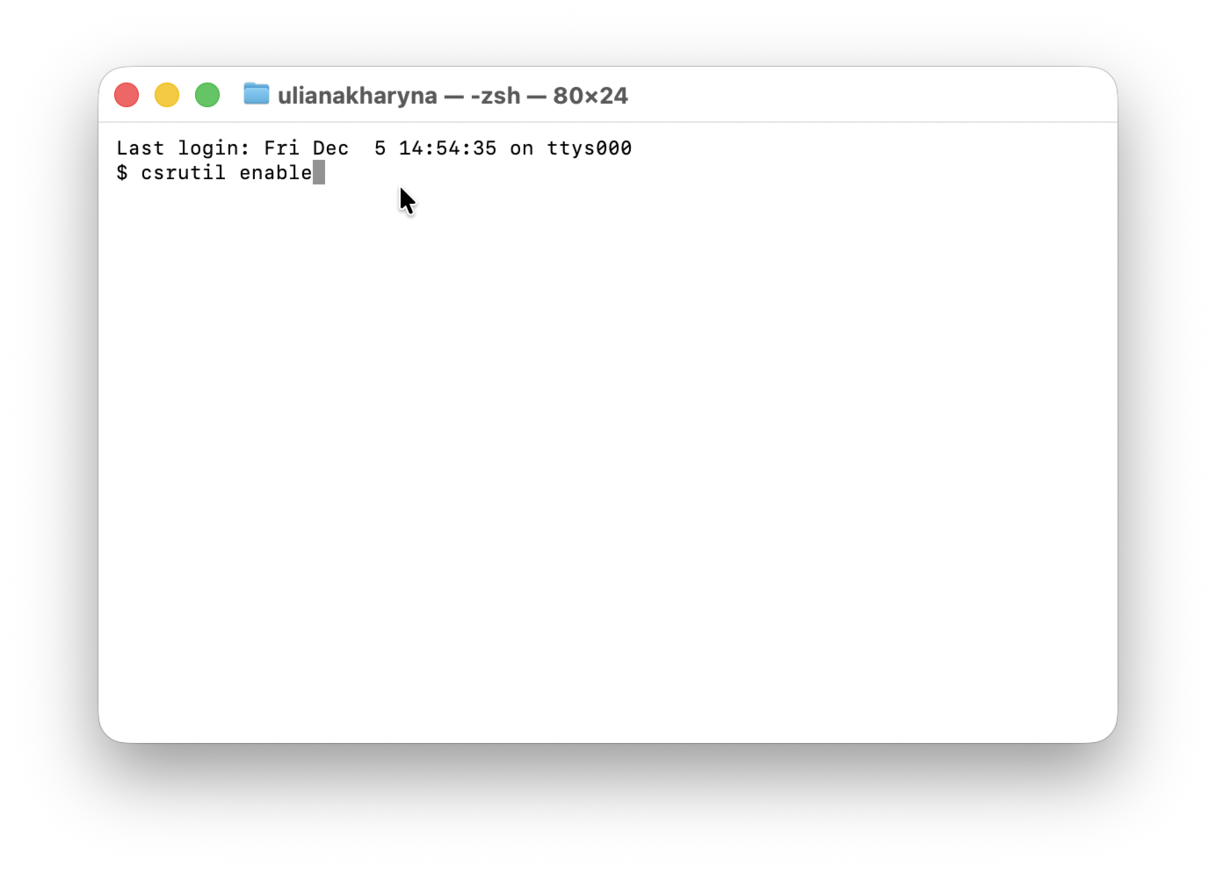
- Restart once again.


Error code -8072 is normally caused by incorrectly set permissions or a corrupted file and appears when you try to empty the Trash or copy the file somewhere else. Follow the steps above to identify the cause and fix the problem.
Frequently asked questions
Why do I get error -8072 when creating or renaming a folder on the Desktop?
It is because of corrupted permissions. Find the Desktop folder (e.g., in the Finder's sidebar) and verify permissions.
How do I use Terminal to force delete a file causing error -8072?
To force delete a file, run the sudo rm -rf command. Type it into Terminal and drag the file your want to delete onto the window. Press Return and enter your admin password. Always double-check the file before force deleting it this way — such deletion is permanent, so the file is not just sent to the Trash.
Can error -8072 appear when copying files to an external drive?
Yes, if your drive is NTFS-formatted because such external drives are read-only on macOS by default. To fix it, reformat your drive to exFAT/APFS or use a third-party NTFS write tool. But first off, check permissions in the Get Info window.


