Gmail is one of the world’s most popular email services, and for a good reason — it’s free, has lots of great features, and has client apps for most platforms. However, most people don’t take the time to adjust security and privacy settings, and you really should. Here’s how to control Gmail privacy settings.
In this article, we’ll show you how to adjust security settings for Gmail and for other Google services like Maps and search.
I don’t usually recommend specific apps, but I’ve found that CleanMyMac is the easiest way to carry out a privacy scan and clear off private data on your Mac. Just download, install, and open it. Then click on the Privacy tool and click Scan. It’s really that easy!

How to manage your Gmail security and privacy settings?
The first step is a quick security check up.
Don’t worry; it’s painless!
1. Go to my account.google.com and click Sign In.
2. Type in your Google user ID and password.
3. When you’ve logged in, you’ll see a window with ‘Welcome, [your name]’ and, underneath that, three boxes. Look for the box that says ‘Security Checkup.’
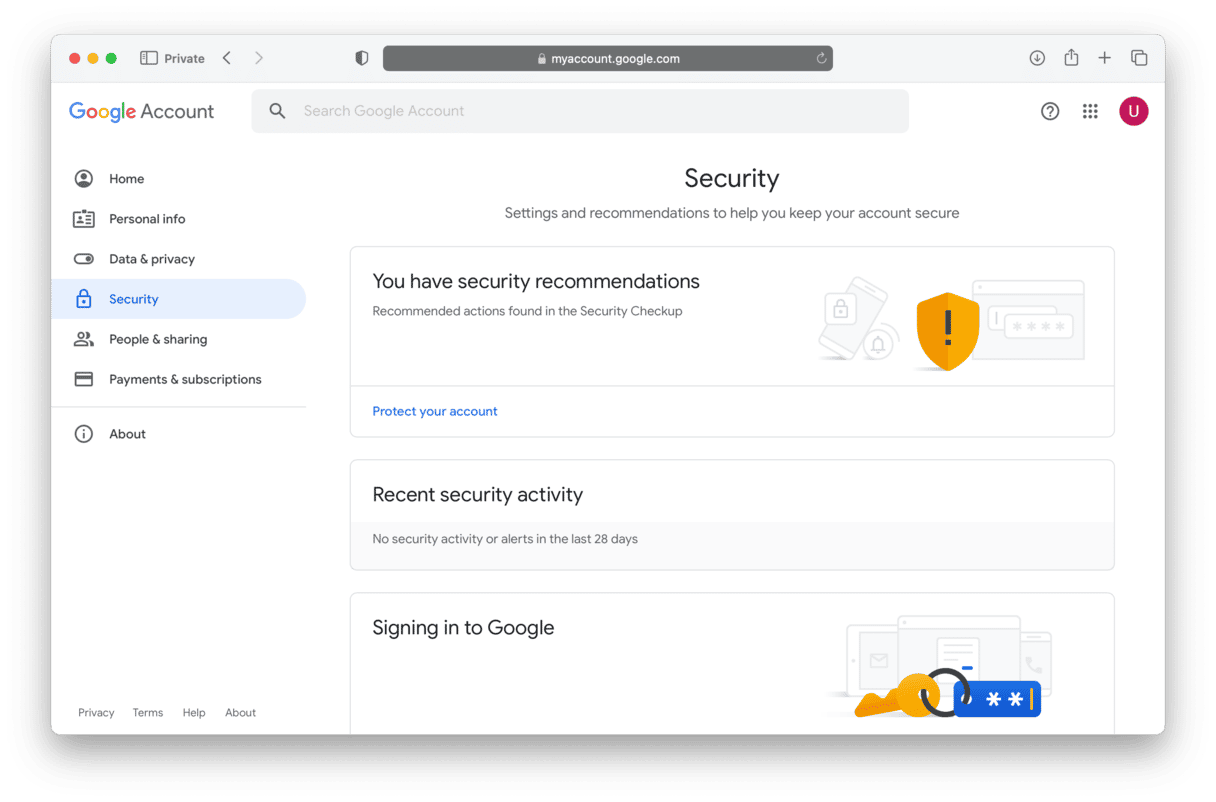
4. Under that box, you may see the message telling you that you have security recommendations.
5. If you saw it, click Protect your account.
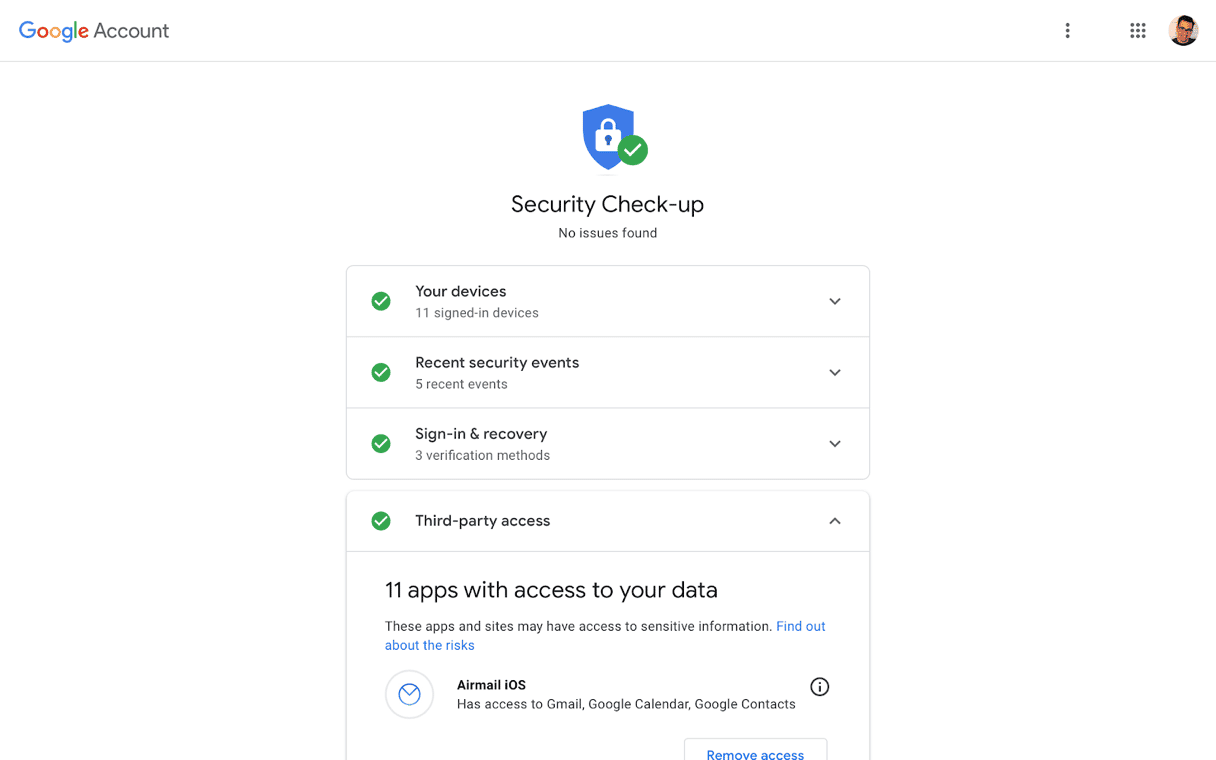
6. Start with the Your devices section and click the arrow to see the devices.
7. If there are any devices on the list you no longer use or do not recognize, click ‘Remove.’
8. Move on to the Recent Security Events section and review the events. If there are any you don’t recognize, click the link at the bottom of the list.
9. Check the verification methods under Sign in and Recovery. Review them and edit them if necessary by clicking the pencil icon or the ‘i’ to find out more.
10. Finally, check the Third-party access section and make sure all the apps and services listed are ones you still use. If not, click Remove.
And that’s it! The security check is complete.

Now it’s time to review your login settings.
1. Click on Security in the left sidebar.
2. In the Signing into Google section, click Password if you want to change your password.
3. Decide whether you want to use your phone to sign in to your Google account.
4. You should turn on 2-step verification — it makes your account much more secure. Click on the 2-step verification section to get started, then follow the instructions on the screen.

Now do a privacy checkup.
1. Select ‘Home’ in the sidebar.
2. Choose ‘Privacy & privacy.’
3. Click Take the Privacy Checkup.
4. Now, return to the previous menu. In there, read the description of each section, and if you want to make changes, click the link at the bottom of the section.
5. Pay special attention to the Info you share with other sections.
6. Change anything that you’re not happy with.

7. The next section relates to how people are able to contact you when you’re using Google services. Check your profile and location sharing information and make any changes that seem relevant.
8. Next, check data from apps and services you use. Make your way through all of the boxes and set up the options.
9. Finally, if you want to control the kind of adverts Google shows you, go to Personalized ads.
You’ll notice that there are lots more settings you can change on the Data & privacy page. Some of them duplicate what we covered in the security checkup and privacy checkup sections, and of the rest, some are more important than others. We’ll cover the most important ones in the rest of the article. Let’s start with that audio recording we mentioned.

Check audio recording permissions
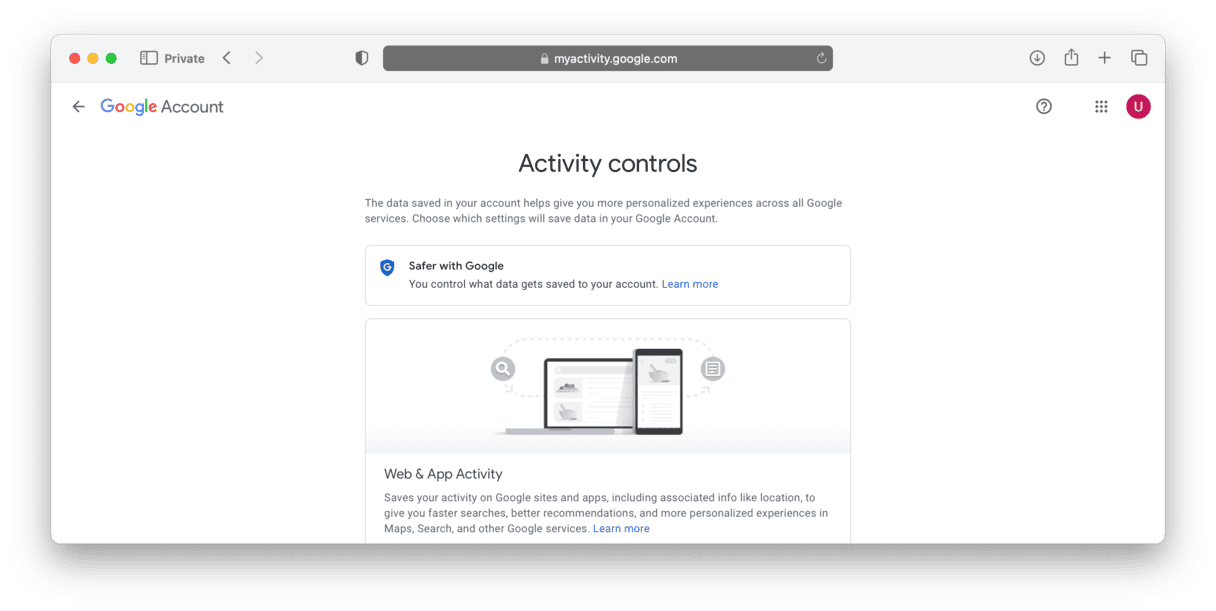
1. In the Activity Controls section, look for Voice & Audio Activity.
2. If it is selected, it means Google is currently recording audio using the microphone on your devices. I don’t use Google Assistant, so I have set it to off, or paused, as Google calls it.
3. If you decide to keep it switched on, select Manage Activity to see and control what it records.
4. If you don’t want Google tracking where you go, turn off Location History.
5. And if you don’t want to share information like calendar appointments and contacts with Google, turn off that option.
How to fully erase your web traces
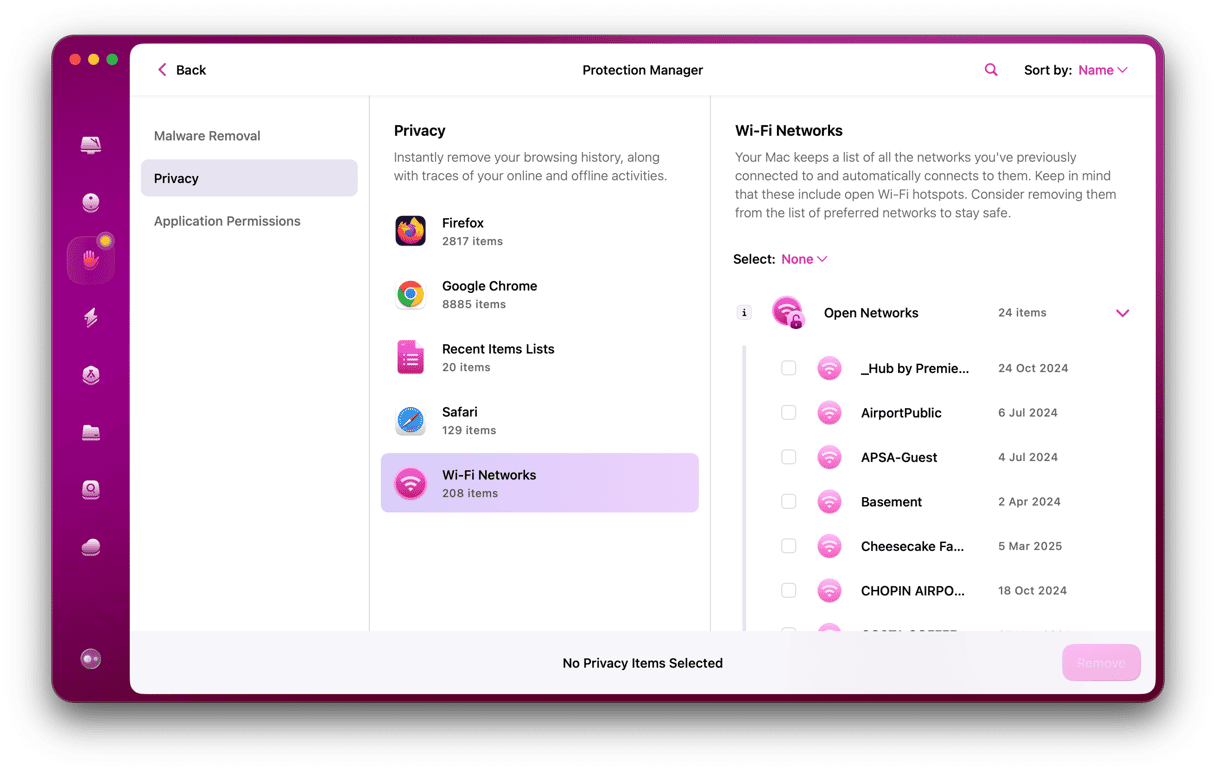
To feel secure, users need to occasionally wipe out all their privacy entry points:
- Wi-Fi networks list
- Skype conversations
- Recent downloads
- Autofill values
This can be done, again, with CleanMyMac. This app is notarized by Apple, so you’re safe using it.

We’ve all read the stories about how Google is a privacy nightmare, but the truth is it provides lots of tools to help you manage the data it holds about you. Follow the steps above to take control of your data and ensure you use Google safely.


