Apple’s cloud storage service iCloud has become integral to the experience of using a Mac over the last decade or so. As well as iCloud Drive, which allows you to store ad hoc files and folders in the cloud and access them from any device connected to your Apple account, iCloud also provides storage for your Photos Library, apps from Apple and third parties, and messages in email and the Messages app. And if you subscribe to iCloud+ and have a Family plan, you can share that storage with family members. All of that means that even if you are on a paid-for tier, iCloud storage can fill up pretty quickly. So, in this article, we’ll show you how to manage your iCloud storage on Mac and how to free up space.
Why does iCloud storage fill up so quickly?
For many of us, the reason iCloud storage fills up so quickly is that we have lots of photos in the Photos app and sync them with iCloud. It doesn’t take long for photos and videos to reach the 5 GB limit on free storage. The other reasons your iCloud storage may have filled up more quickly than you can expect are:
- Backing up your iPhone and/or iPad to iCloud
- Syncing Desktop & Documents on your Mac with iCloud
- Having lots of iMovie or GarageBand files stored in iCloud
- Using iCloud Drive to store large files
How to manage iCloud storage on Mac
Thankfully, whatever the reason for iCloud storage filling up quickly, there’s a lot you can do to free up space. Before you do anything, though, it’s a good idea to take a look at exactly what is using up space:
- Click the Apple menu and choose System Settings.
- Select your name and choose iCloud.
- To see the apps that save data, click See All. Or to get a more detailed view of how much of your iCloud storage each app is occupying, choose Manage.

How to free up space in iCloud
iCloud Photos
For most people, the biggest user of iCloud storage space is Photos. So when you’re trying to free up space, it makes sense to start there. You could just turn off iCloud Photos altogether. However, if you do that, all your photos and videos will be deleted from iCloud and will no longer be synced from your devices.
Still want to go ahead? In Manage Storage, select iCloud Photos, then click ‘Turn off and Delete from iCloud’.

If that seems too drastic, the other option is to delete photos and videos in your iCloud Library. The next time your Mac syncs with iCloud, the photos and videos you deleted will also be deleted in iCloud. Trawling through your Library looking for photos to delete is laborious, but there are a couple of places you can find easy wins.
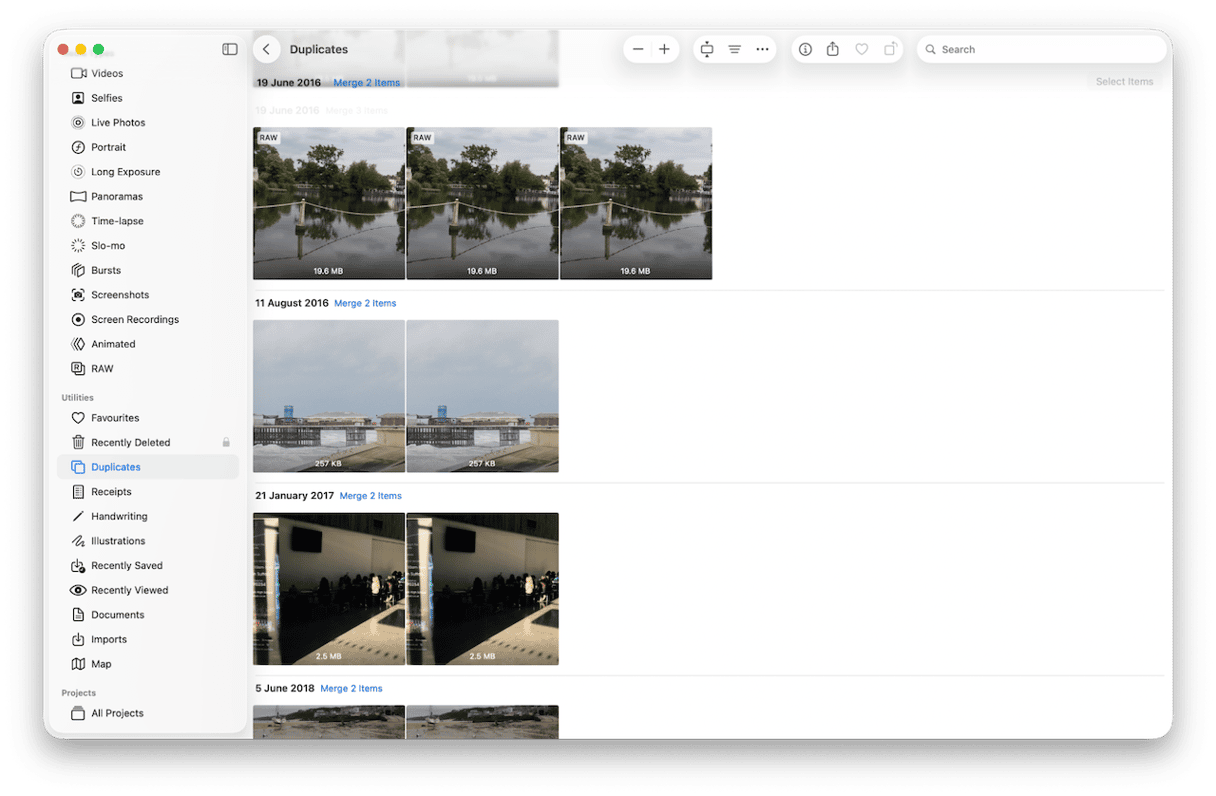
- Open Photos and look for the Duplicates album under Utilities.
- Select Duplicates.
- Go through the duplicates listed in the main window and choose Merge x items (where ‘x’ is the number of photos) to eliminate the duplicate while keeping the highest quality version of the original.
- Choose Screenshots in the Photos sidebar.
- Select the screenshots you want to delete (you can always archive them to a folder on your Mac or a separate disk if you want to keep copies).
- Press delete to delete them.

Do not forget to remove them from the Recently Deleted album, too.
App data
If there are apps that you previously used and no longer need, their data may still be in iCloud and taking up space. If you still use an app, deleting its data in iCloud will mean it is no longer available in the app. Here’s how to check and delete that data.
- In System Settings, click your name and choose iCloud.
- Click Manage.
- Scroll down until you see the app. You will have the storage space it is occupying under its name.
- To delete that data for that app, select it and choose Delete from iCloud.

iCloud Drive
If you use iCloud Drive for general storage on your Mac, it may be taking up a lot of space in iCloud. The solution is to delete files and folders or archive them on an external storage drive.
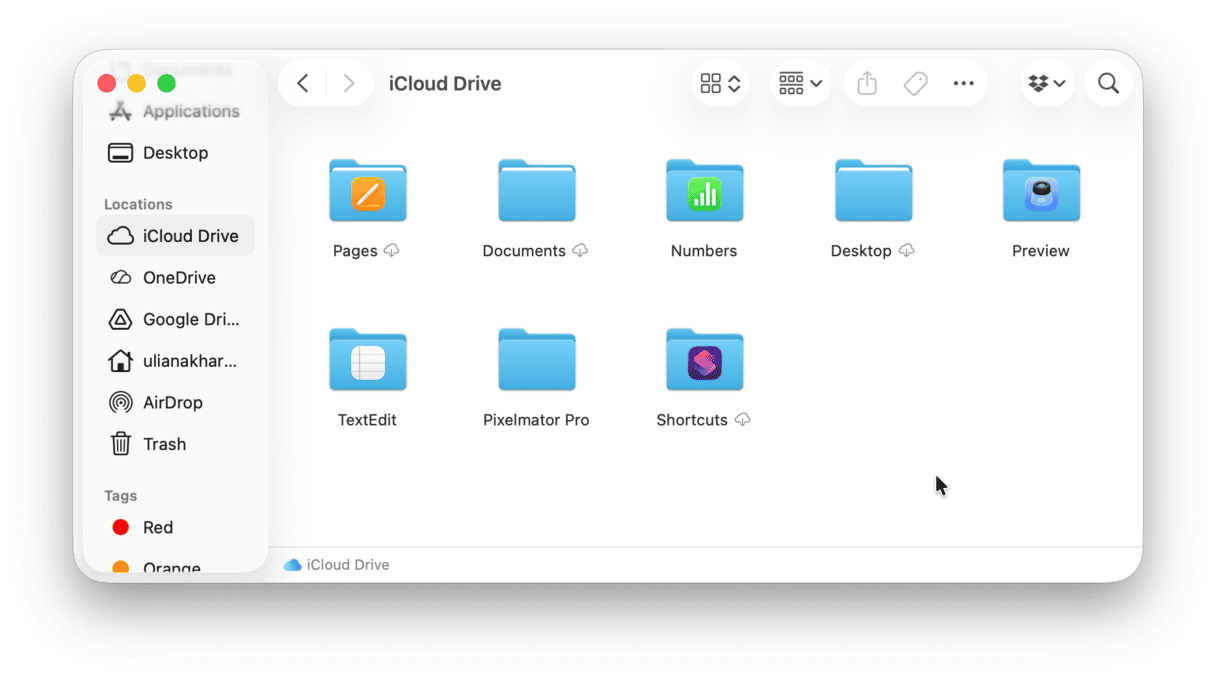
- Open a new Finder window on your Mac.
- Choose iCloud Drive in the sidebar.
- Go through the folders you’ve created (not those belonging to an app) and copy them elsewhere, then drag them to the Trash. When you move a file to the Trash in iCloud Drive, it remains recoverable in Recently Deleted on icloud.com for 30 Days.

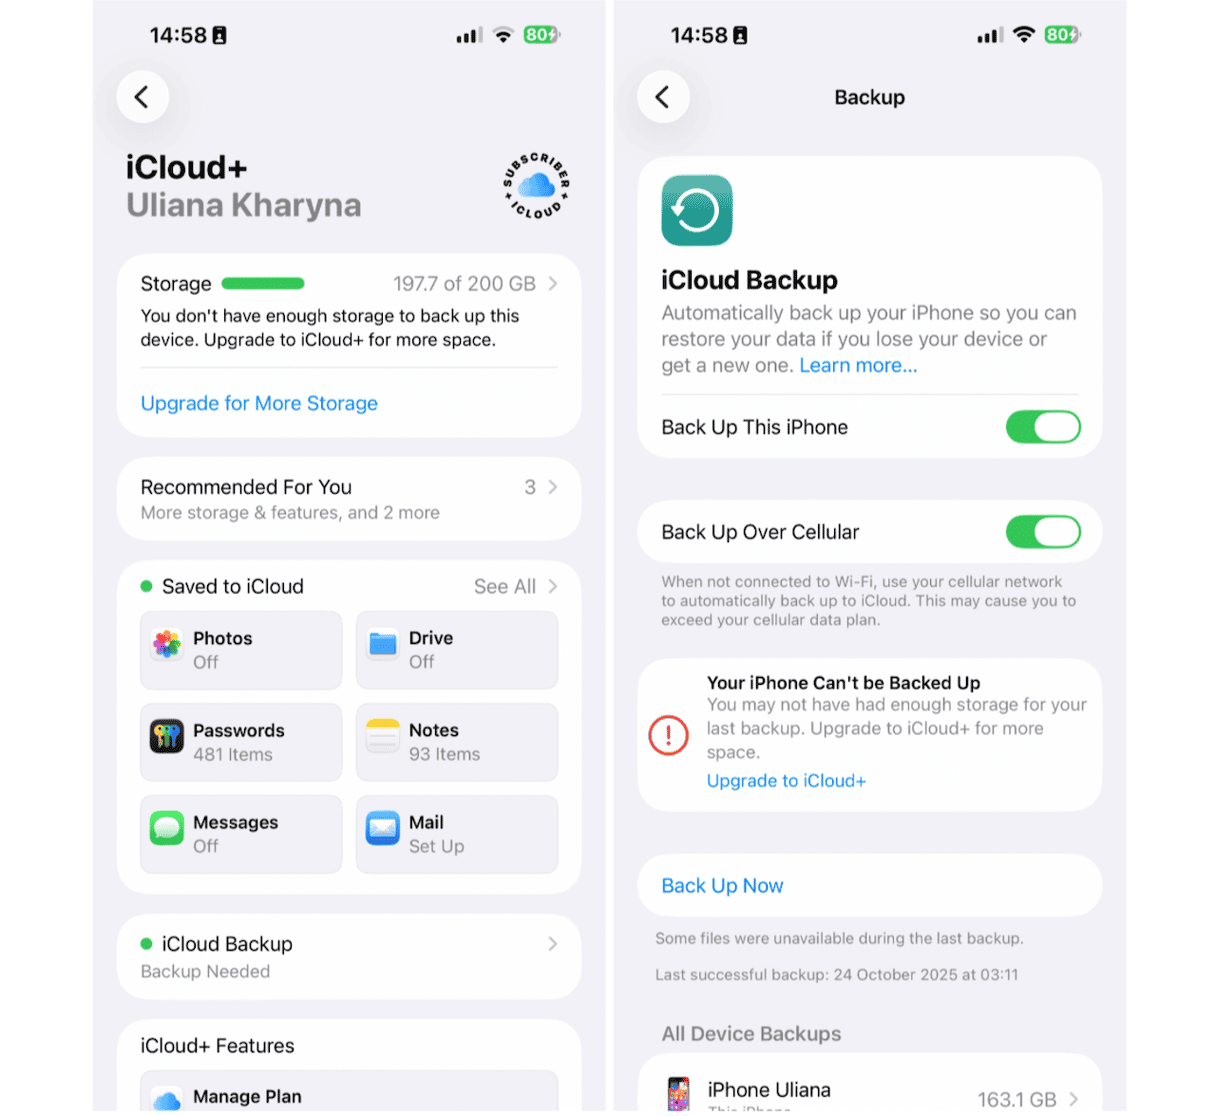
Device backups
If you only use your iPhone or iPad for web browsing, email, Messages, Photos, social media, or streaming, you may not need to back it up regularly to iCloud. This is especially true if you only use Apple apps and services.
Backing up only backs up data that doesn’t sync with iCloud, such as photos taken with third-party apps, documents created in apps that don’t sync with iCloud, device settings like your Home screen layout, and purchased ringtones.
If you don’t need to back up any of that data, you can turn off device backups to save space. Instead of backing it up to iCloud, you could manually back it up to your Mac.
- On your iPhone or iPad, go to the Settings app.
- Tap your name, then iCloud > iCloud backup.
- Turn off Back Up This iPhone (or iPad).
- On your Mac, go to System Settings > Your name > iCloud and click Manage.
- Select Backups.
- Choose a backup to delete and click the ‘-’ button.


Alternatively, you can reduce the size of device backups by removing the data of some apps from the backup.
- In Settings, go to Your Name > iCloud
- Tap iCloud Backup and choose a device.
- Wait for the screen to finish loading and then turn off the toggle switch next to apps whose data you don’t want to back up. (If you don’t see the app you want, tap View all apps)
It’s worth knowing that if you don’t use iCloud Photos and have photos on your iPhone and iPad, they will be backed up by default and take up space in iCloud. You can turn on Photos backups in the same way as other apps. If you do that, it’s a good idea to manually back up your photos to your Mac or another storage service.
Messages attachments
Attachments in the Messages app can often take up quite a lot of space. To delete them, follow the steps below.
- Open Messages and choose the conversation whose attachments you want to delete.
- Click the name of the contact at the top of the window.
- In the sidebar that slides open on the right, choose Photos.
- Command-click on the photos you want to delete.
- Choose Delete.

Voice memos
If you have lots of voice memos in the Voice Memos app, deleting some of them will free up space.
- Open Voice Memos on your Mac.
- Select the memos you want to delete in the sidebar and either press Delete or right-click and choose Delete.
By default, memos remain in iCloud’s Recently Deleted folder for 30 days and are then deleted permanently. You can recover them in Recently Deleted on icloud.com
How to easily manage storage in a cloud service
If you use Dropbox, Google Drive, or OneDrive — as well as iCloud — keeping track of all your data and freeing up storage on each service can be time-consuming and laborious, but there is a straightforward solution. CleanMyMac’s Cloud Cleanup feature makes it easy to clear out files you don’t need on any of those cloud services.
- Get your free CleanMyMac trial — check out how it works for 7 days for free.
- Open CleanMyMac and choose Cloud Cleanup in the sidebar.
- Click ‘Connect to iCloud’ (or whichever service you want to clean up) to connect CleanMyMac to your account.
- When it’s connected, click Scan.
- Select Review all Files to see what CleanMyMac has found.
- Select a folder to delete all of its contents or double-click it to see the files inside it.
- Select the files you want to delete.
- Click Review and Delete.

The 5 GB limit in the free tier of iCloud doesn’t go very far, so it’s likely that you will have to free up space at some point if you don’t want to upgrade to a paid tier. Follow the steps above to manage iCloud storage on your Mac.