Portrait photography is easily the most satisfying — and the trickiest — genre there is. So many ingredients go into a fabulous portrait: not only lighting and camera settings, but also your model’s pose and expression, the background you choose for the photo portrait, and the post-processing involved in creating a perfect capture. Here are some portrait photography tips to help you get started with taking incredible portrait pics, no matter what type of camera you’re using.
Portrait photography: gear and settings
Creating a head-turning portrait takes more than asking your model to say “cheese” and clicking the shutter. You’ll need to learn your camera’s settings, understand lighting conditions, and know how to make your model feel comfortable in front of the camera.
While any camera, including your smartphone, can be used for taking portrait photos, the majority of photographers will use a DSLR for portrait shots.
What is the best lens for portraits?
The lens you choose for portrait photography will depend on a few different factors, such as your budget, type of camera, and photography style. Many types of lenses can be used to capture fantastic portraits, so your best bet is to start with the one you already own.
Prime lenses vs. zoom lenses for portraits
Prime lenses have a fixed focal length, which means you will have to move your feet to zoom in and out on your subject. The benefit of prime lenses is that they often feature a larger aperture and allow for a shallow depth-of-field. This is very useful if you’re trying to achieve a nicely blurred background or bokeh. Prime lenses also allow you to use a faster shutter speed, which is useful in low-light settings. They usually produce better image quality too, creating sharper photos and less distortion and lens flare.
The main benefit of a zoom lens is its flexibility. You can choose one or two lenses for your kit and they will work in many different situations. However, if you’re on a budget, an inexpensive prime lens will be a better choice than an inexpensive zoom lens.
The best lens for your portraits will depend on your personal preferences, but here are a few solid ideas:
- 85 mm / f1.8 prime lens. Great for tight portrait shots, produces flattering compression and sharp image quality.
- 50 mm /f1.2 or f1.4 prime lens. A good all-purpose portrait lens.
- 70-200mm / f2.8 zoom lens. A nice lens if you’re shooting from farther away, perfect for large venues like concert halls.
Portraits are especially difficult to get right on the first try, and you will likely take dozens of similar shots while you’re practicing. Using Gemini 2, a duplicate photo finder for macOS, will help you sort and delete unwanted photos after a photo shoot. That way you’ll save space on your Mac and make post-processing easier. Download Gemini for free and give it a try.
What settings to use for portraits
Your portrait photography settings will depend on many factors: whether you’re shooting indoors or out, whether natural light is available, and how close you are to your subject. The following tips are just starting points, and the best way to discover what settings to use in a given situation is to learn what your camera’s settings do and practice using different combinations.
- Keep your ISO low. Crisp details are crucial in portrait photography, so try and keep your ISO setting between 100 and 400. If you’re shooting in poor light, you may have to go a bit higher, but you should also use a tripod so you can keep your ISO settings as low as possible.
- Use a wide aperture, but not too wide. Aim for between f/2 and f/4 for the best focus and depth of field. Anything larger, and you’ll risk part of your subject being out of focus. Anything smaller, and your background will become distracting. If you’re shooting a group portrait, aim for f/5.6 - f/8 so that everyone in the shot looks nice and crisp.
- Choose your shutter speed based on your subject and the lighting. Shutter speed for portraits is a tricky thing. It depends on how much your model moves, how much natural light is available, and whether you’re using a tripod. If you’re shooting in bright light with a subject that stays relatively still, you could go down to 1/15. If you’re shooting kids or in low light, shoot faster — at 1/125th or higher.
- Shoot in RAW. Doing that allows your camera to pick up more details from the scene you’re shooting and allows you to correct white balance and exposure issues in post-processing.

How do you frame a portrait?
One of the most important aspects of portrait photography is creating a striking composition that will connect with your viewer and emphasize the mood. While framing is important in all types of photography, it is especially critical in portraits.
When capturing a portrait, you want to find the perfect balance between filling the frame with your subject and leaving enough room around them so that the scene doesn’t feel awkward or tense. The most natural framing for a portrait is to keep your subject’s eyes in the upper third of the frame.
What is the difference between headroom and lead room?
Headroom and lead room are two important composition concepts that are used with all types of portrait photography techniques. Headroom refers to the amount of space between the top of your subject’s head and the top of your frame. The amount of headroom you leave will depend on your personal preferences and the background you’re capturing, as well as on how much of the frame is filled by your subject. There are no hard-fast rules about how much headroom is appropriate — your goal is to create a balanced frame without making the viewer claustrophobic.
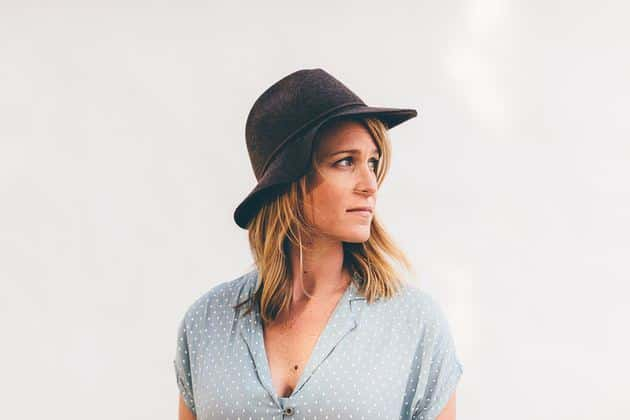
Lead room works the same way, except it’s achieved by creating negative space in the direction that your subject is facing. In portraiture, lead room will follow the gaze of your subject’s eyes, and the amount of lead room you give your subject will depend on your overall composition and background. Without substantial lead room, also called leading space or nose room, you might frustrate your viewer or even make them uncomfortable.

The importance of careful cropping
Cropping your subject can sometimes create a more interesting portrait — you just have to be careful so as not to create a “chopped-off” look. When cropping body parts, don’t cut off a small portion of your subject, such as fingers, toes, or the very top of their head. This will look like a mistake to your viewer. Instead, crop from the middle of your model’s forehead, forearm, or at the knees, which will look intentional.
What’s the best lighting for portrait photography?
There are many different styles of portrait photography lighting, from the simplest setup using natural light to complex and dramatic studio lighting. Since we’re focussing on beginner portrait photography, we will keep the lighting discussion as simple as possible.
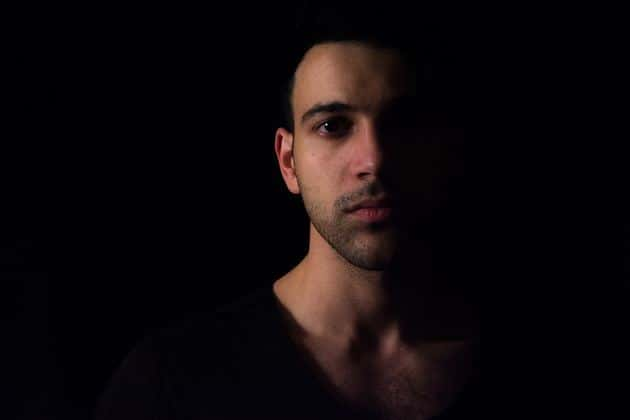
The trick to using lighting effectively is to set the mood or create drama by playing with your light source and the shadows it creates on your subject.
Outdoor portrait photography and natural lighting situations
Natural light can be very flattering to your subject, and not having to lug around lights, stands, and cords has obvious benefits. Here are a few tips for using natural lighting in your portrait photography.
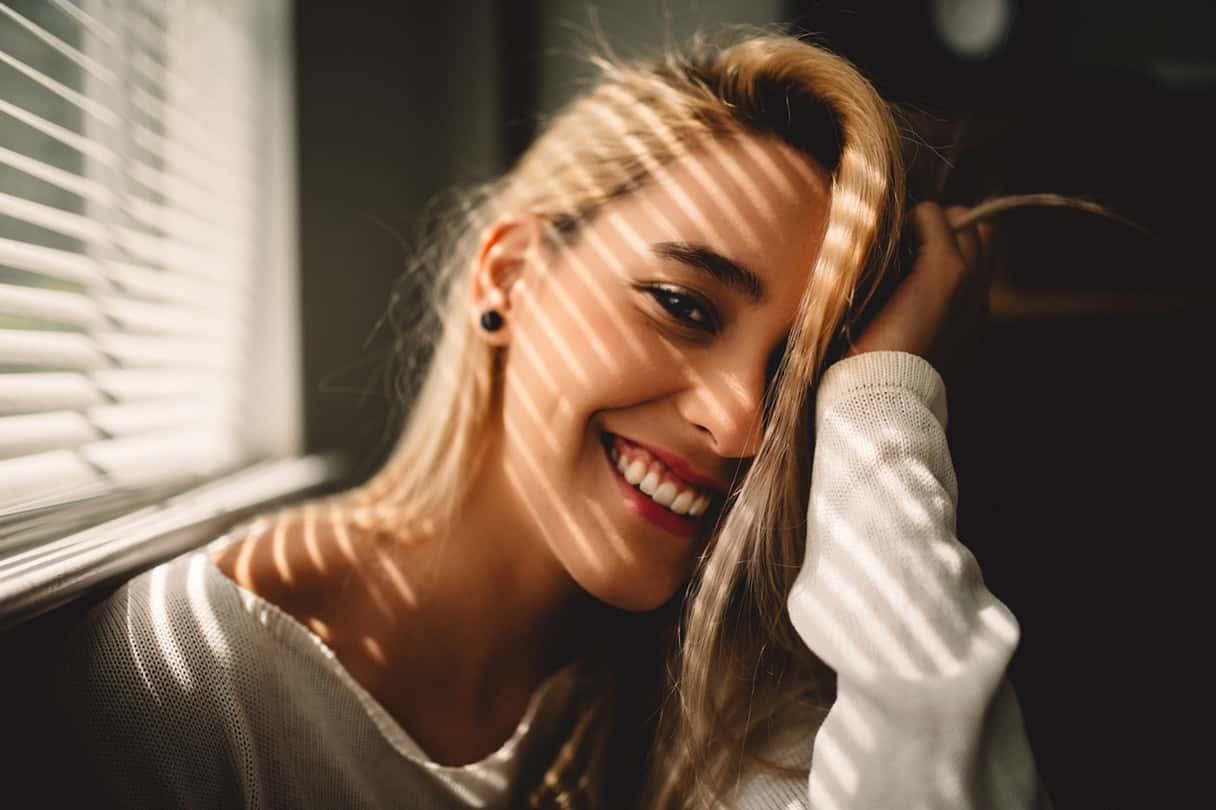
- Look for soft, warm light. When shooting portraits, avoid direct sunlight, because it creates hard shadows and can make your model squint. Instead, look for light that casts very soft shadows on your subject’s face or none at all.
- Consider open shade. If soft lighting is unattainable, you can shoot great portraits under awnings, in the shadow of buildings, or in alleys or doorways.
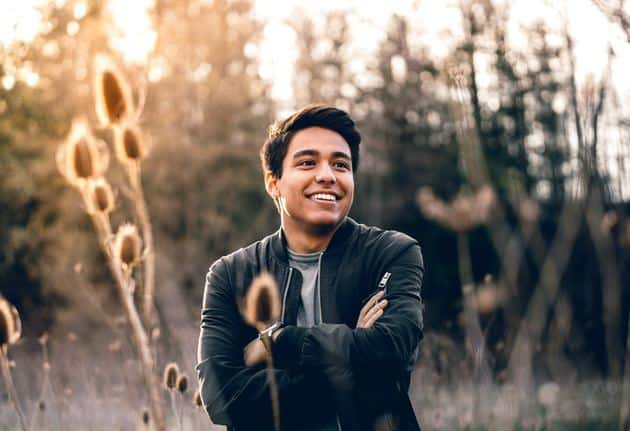
- Choose an appropriate background. Once you have a spot with suitable lighting conditions, check your background to ensure there are no contrasting shadows or distracting reflections.
- Use a catchlight. A catchlight is a bright highlight that is captured in a subject’s eyes. This creates sparkle and adds interest. To capture catchlight, have your model face the light source at a 45-degree angle, with their head tilted slightly toward the light until you can see the glint in their eye.

How to shoot portraits with artificial lighting
Artificial lighting was originally created to mimic the effects of natural light. If you’re just starting out with portrait photography, the simplest setup is to use an external flash or a continuous light source, with a light stand and a medium-sized photography umbrella.
There are many different portrait lighting patterns to experiment with, and as you become more confident, you can play around with them all. The simplest to use is a 45/45 set up, which means you position the light (and the light stand) at a 45-degree angle to your subject and at a 45-degree vertical tilt. Position your flash into the umbrella and set it to bounce mode. If you have a continuous light, just point it into your umbrella.
As you experiment with different lighting techniques, pay close attention to where the light is falling, how it is reflected, and how the overall mood of your portrait turns out. Another great exercise is to look at portraits by professionals and try and figure out the lighting setup they used to create the effects you like.

Ideas and poses for portrait photography
The most important posing tip for portrait photography is to get out from behind the camera and connect with your model. Talk to them and make them feel at ease. You can position your camera on a tripod and use a remote shutter to make this a little easier. Here are some portrait photography poses you can have your model try:
- Lift the chin slightly upward. This reduces the double-chin look that often occurs when your model’s chin points downward.
- Turn the shoulders slightly away from the camera. Both shoulders facing the camera will make your model appear wider. Instead, ask them to turn their shoulders slightly while looking at the camera.
- Lift the arm away from the torso. Try and keep your model’s arm from lying flat against their body. Not only does this make their arm look bigger than it is, but it also gives them a stiff, unnatural appearance.
- Shift the weight onto one leg. This makes your model look more relaxed.
- Lean toward the camera. A slight lean toward the camera will make your model appear slimmer.
A few more portrait photography ideas
You’re almost ready to enter into the exciting world of portrait photography! Before you begin shooting, we’ve got a few more tips to help you on your way.
Practice with friends and family
One of the most difficult parts of portrait photography is working with people you don’t know. The process is quite intimate and can be intimidating for both models and photographers. Practice on the ones you love, and you’ll feel much more comfortable with strangers.
Use a reflector
This simple piece of gear is a great way to reflect light back onto your subject and fill in the shadows.
Use a longer lens to be less obtrusive
If you’re shooting street scenes and want to be able to capture people’s portraits without making them uncomfortable, consider investing in a telephoto lens. The zoom will help you get close to your subject without invading their personal space.
As with all photography techniques, the most important element of a great portrait is you, the photographer. Experiment with poses, lighting, and camera settings as you practice photographing your favorite people. It won’t be long before your portraits improve dramatically, along with your skill as a photographer.


