If you experience these issues on Mac, your disk may need recovery:
- Multiple apps quit unexpectedly.
- Corrupted files and access errors.
- External devices work improperly.
- Your computer won’t start up.
How to do some disk maintenance
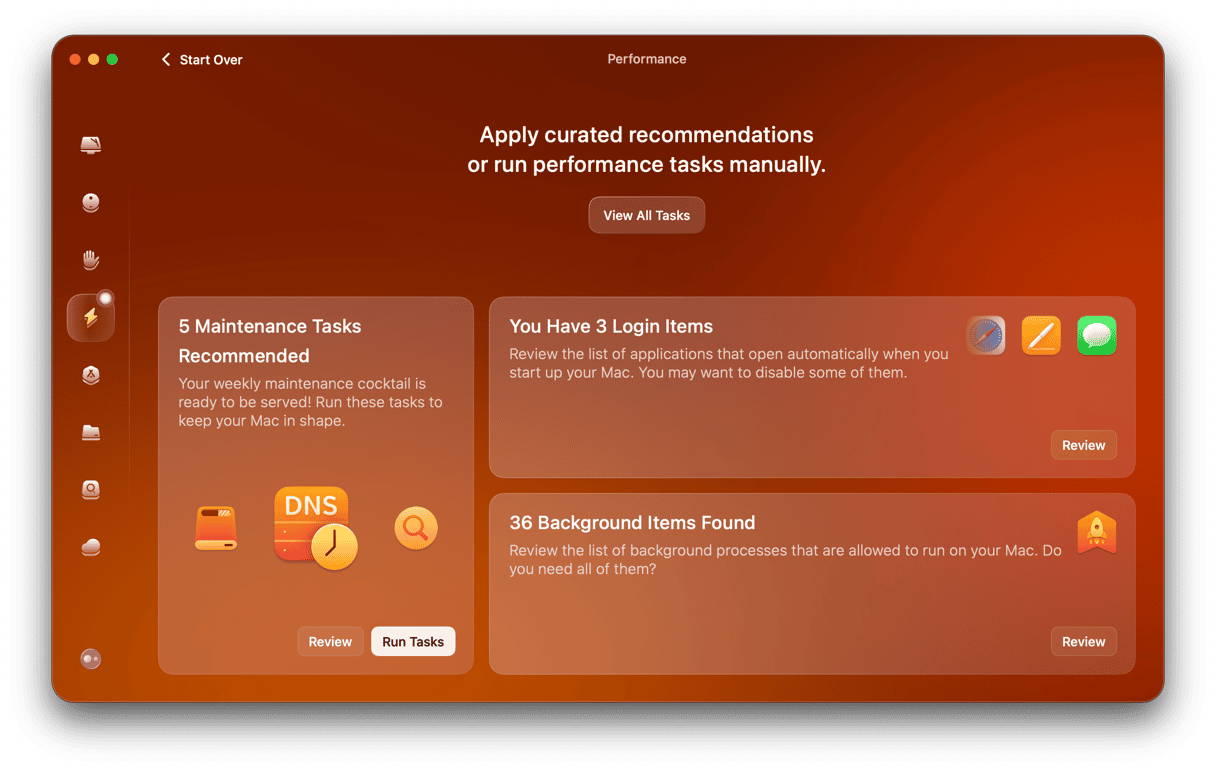
If you can still turn your Mac on, use an app called CleanMyMac (you can try it for free).
Once you download and install CleanMyMac, choose its Performance feature in the sidebar. Click Scan to examine your system. You'll see recommended tasks for your Mac — review and run them to bring your system to the max.

Now we’ll go over how to perform hard disk repair on Mac using software solutions. That’s only possible if your disk can be saved by means of Mac’s native app, Disk Utility. If it fails, the only alternative is to back up your data and get a new disk.
Hard drive recovery using Disk Utility
Before proceeding with the next steps we outlined here, print this article or open it on any other device. You’ll lose access to it after you restart your Mac later.
Now, boot your Mac into Recovery mode.
For an Intel-based Mac:
- Go to Apple menu > Restart.
- Immediately press and hold Command+R.
- Don’t release the keys until you hear Mac’s startup sound or until the Apple logo appears.
For a Mac with Apple silicon:
- When turning on your Mac, press and hold the Power button.
- Keep it pressed until you see startup options.
- Click the Gears icon (Options) and hit Continue.
- You may be asked to select a user and enter their administrator password. Follow on-screen instructions and press Next after any action you take.
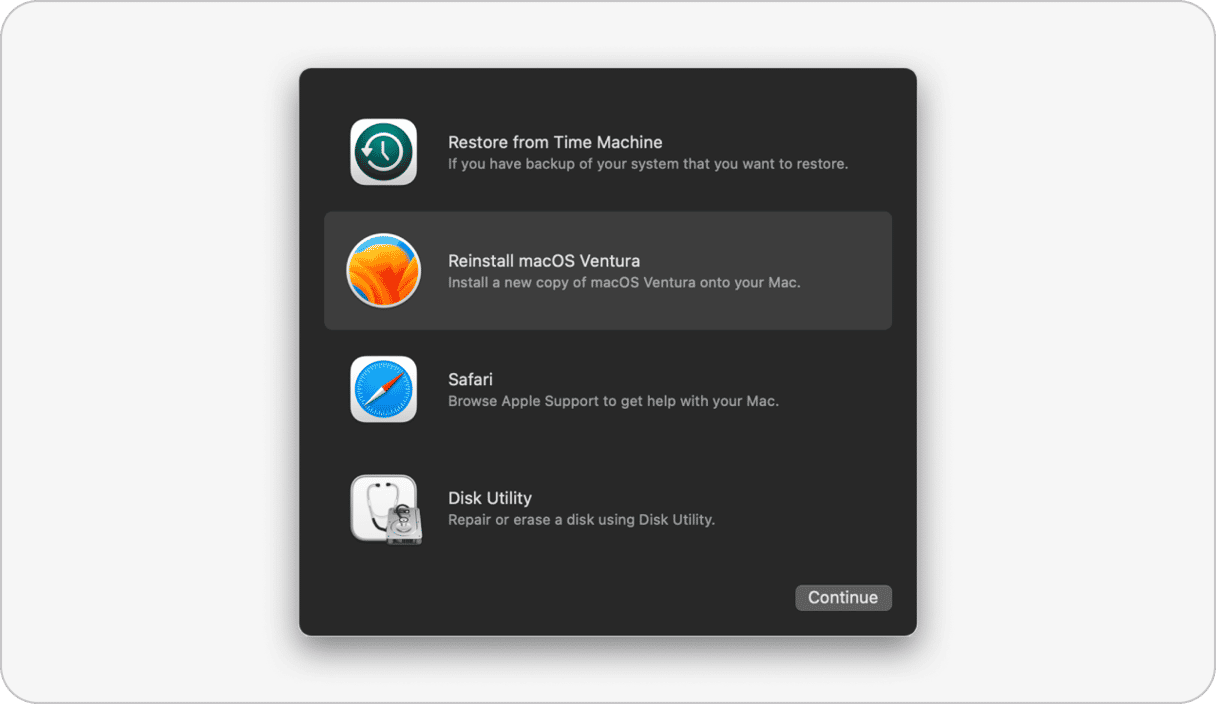
Give your Mac some time. You should see the following window:

Now that you see it, follow these steps:
- Choose Disk Utility.
- In the sidebar, choose the disk you think needs repair.
- Find First Aid and click on it.
Note that if you are using FileVault to encrypt your disk, you must mount the disk first. To do it, click Mount at the top of the Disk Utility window. Then, enter your Mac account password in the dialog that appears.
At this point, there are two options.
Case 1. Disk Utility might tell you right away that your current startup disk is on the very edge of failing. This means you need to promptly back up all your files and take your beloved Mac to the repair shop. That’s about all you can do.
Case 2. If Disk Utility offers you to run diagnostics, simply click Run.
If it reports that the disk has been repaired, you’re free to close it all and live a happy life from now on. But, unfortunately, there can be other troublesome issues.
For example, Disk Utility may inform you that the underlying task reported failure. In this case, you can try to repair the disk again. If that fails, use our guide above to back up your files and then completely reformat the disk. You’ll need to remove all the info from it, reinstall the operating system, and restore the data afterward.
If you continue having issues with your disk and neither recovery option works, it may be physically damaged. This means you should take it to your local Mac service — they will be happy to assist you at this point.
How to back up your Mac
If you’ve never used Time Machine, you’ll need to configure it first:
- Connect external storage (AirPort Time Capsule, USB flash drive, portable hard drive, or else).
- Go to System Settings > General and click Time Machine (System Preferences > Time Machine on older macOS).
- For older macOS versions, click the Select Backup Disk button in the center of the window. For macOS Ventura, hit Add Backup Disk and follow the on-screen instructions.
- Choose the storage device you wish to back up your files to and click Use Disk or Set Up Disk (read more here to find out how to set it up).
That’s it! Your first backup will be started automatically in a couple of minutes. More detailed backup information is specified next to the Select Disk button. We recommend connecting your Mac to a power cable before starting the backup.
If your Time Machine is already configured, you probably know what to do:
- Click on the Time Machine status menu at the top right corner of the screen.
- Choose Back Up Now.

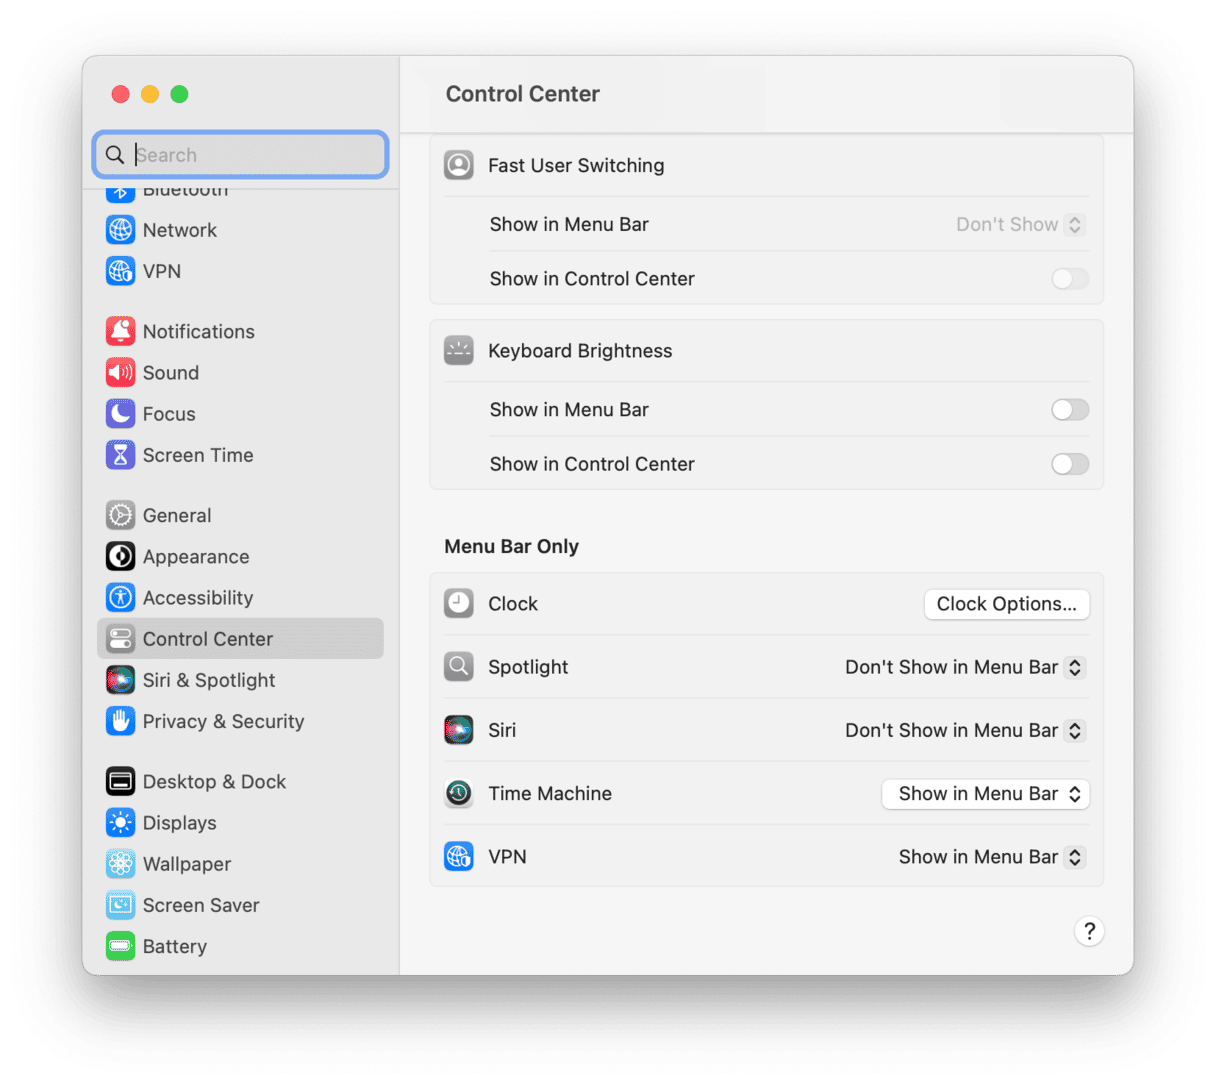
Can’t see Time Machine among status menus? Then, open System Settings > Control Center. Click the checkbox next to the Time Machine and select “Show in Menu Bar” from the drop-down menu. On older macOS versions, go to System Preferences > Time Machine and select the "Show Time Machine in menu bar” checkbox.

How to protect a disk from failure and keep Mac healthy
With the proper software tools, you can monitor your Mac’s well-being and keep it speedy and sound for years.
There are two essentials to a good-working Mac: a clean drive and a fast system. Both are covered by CleanMyMac. It removes useless files from the drive, monitors your Mac’s performance, and keeps your macOS running smoothly.
That’s about it with DIY Mac hard disk recovery. Hope this article helps. Stay tuned!


