I wanted to write this article on how to screen record with audio on Mac because I was quite surprised by how many frustrated user forum threads I came across on the subject. It seems like people are still struggling to get the setup right.
You hit Record, finish the video, play it back — and there's no sound. If that’s about you, luckily, you’ve actually got a few native options, which I’ll cover in full, really detailing the audio part.
Two ways to record screen with audio on Mac
I love a built-in tool, and your device comes preloaded with two options. The Screenshot Toolbar, which you can access by pressing Command - Shift - 5 and the QuickTime Player app.
Method one: Screenshot toolbar
So as I mentioned above, when you hit the key combo of Command - Shift - 5, you’ll open the toolbar.
All you have to do now is select how you want to record the screen. Hover across the icons at the bottom to choose between Record Entire Screen or Record Selected Portion.
Here’s the important bit. If you want to make sure audio is captured, too. Before you press Record, click Options and under the microphone selection, pick what you want to use.
To stop recording, click the stop Screenshot Toolbar icon in your menu bar, or you can also press Command - Control - Esc.
Good to know, by default your recordings usually save to the Desktop unless you already pre-selected another location in Options.
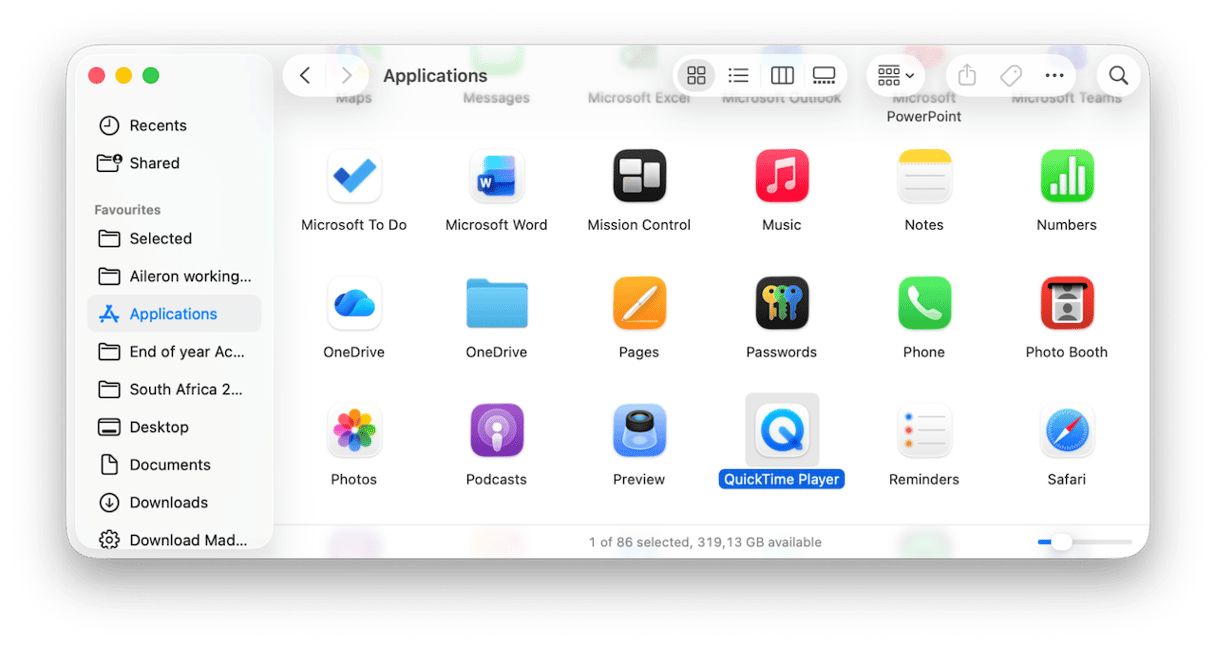
Method two: QuickTime Player
- Open up the QuickTime Player app from your Applications folder.
- In your top menu bar, click File > New Screen Recording.
- Now, once again, press options and select whatever you want to use for audio under Microphone.
- Press the stop icon in your menu bar when you want to finish.


What is important to mention here is that QuickTime can record microphone audio, but not internal system audio by default, so that means it’ll capture your voice, but not any application audio or Mac system sound.
Screen recording permissions
Just a little note on permissions here, because on macOS Sequoia and Tahoe, screen recording and microphone permissions now sit in System Settings > Privacy & Security.

For screen capture, go to Screen & System Audio Recording, and you’ll need to toggle on permissions for the app you’re using. For voice recording, you’ll need to go back to Microphone and allow access there, too.
If you find you’re still having issues recording, you might need to fully quit and reopen the app. Some apps need a full restart before macOS applies the new access. Sequoia and Tahoe have really tightened how permissions are handled.
Ok, so those are the native screen record with audio on Mac options, but there are alternatives.
How to record internal audio (system sound) on Mac
I briefly touched on this in the above section, but I actually think it deserves its own piece, because across the forums, this is the part that really seems to catch users off guard. Everyone wants to know how to screen record on Mac with audio, but many how-to guides miss the fact that your macOS doesn’t allow internal system audio recording. It’s blocked for privacy and copyright reasons. So the Screenshot Toolbar and QuickTime won’t capture any sound from your browser, open apps, or system notifications; it’ll only pick up sound recorded through your microphone. This has driven lots of users crazy, and understandably so, if you’ve spent ages recoding a tutorial, only to discover audio is not there.
The workaround is to use a virtual audio driver like BlackHole. It is free and what it does is reroutes your Mac’s system audio into a recording tool, like it were an input source. It does require a little setup, but I’ll walk you through. It’s not that difficult.
- Download and install it on your machine.
- Open Audio MIDI Setup on your Mac via a Spotlight search.
- Press the + button and create a Multi-Output Device so audio plays through your speakers and BlackHole.
- In Screenshot Toolbar or QuickTime, choose BlackHole as the microphone/input source.

If you decide at any point you don’t want to capture system sound anymore, you can just go back into the Audio MIDI Setup settings and remove the Multi-Output Device you set up, and uninstall BlackHole.
How to record screen on Mac with audio: Screenshot Toolbar vs QuickTime
Ok, so I thought a quick comparison might be useful for those who like to skim.
Feature | Screenshot Toolbar | QuickTime Player |
Ease of use | Fastest option with keyboard command | Simple, but takes more clicks. |
Full screen recording | ✅ Yes | ✅ Yes |
Selected area recording | ✅ Yes | ✅ Yes |
Microphone audio | ✅ Yes, via Options > Microphone | ✅ Yes, via Options > Microphone |
Internal system audio | ❌ Not by default | ❌ Not by default |
File format | ✅ Saves as .mov | ✅ Saves as .mov |
Best for | Quick screen recordings, tutorials, short demos | Users who prefer recording through an app window |
My pick | Best overall | Useful, but not my first choice |
Extra tip: Keep your Mac running smoothly for recording
Interestingly enough, many people don’t realize that screen recordings can be a bit heavier than they look.
They do use more CPU and memory, and depending on how long your videos are and how many you’ve got lying around, they can quickly eat up a noticeable chunk of storage space.
You can quickly run into issues if your Mac is already on the storage low side or busy with a ton of background apps. You might even notice recordings stutter or crash. There’s a good article here on how to safely force-quit apps if you’ve started having issues in that area.
I’ve started getting into the habit of running the Smart Care feature from CleanMyMac before I begin any long or heavy recording sessions, as it just helps clear up any of the unnecessary clutter or background processes that are already taxing my resources before I add another one to the list.
Open CleanMyMac > Smart Care > Scan > Run, then start recording with a bit more breathing room. You can test it for 7 days — get your free trial here.

How to screen record on Mac with internal audio comes down to simply picking the method that feels right for the job. I always opt for the Command - Shift - 5 option, purely because it’s the quickest. But honestly, Quick Time is not far off. Don’t forget, don’t be shocked if your Mac doesn’t pick up system sounds; that’s intentional, that's all bypasses due to privacy. If it’s the system app sound you’re after, you’ll have to opt for a workaround. I gave you a trusted tool, in this article, Blackhole, but there are lots more out there; just check reviews first.


%20%201200x670_1711624082.png)
%20%201200x670_1716456881.png)
