YouTube is full of great videos, many of them with very useful tips and tricks that you may want to refer back to again and again. You could, of course, just bookmark the video in a browser or add it to your YouTube favorites, but what if you need to access it when you’re offline? One solution is to use a browser extension to download the video to your Mac. But if it’s a long video and you only need a few minutes of it, that’s a bit of a waste of disk space. The best way to deal with that situation is to screen record the section of the video you need. In this article, we’ll show you how to screen record YouTube videos on your Mac.

Use QuickTime
QuickTime has a built-in screen recording tool which is perfect for recording YouTube videos. However, it will only record the video, not the sound. Luckily, there is a workaround you can use to record the audio and the video. We’ll show you that, too.
- Open QuickTime Player.
- Navigate to the YouTube video you want to record.
- If you don’t want to record the whole video, find the section you want to record.
- In QuickTime Player, choose File > New Screen Recording or Control-Command-N.
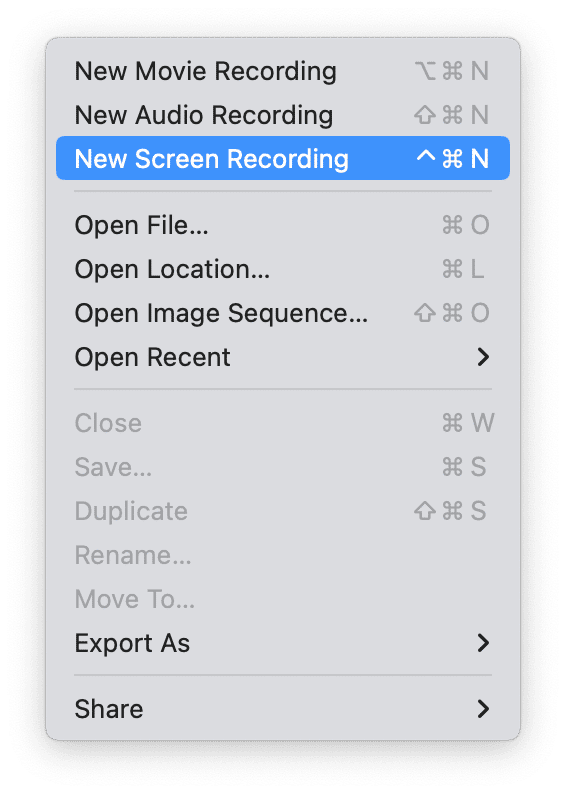
- You will see the recording toolbar appear on the screen.
- Click the Record full screen button on the QuickTime recording toolbar.
- Click Record.
- Make the YouTube video full-screen.
- Click play on the YouTube video.
- When the section you want to record has finished, click pause on the YouTube video.
- Click the Stop button in the menu bar.

- When the movie opens, save it to your preferred location.

Use the Screenshot app
The built-in Screenshot works in a very similar way to QuickTime.
- Locate the video on YouTube and make it full screen.
- Press Command-Shift-5.
- Click the Record full screen button.

- Click Record.
- Click play on the YouTube video.
- When the section you want to record is finished, pause the video.
- Click the stop button on the menu bar.
- You will see a thumbnail of the recording appear on screen. Click it to edit the recording, or wait a few seconds until it saves to your default screenshot location.
How to screen record YouTube videos with audio on your Mac
To record the audio as well as the video, you need to redirect the audio output to a separate channel. The easiest way to do that is to install a separate audio driver, such as BlackHole.
Download BlackHole and install it. Once you’ve done that, and before you click Record, click Control Center and change your Mac’s audio output to the BlackHole driver. That will redirect it to the recording.
If you want to listen to audio as well as record it, you will need to set up a multi-output device.
- Go to Applications > Utilities and open Audio MIDI Setup.
- Click the ‘+’ at the bottom of the sidebar and choose Multi-Output Device.
- In the main window, choose BlackHole and the device you want to use to listen to the audio.
- Quit Audio MIDI Setup.
- In Control Center > Sound, choose Multi-Output Device.
How to free up space on your Mac for videos
If you make lots of screen recordings on your Mac, they will quickly take up lots of space. And unless you’re diligent about naming them and storing them, finding the videos in order to delete the ones you don’t need can be tricky. CleanMyMac can help with that. Its Large & Old Files module tracks down the largest and oldest files on your Mac and allows you to filter them by type — for example, Movies — and then order them by size.

That makes it easy to find and choose the recordings you don’t need and delete them at the click of a button. You can also filter files according to how old they are. You can download CleanMyMac for free here. Then, install the app and follow these steps:
- Open CleanMyMac.
- Click Large & Old Files > Scan.
- Select the files you want to delete and click Remove. You can also choose the removal type.

It’s easy to screen record YouTube videos on your Mac. Choose the option above that suits you best and follow the steps to make your first recording.


